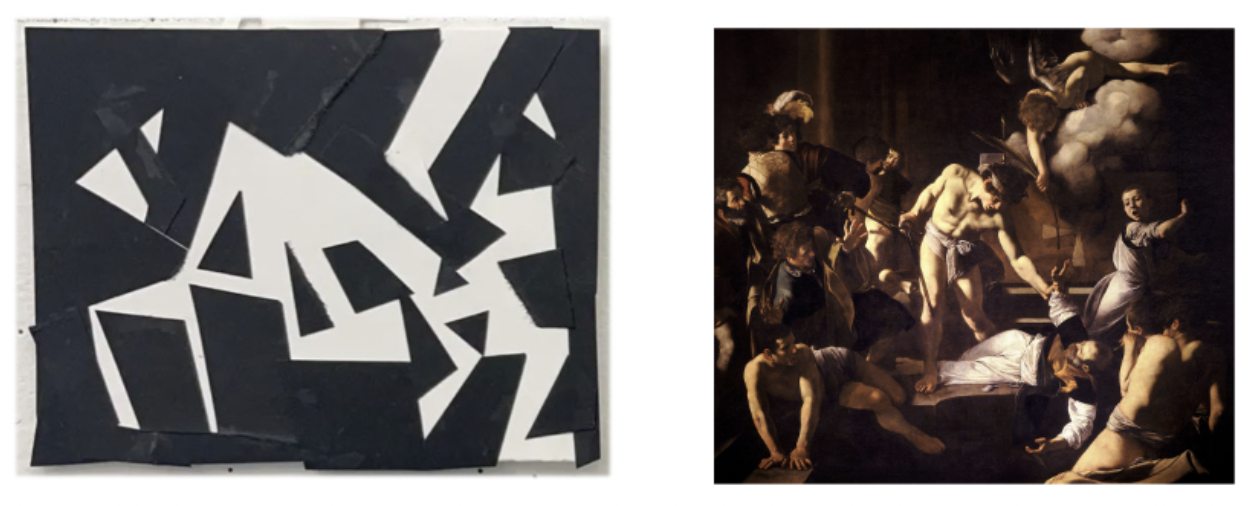
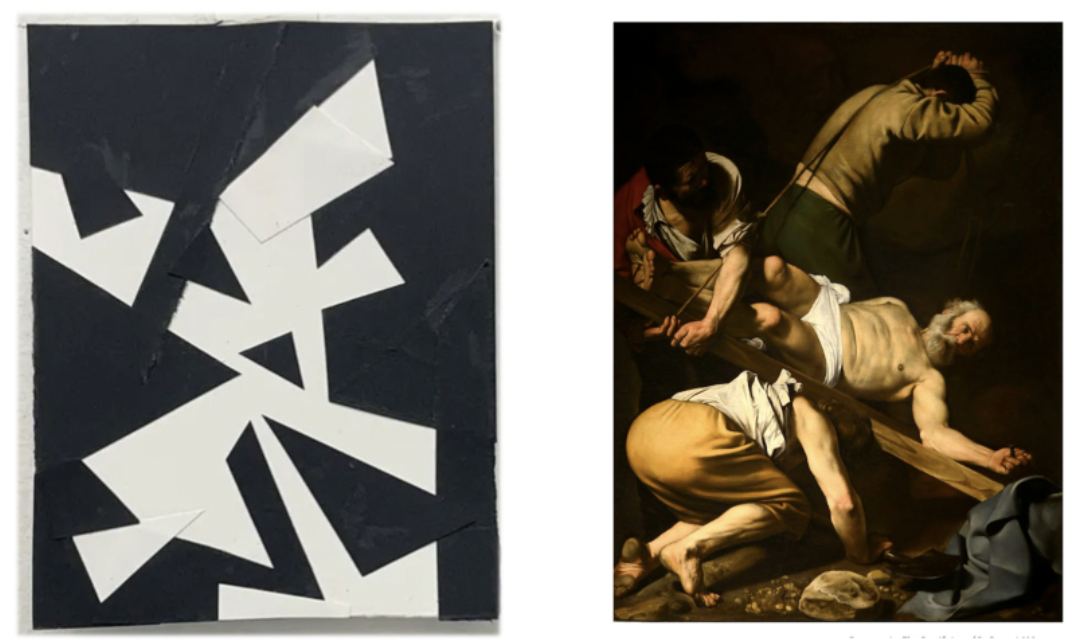
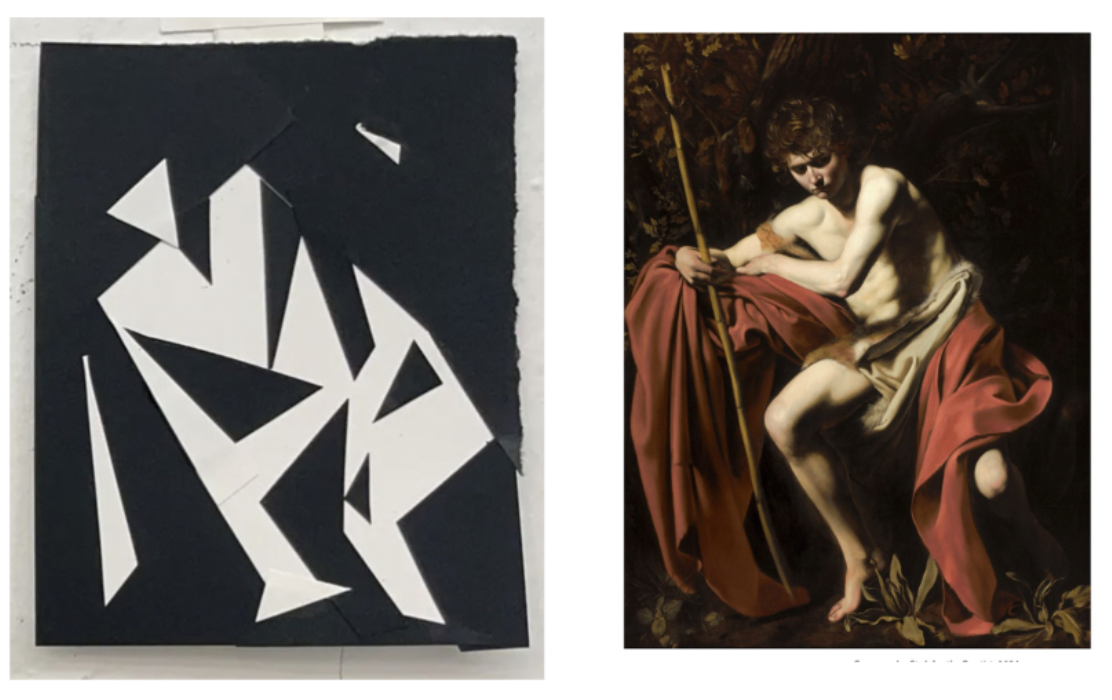
Entering the Theater
Assembling Your Characters and Directing a Scene.
Composing a Picture Built with Discreet Shapes.
Learning to translate what you see into a limited number of distinct shapes will be an asset to you as we move towards the color-blocking method.
I. Composing Your Scene
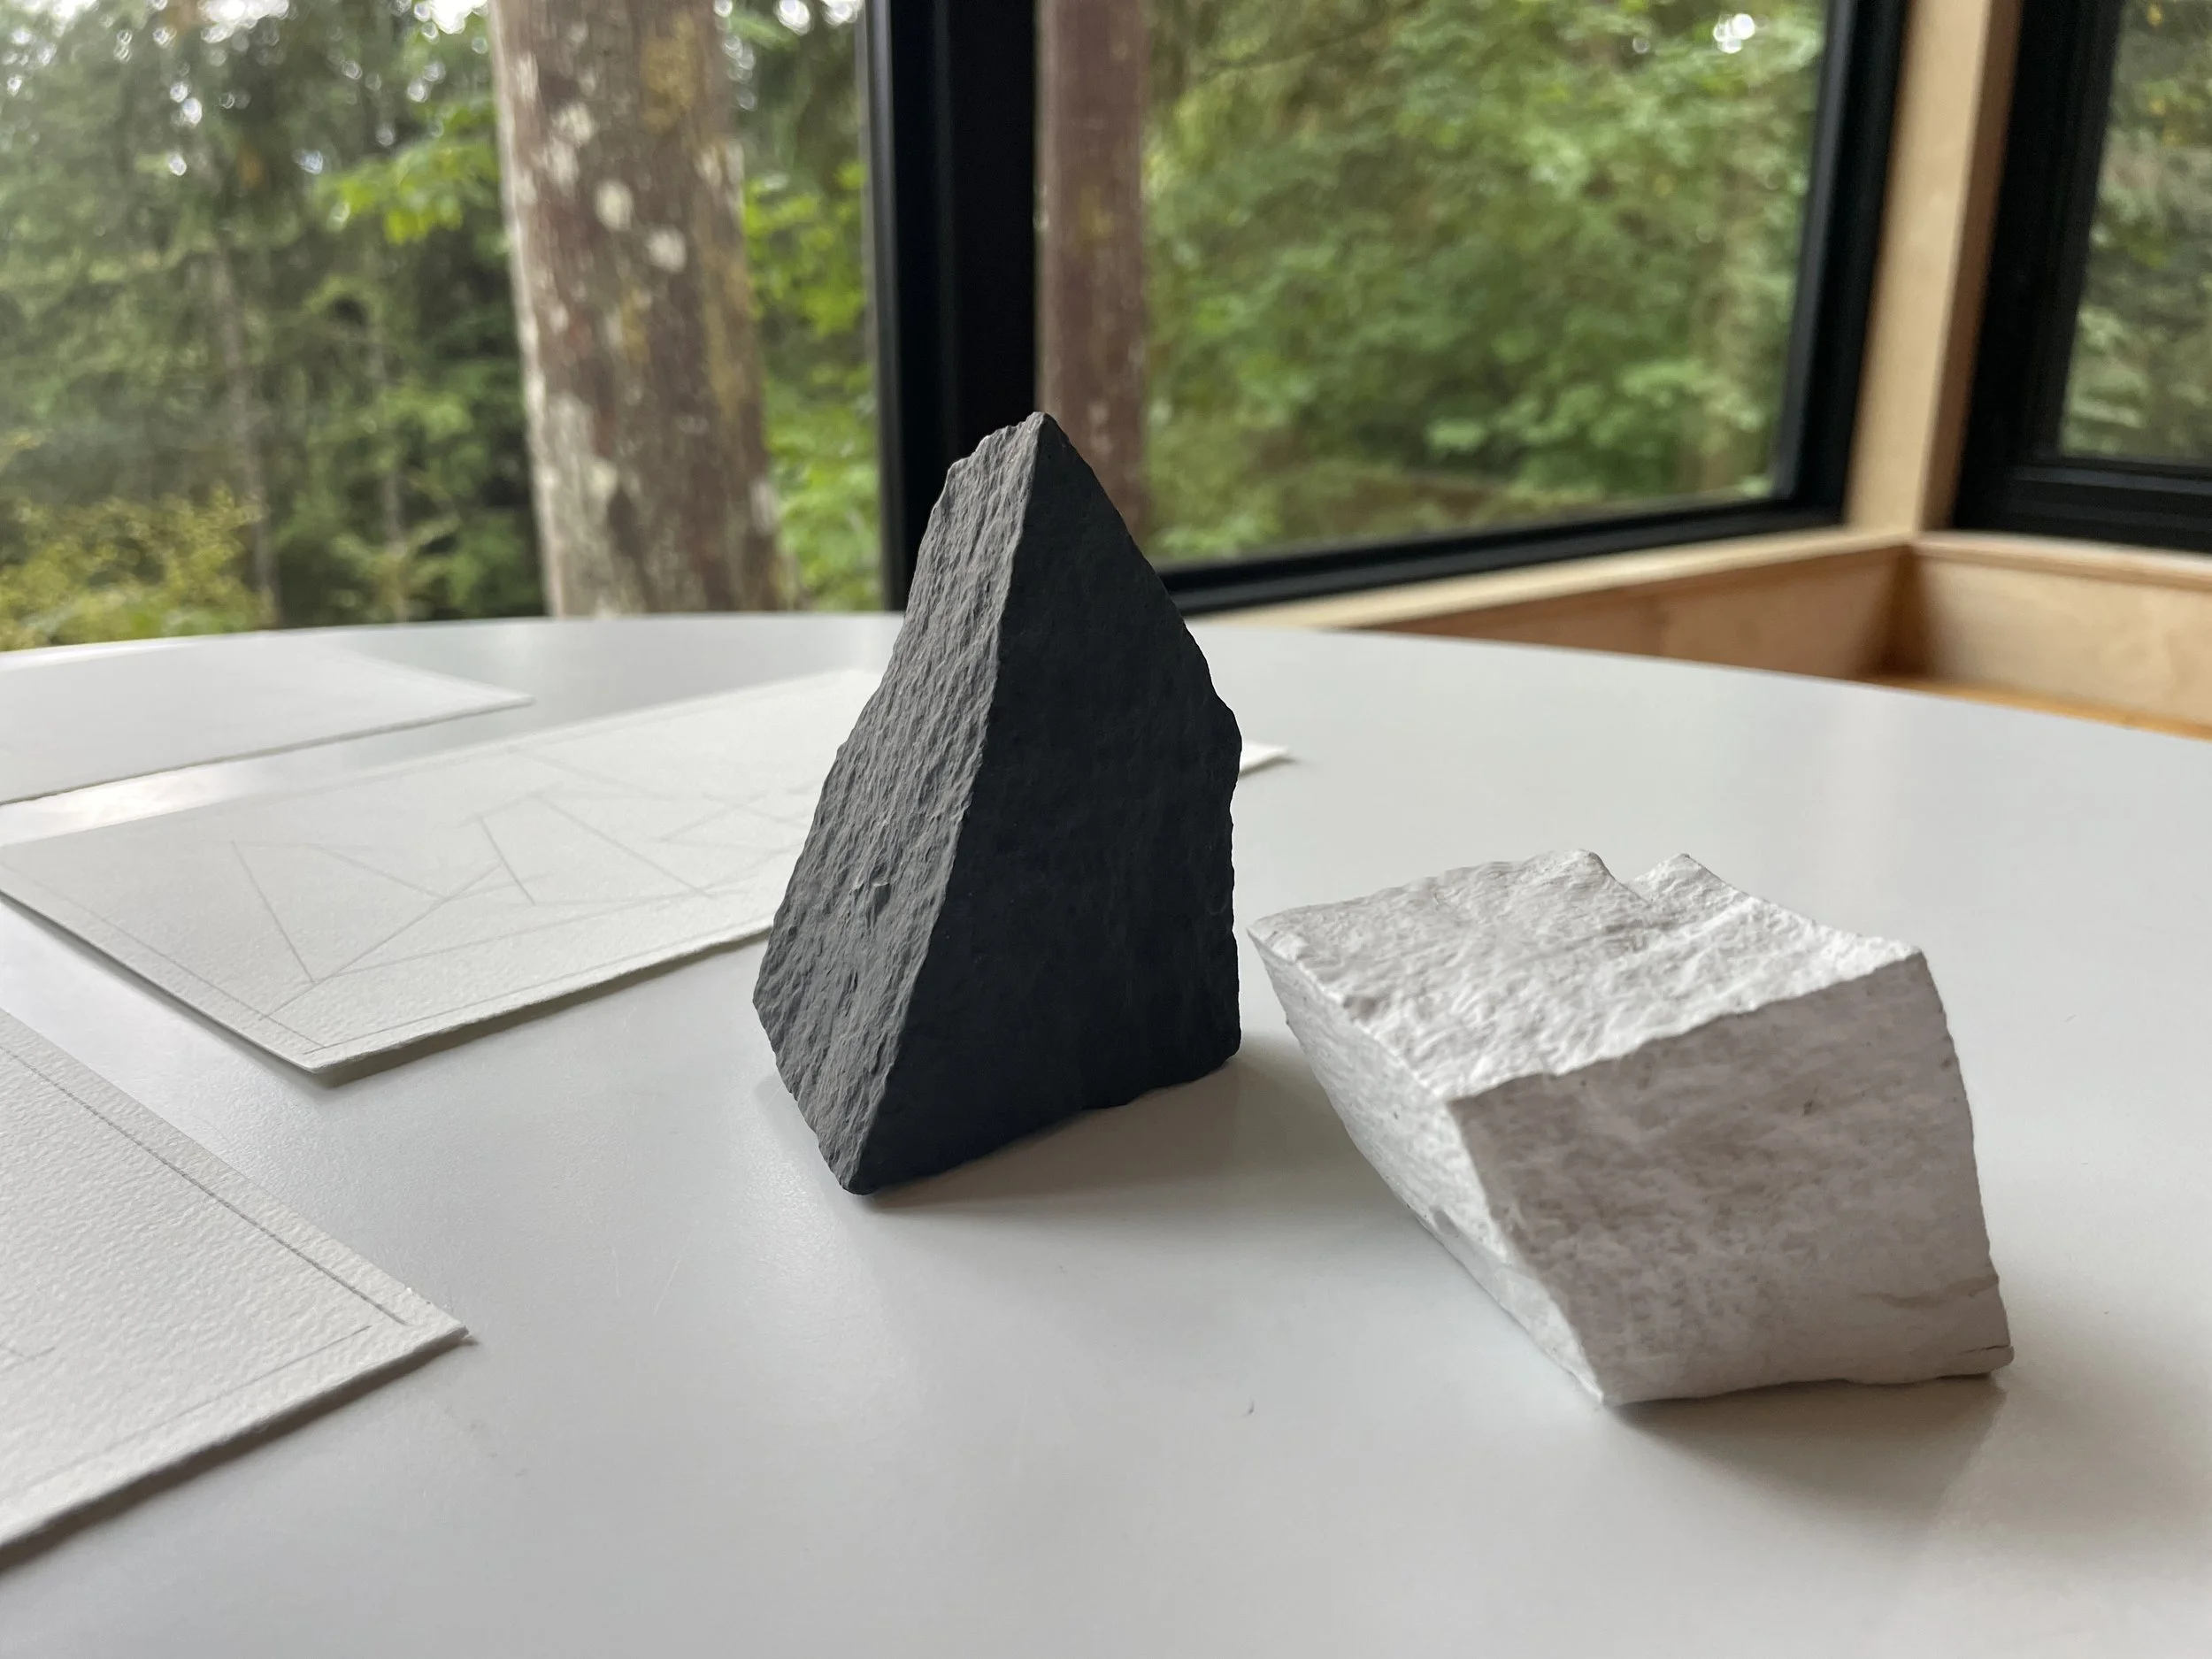
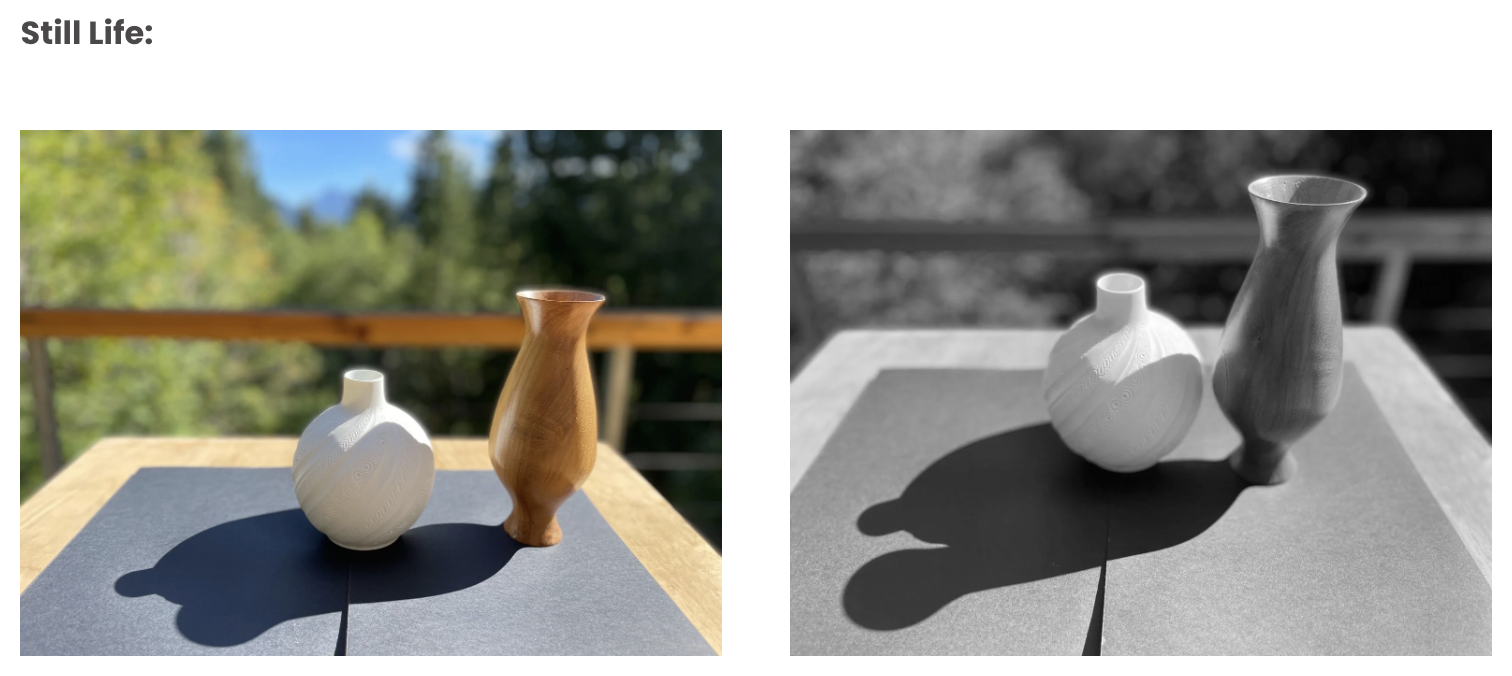
Experiment with White, Black, and Gray papers to line your walls and floor. Set a dramatic scene with clear shapes of light and shadow on each object as well as dynamic cast shadows.
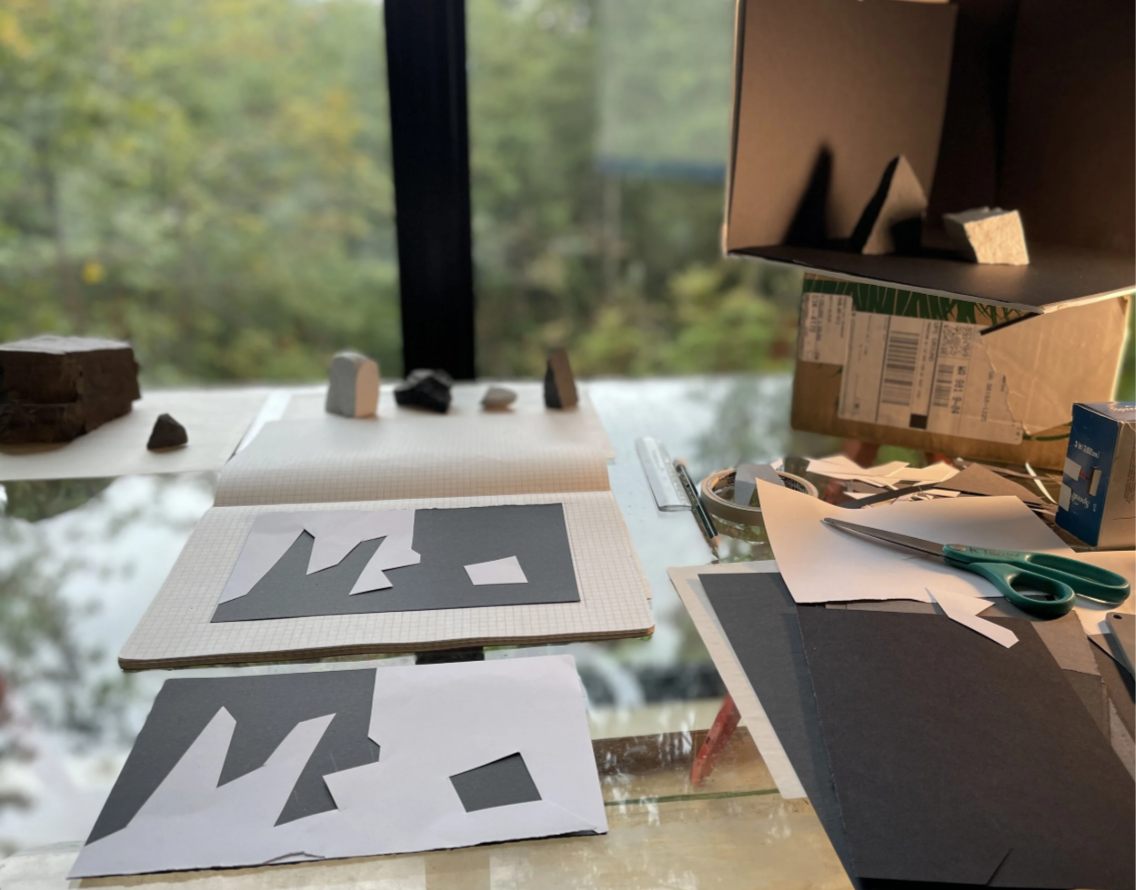
For this exercise select 2-3 forms: with at least one darker object and one lighter object to interact in your theater.
See STILL LIFE THEATER SET-UP for more information on choosing your characters and lighting your scene.
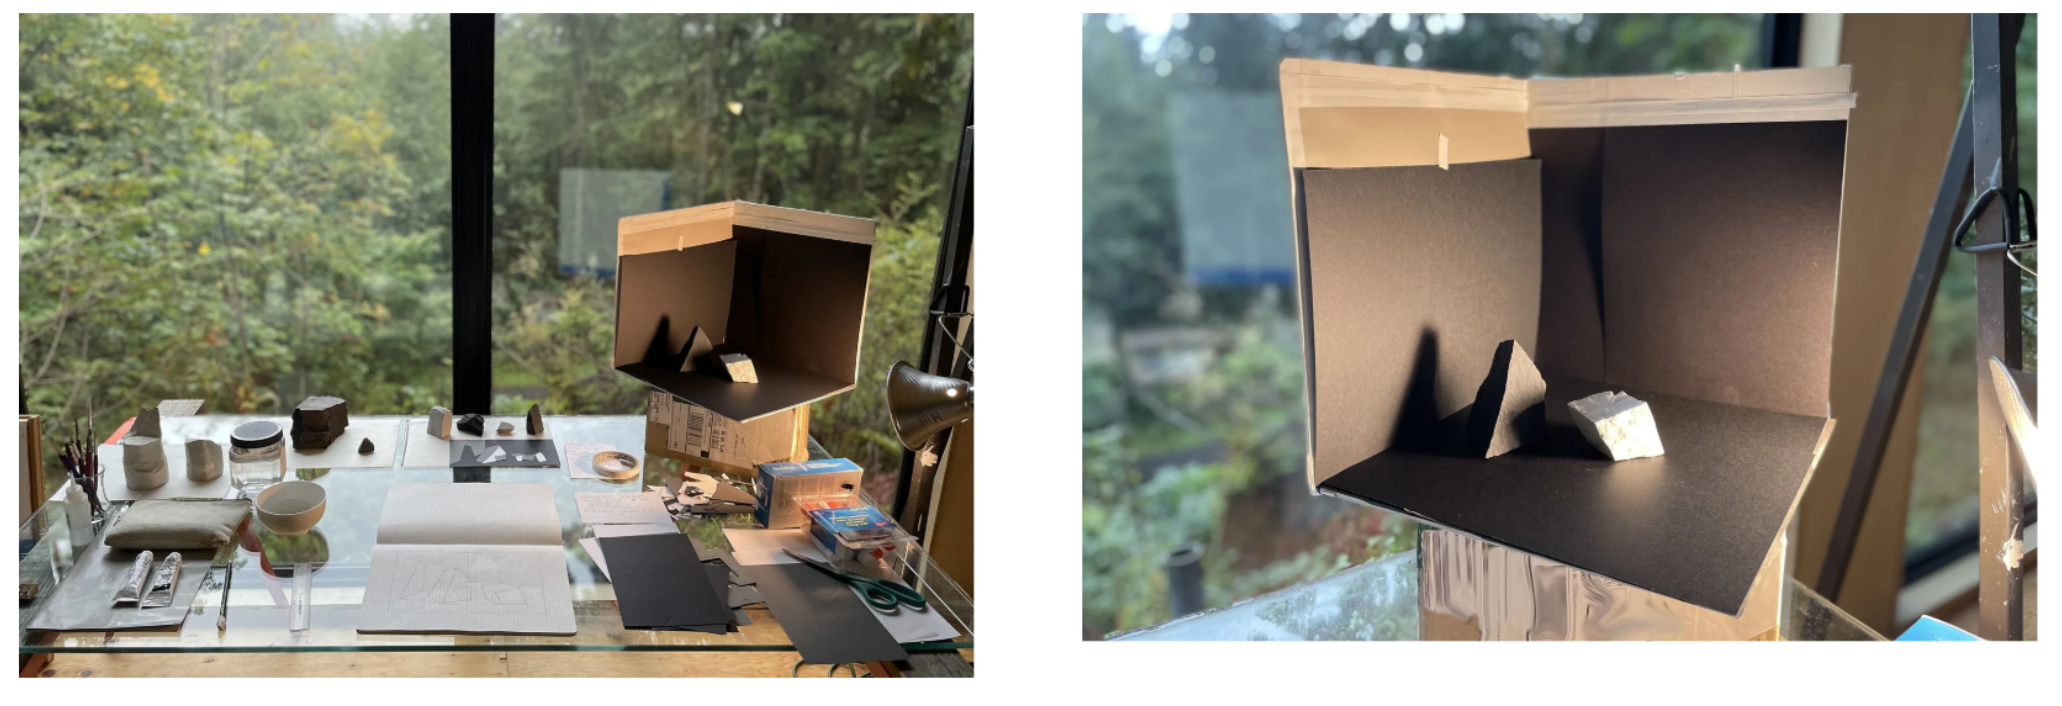
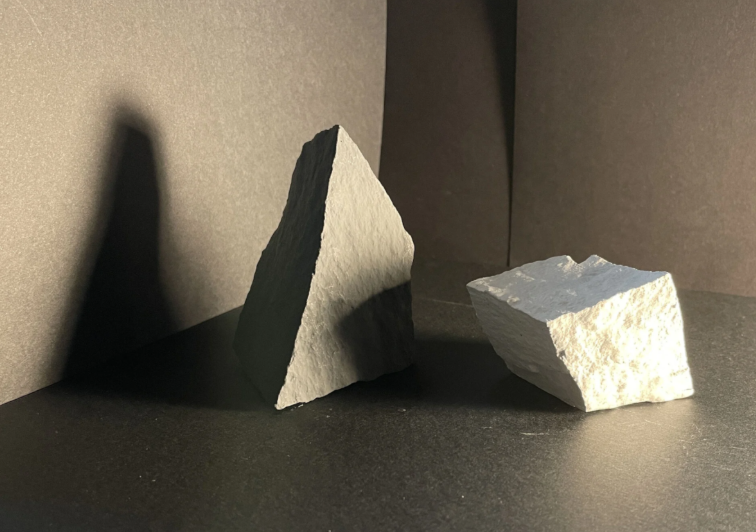
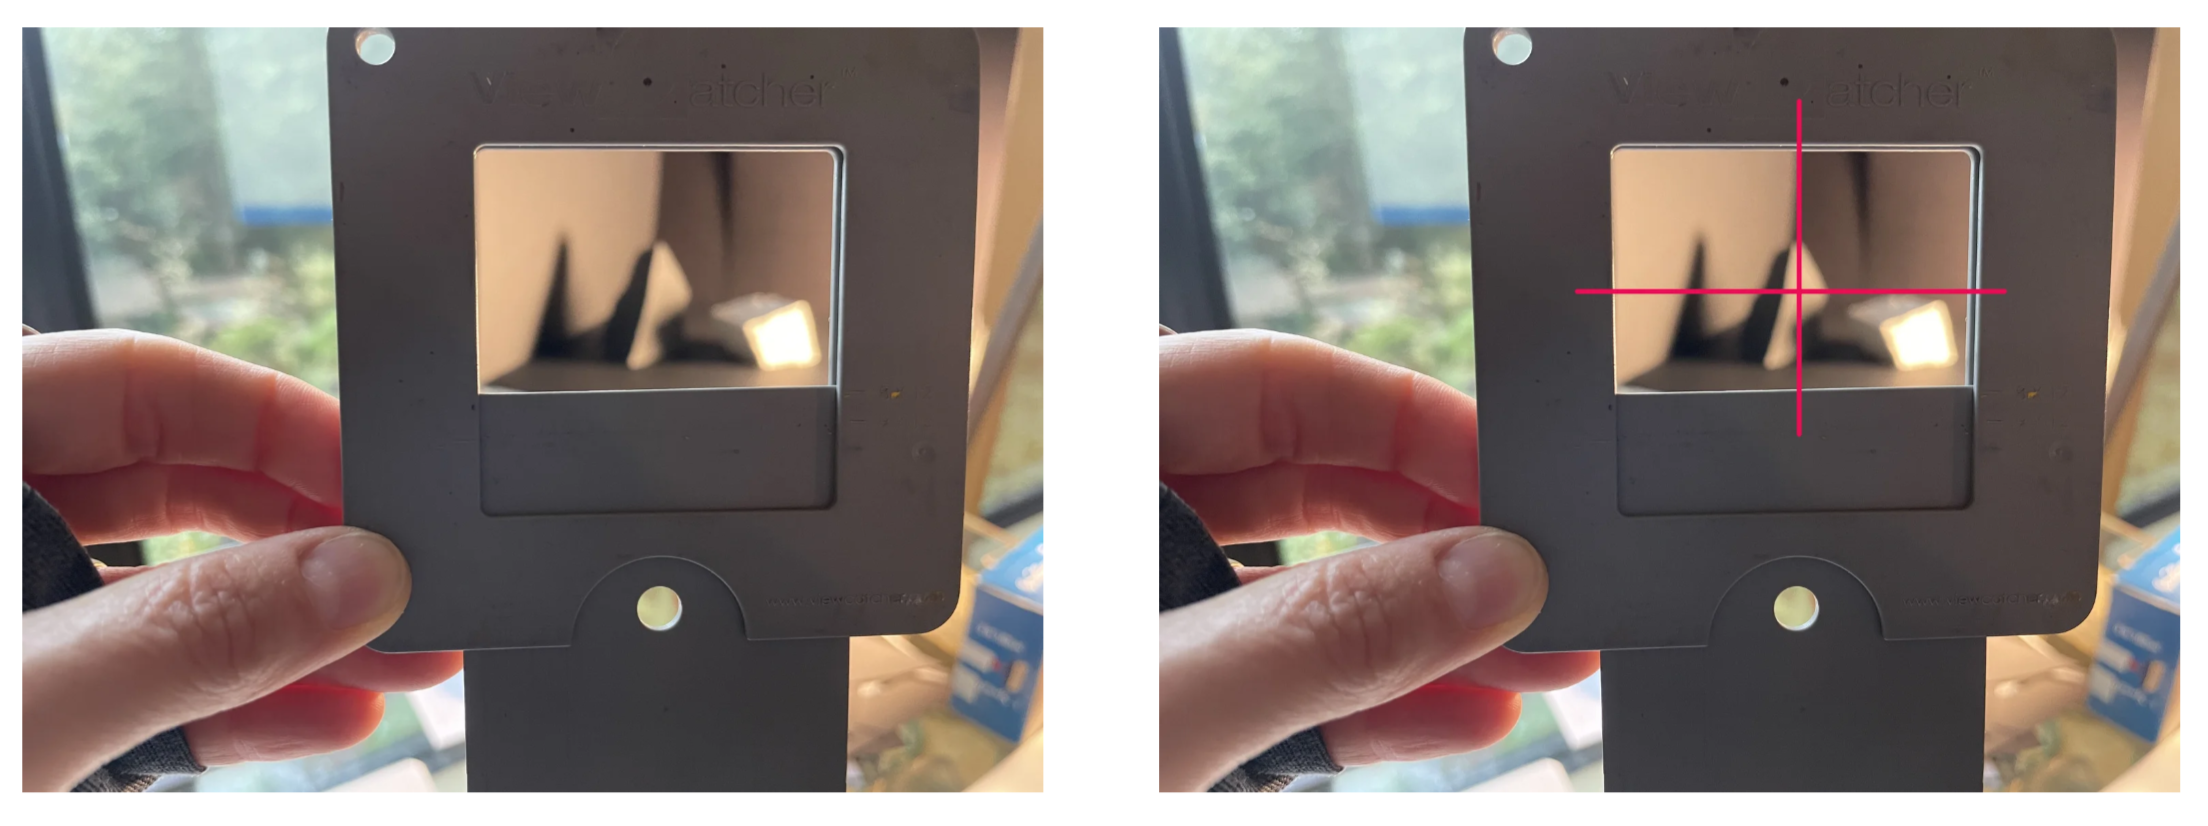
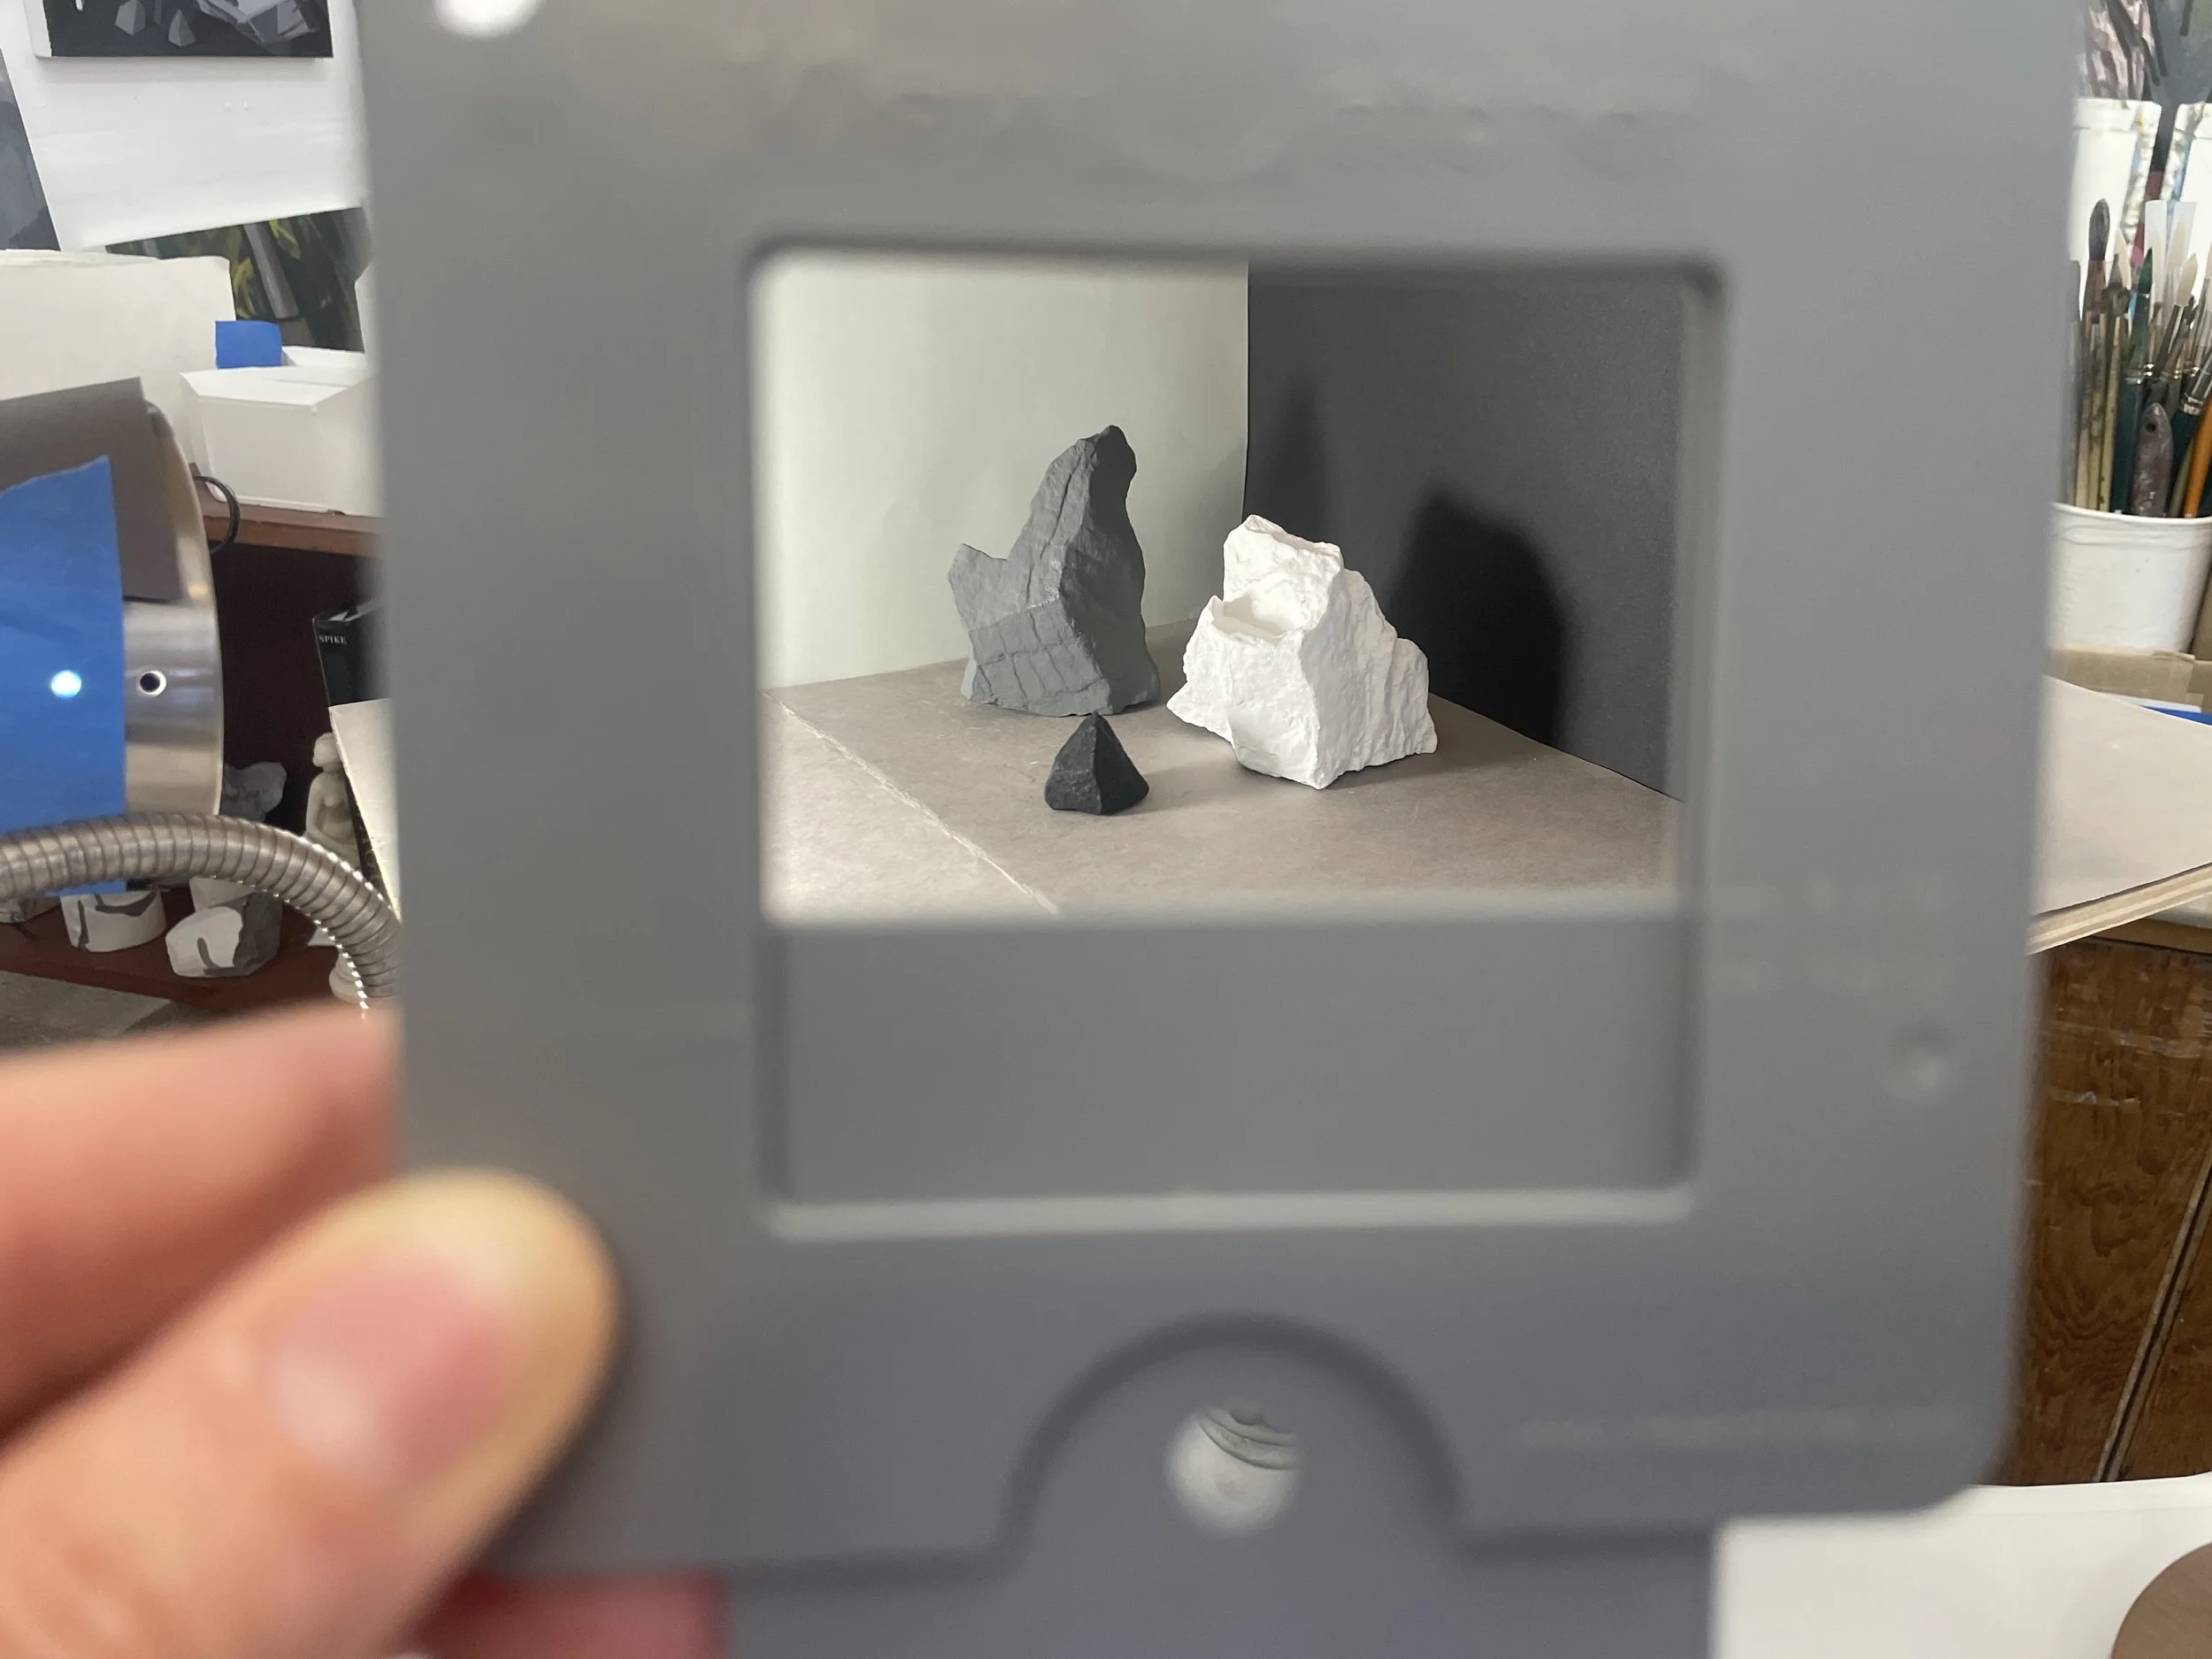
Looking at your theater through a view-finder, crop-in far enough to fill your rectangle with your characters and their cast shadows. Does a horizontal or vertical orientation accommodate more interesting shapes for your scene? It is helpful to choose a rectangle shape that corresponds with standard sizing (8x10, 8x12) or ratios (2:3, 3:4), not too long, not too tall.. (In lieu of a view-finder, you can cut-out a rectangle from a pice of paper to peer through, or construct two “L” shapes out of cardboard to create your own viewfinder.)
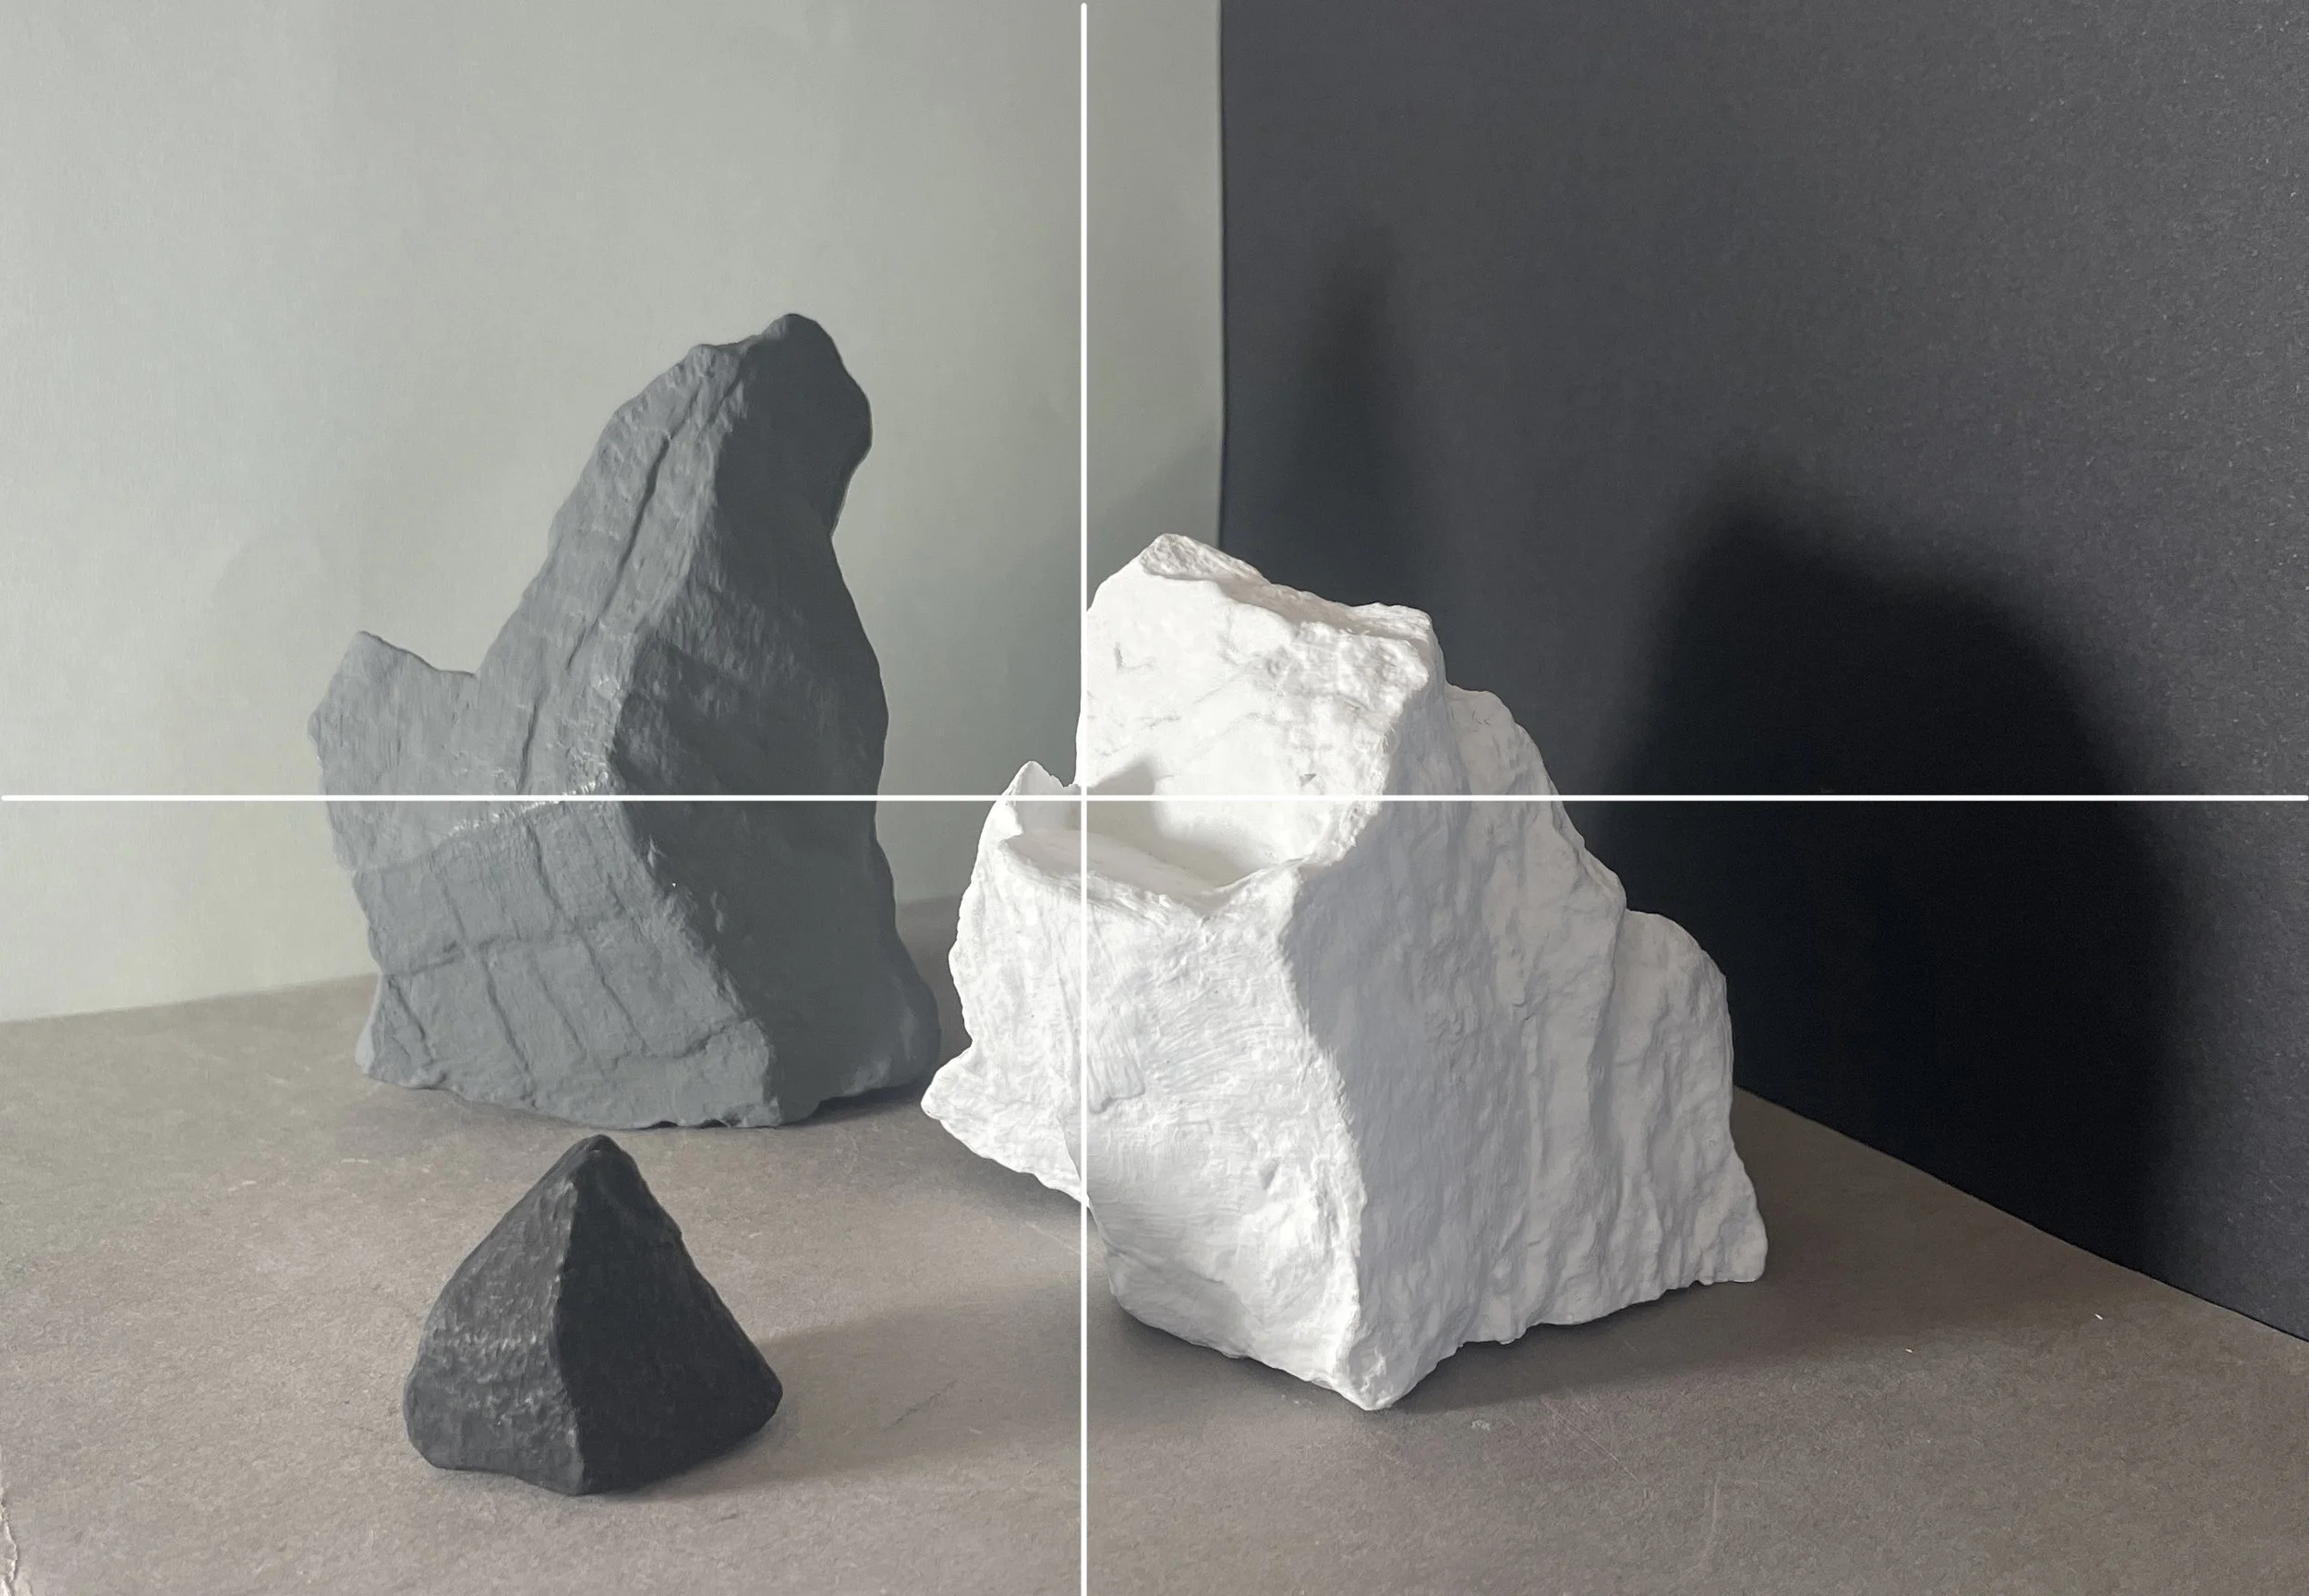
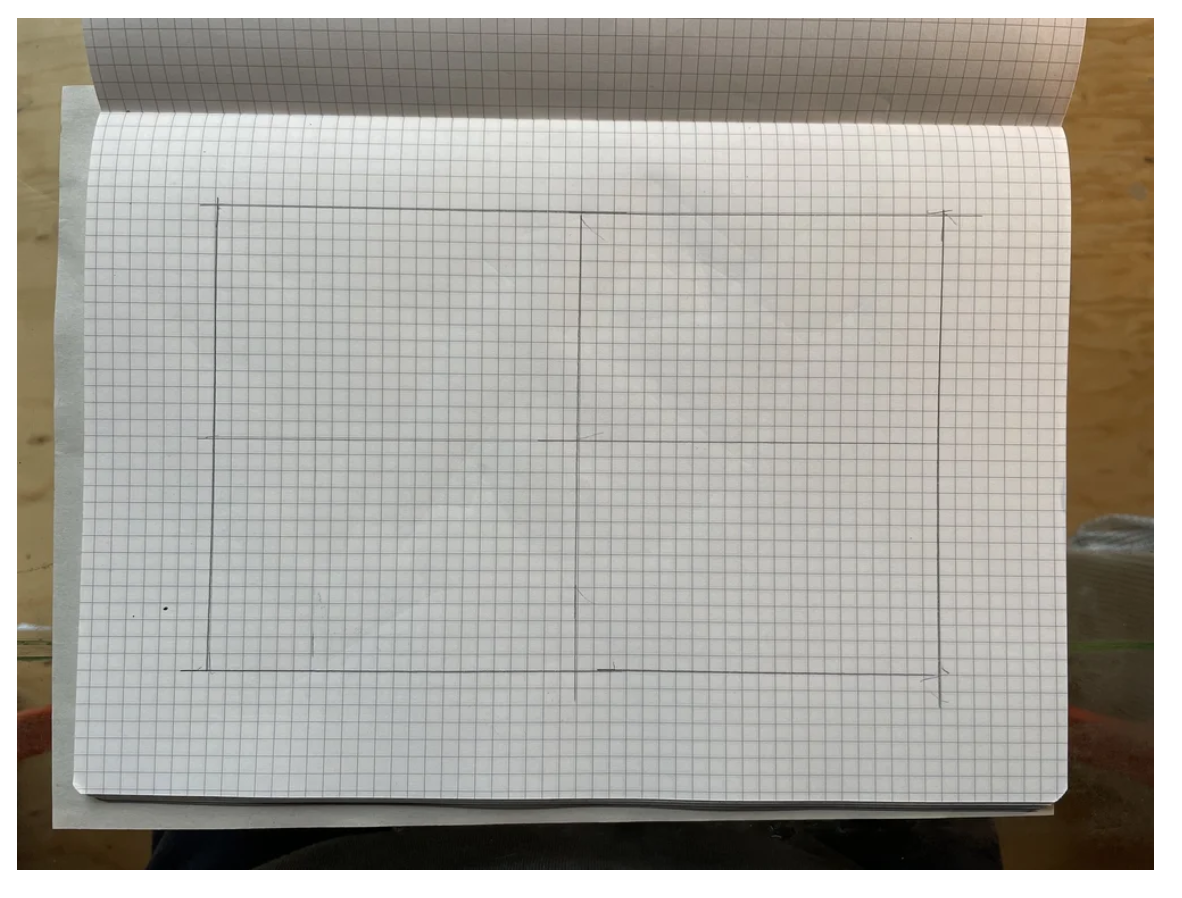
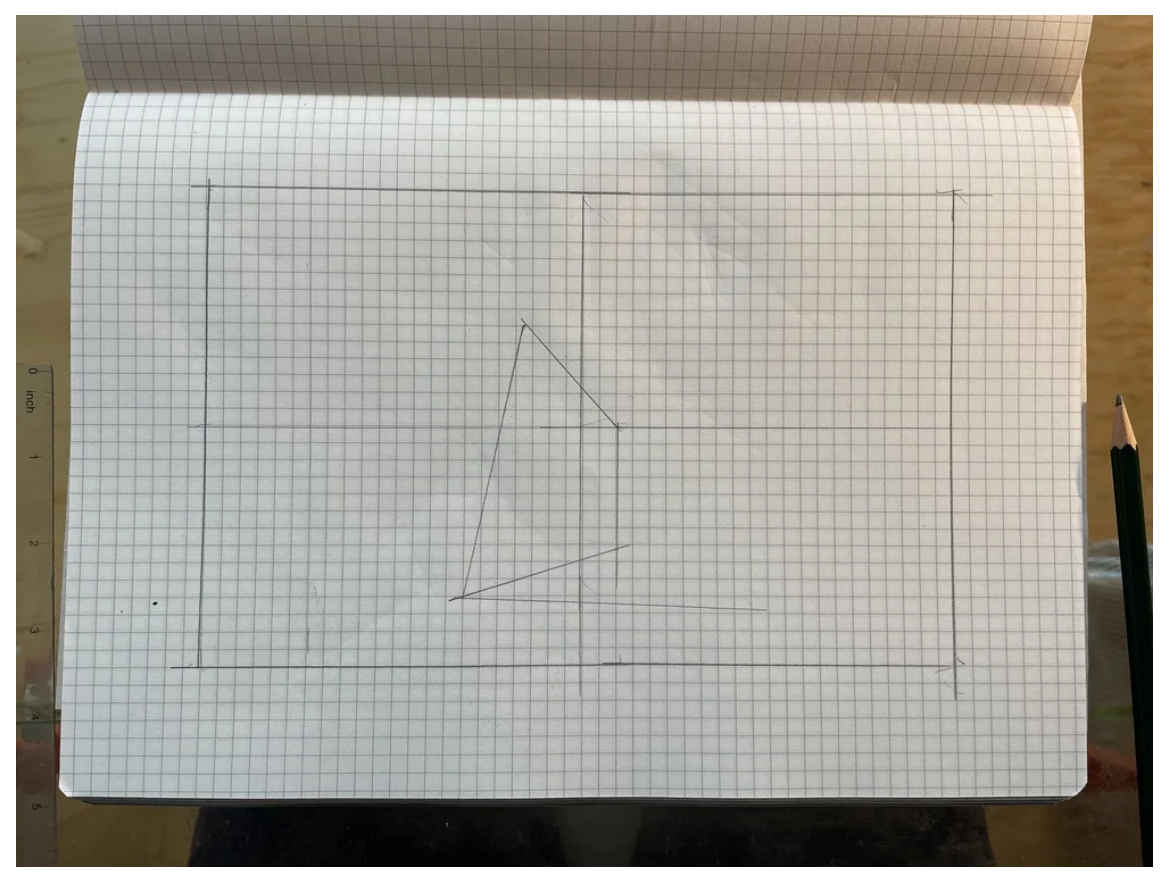
Identify the center lines of your view. These can be used as a visual “anchors” for setting-up your drawing. In my example, I am lining-up my vertical center line with the back corner of my still-life box. My horizontal center line intersects with the right-hand corner of my dark object, and also the top-most corner of my light object.
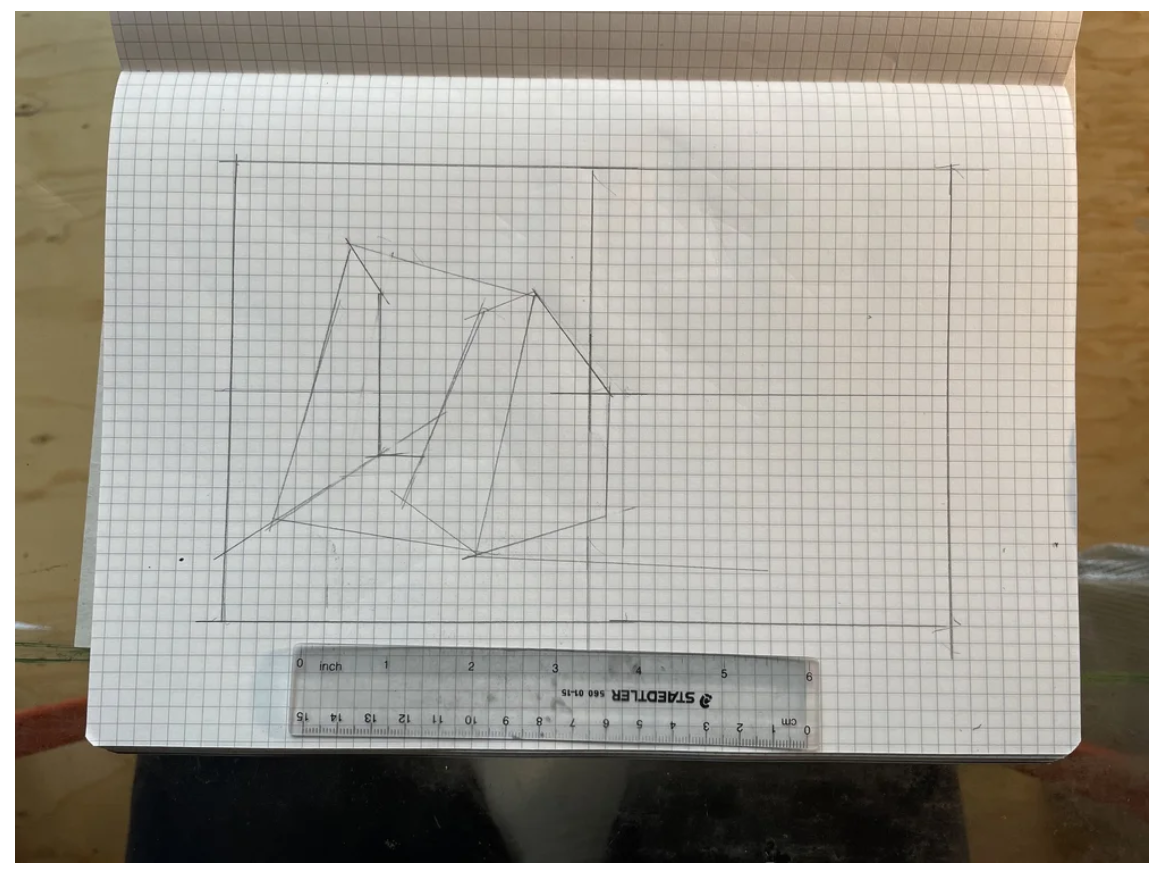
Another Example:
Final Template
II. Creating a Template
Because we will be creating a series of works based on this scene, we want to make our format a size and shape that is easy to repeat.
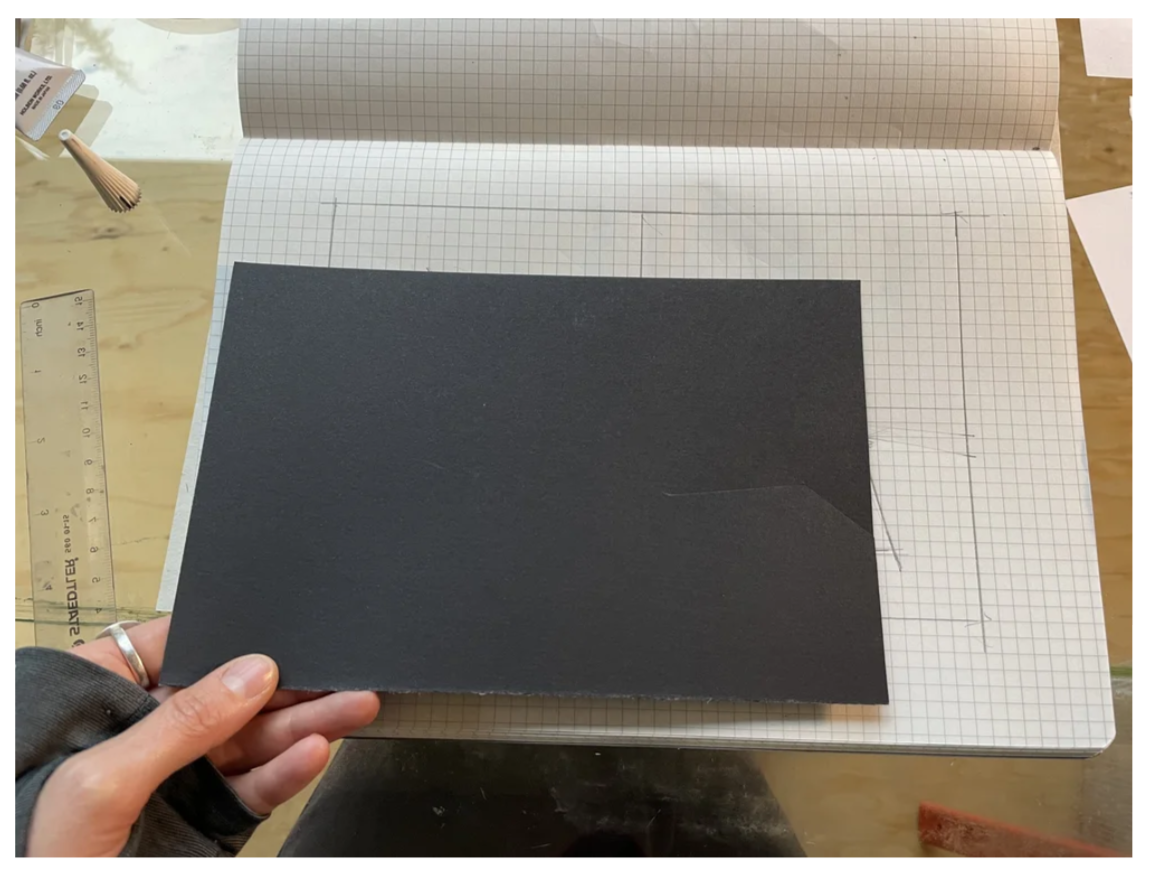
A good place to start is to fold a piece of your white or black paper in half and trace that rectangle into your sketchbook to be the shape of your composition. If the ratio you chose through your view-finder is more squarish or more elongated, adjust/cut your paper to correspond more closely to that— “kind-of” is close enough.
Notate the horizontal and vertical mid-points of your rectangle.
-From a Drawing:
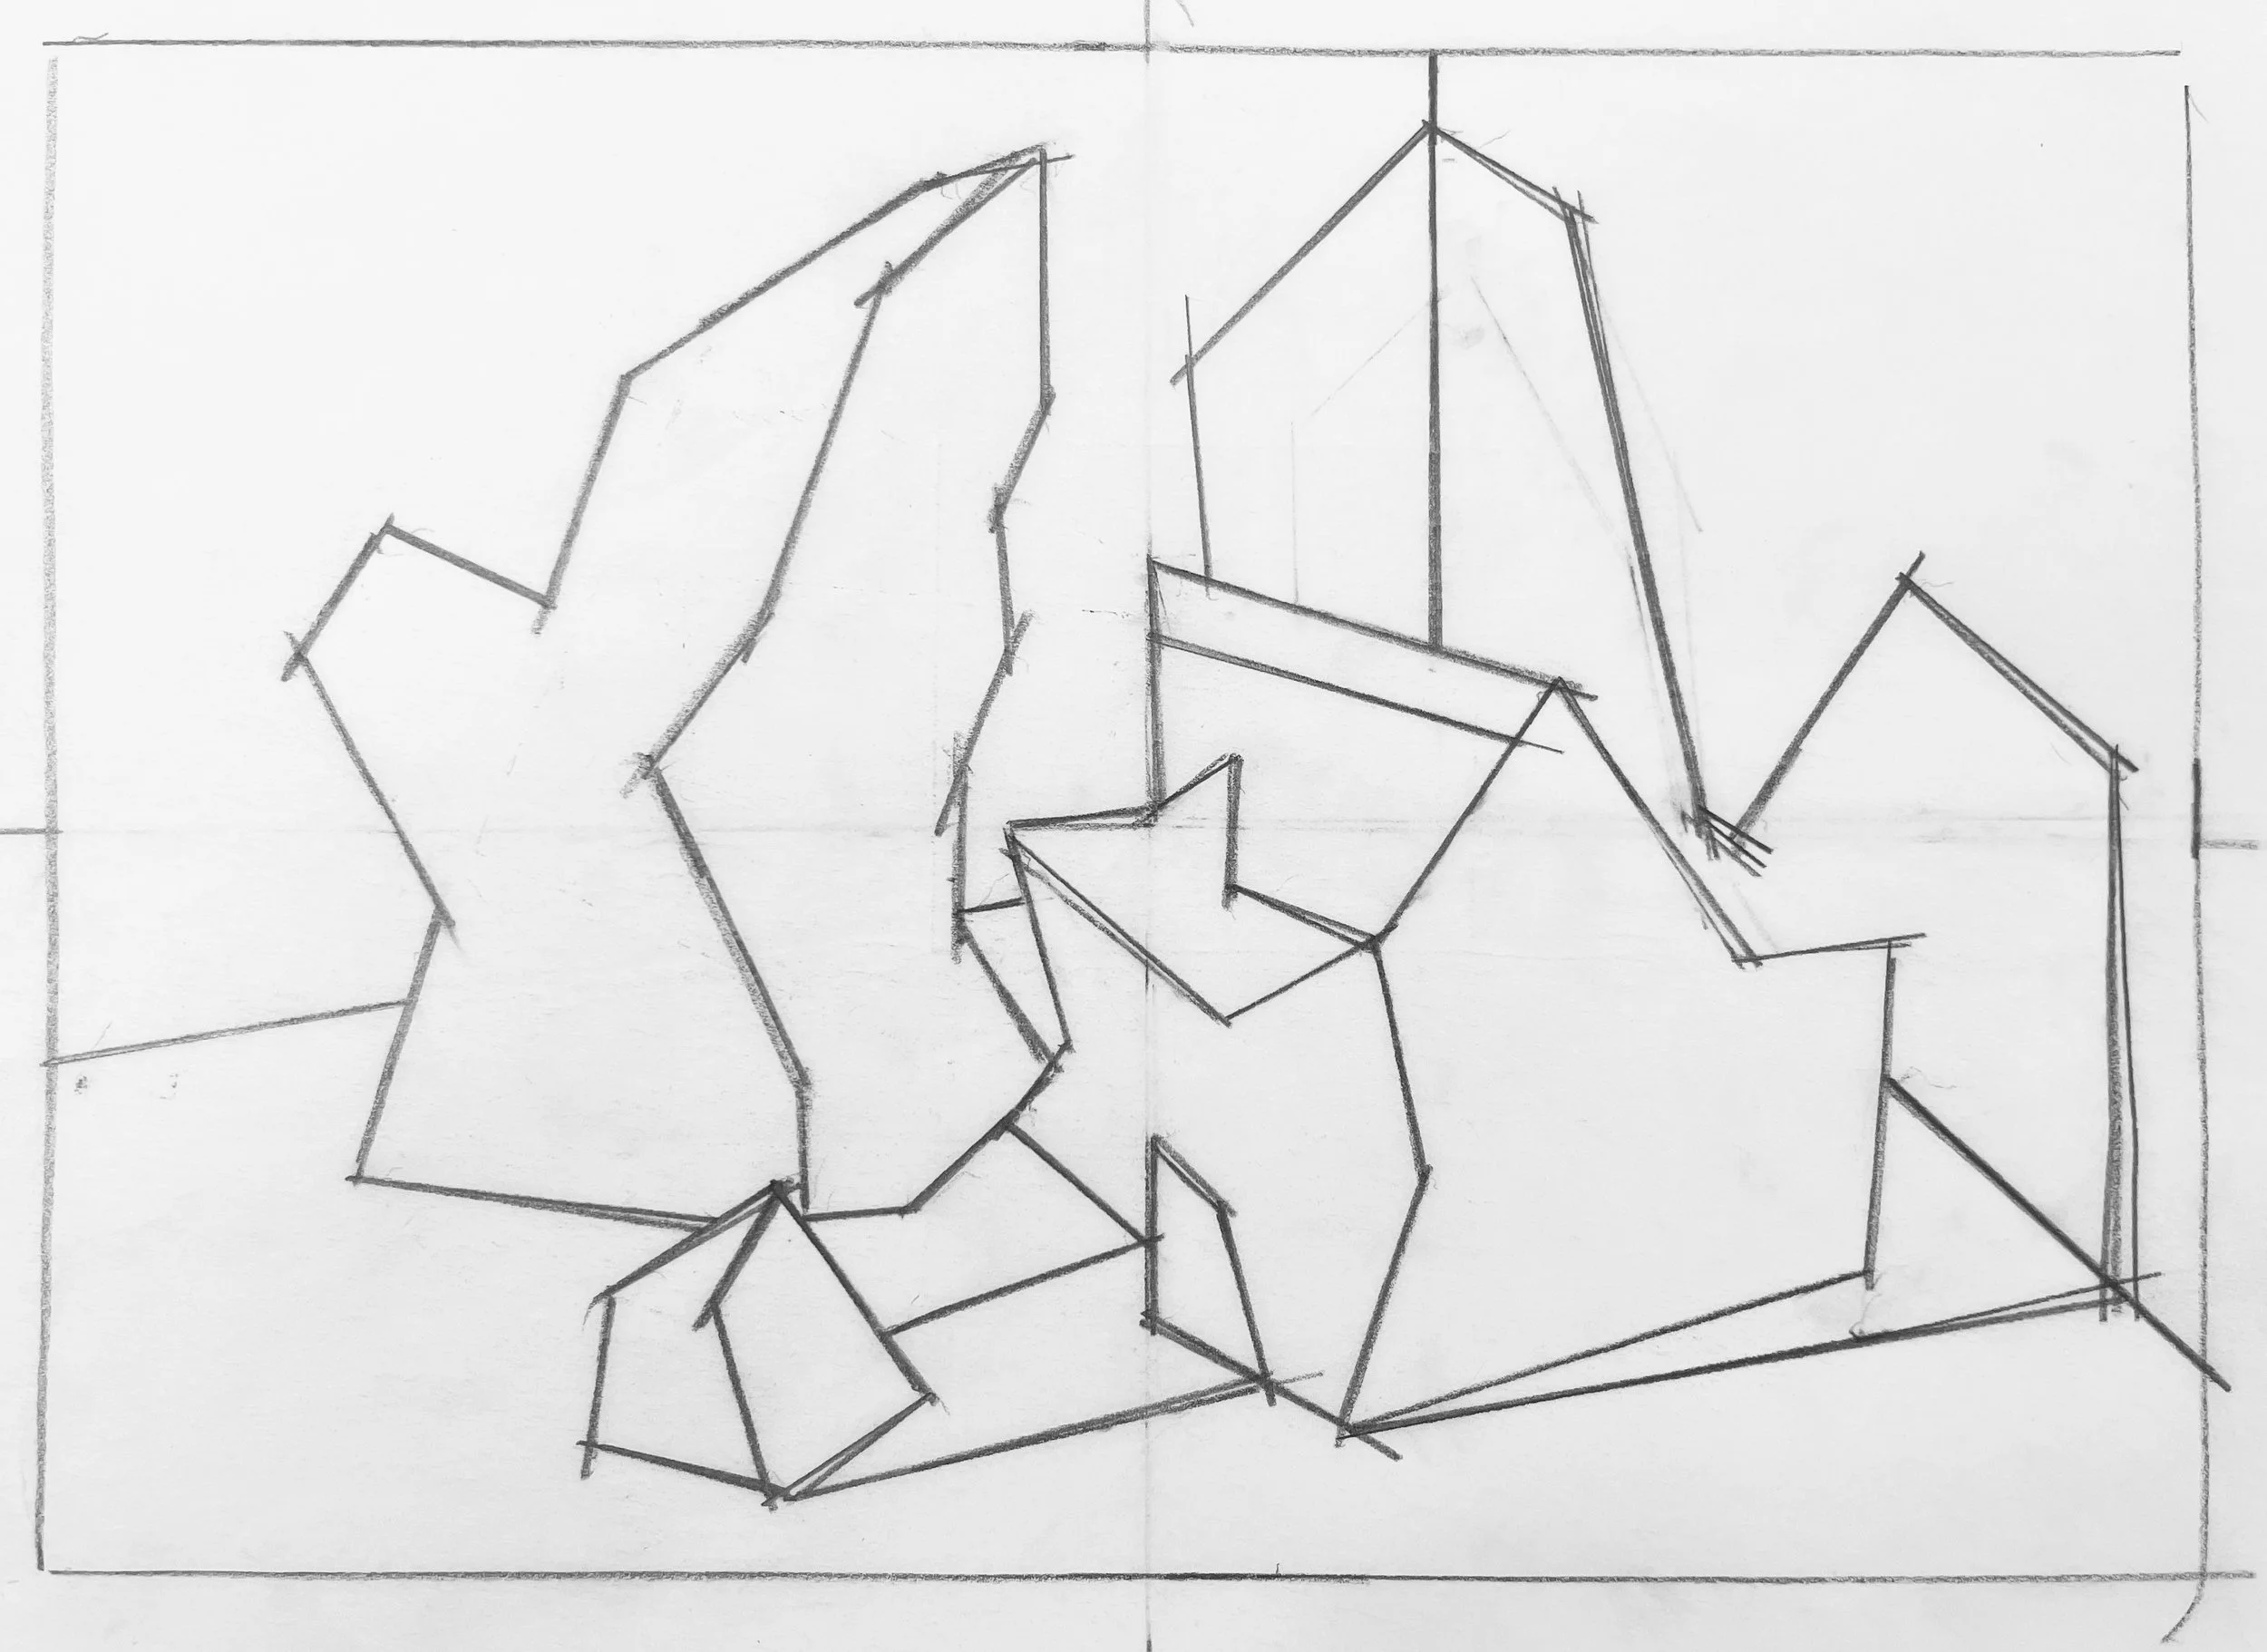
With simple, angled lines construct the dominant planes of your objects and the cast shadows they create. Your goal is to end up with a drawing made of distinct shapes that are easy to identify and can be cut-out with scissors! So, even if some of your cast shadows or edges are not sharp or clearly defined in reality, exaggerate and essentialize them in your drawing.
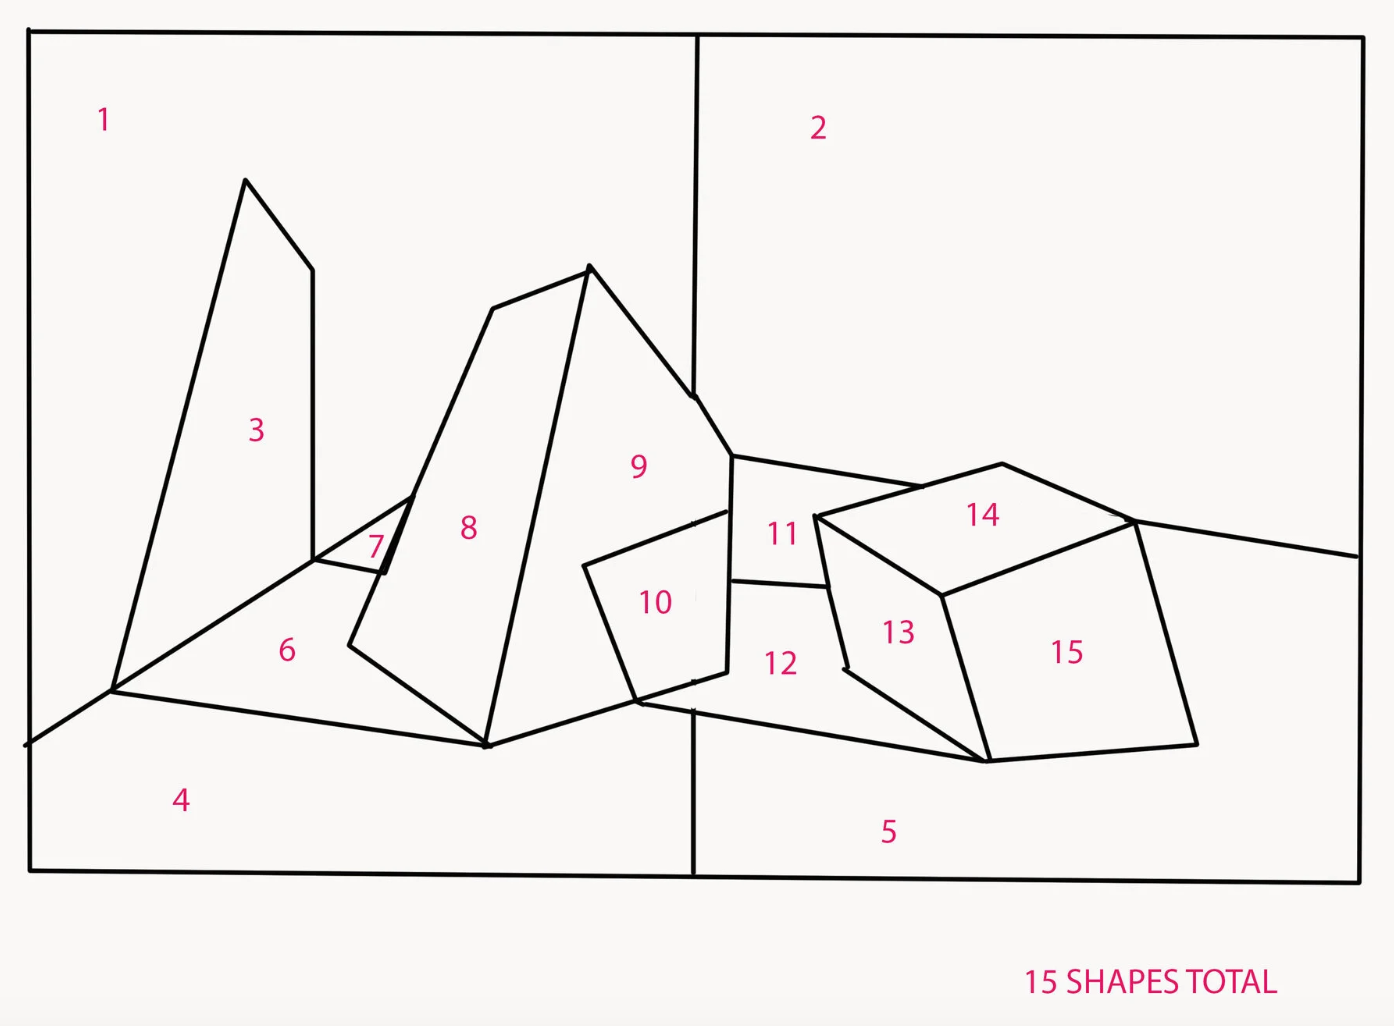
In the example above, I scanned my drawing and then digitally drew my shapes, ending up with a template of 15 shapes.
ANOTHER method for drawing towards a template is to develop a sketch or series of sketches to get to know your motif, and then cull-out the main, essentialized shapes afterwards.
Sketch 1 & 2
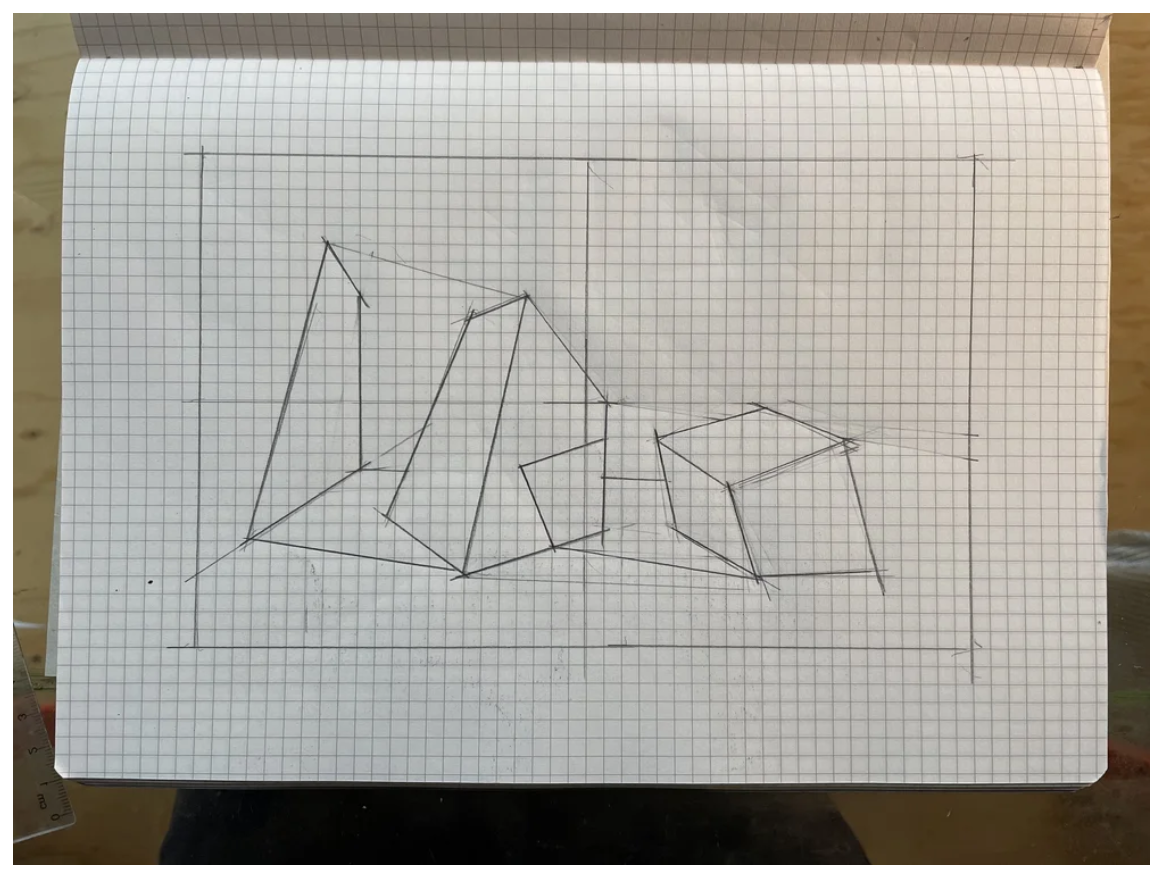
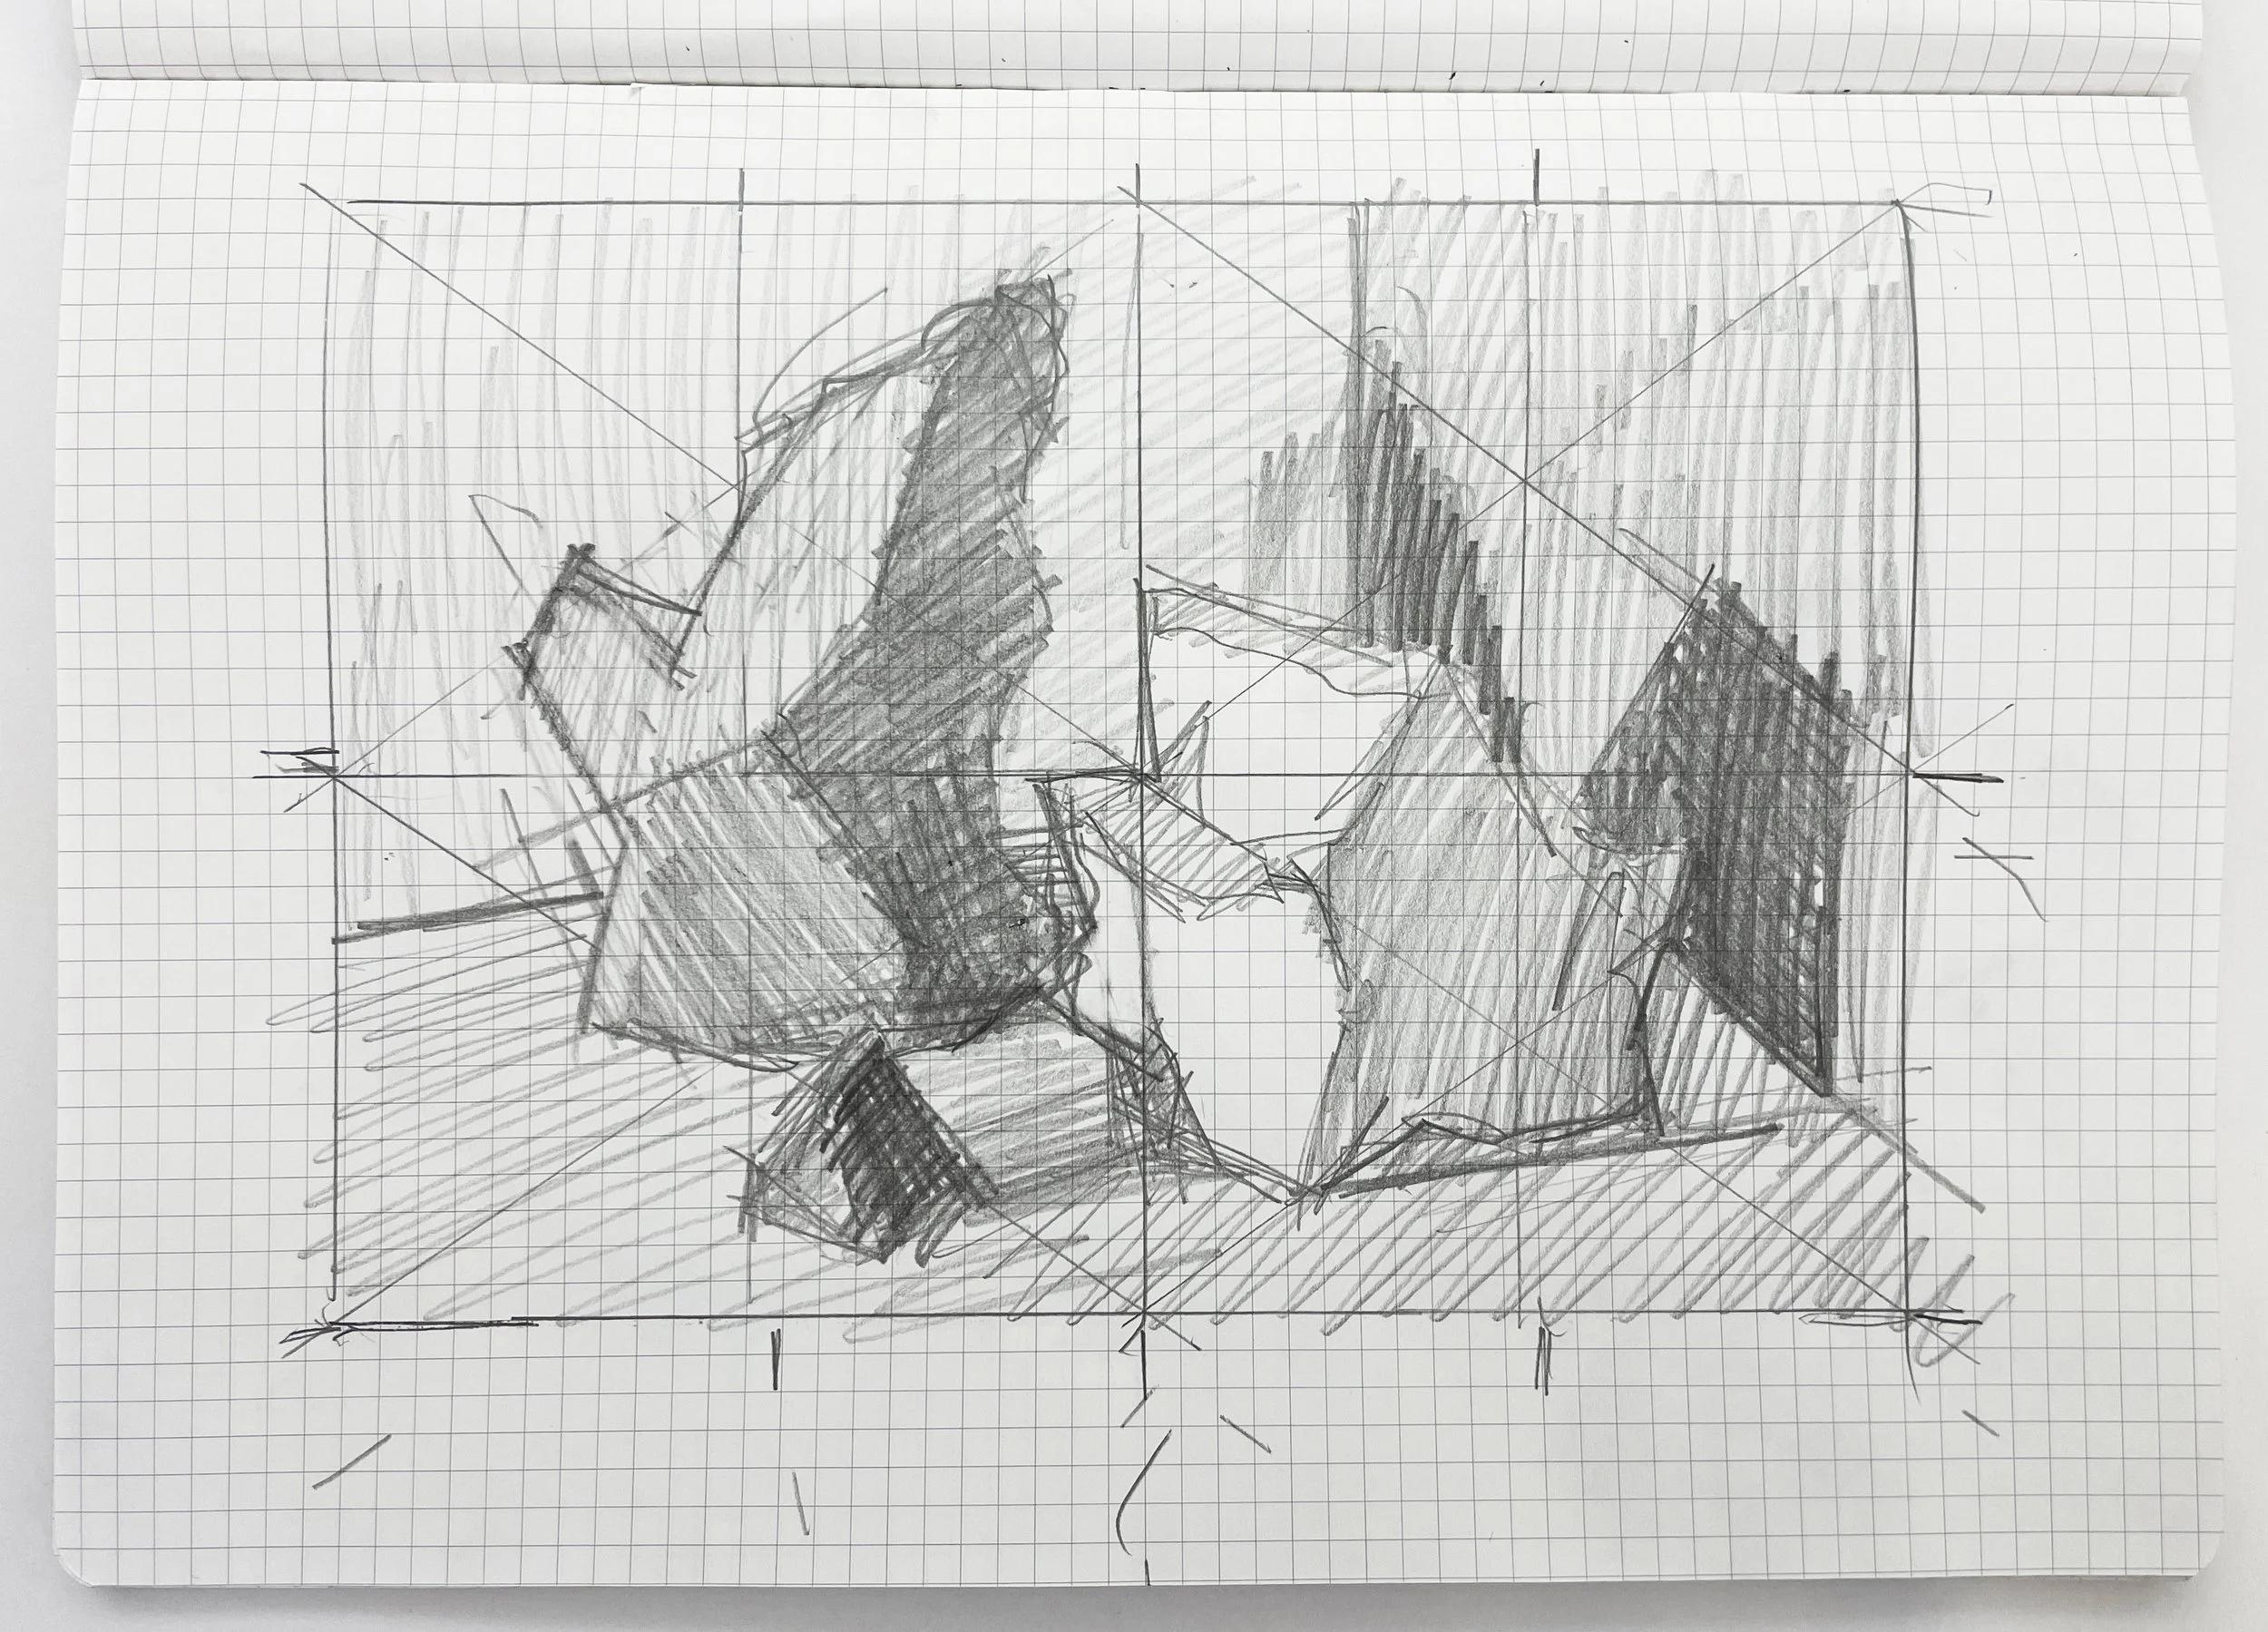
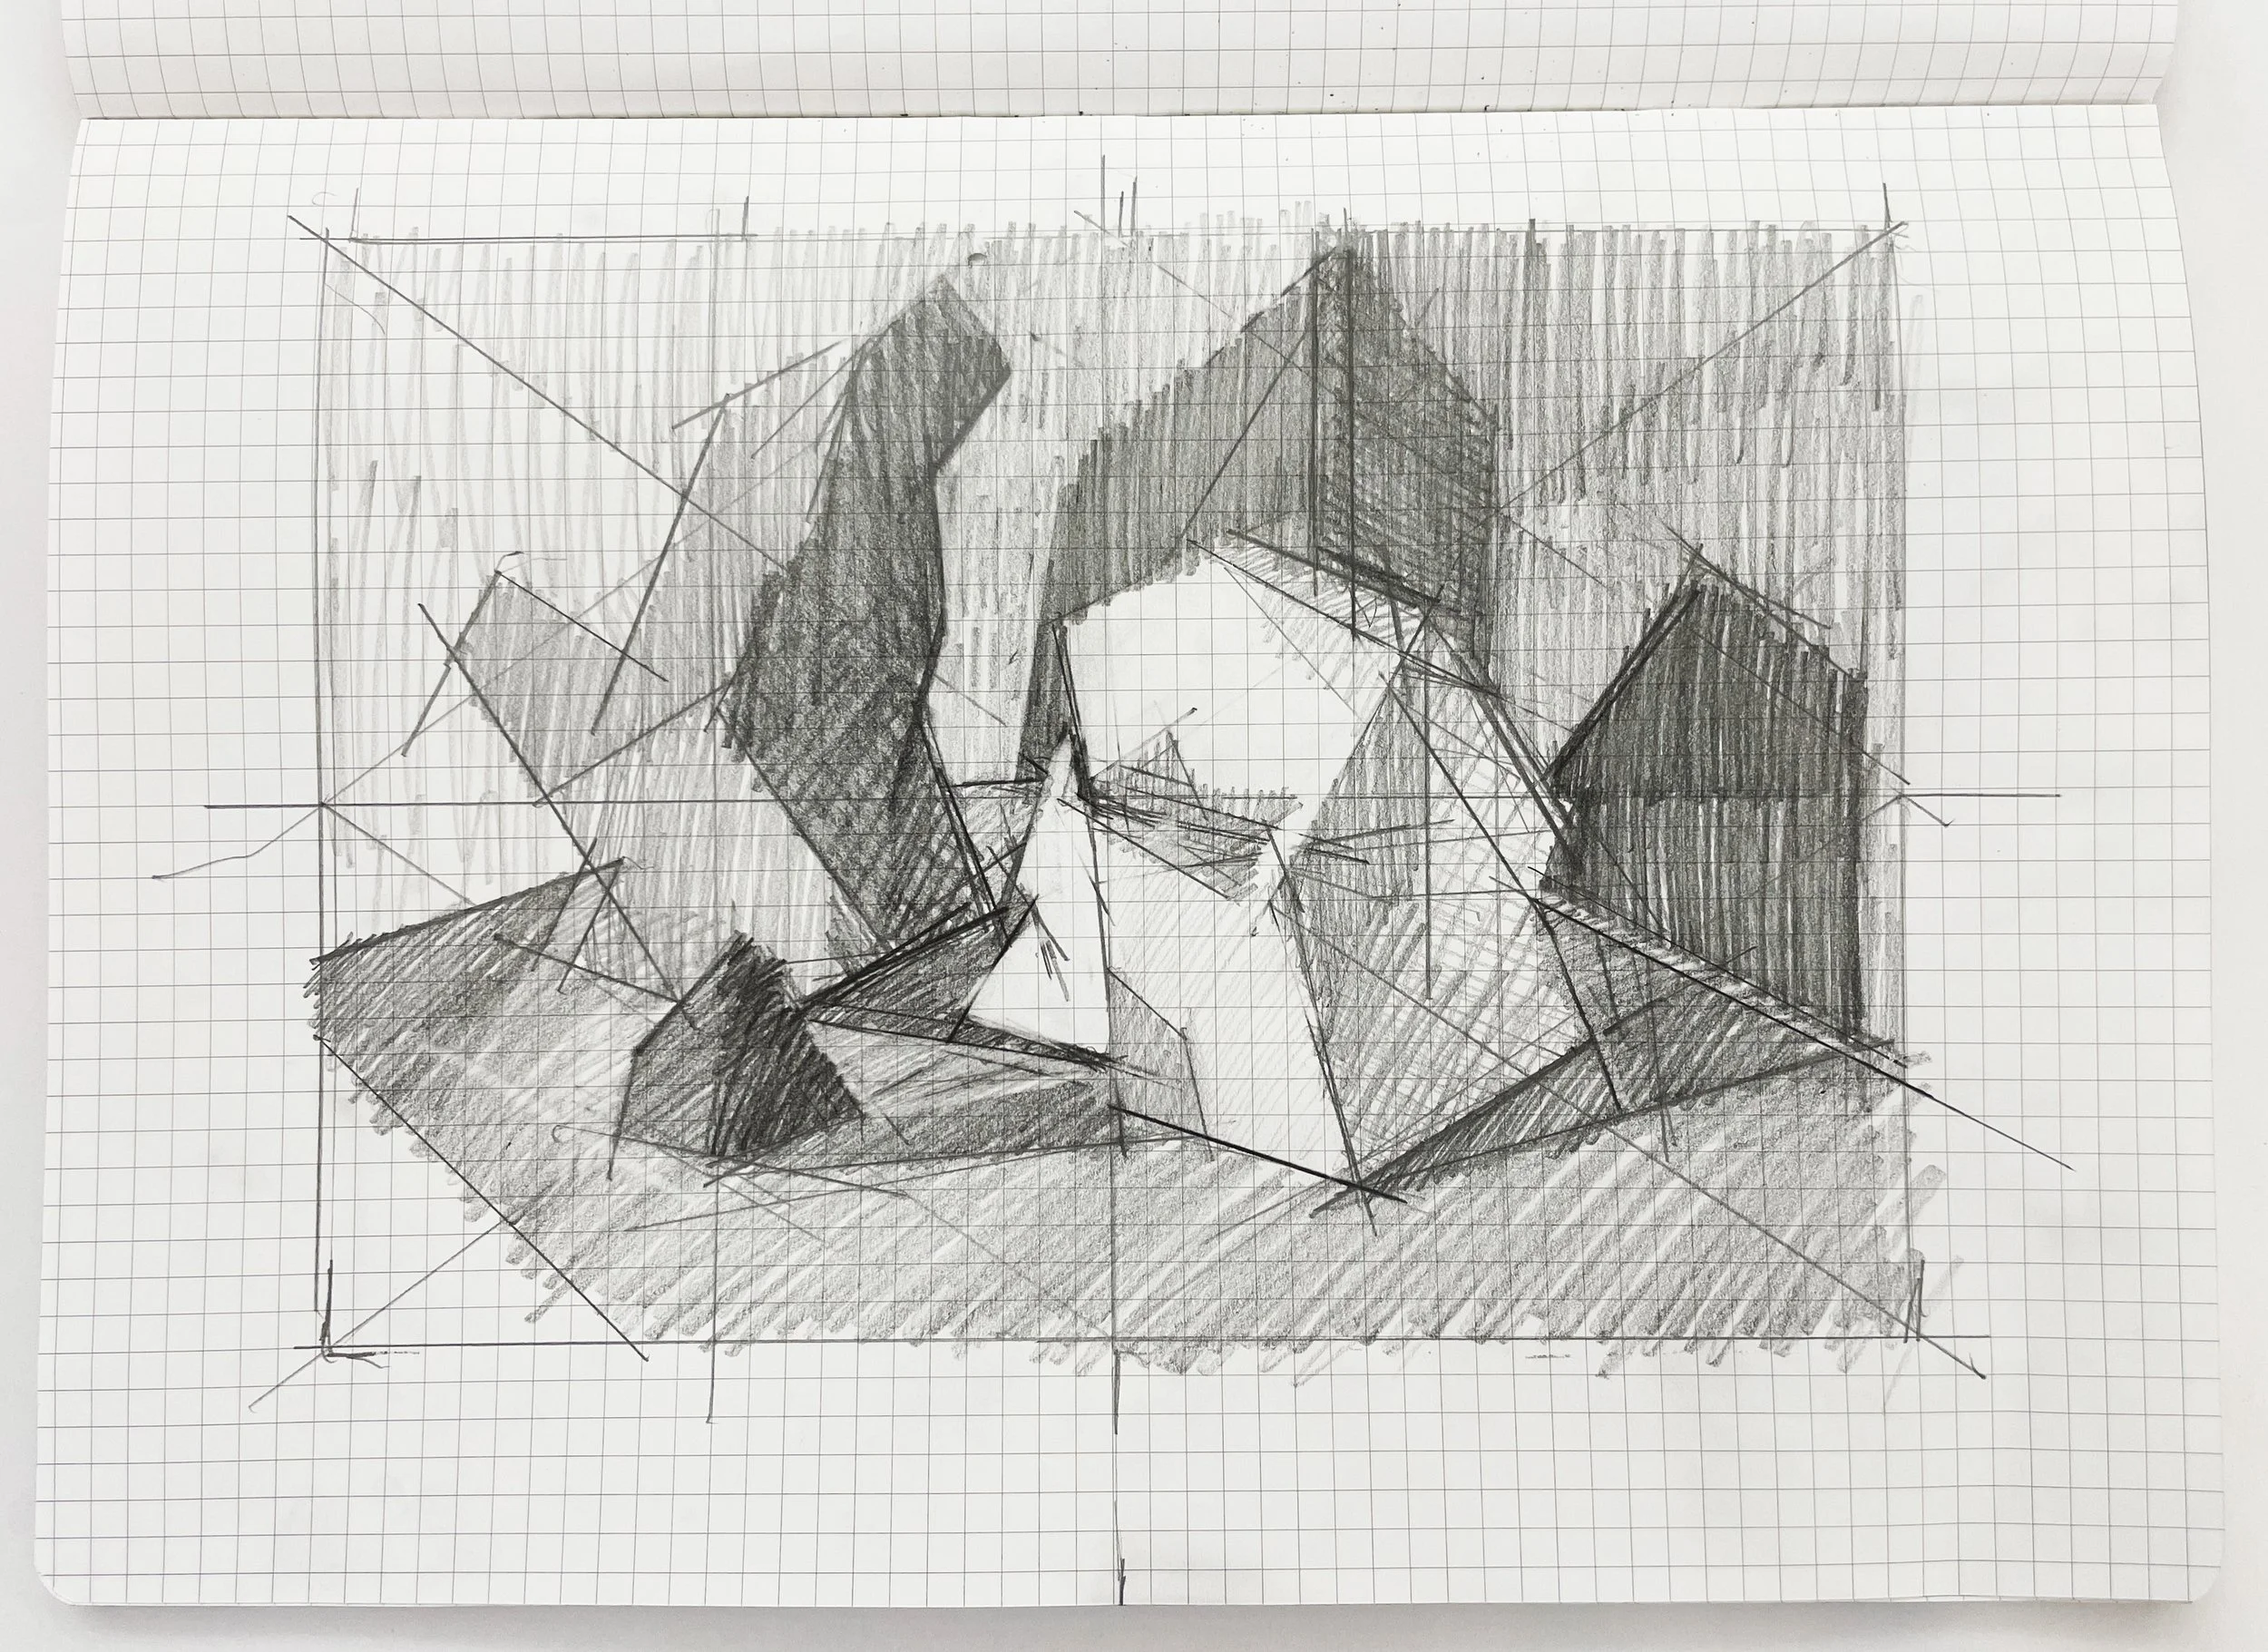
Every shape in a painting is a “positive” shape. Each shape is equally important to the whole of a composition. They cannot exist without each other; they define each other.
Video of the process of drawing, of finding your way through marks on a page. No Audio.
Video of simplifying the drawing into discrete shapes with tracing paper. No Audio.
-From a Photograph:
An alternate, faster means for creating a template is to use a photograph of your scene (capturing the optimal point of view for shadows and shapes!). You can print it out and simply outline the main shapes. You can also do this digitally, if you are so inclined.
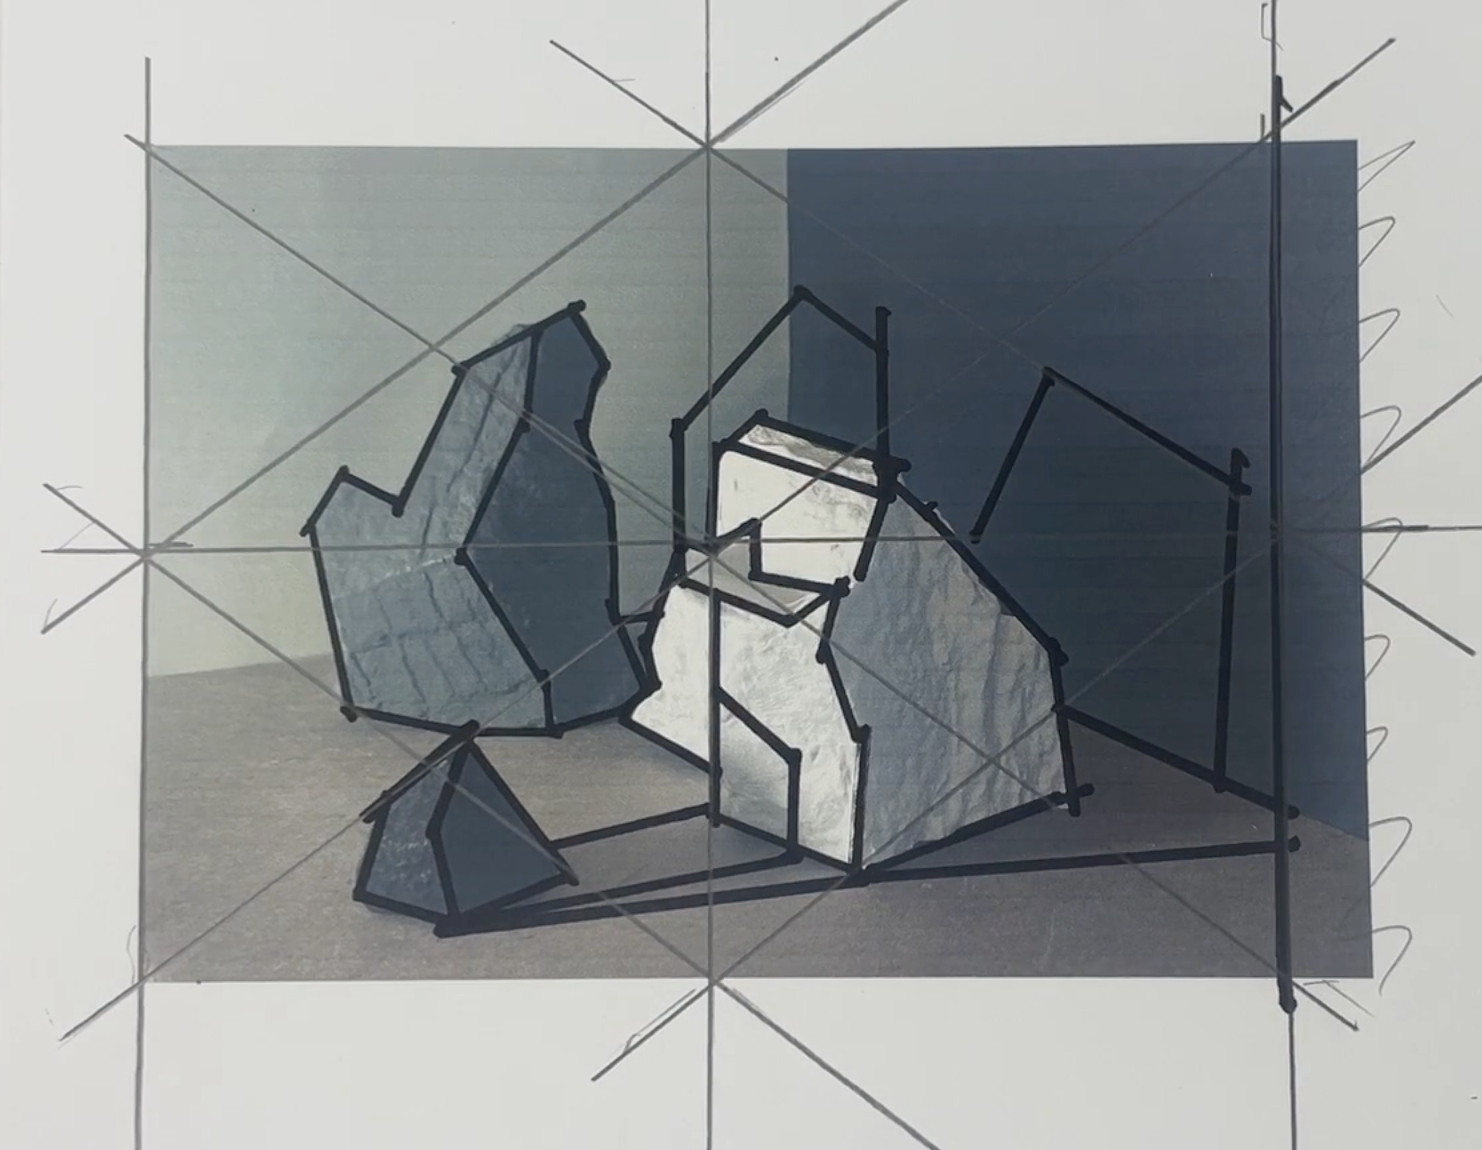
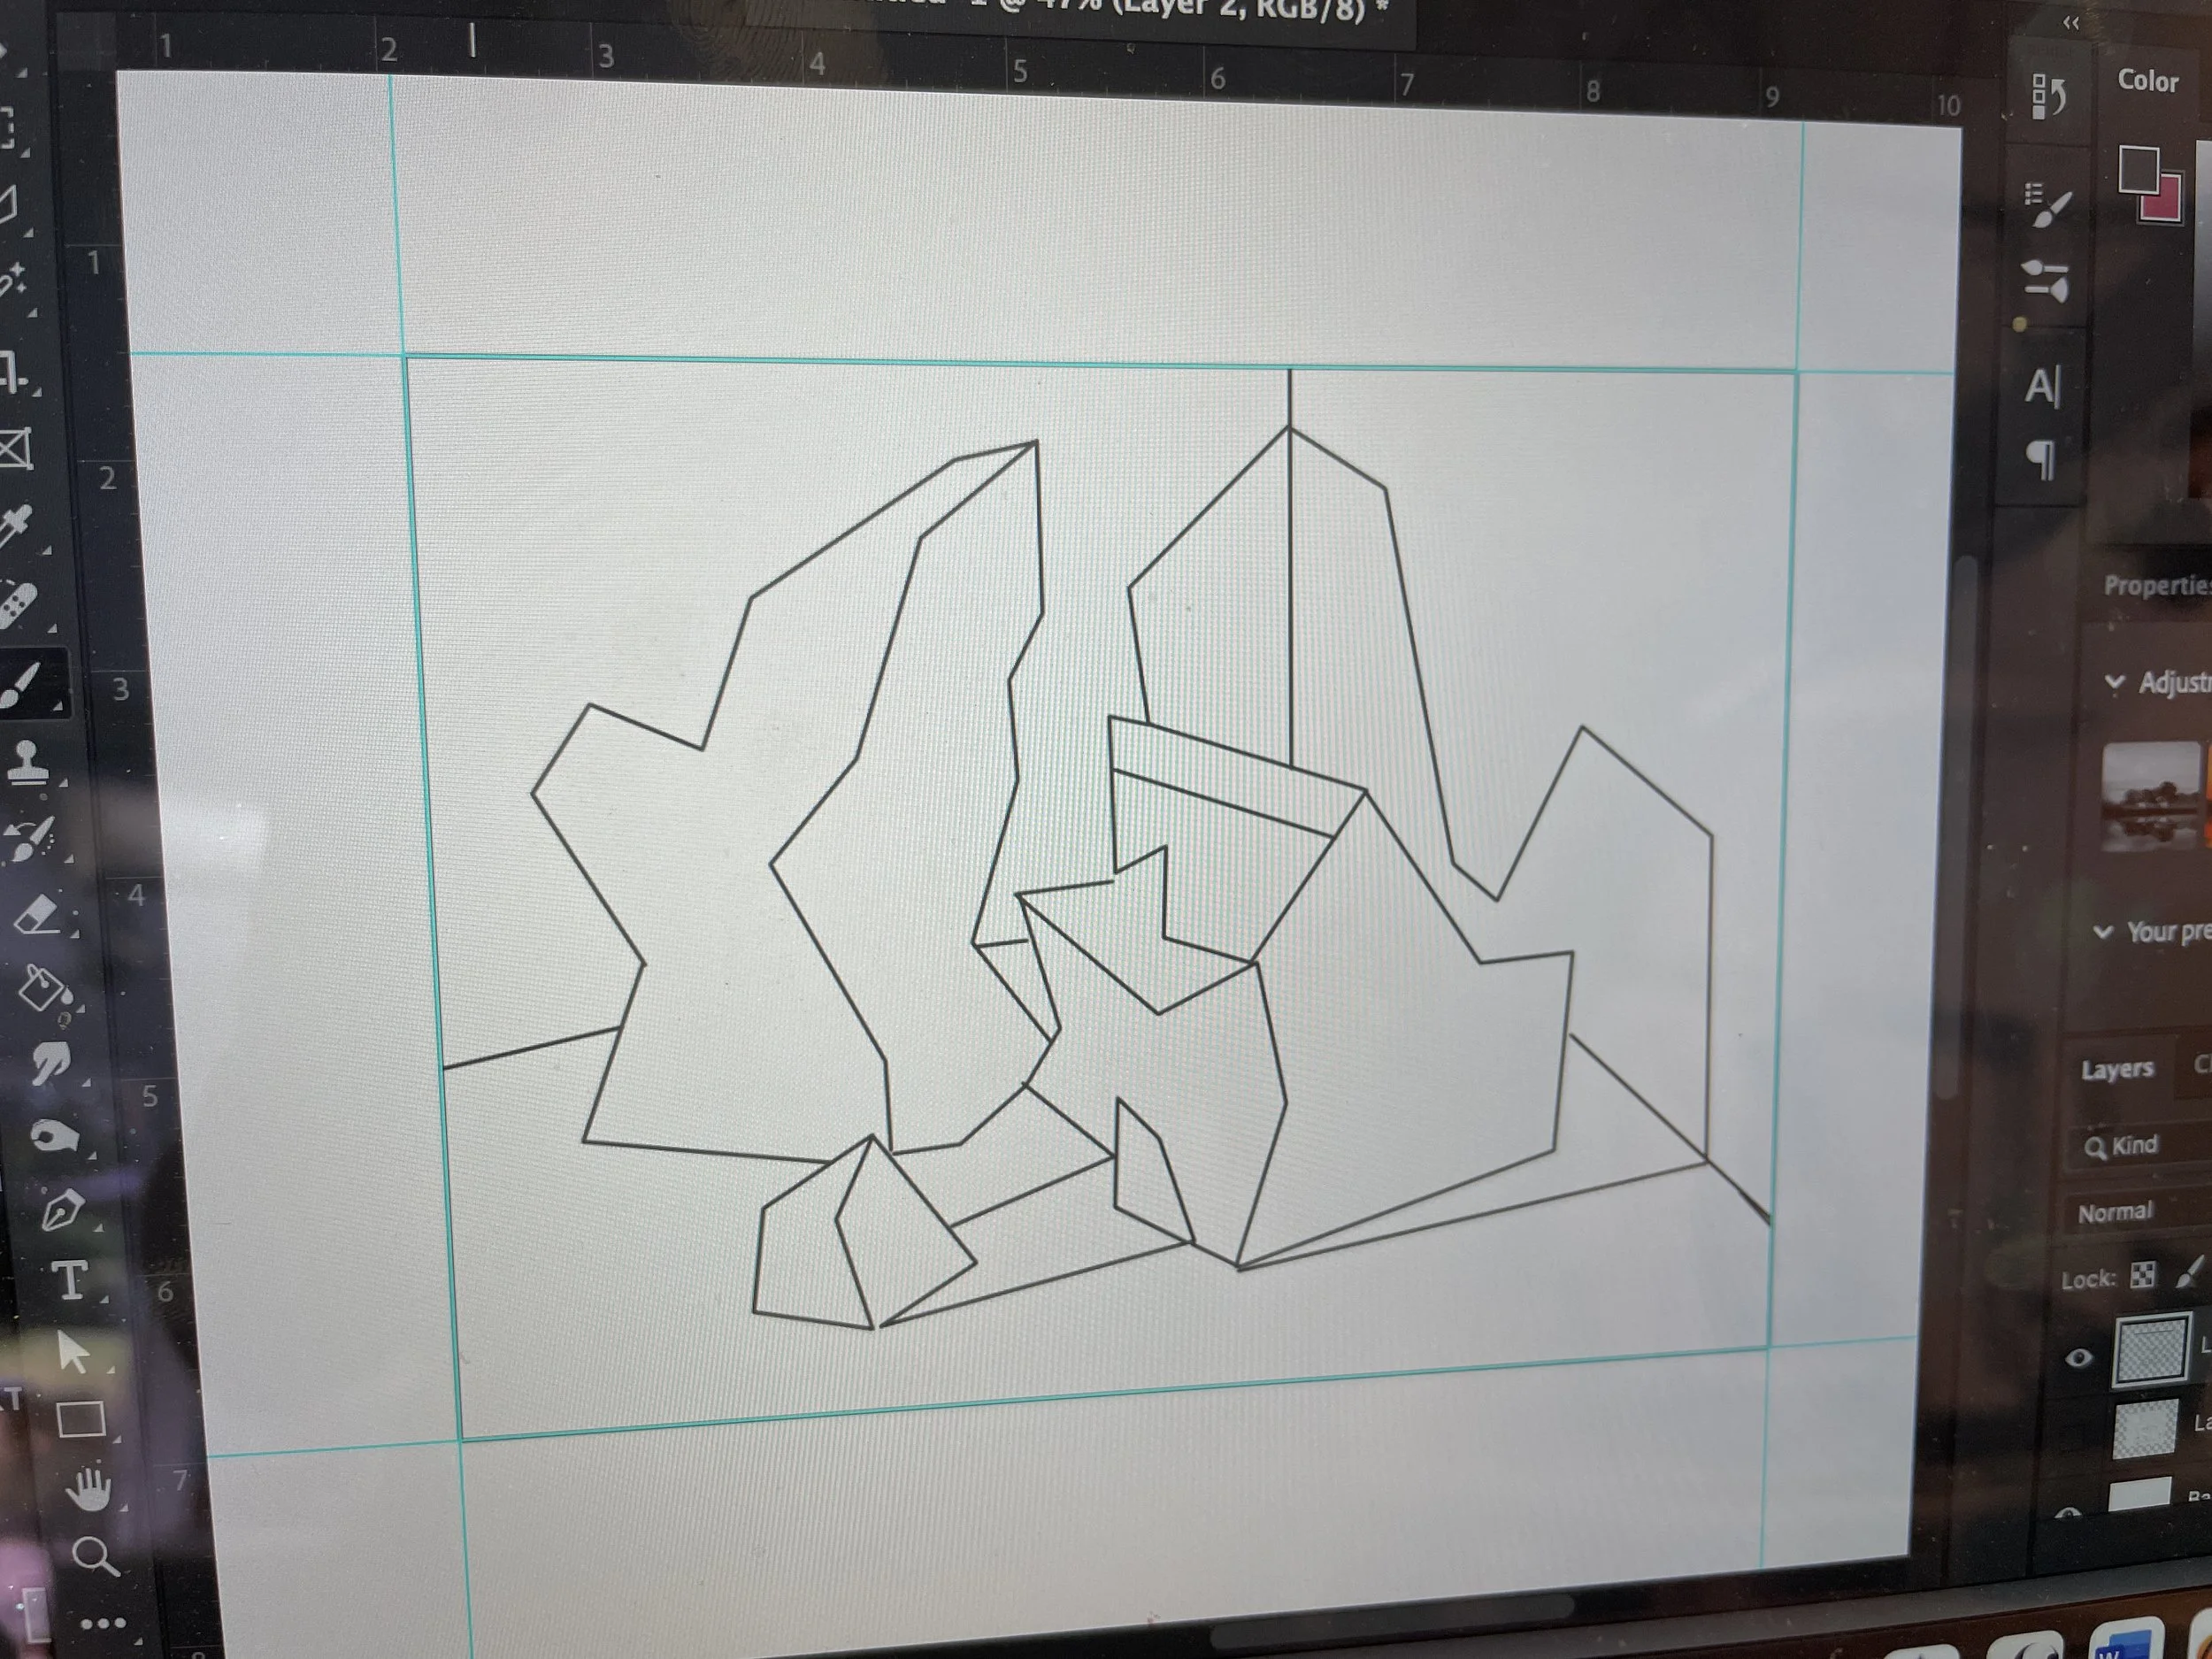
Video showing how to outline the main shapes on a photograph to create a Template. No Audio.
-Duplicating Your Template
The beauty of creating a Template of discreet puzzle pieces is that we can duplicate it rather easily in order to experiment with it over and over again.
You can do this in your sketchbook or on separate sheets of paper, depending on the media for each exercise.
Here are a few methods for producing multiple copies of your Template:
-Tape your Template to a window and trace your copies
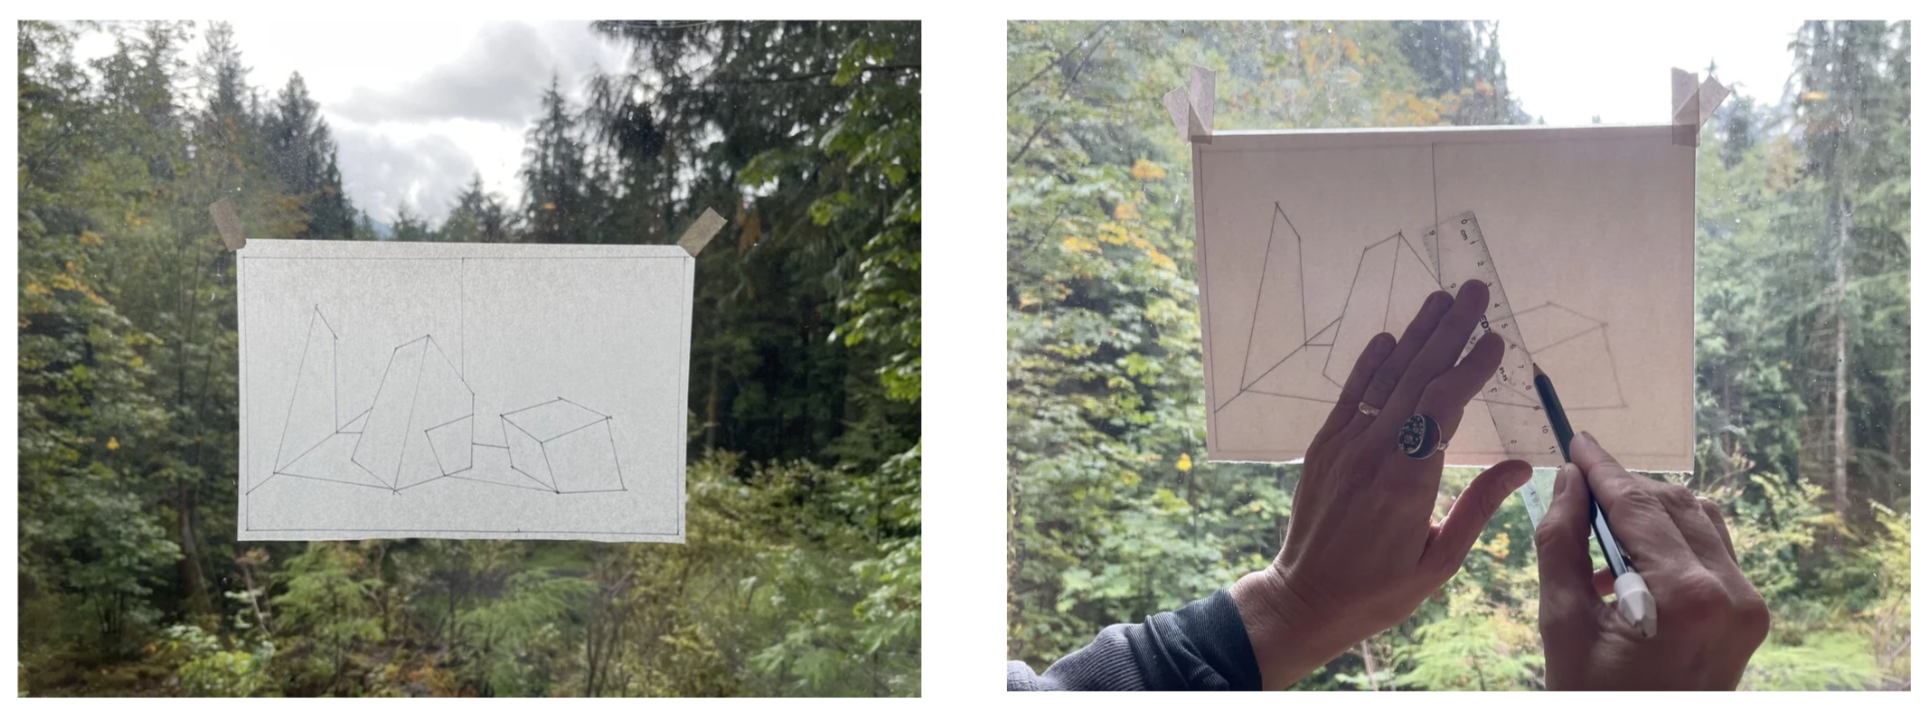
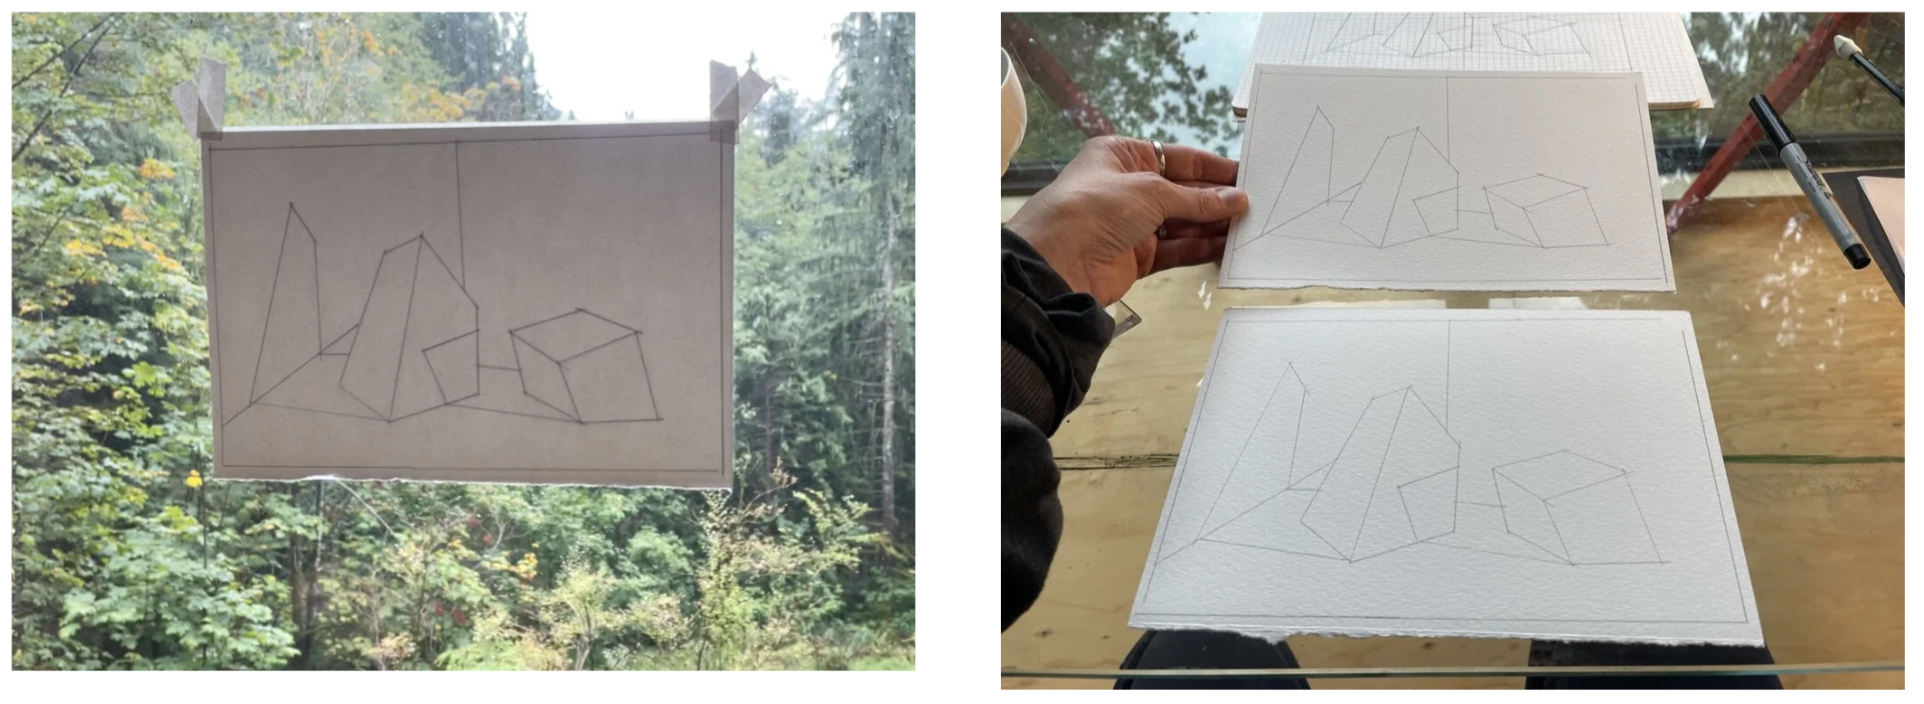
Use graphite transfer paper to create copies.
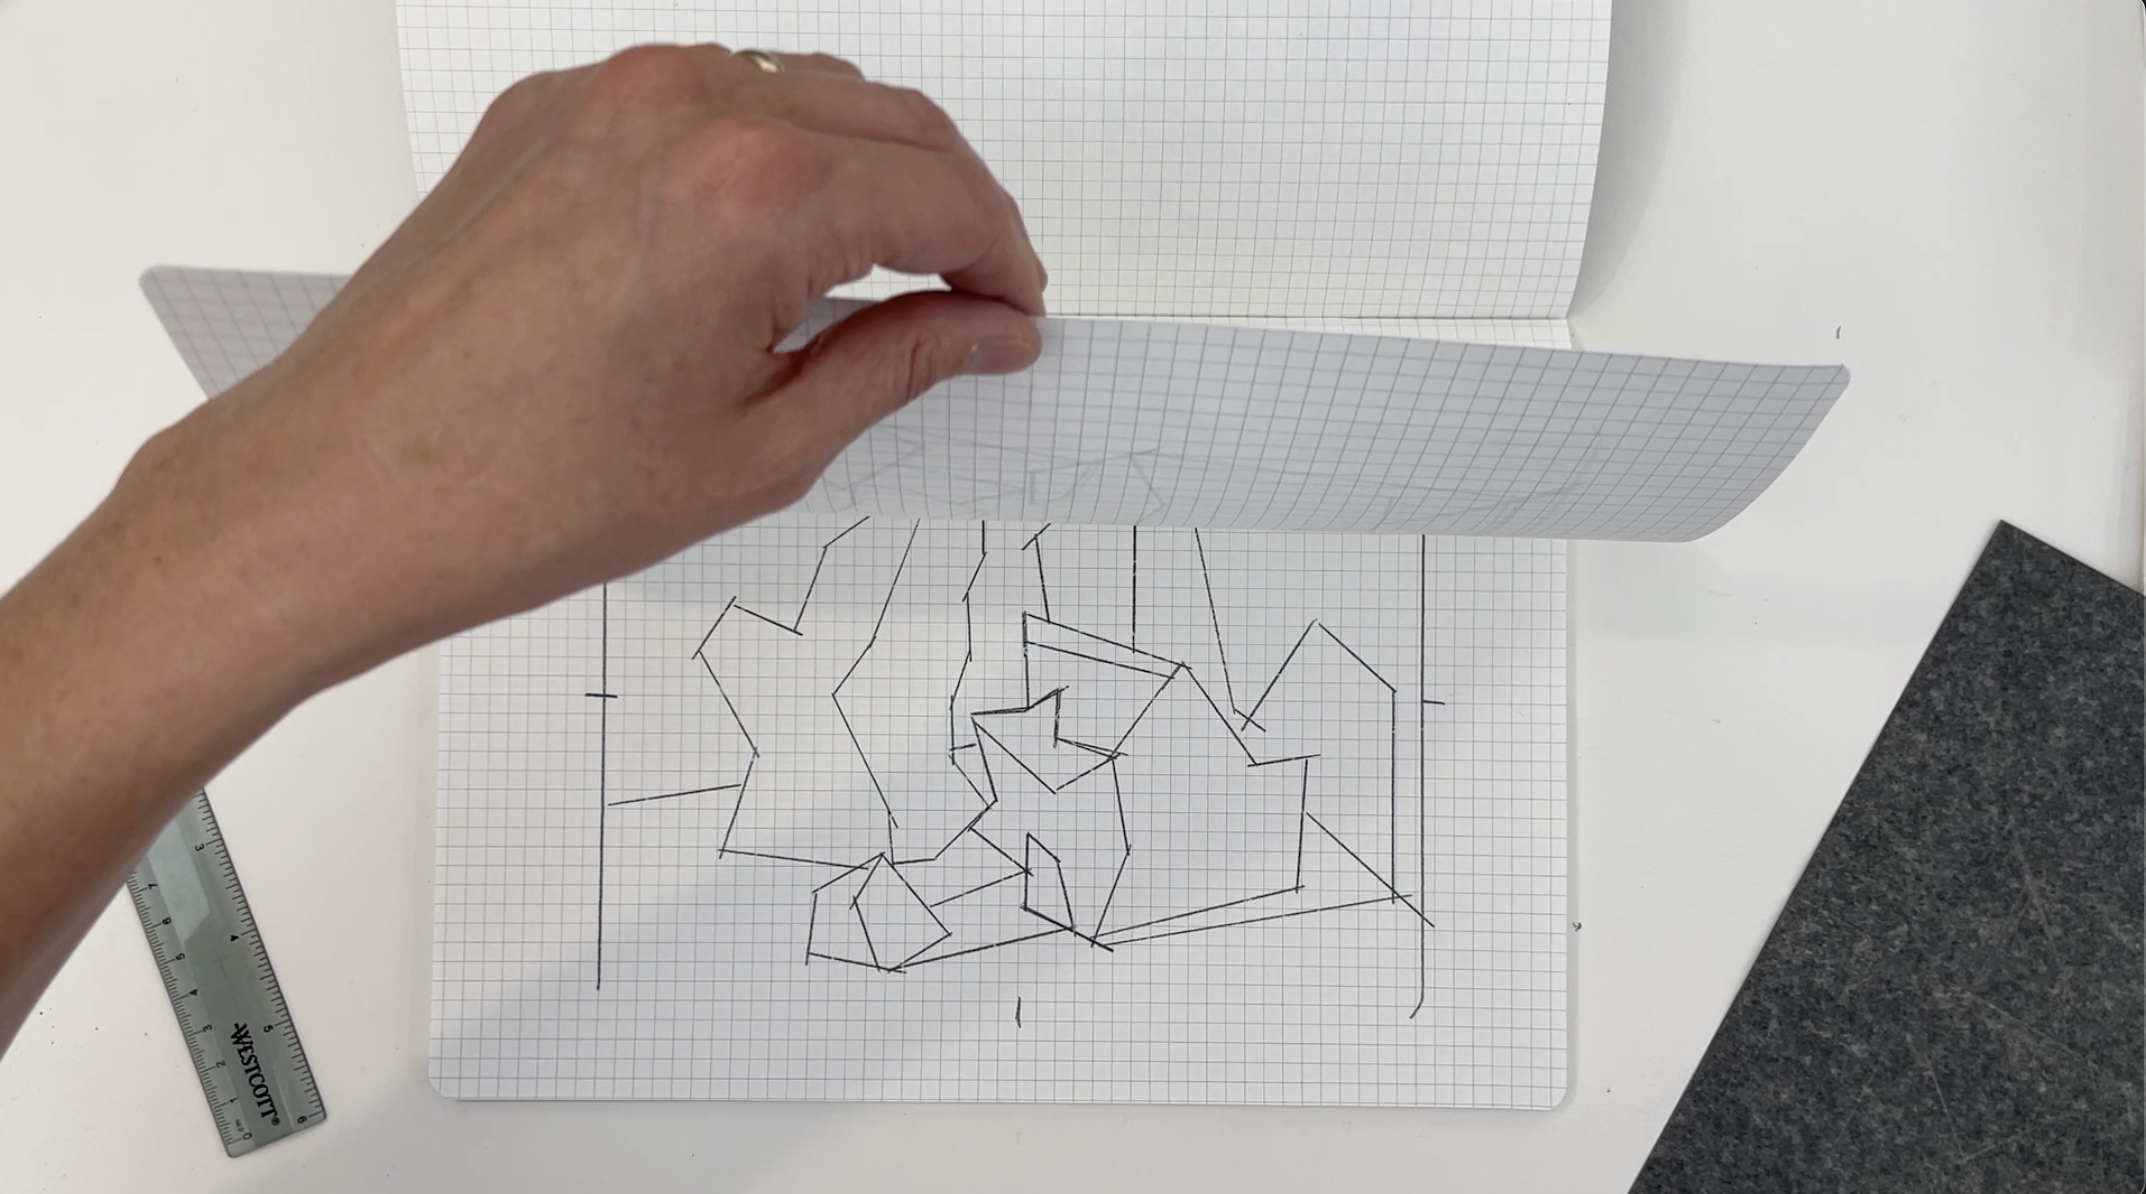
-Print-off copies on cardstock for working on directly
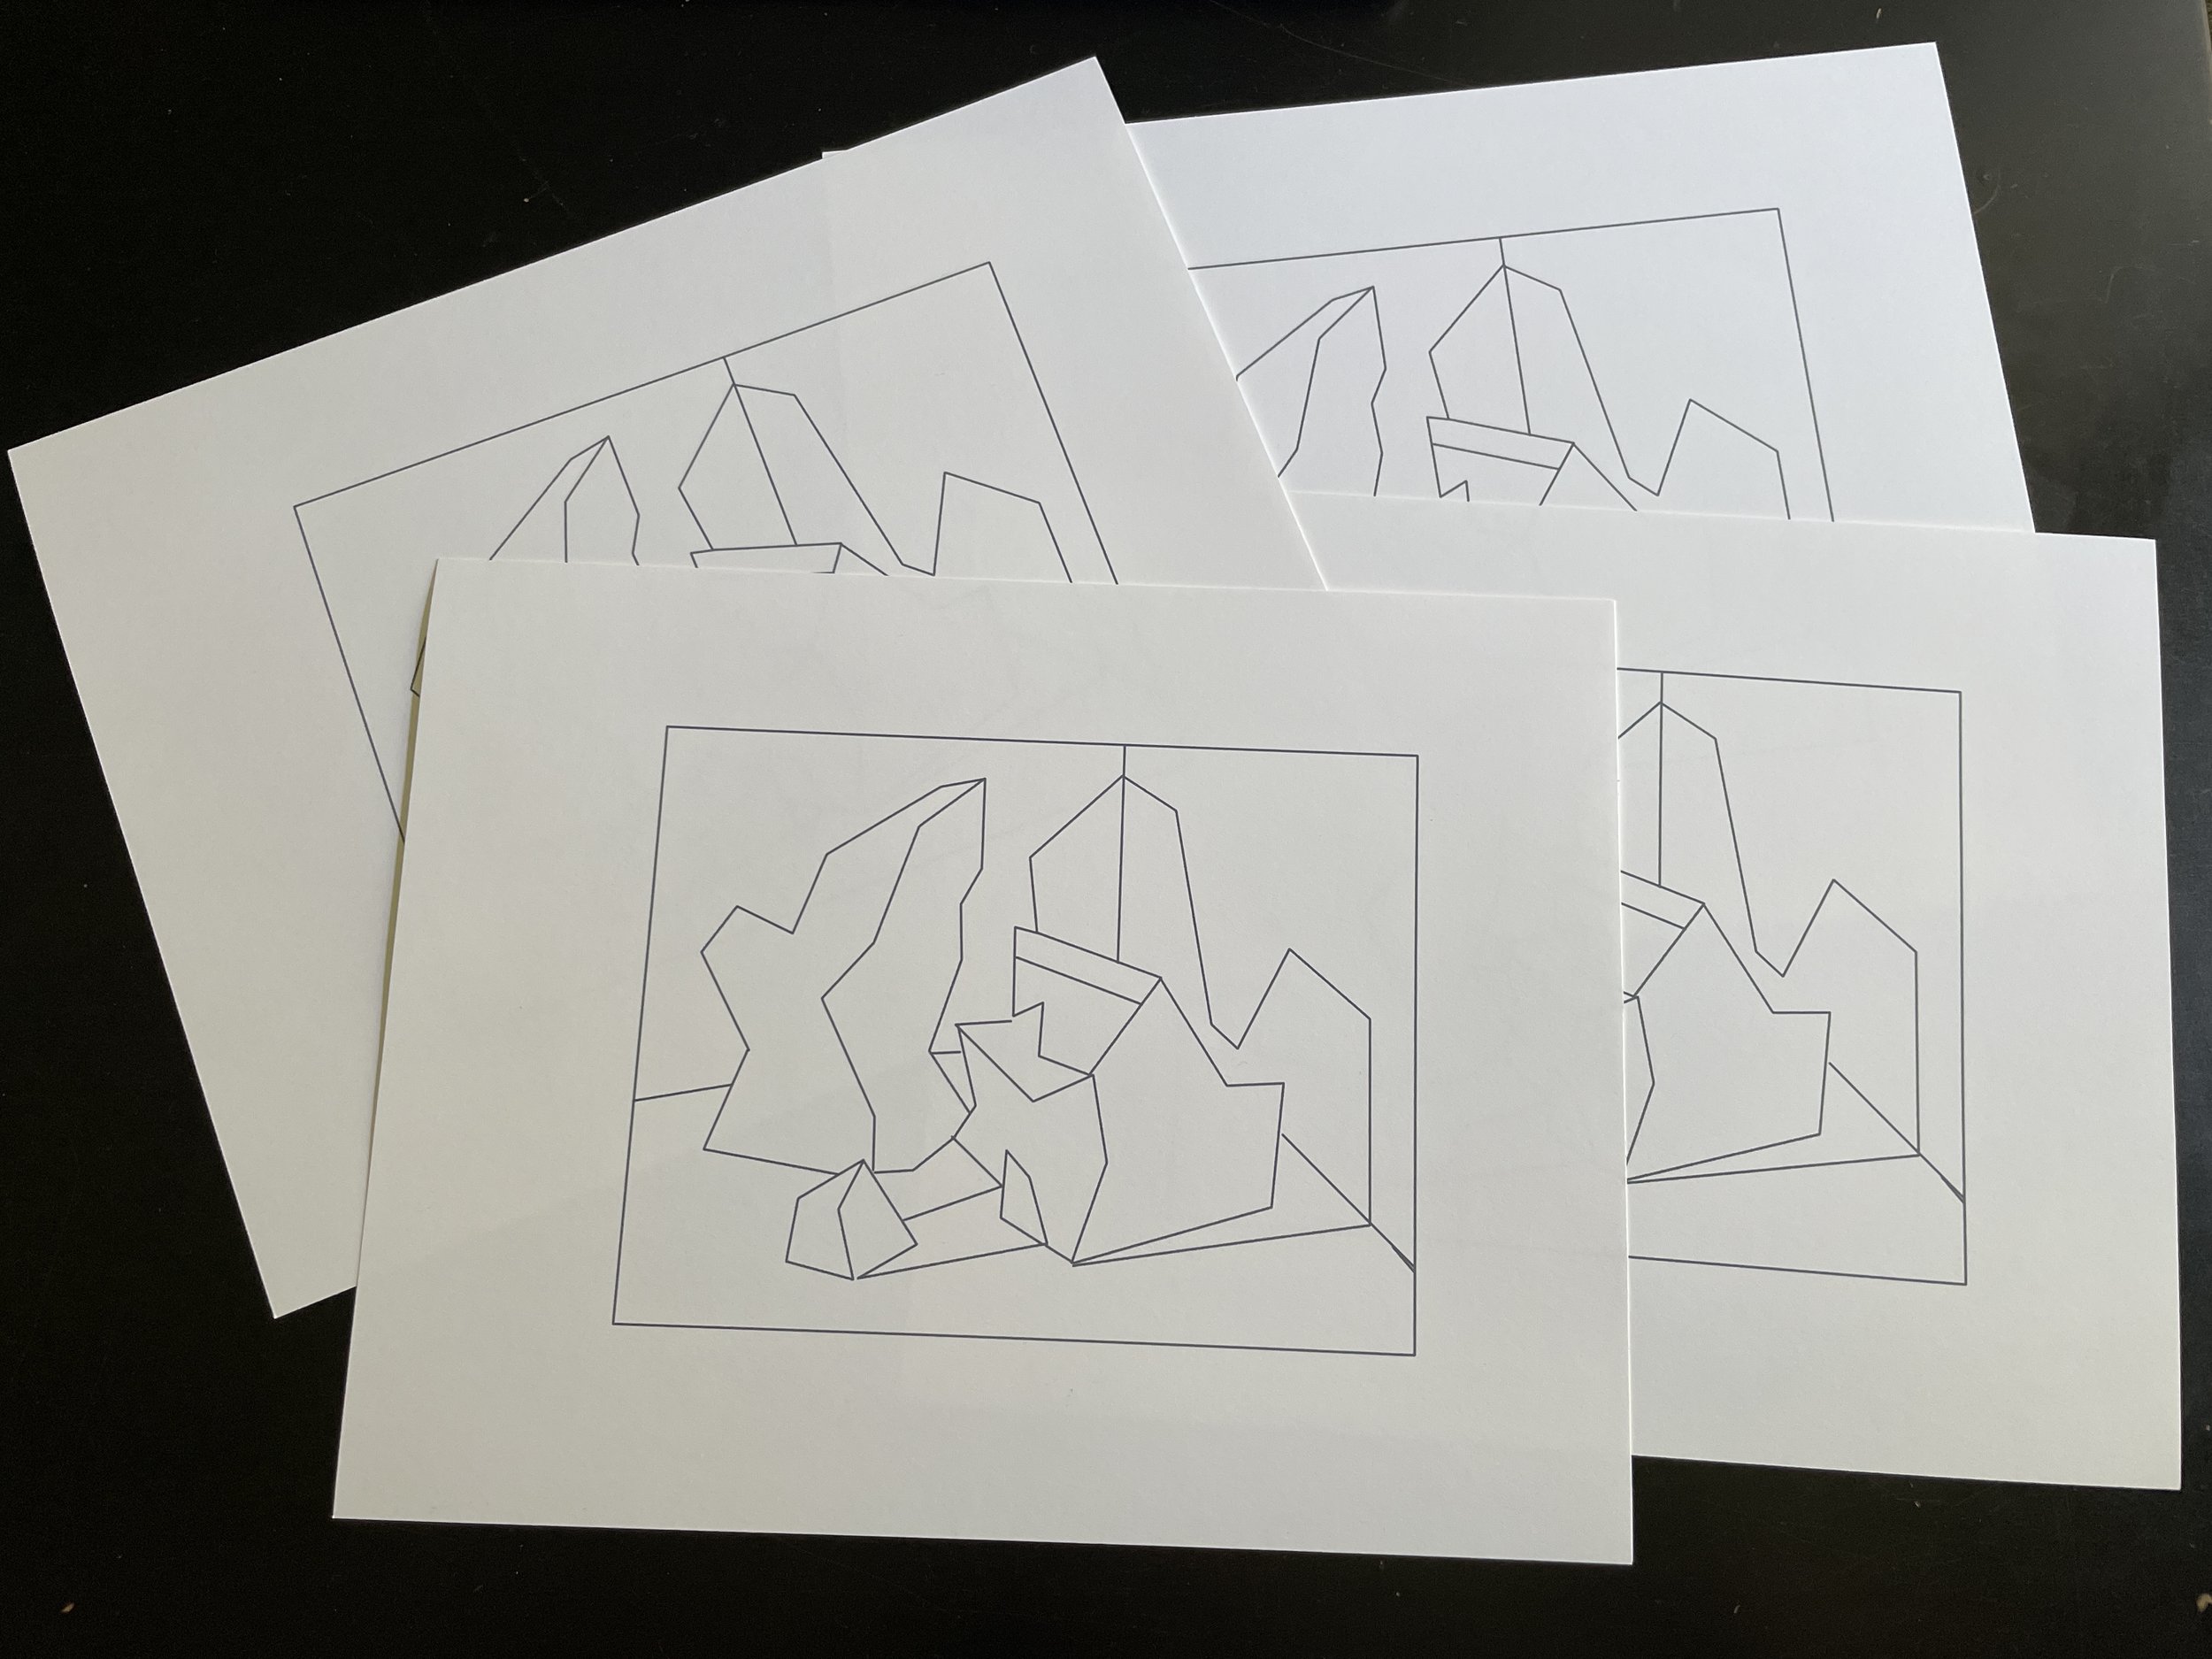
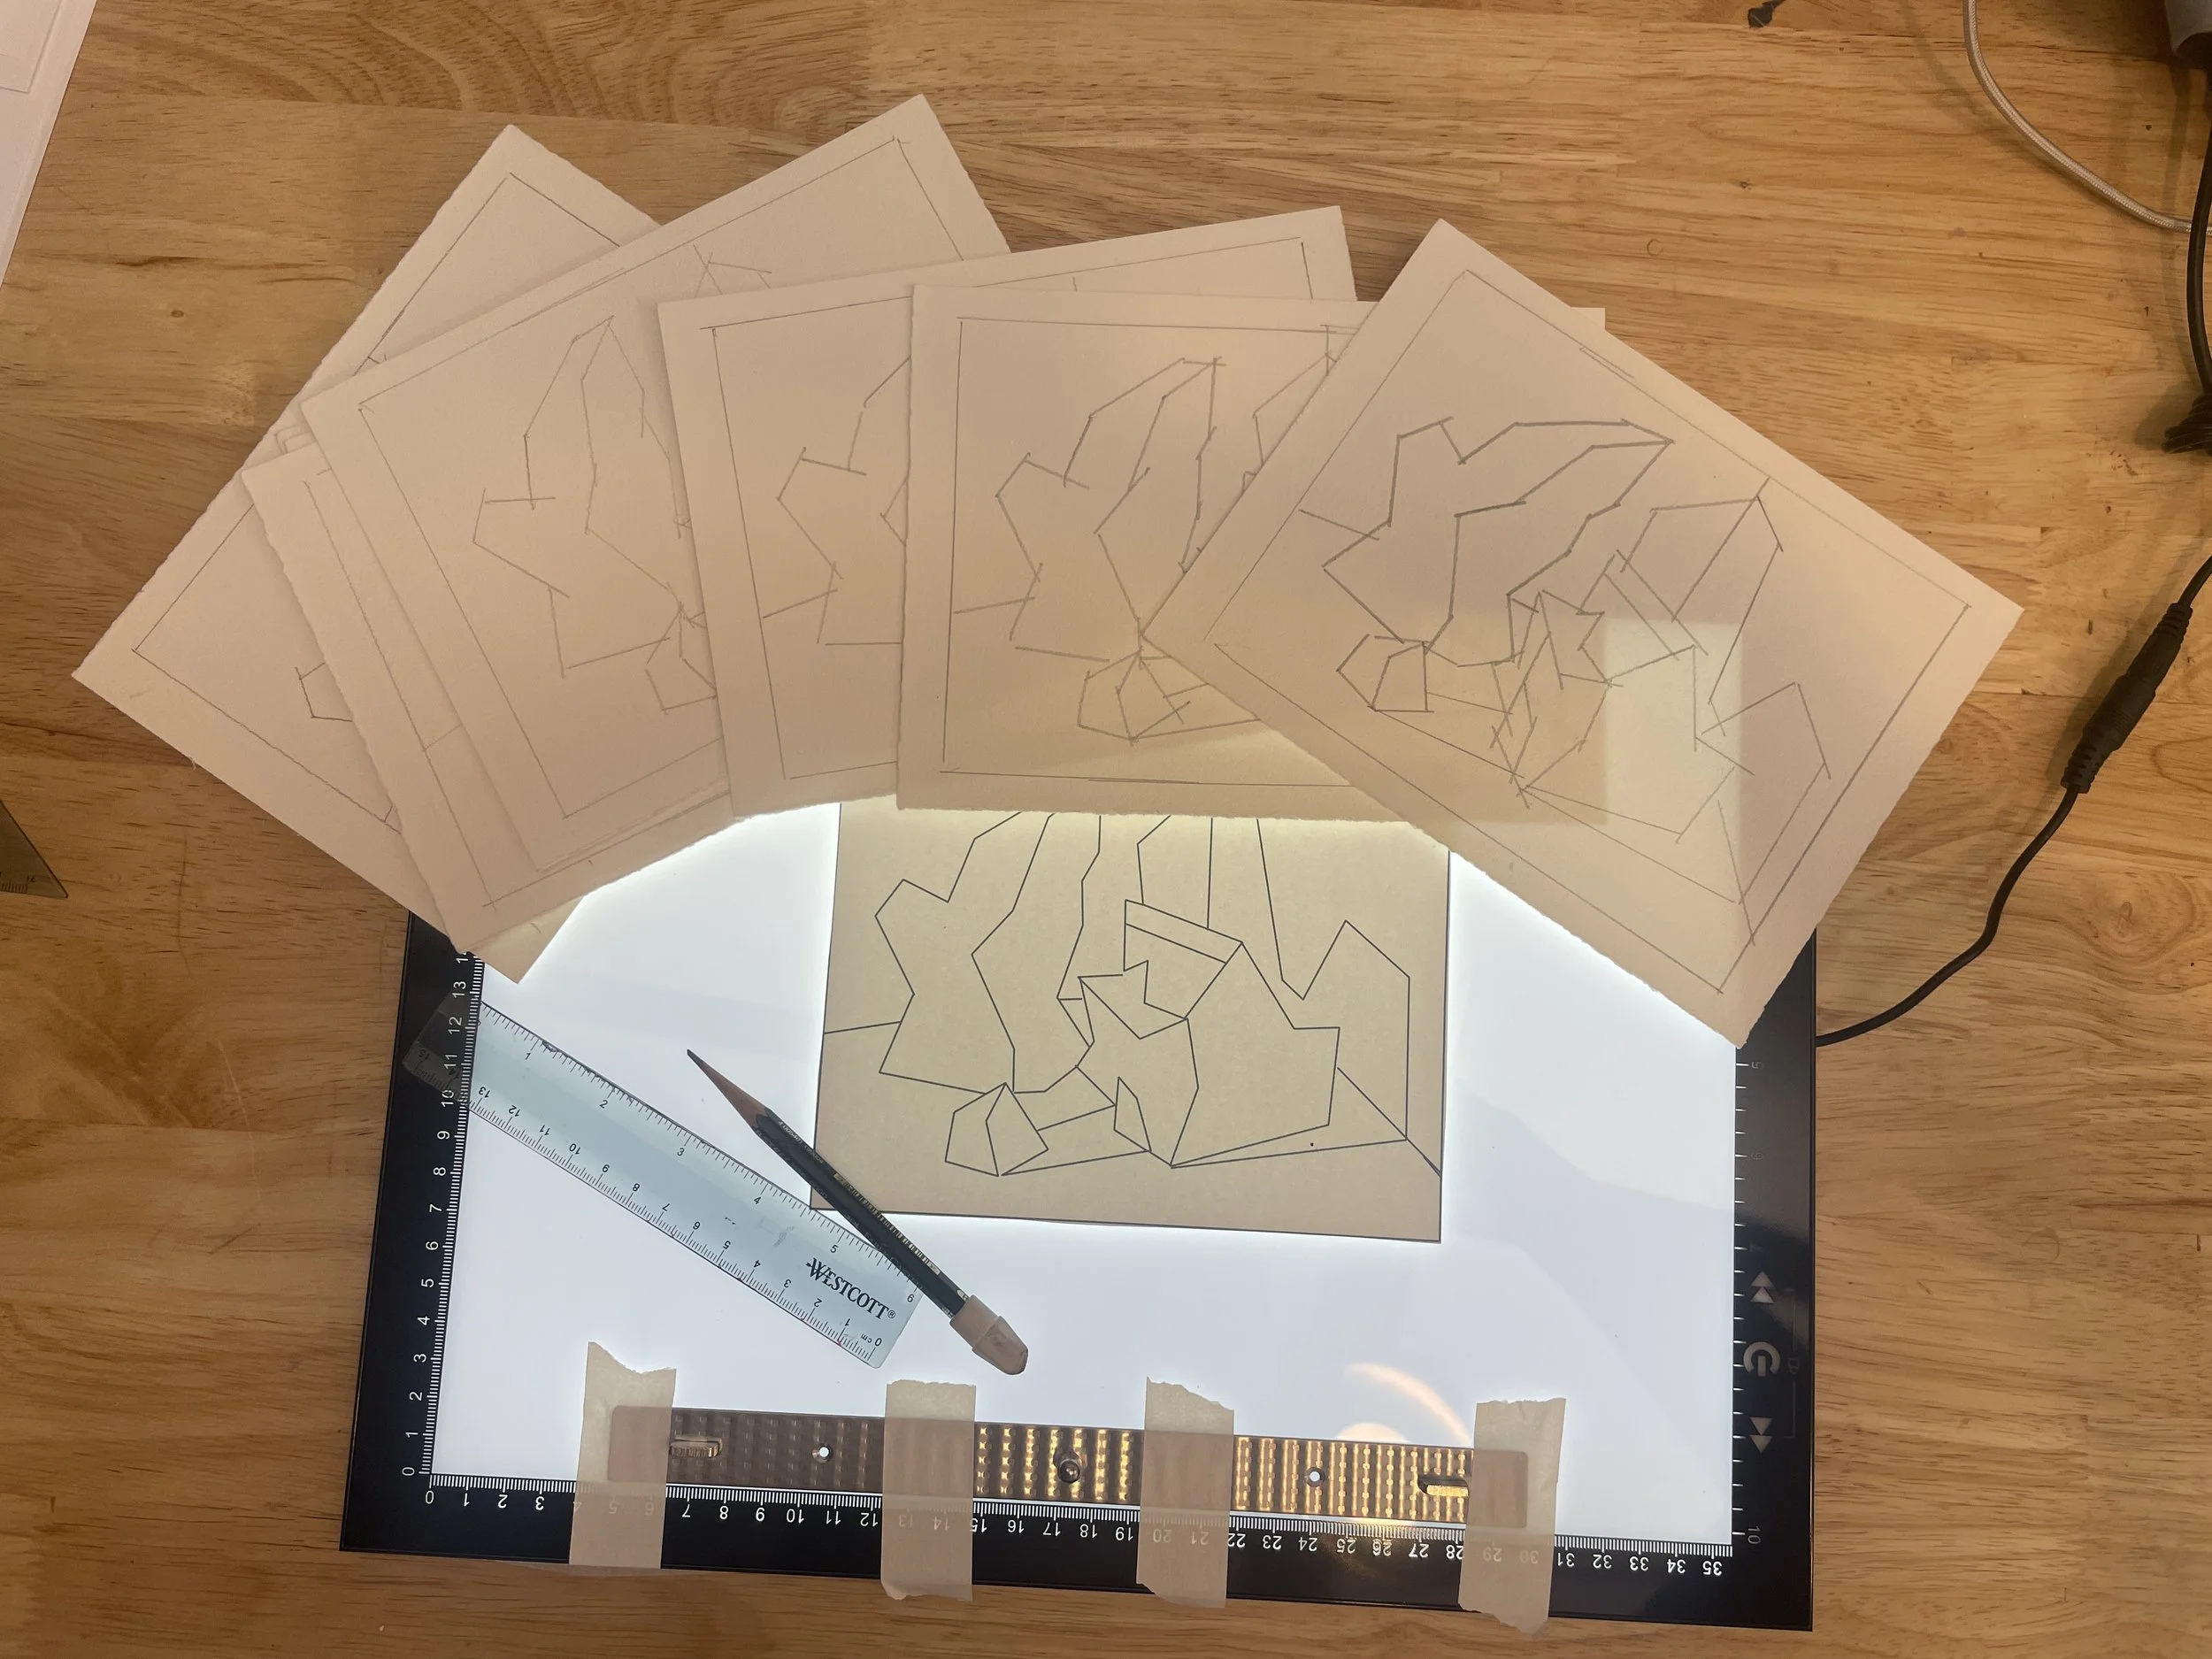
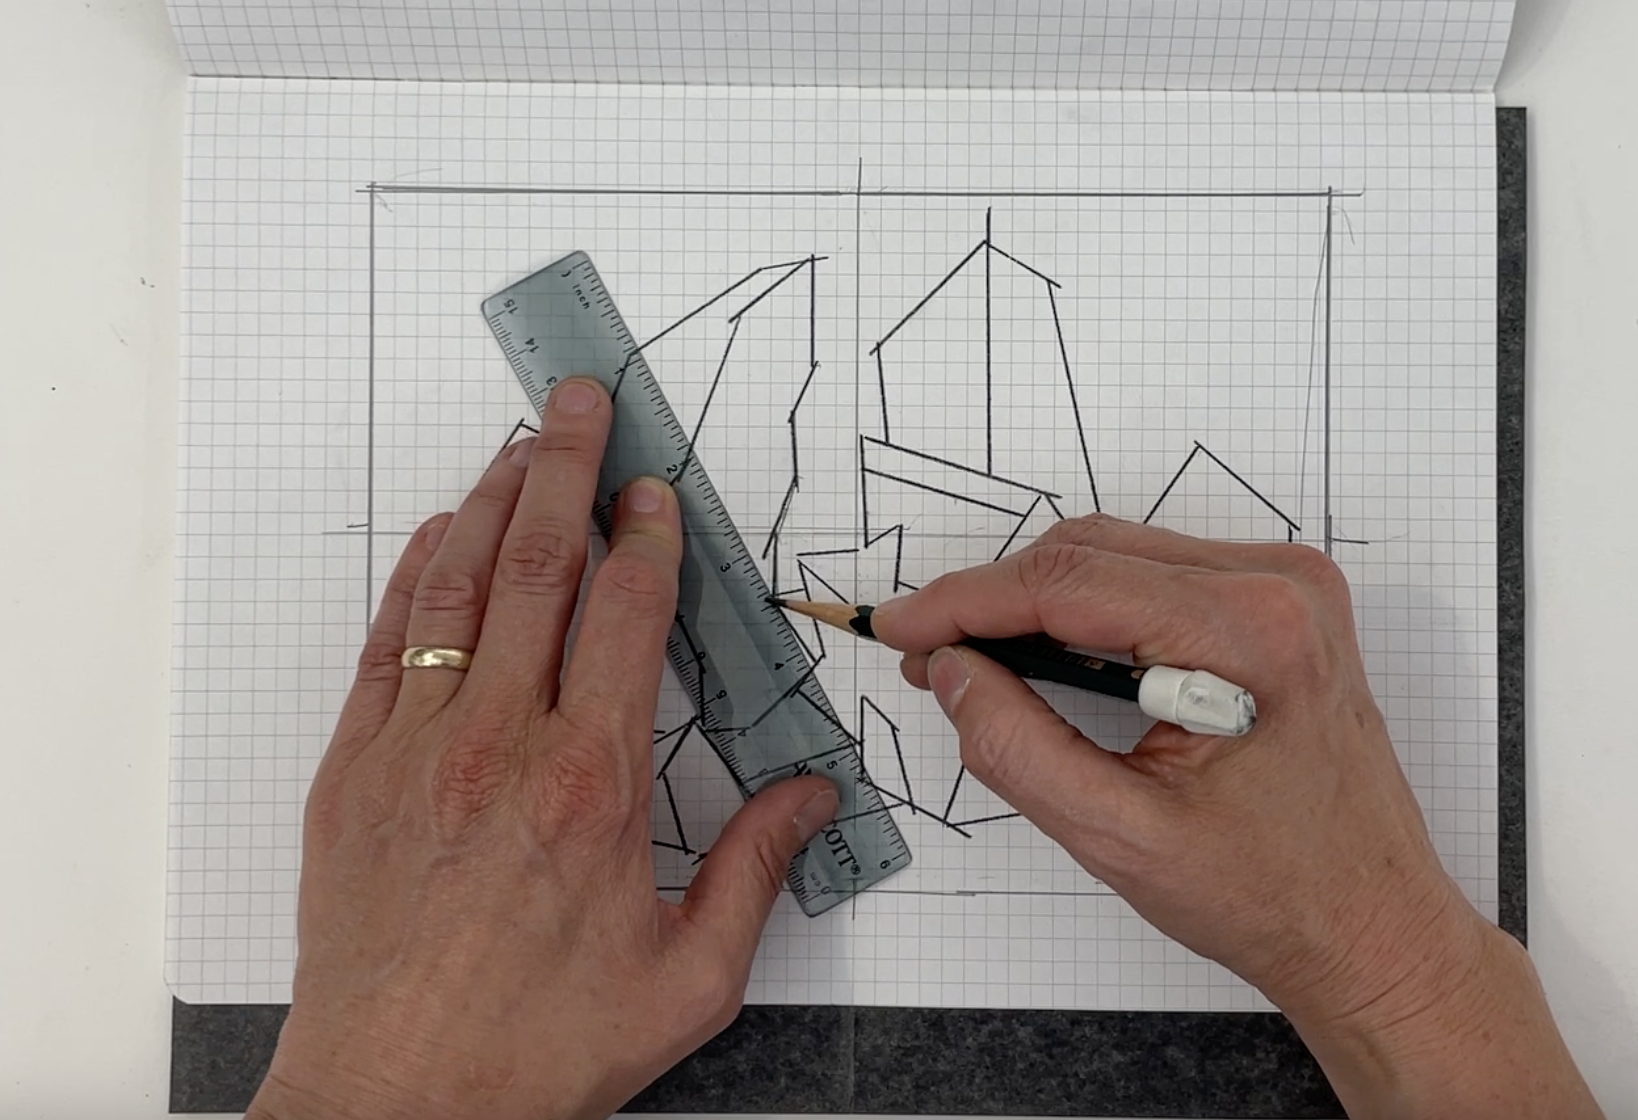
-Use a lightbox to create copies. (You can even use your computer screen as a lightbox if needed.)
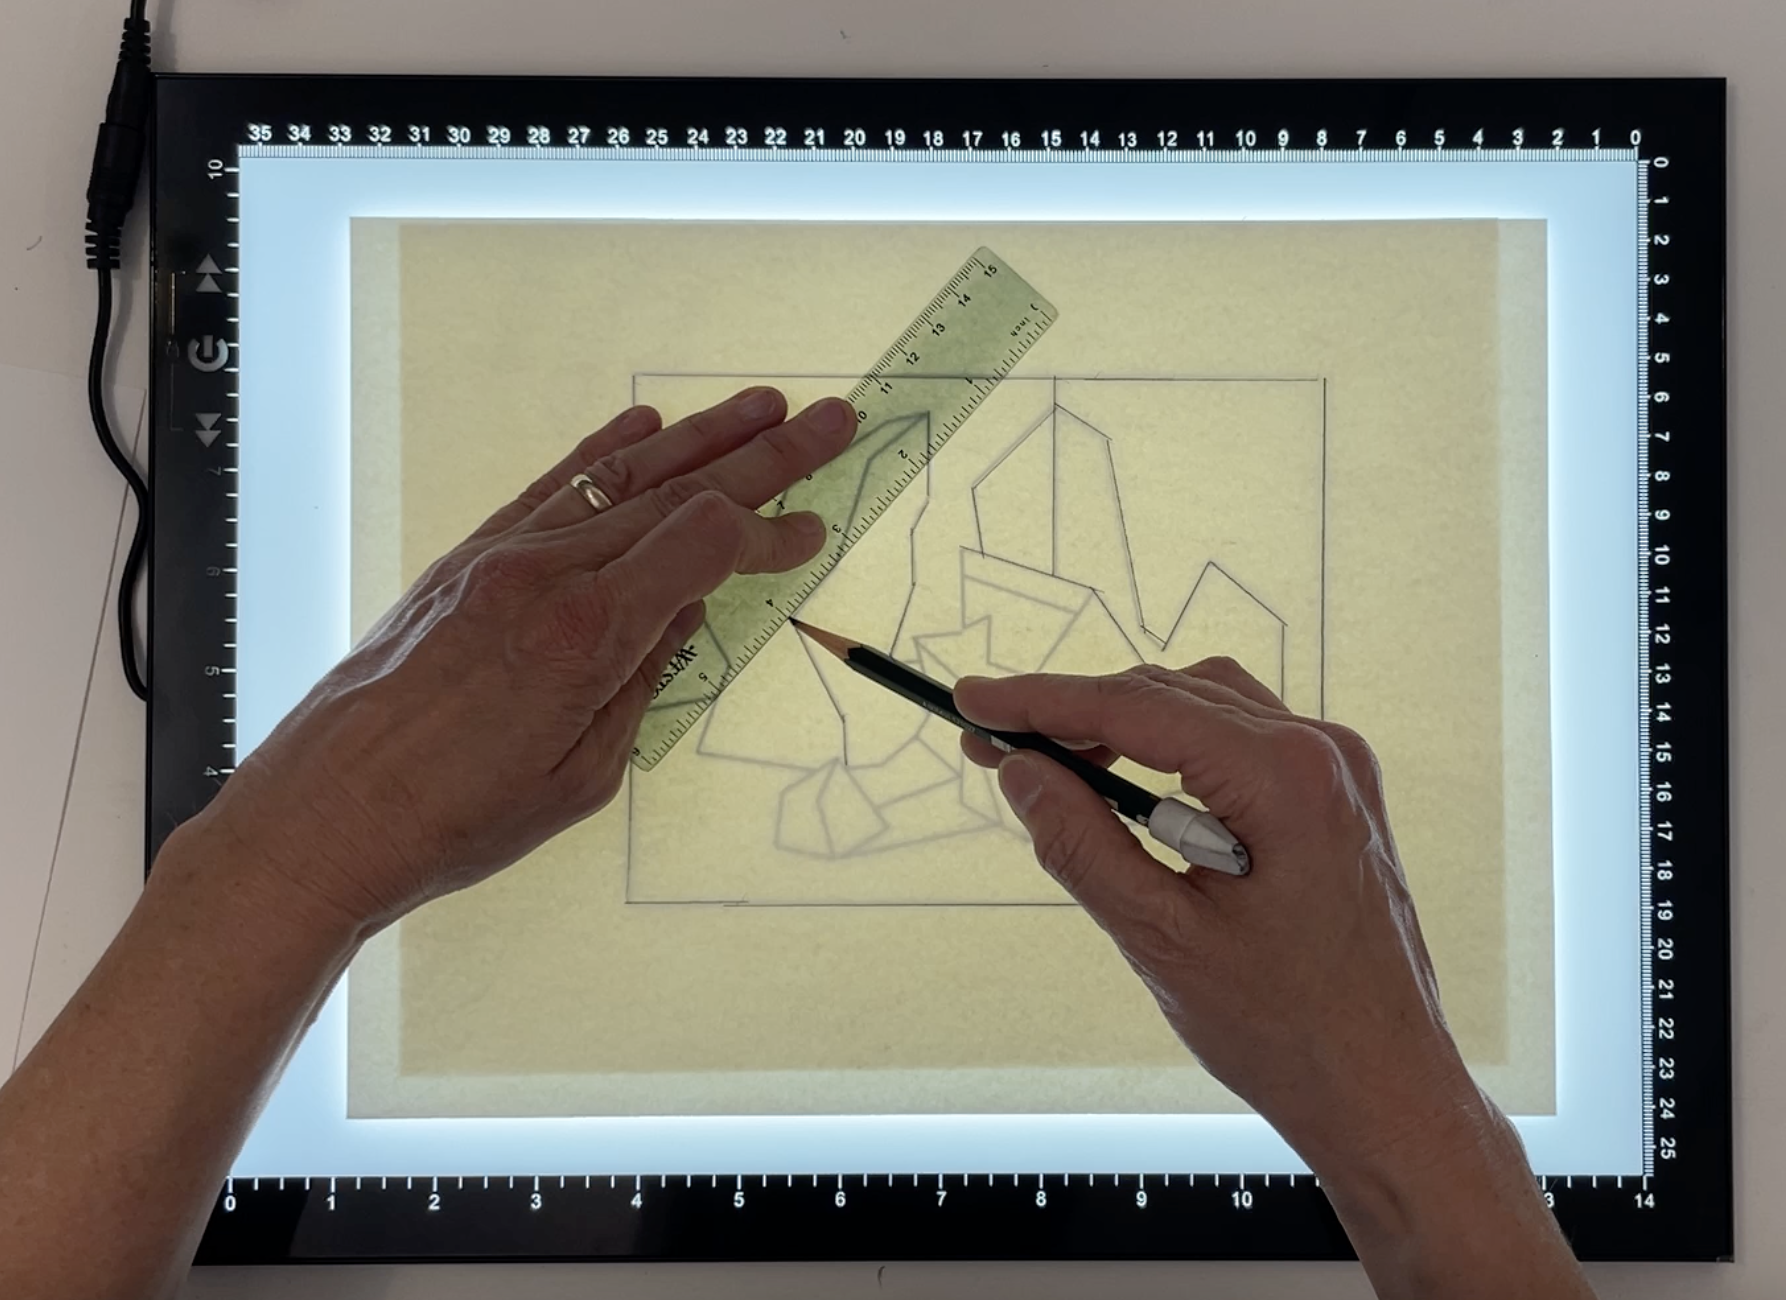
III. Value Grouping
Now that we’ve developed our Template, we can begin experimenting with our shapes!
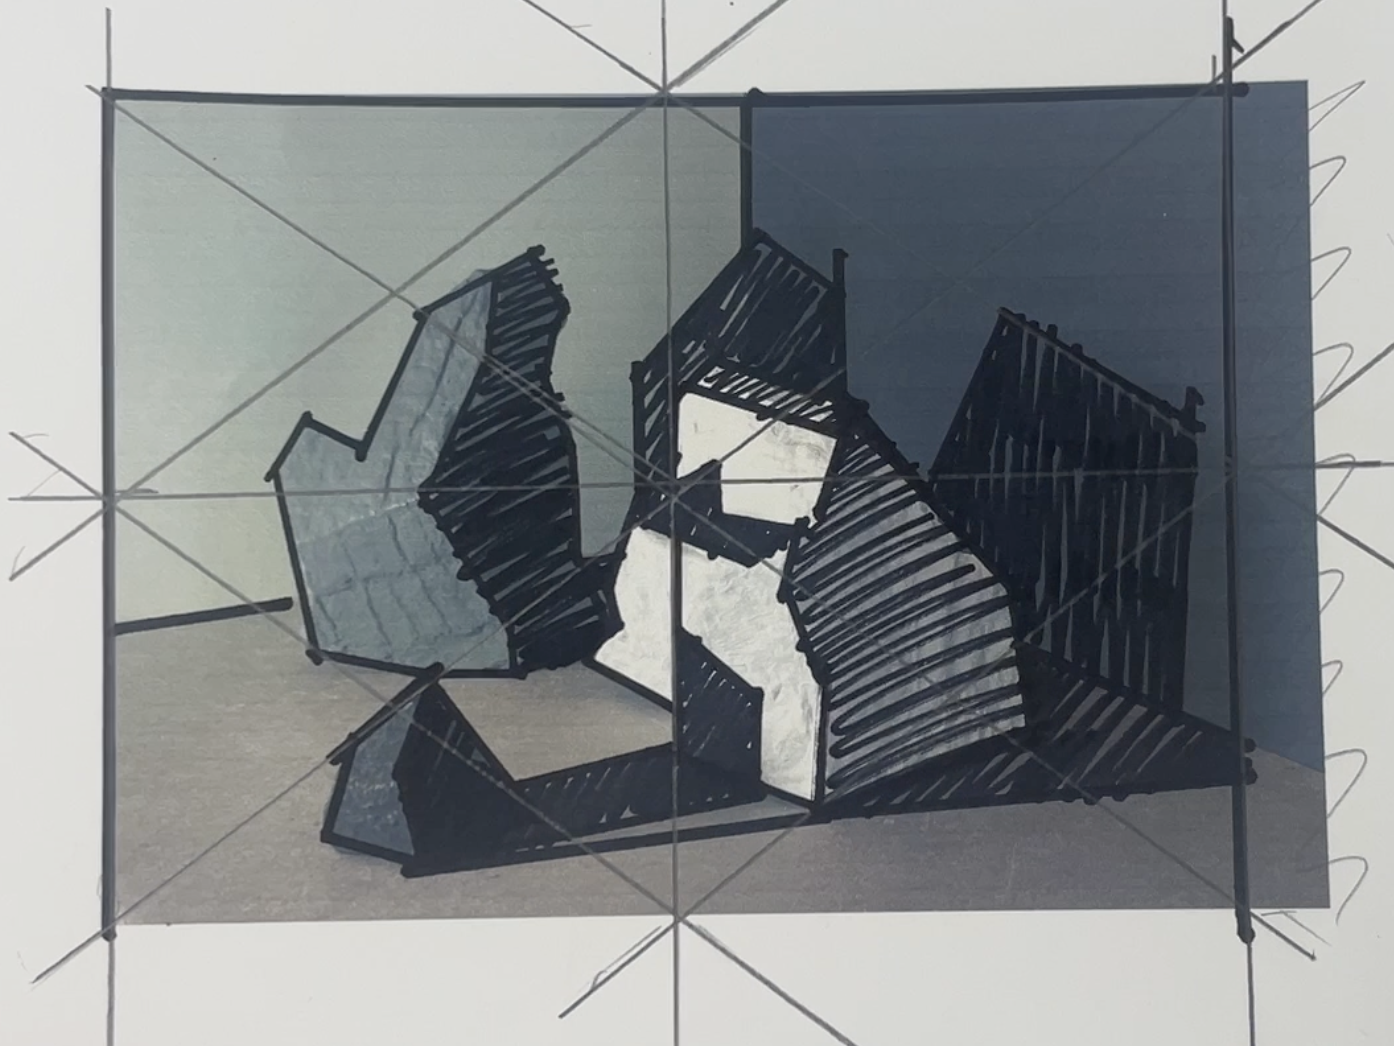
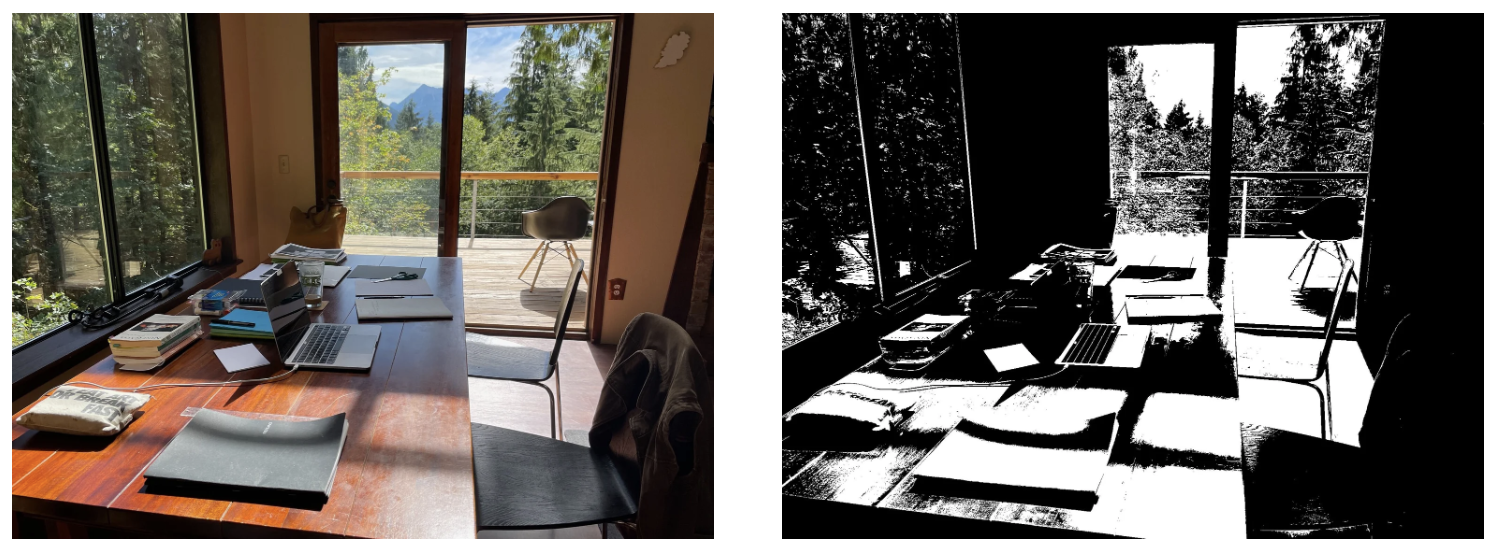
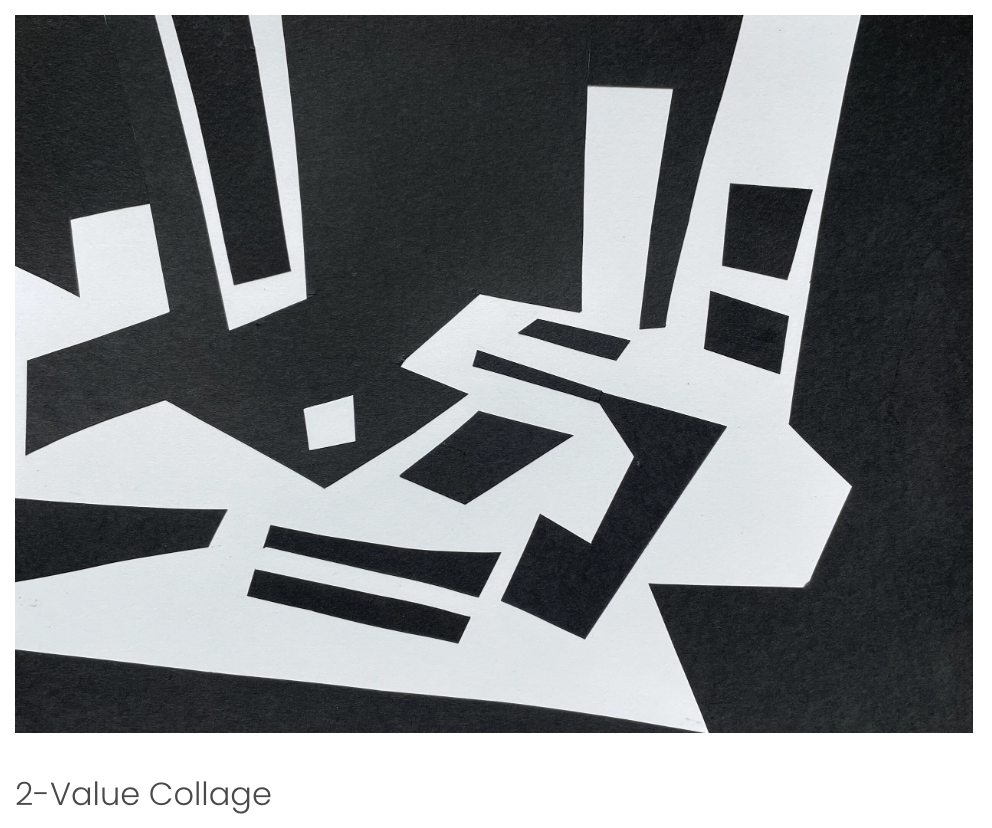
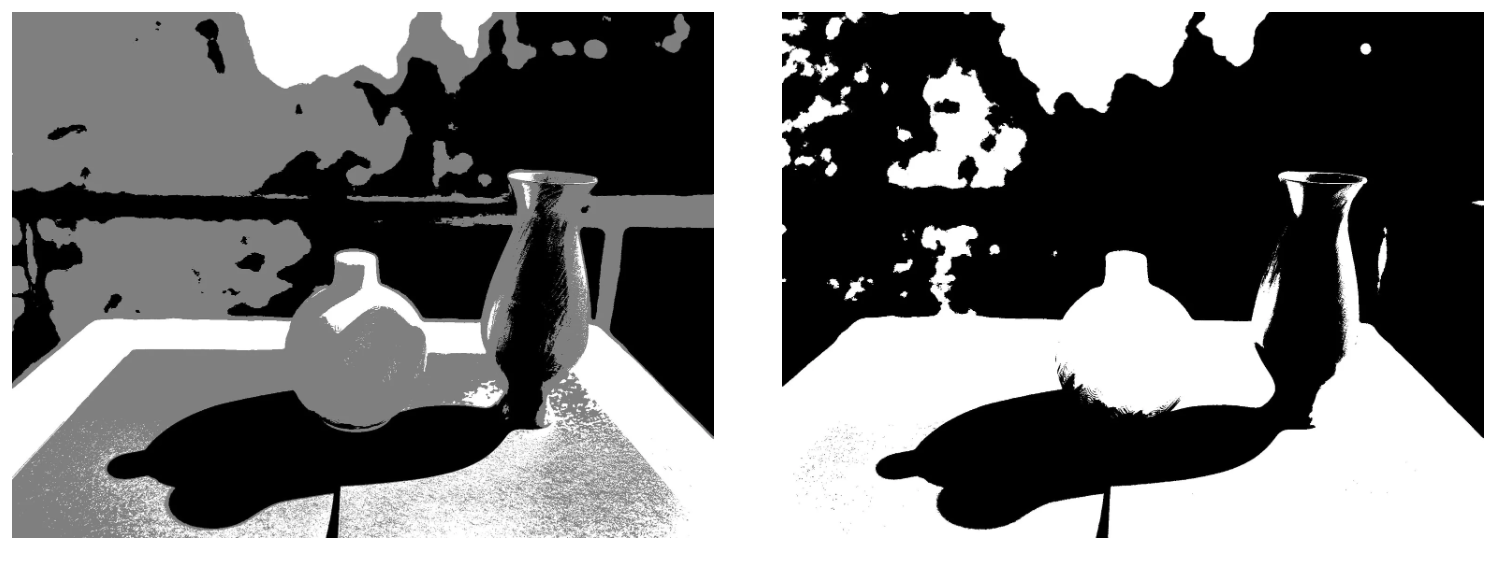
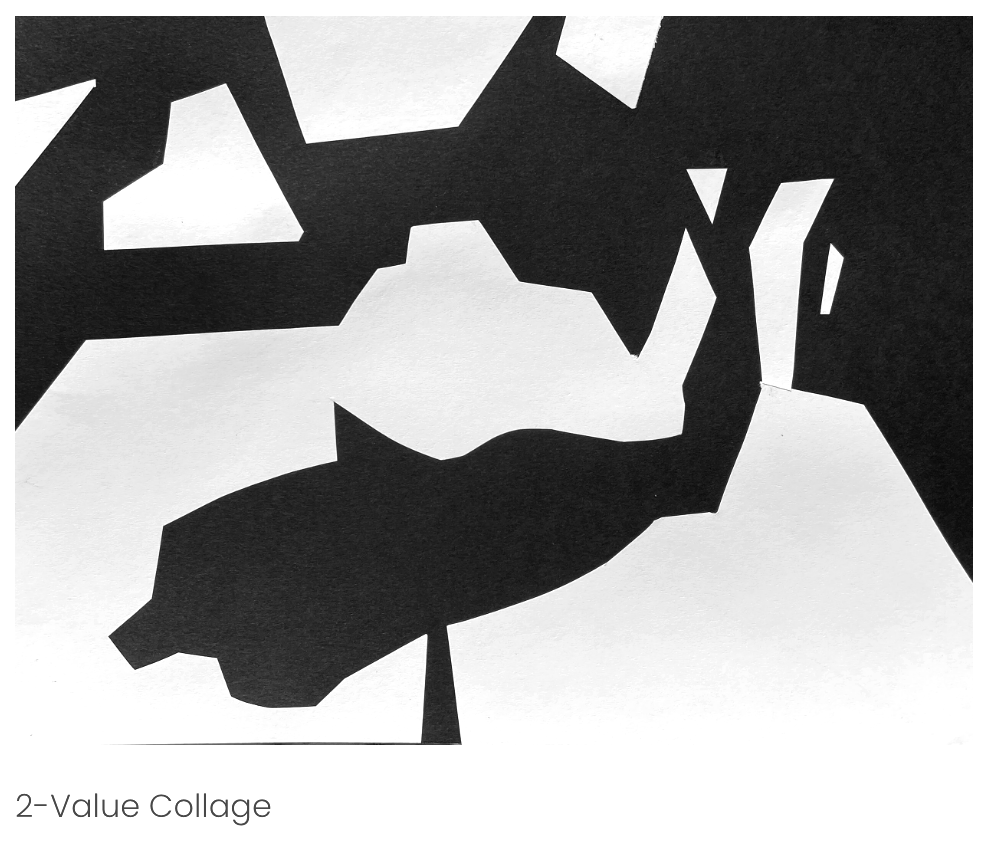
Let’s break things down even further, into what I call the POETIC BONES of an image: the fundamental shapes of light and shadow that create our composition. To do this this, let’s group all of our shadows together, and all of our lights together, creating a composition made of only 2 values.
No matter how light or dark the object or surface is, I am grouping all the planes that are touched by light into my White grouping, and all surfaces in shadow into Black.
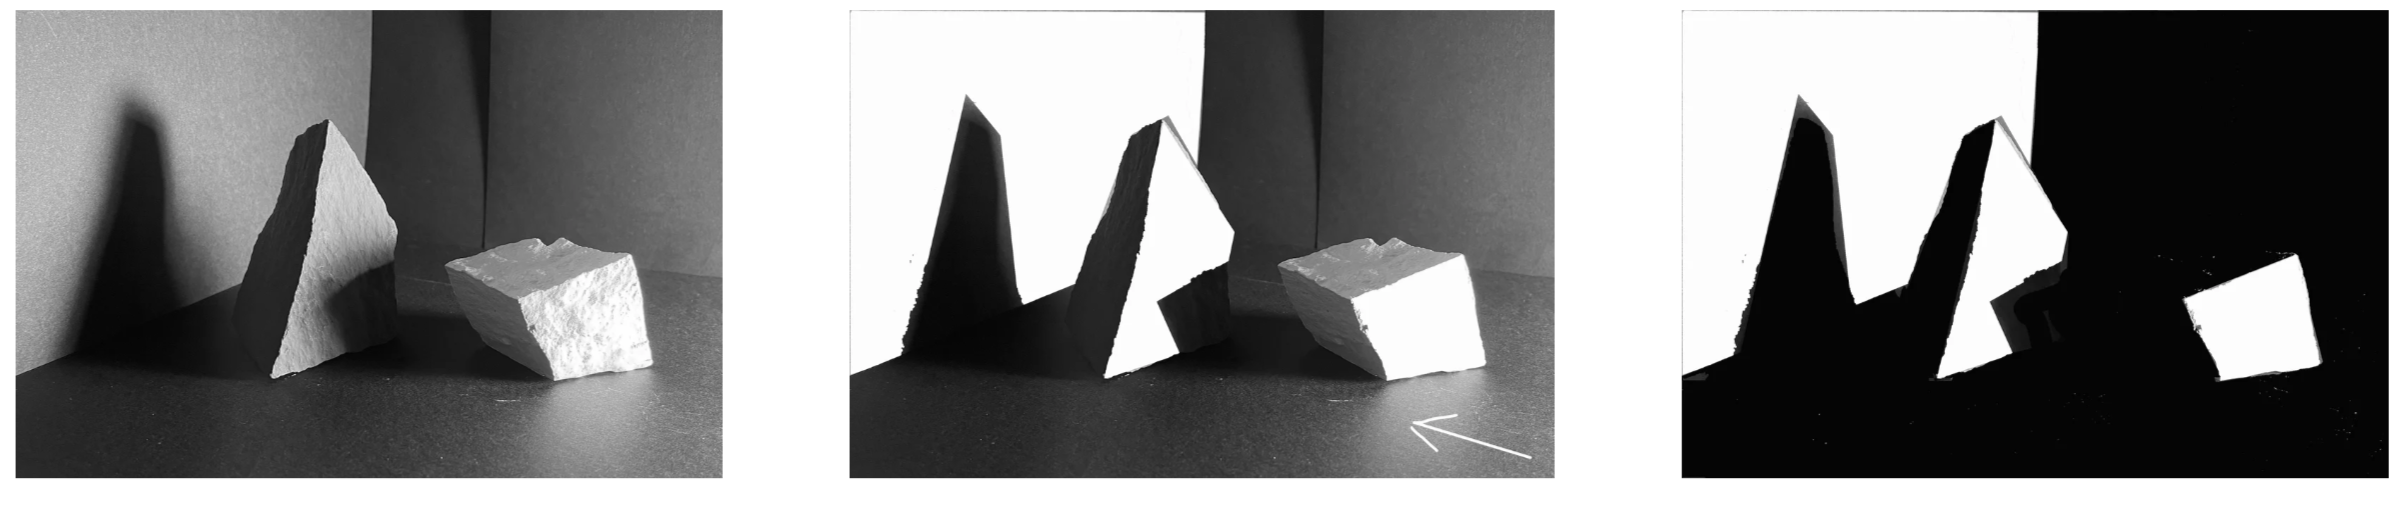
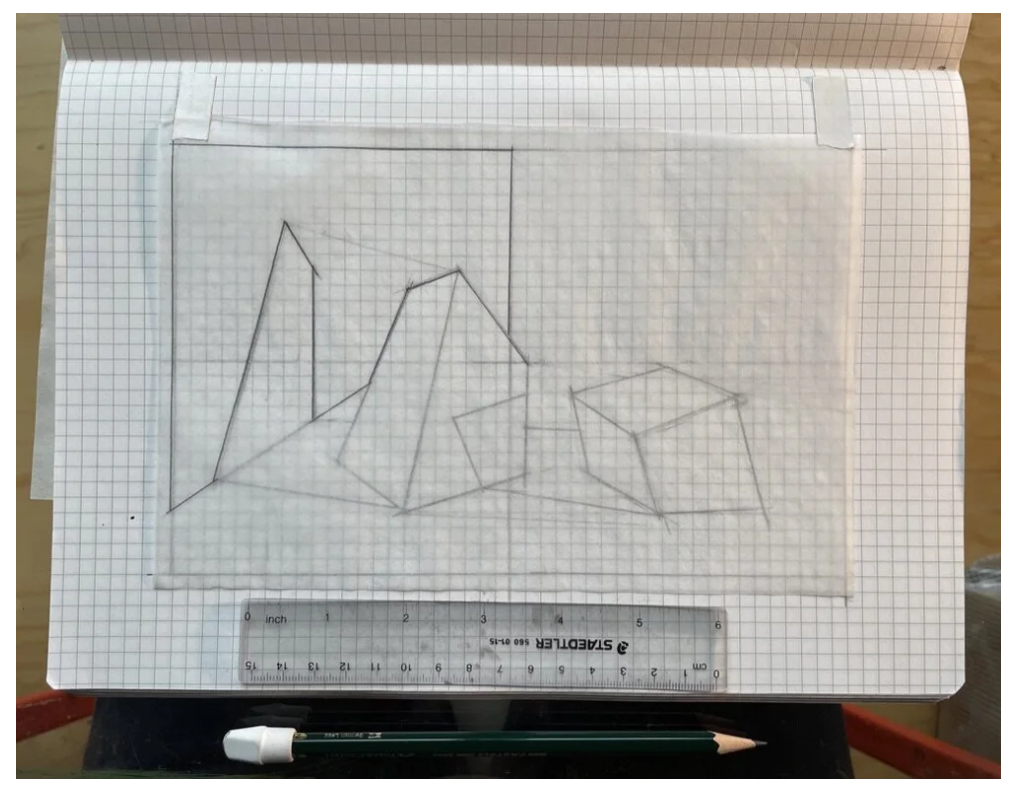
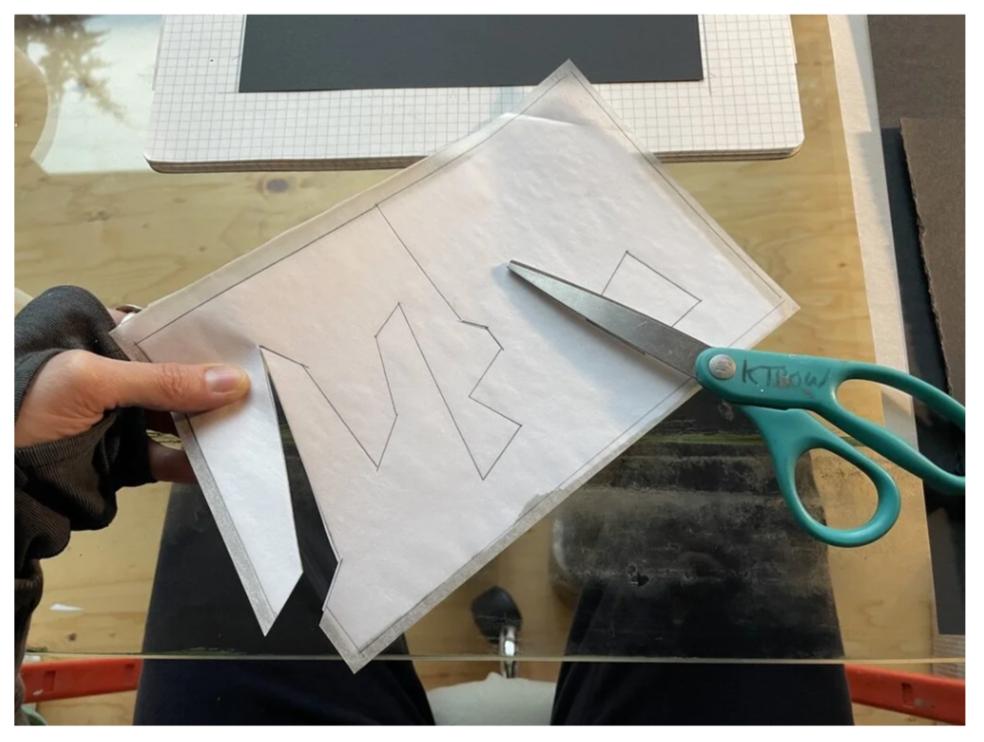
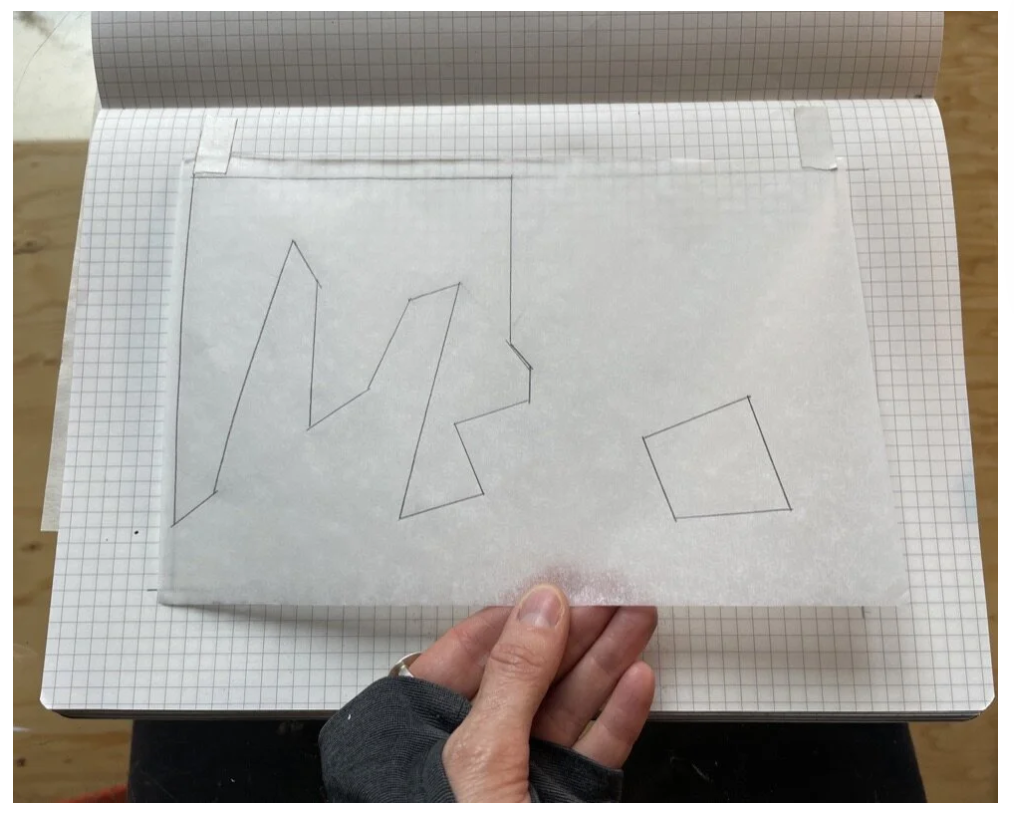
Using tracing paper over your drawing, trace those combined shapes. In my example, notice how the light on the back wall combines with the light plane of my center object, creating one larger shape. Place this tracing paper over your half sheet of white or black paper and cut out your shapes, creating a 2-Value collage, and it’s inverted self.
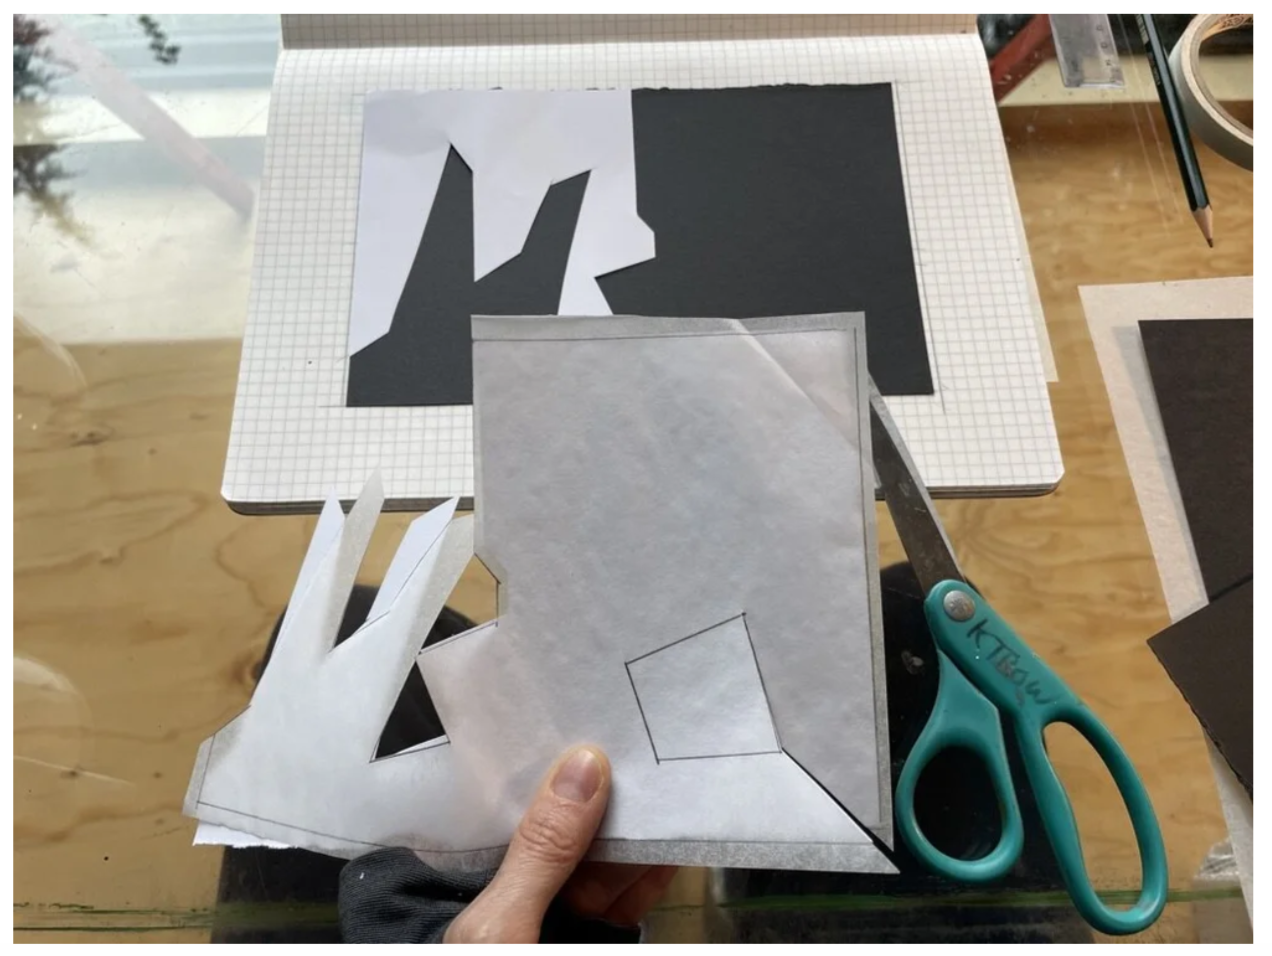
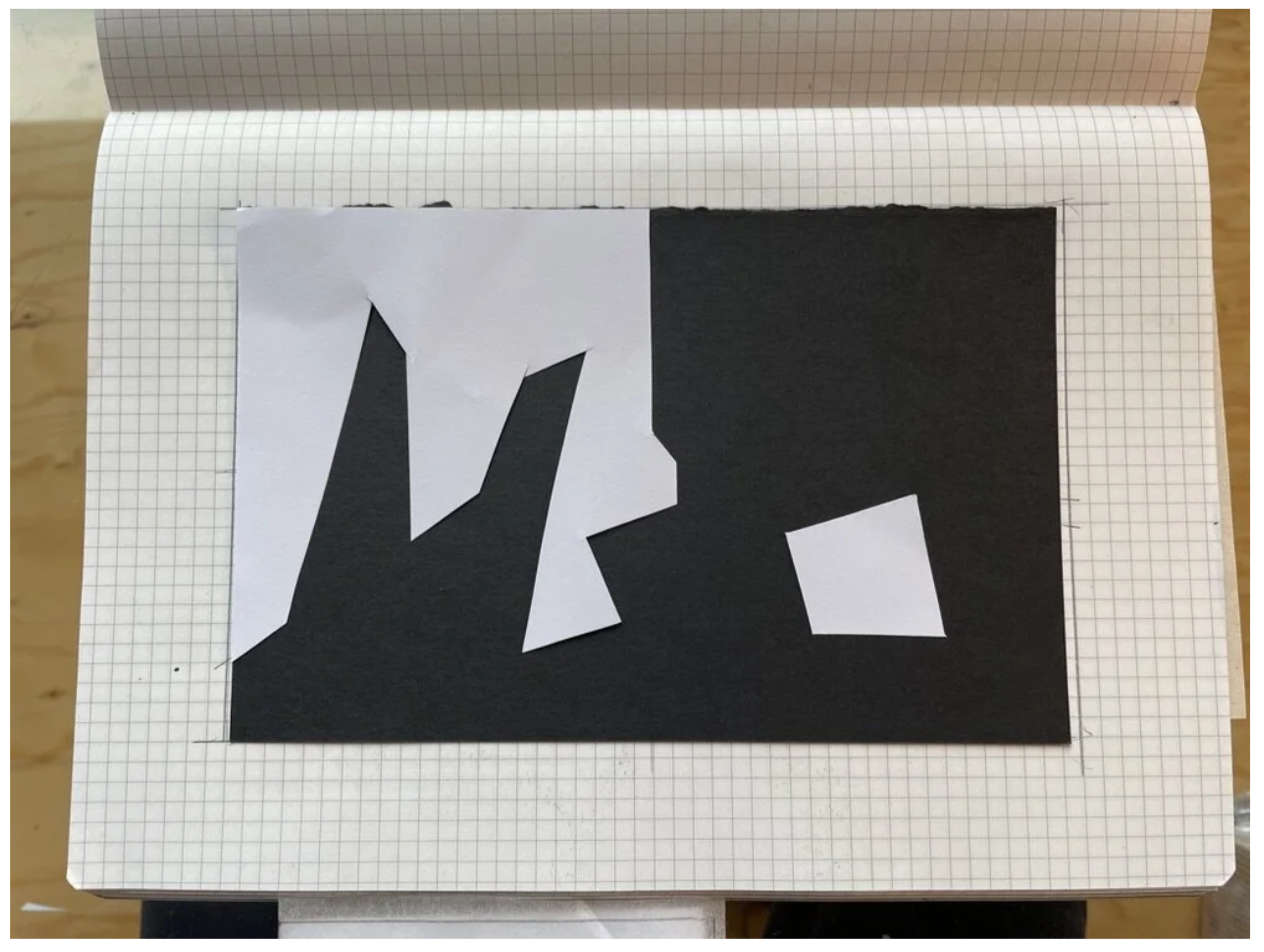
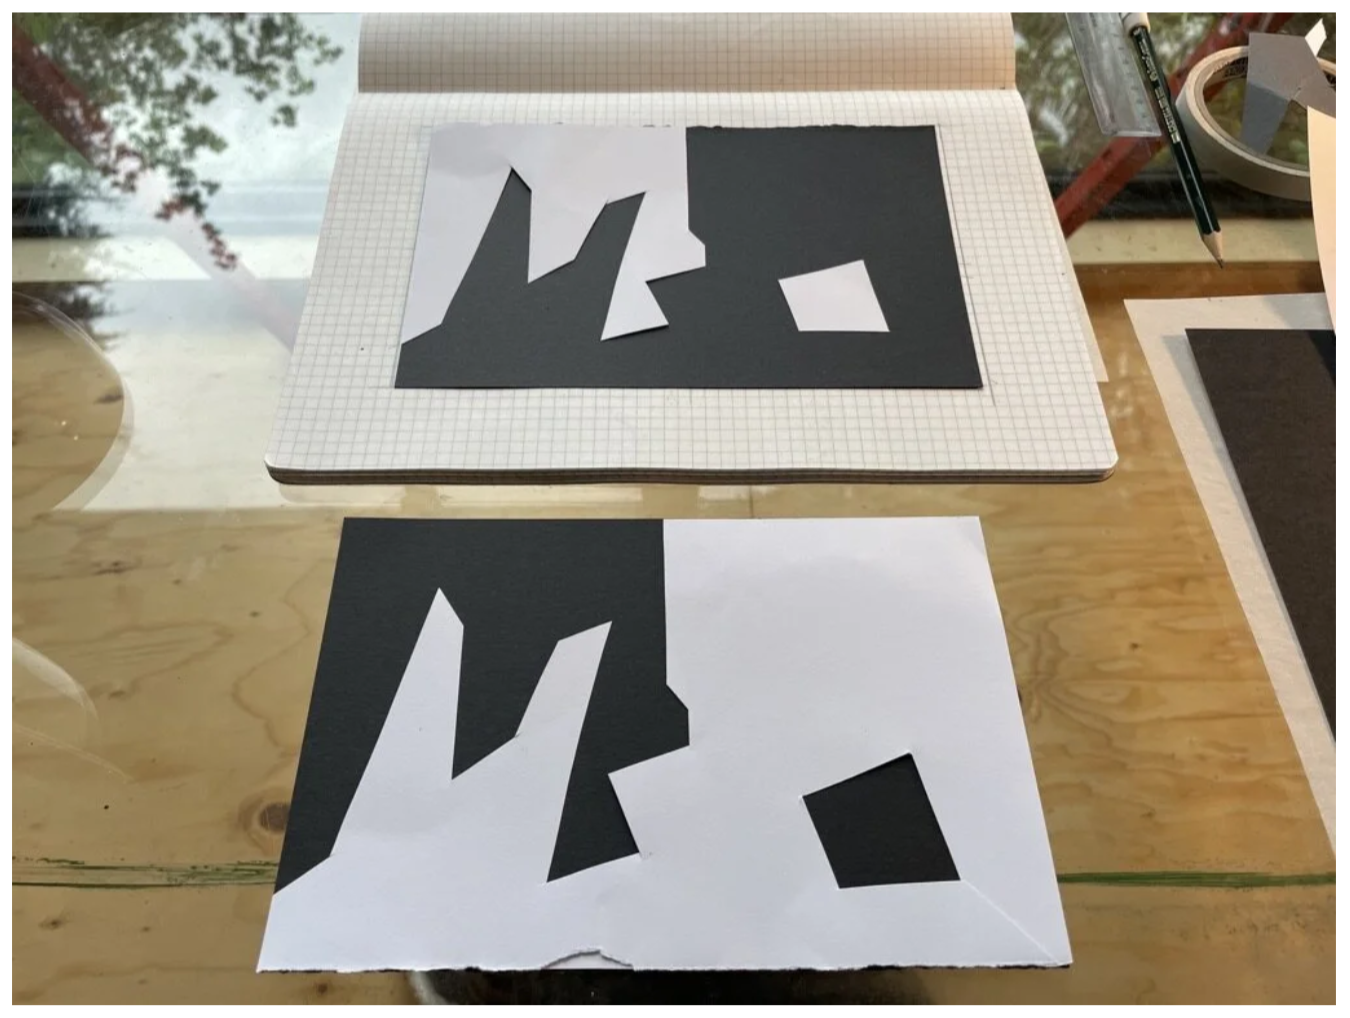
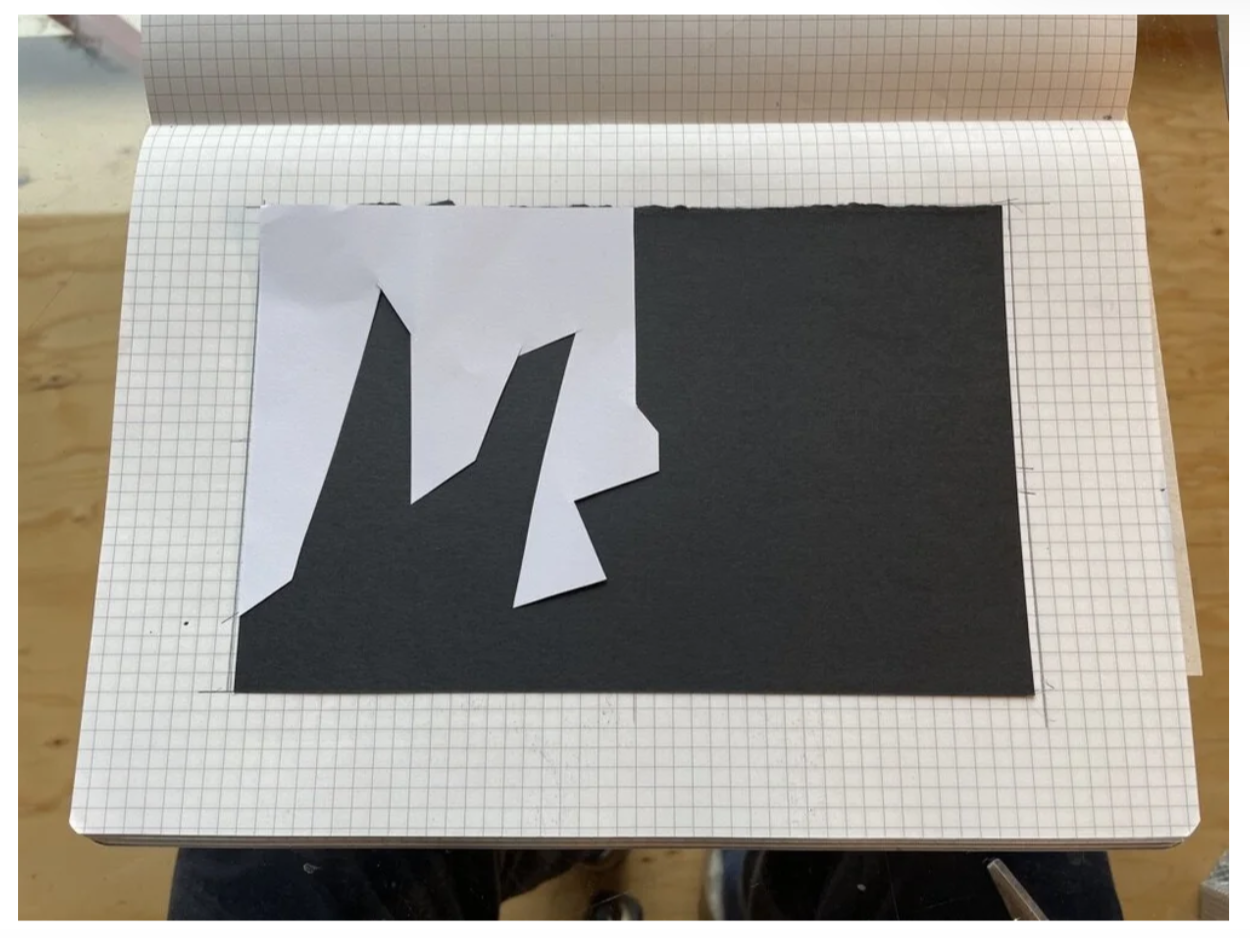
2 Value Collage
Another Example of investigating the POETIC BONES via Collage:
Blocking-in all shadow shapes, I ended up with 4 distinct, combined shapes:
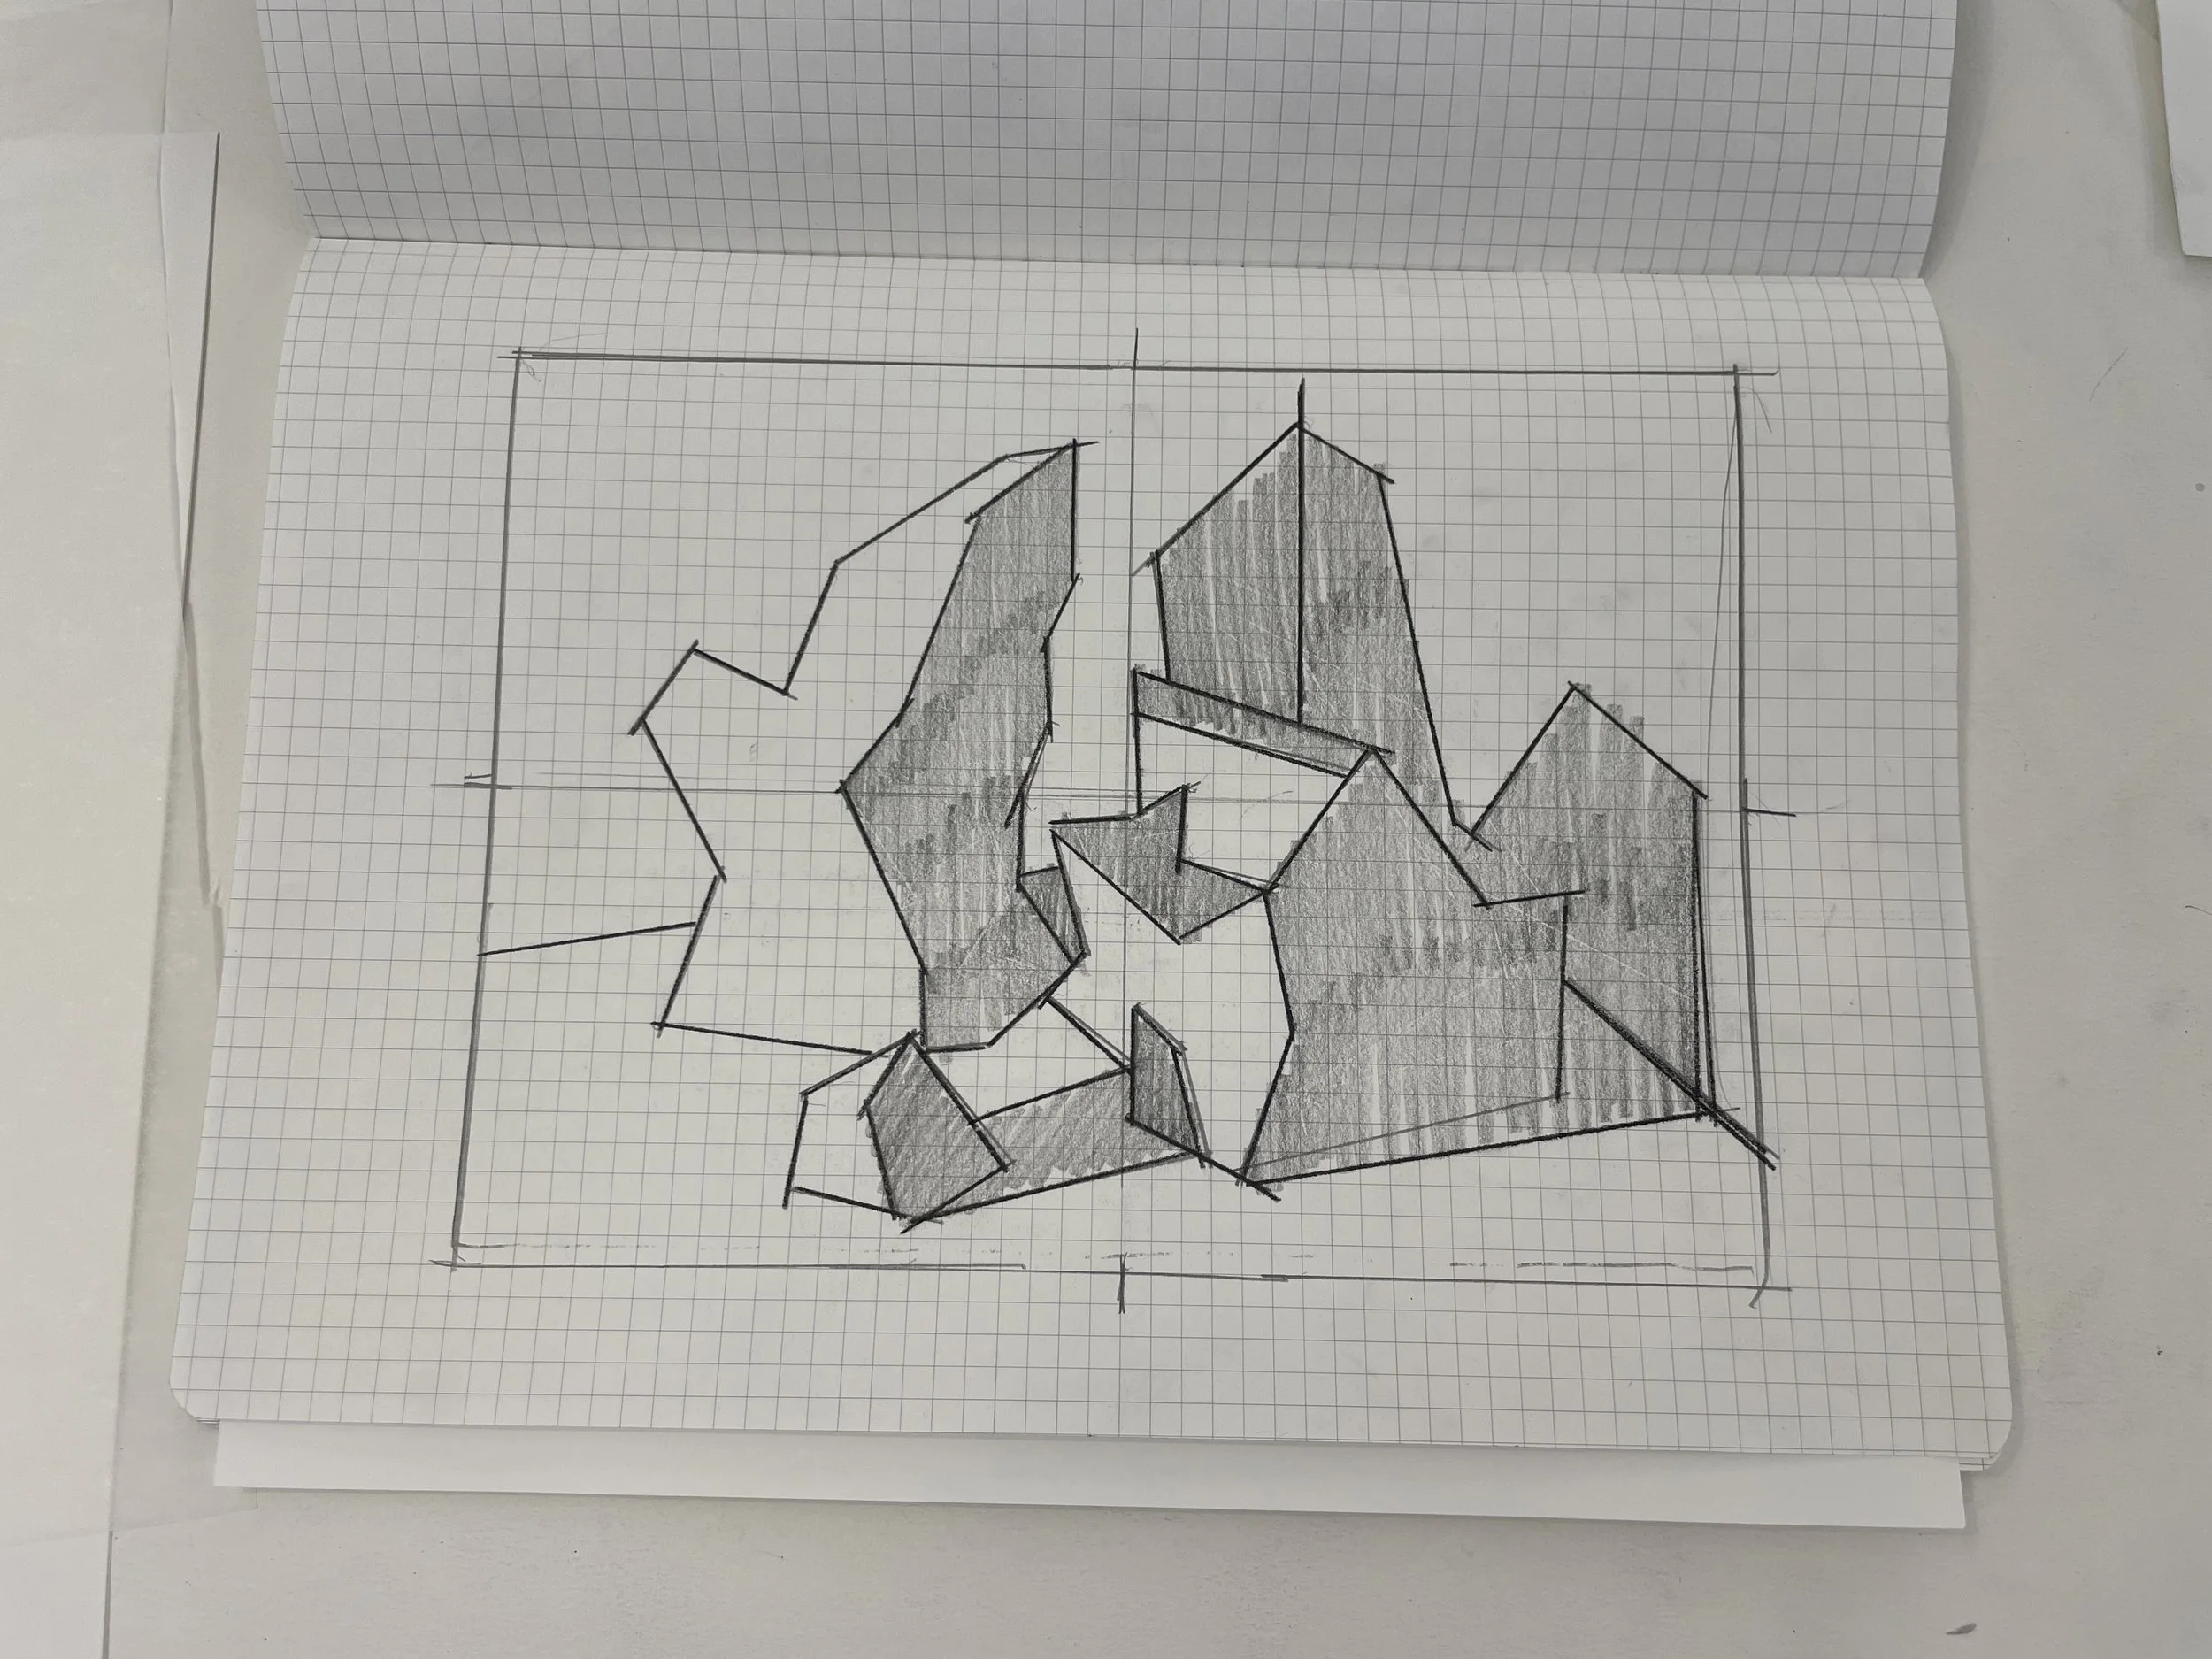
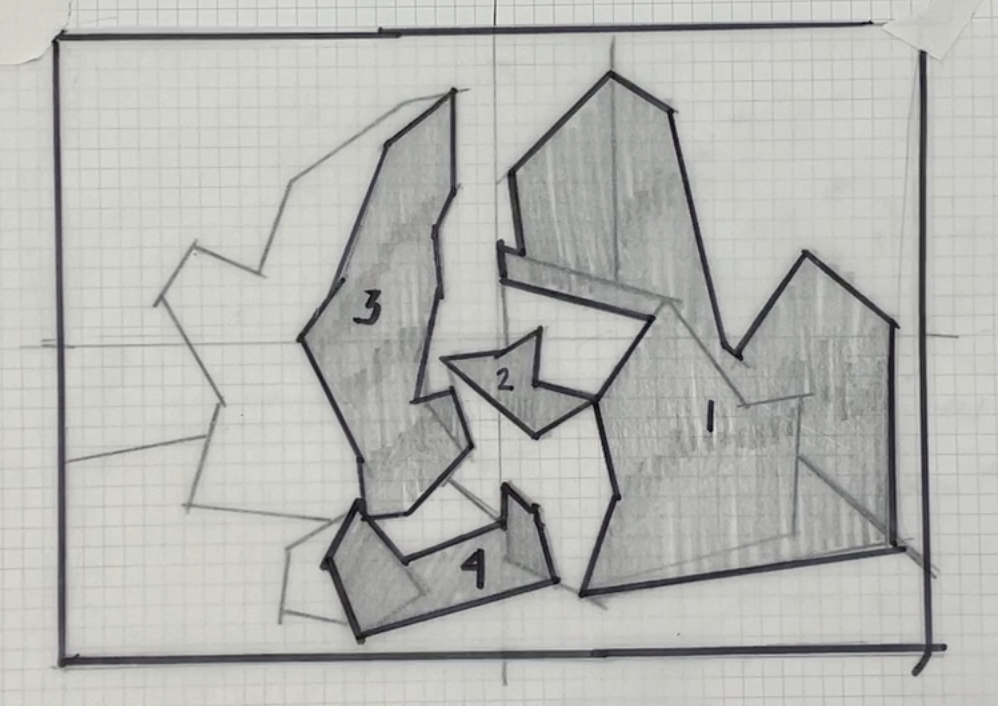
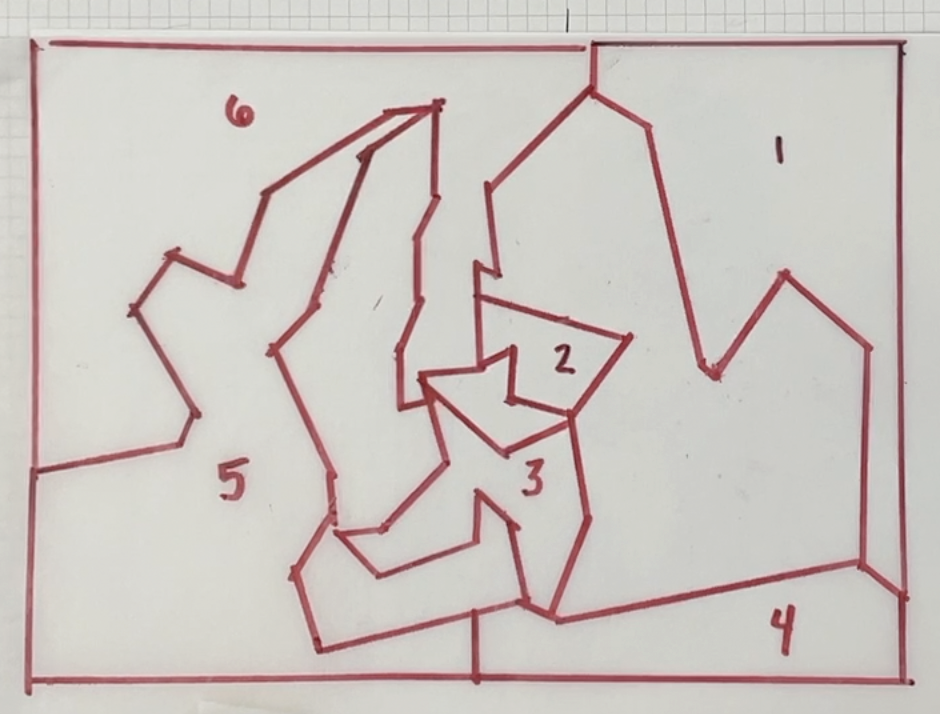
Identifying all light shapes, I ended up with 6 distinct, combined shapes: Notice that shapes 5 & 6 could be combined into 1 larger shape; I decided in this example to separate them into smaller shapes using the division of the floor and the outside edge of my darker form.
Video showing Value Groupings; Identifying the new, combined shapes of shadow and light. No Audio.
Video showing how to cut-out the Value Groupings to prepare shapes for collage. No Audio.
Video showing how to glue down collage shapes using glue stick, blotter paper, and rubber brayer. No Audio.
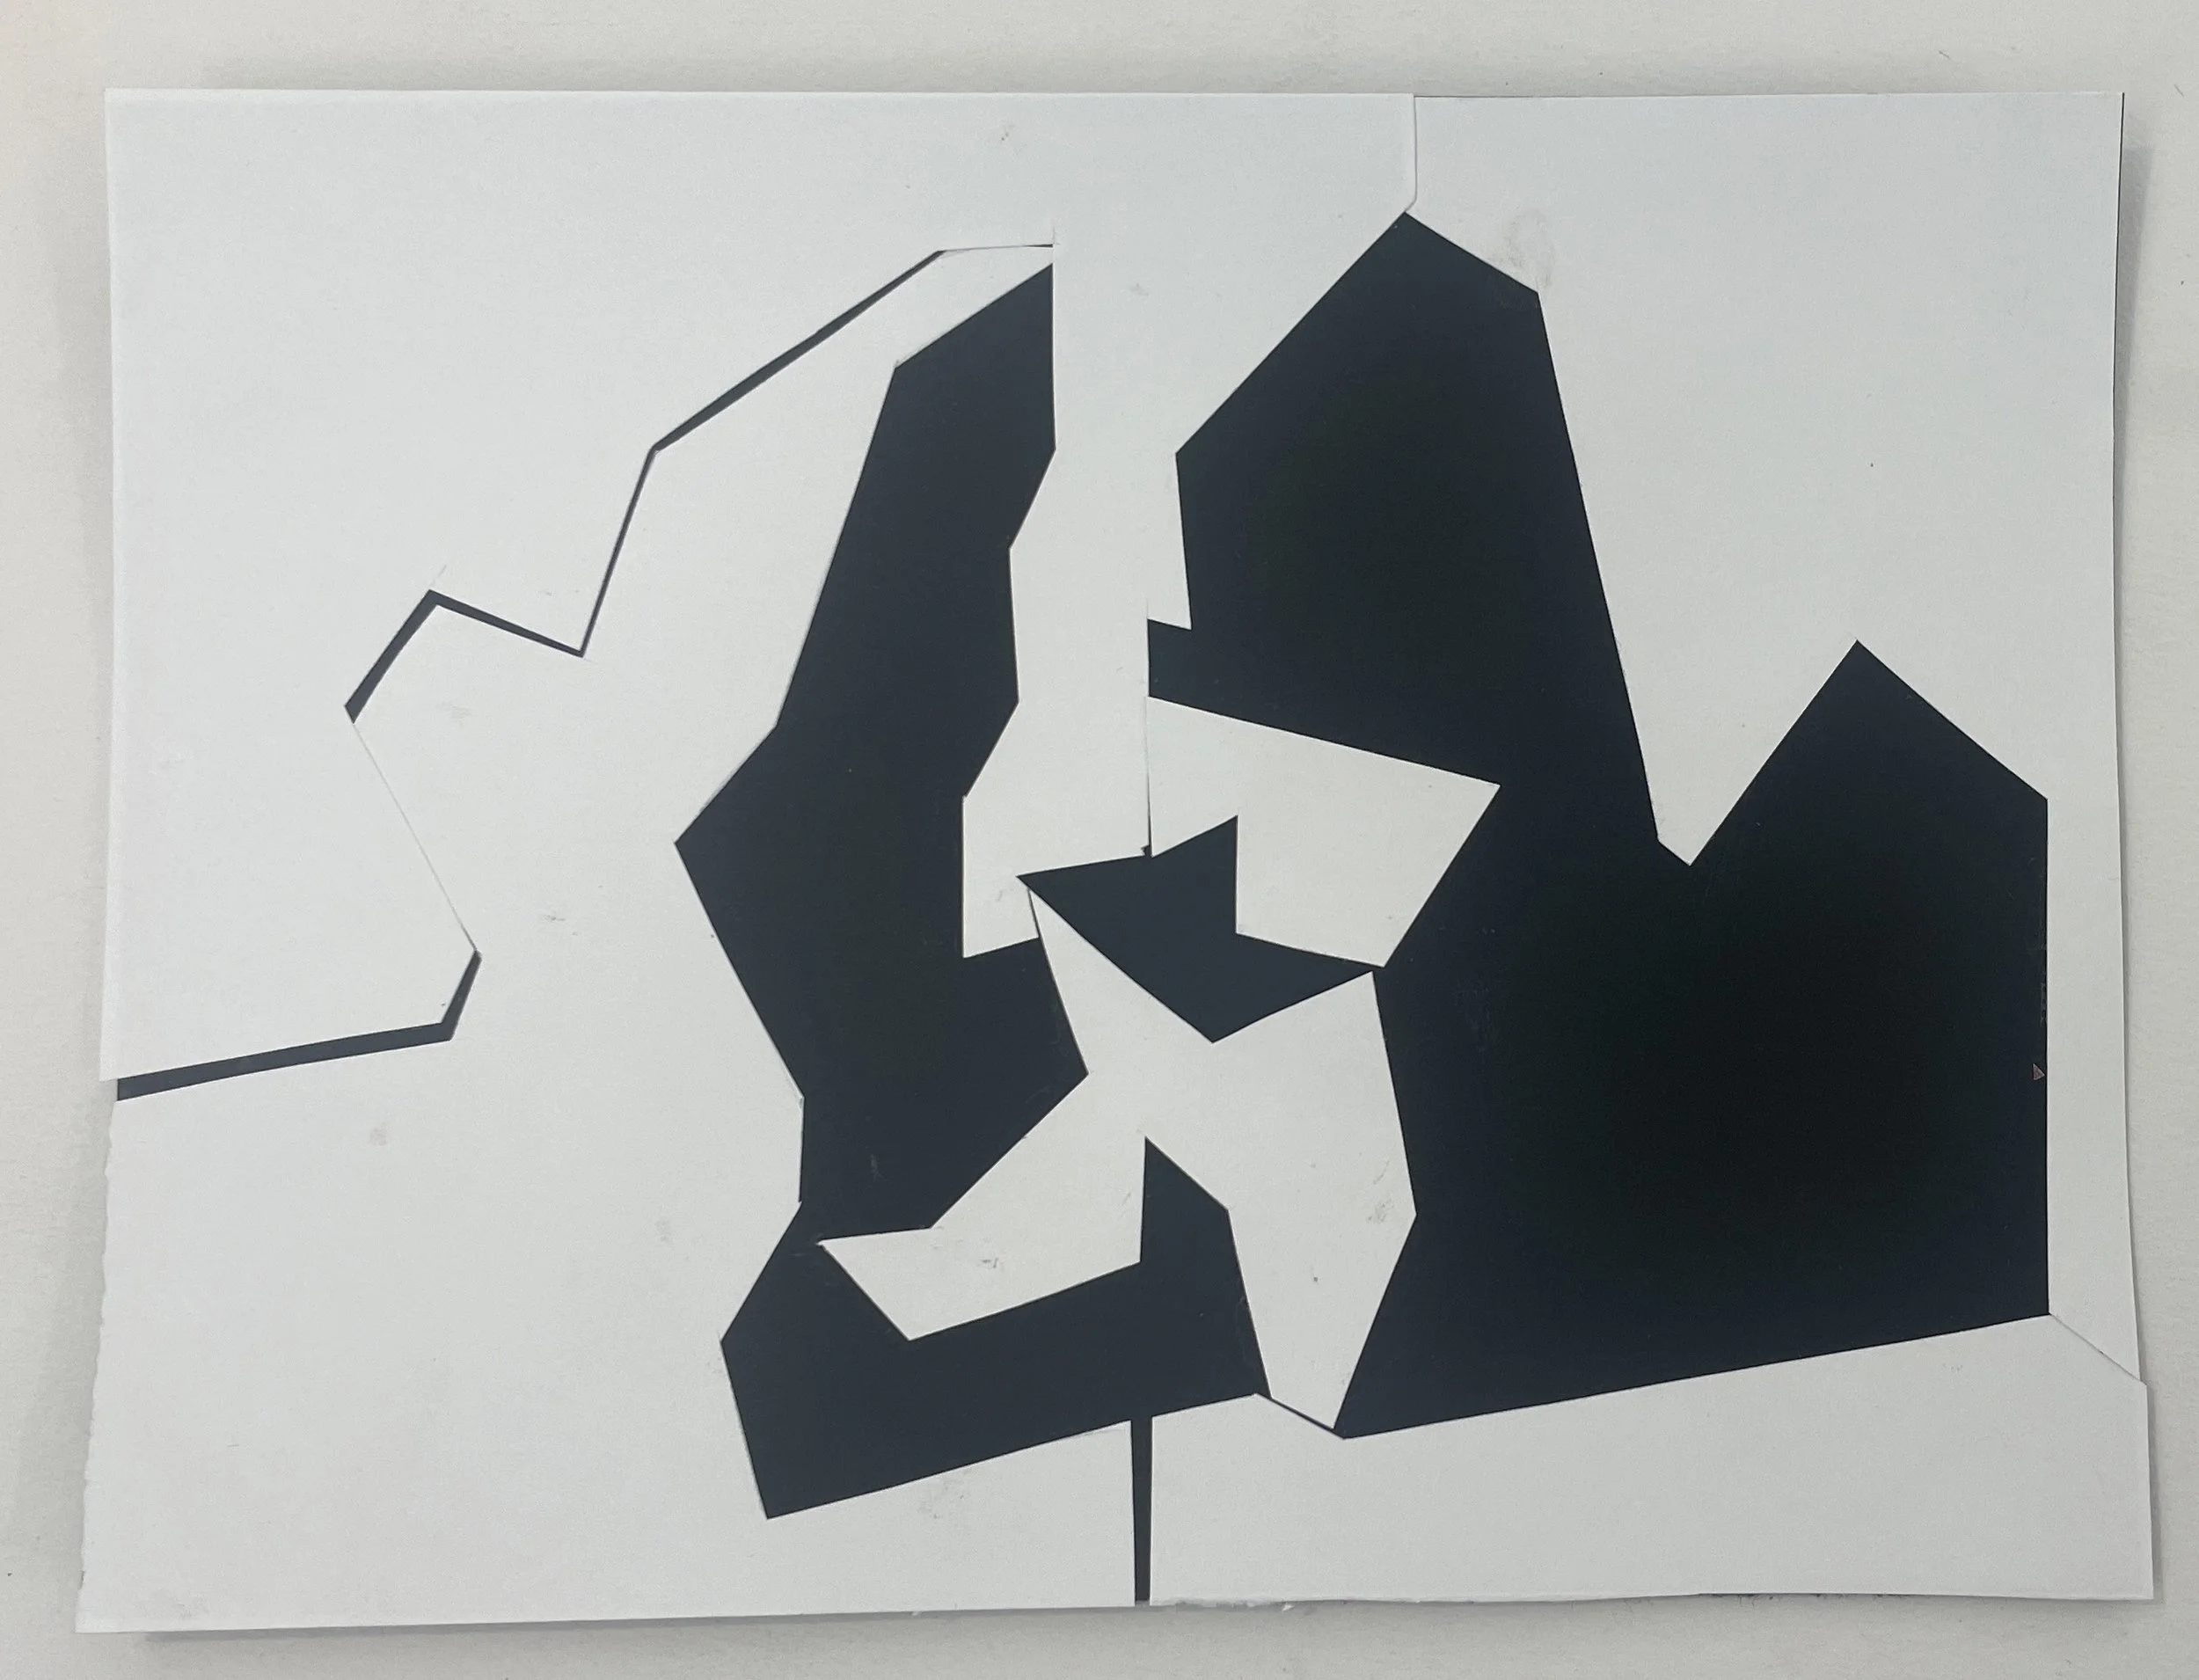
Notice how I used that division of shapes 5 & 6 to slightly offset the shapes and create a line that adds dynamism on the left side and indicates the edge of the object without totally obstructing the compositional value grouping.
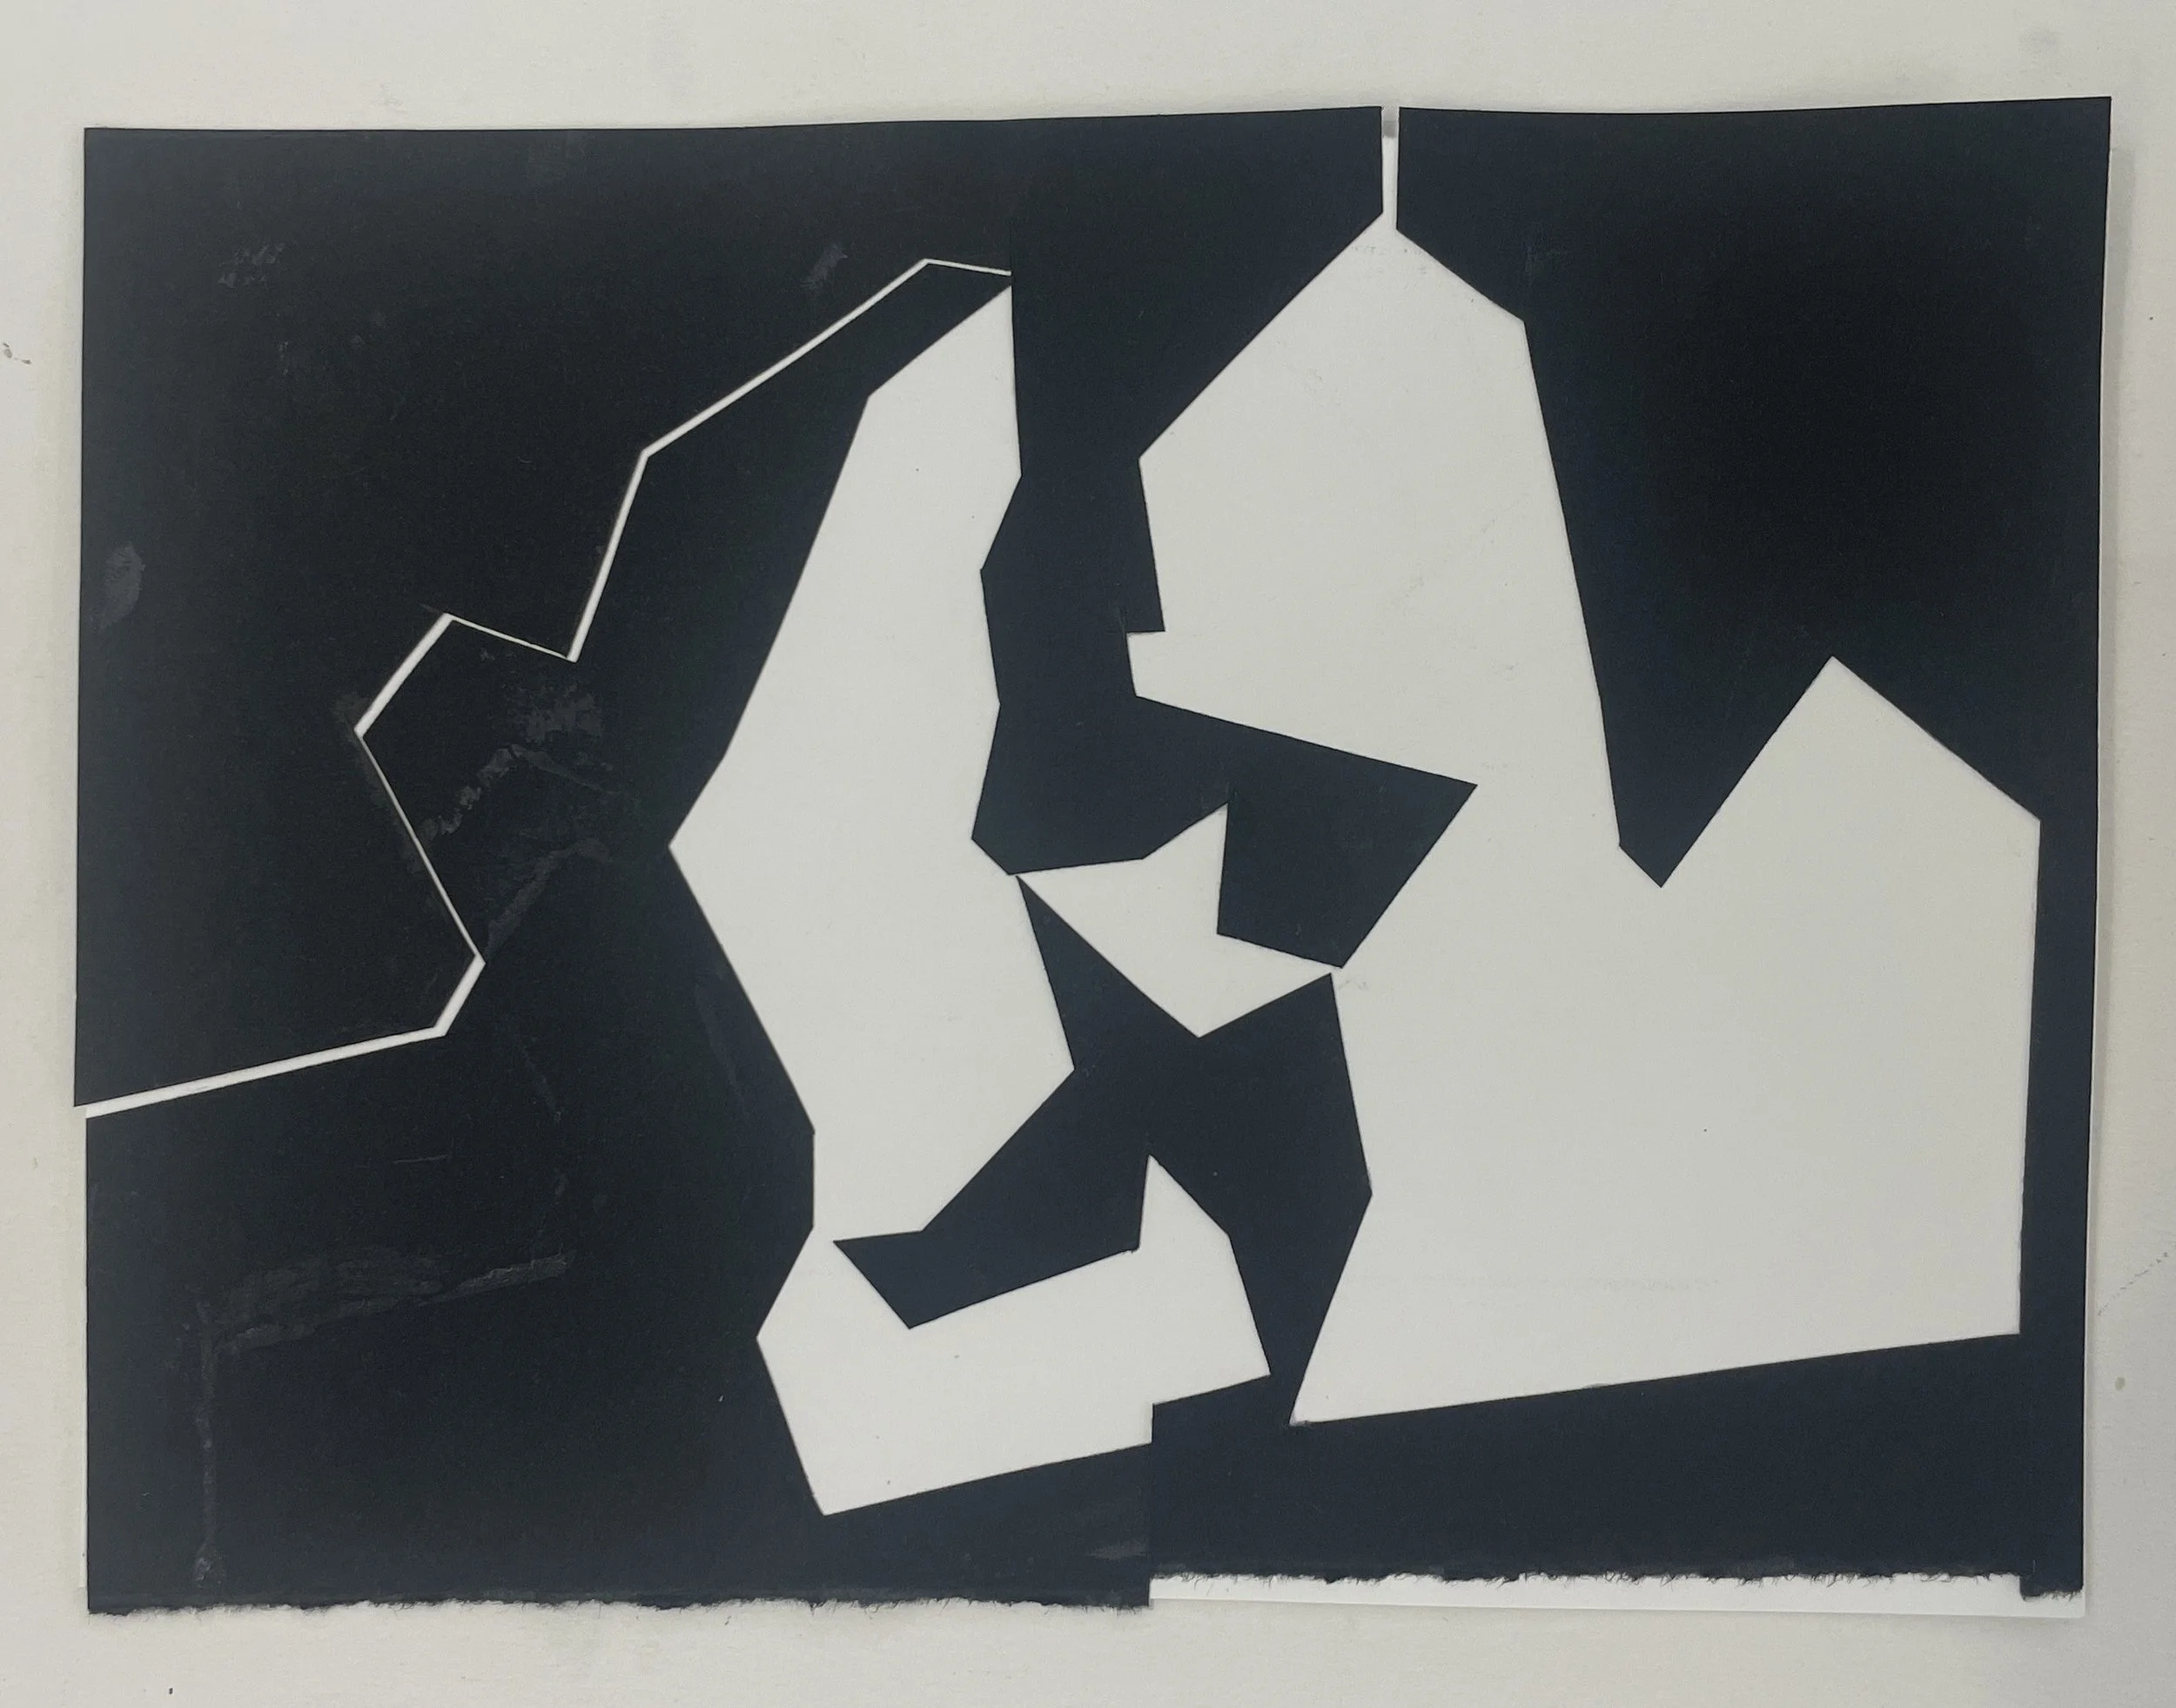
The inverse, just for fun.
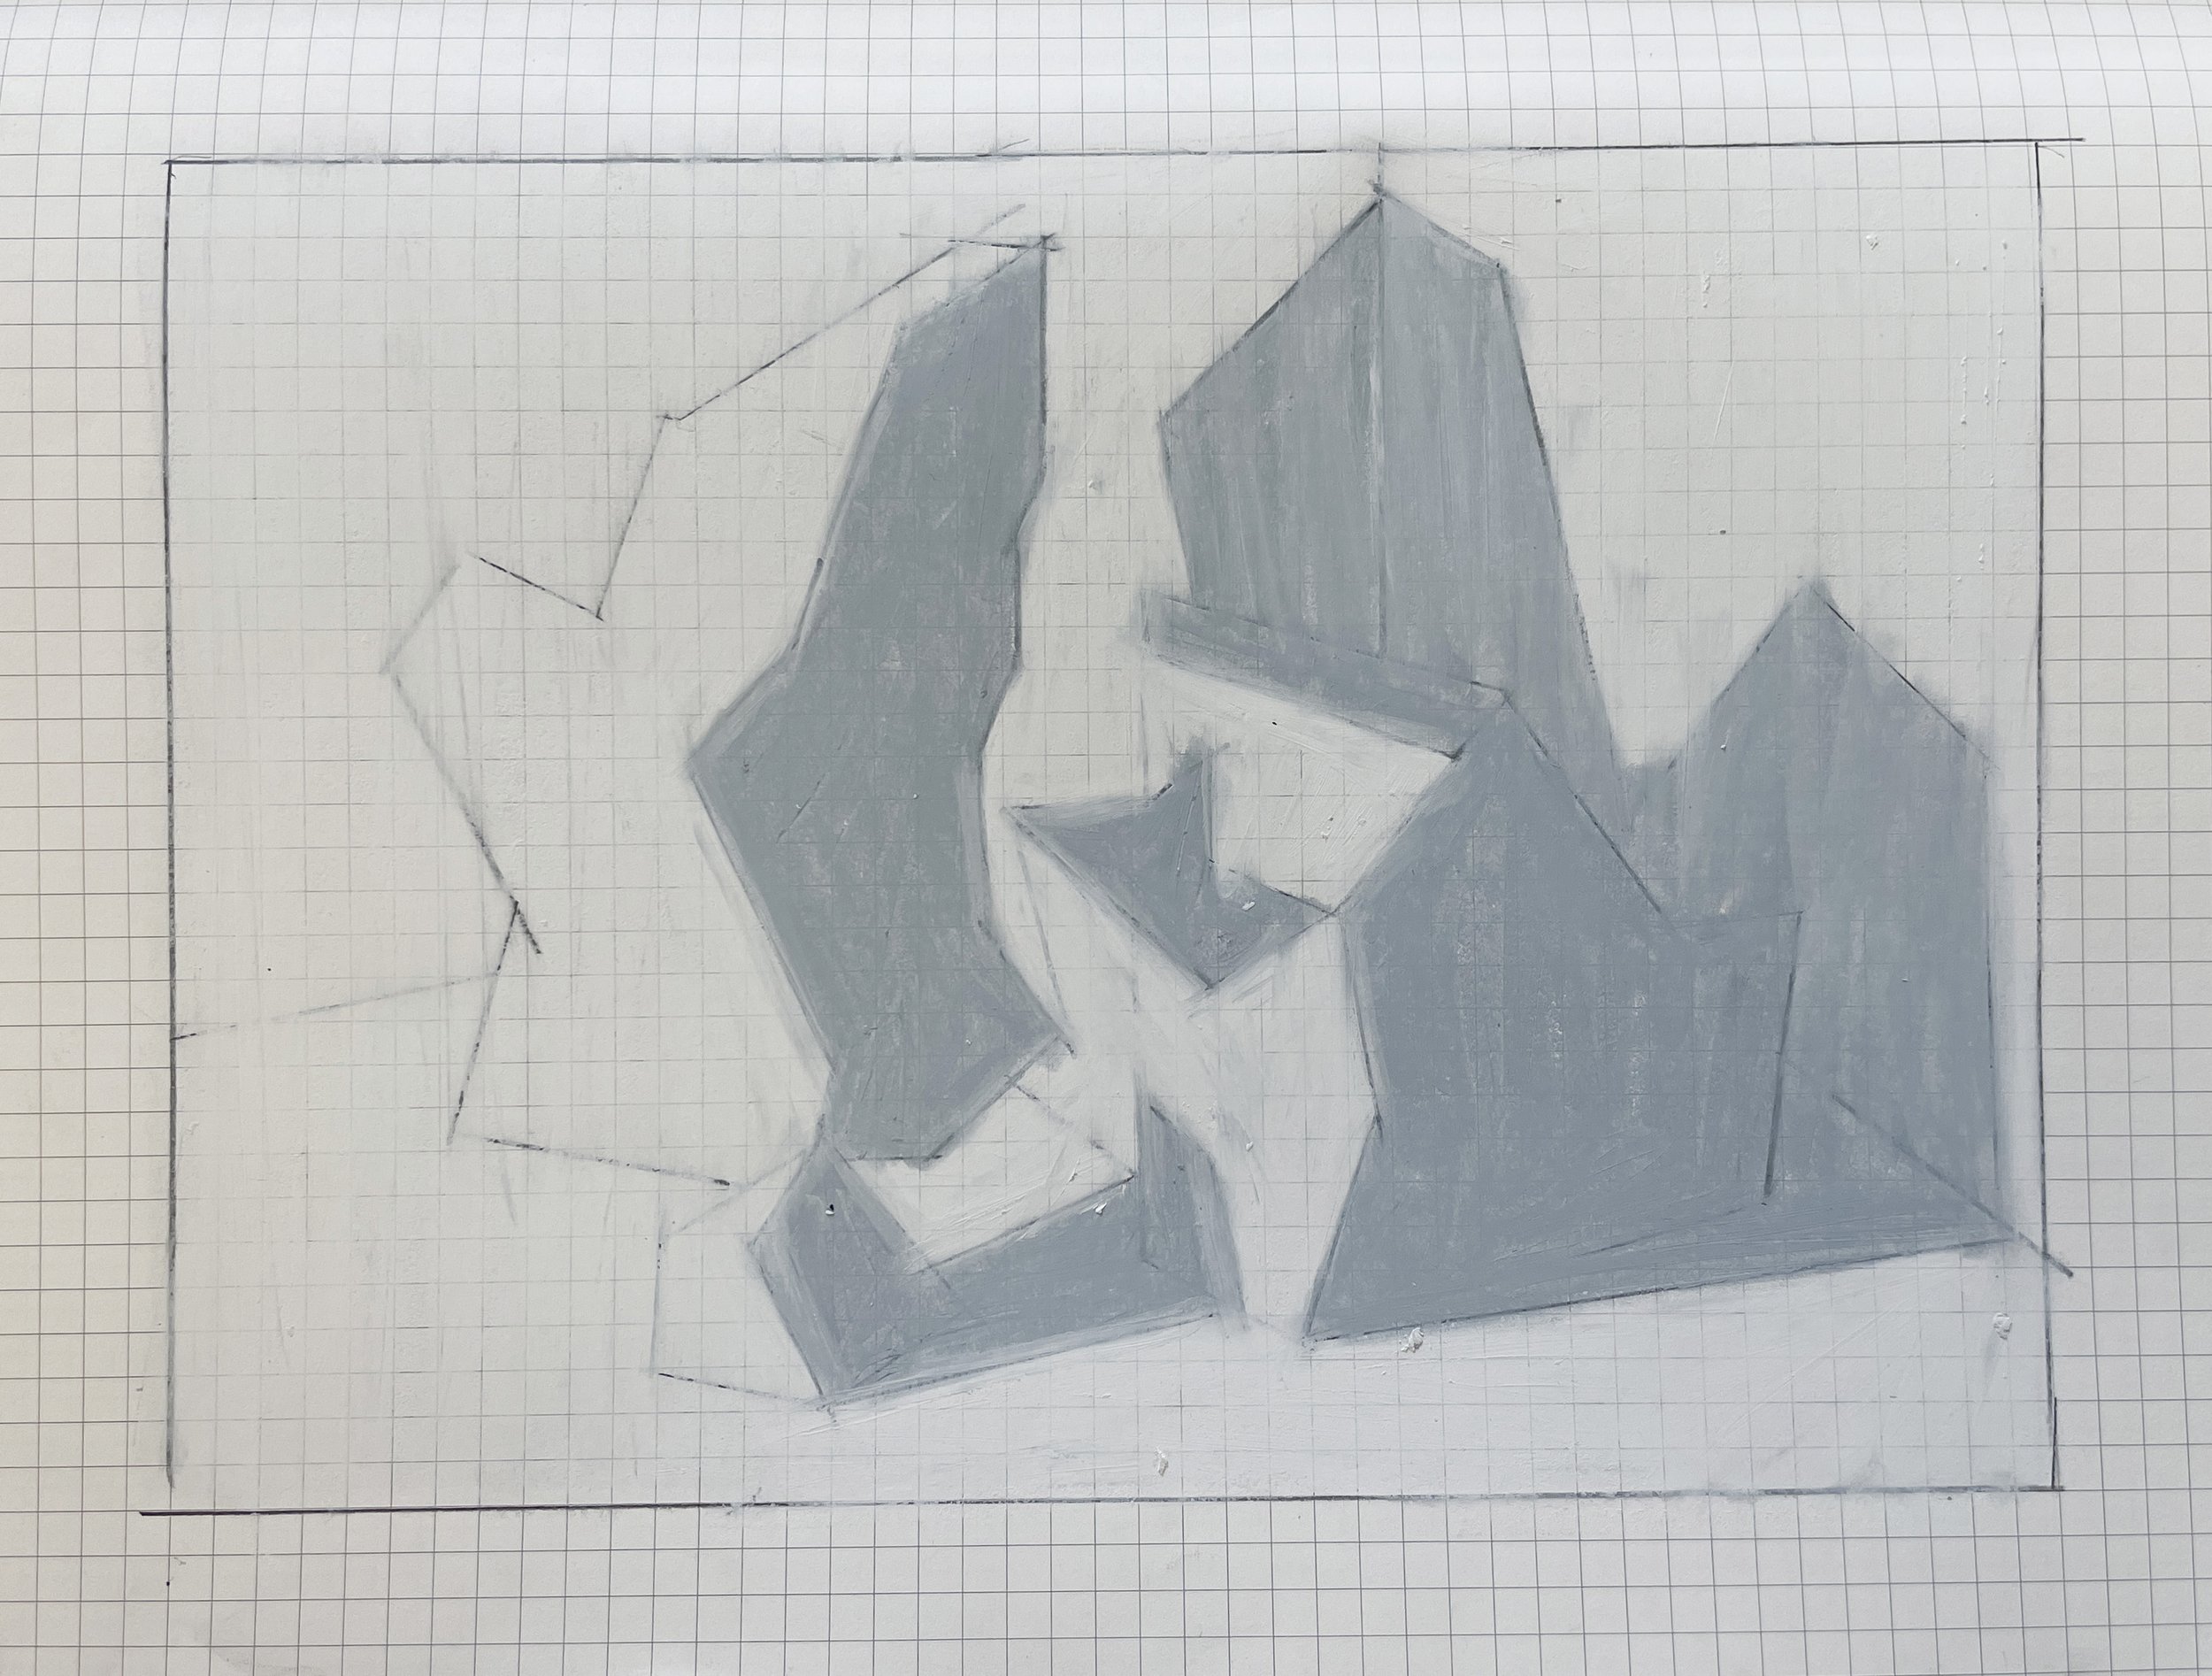
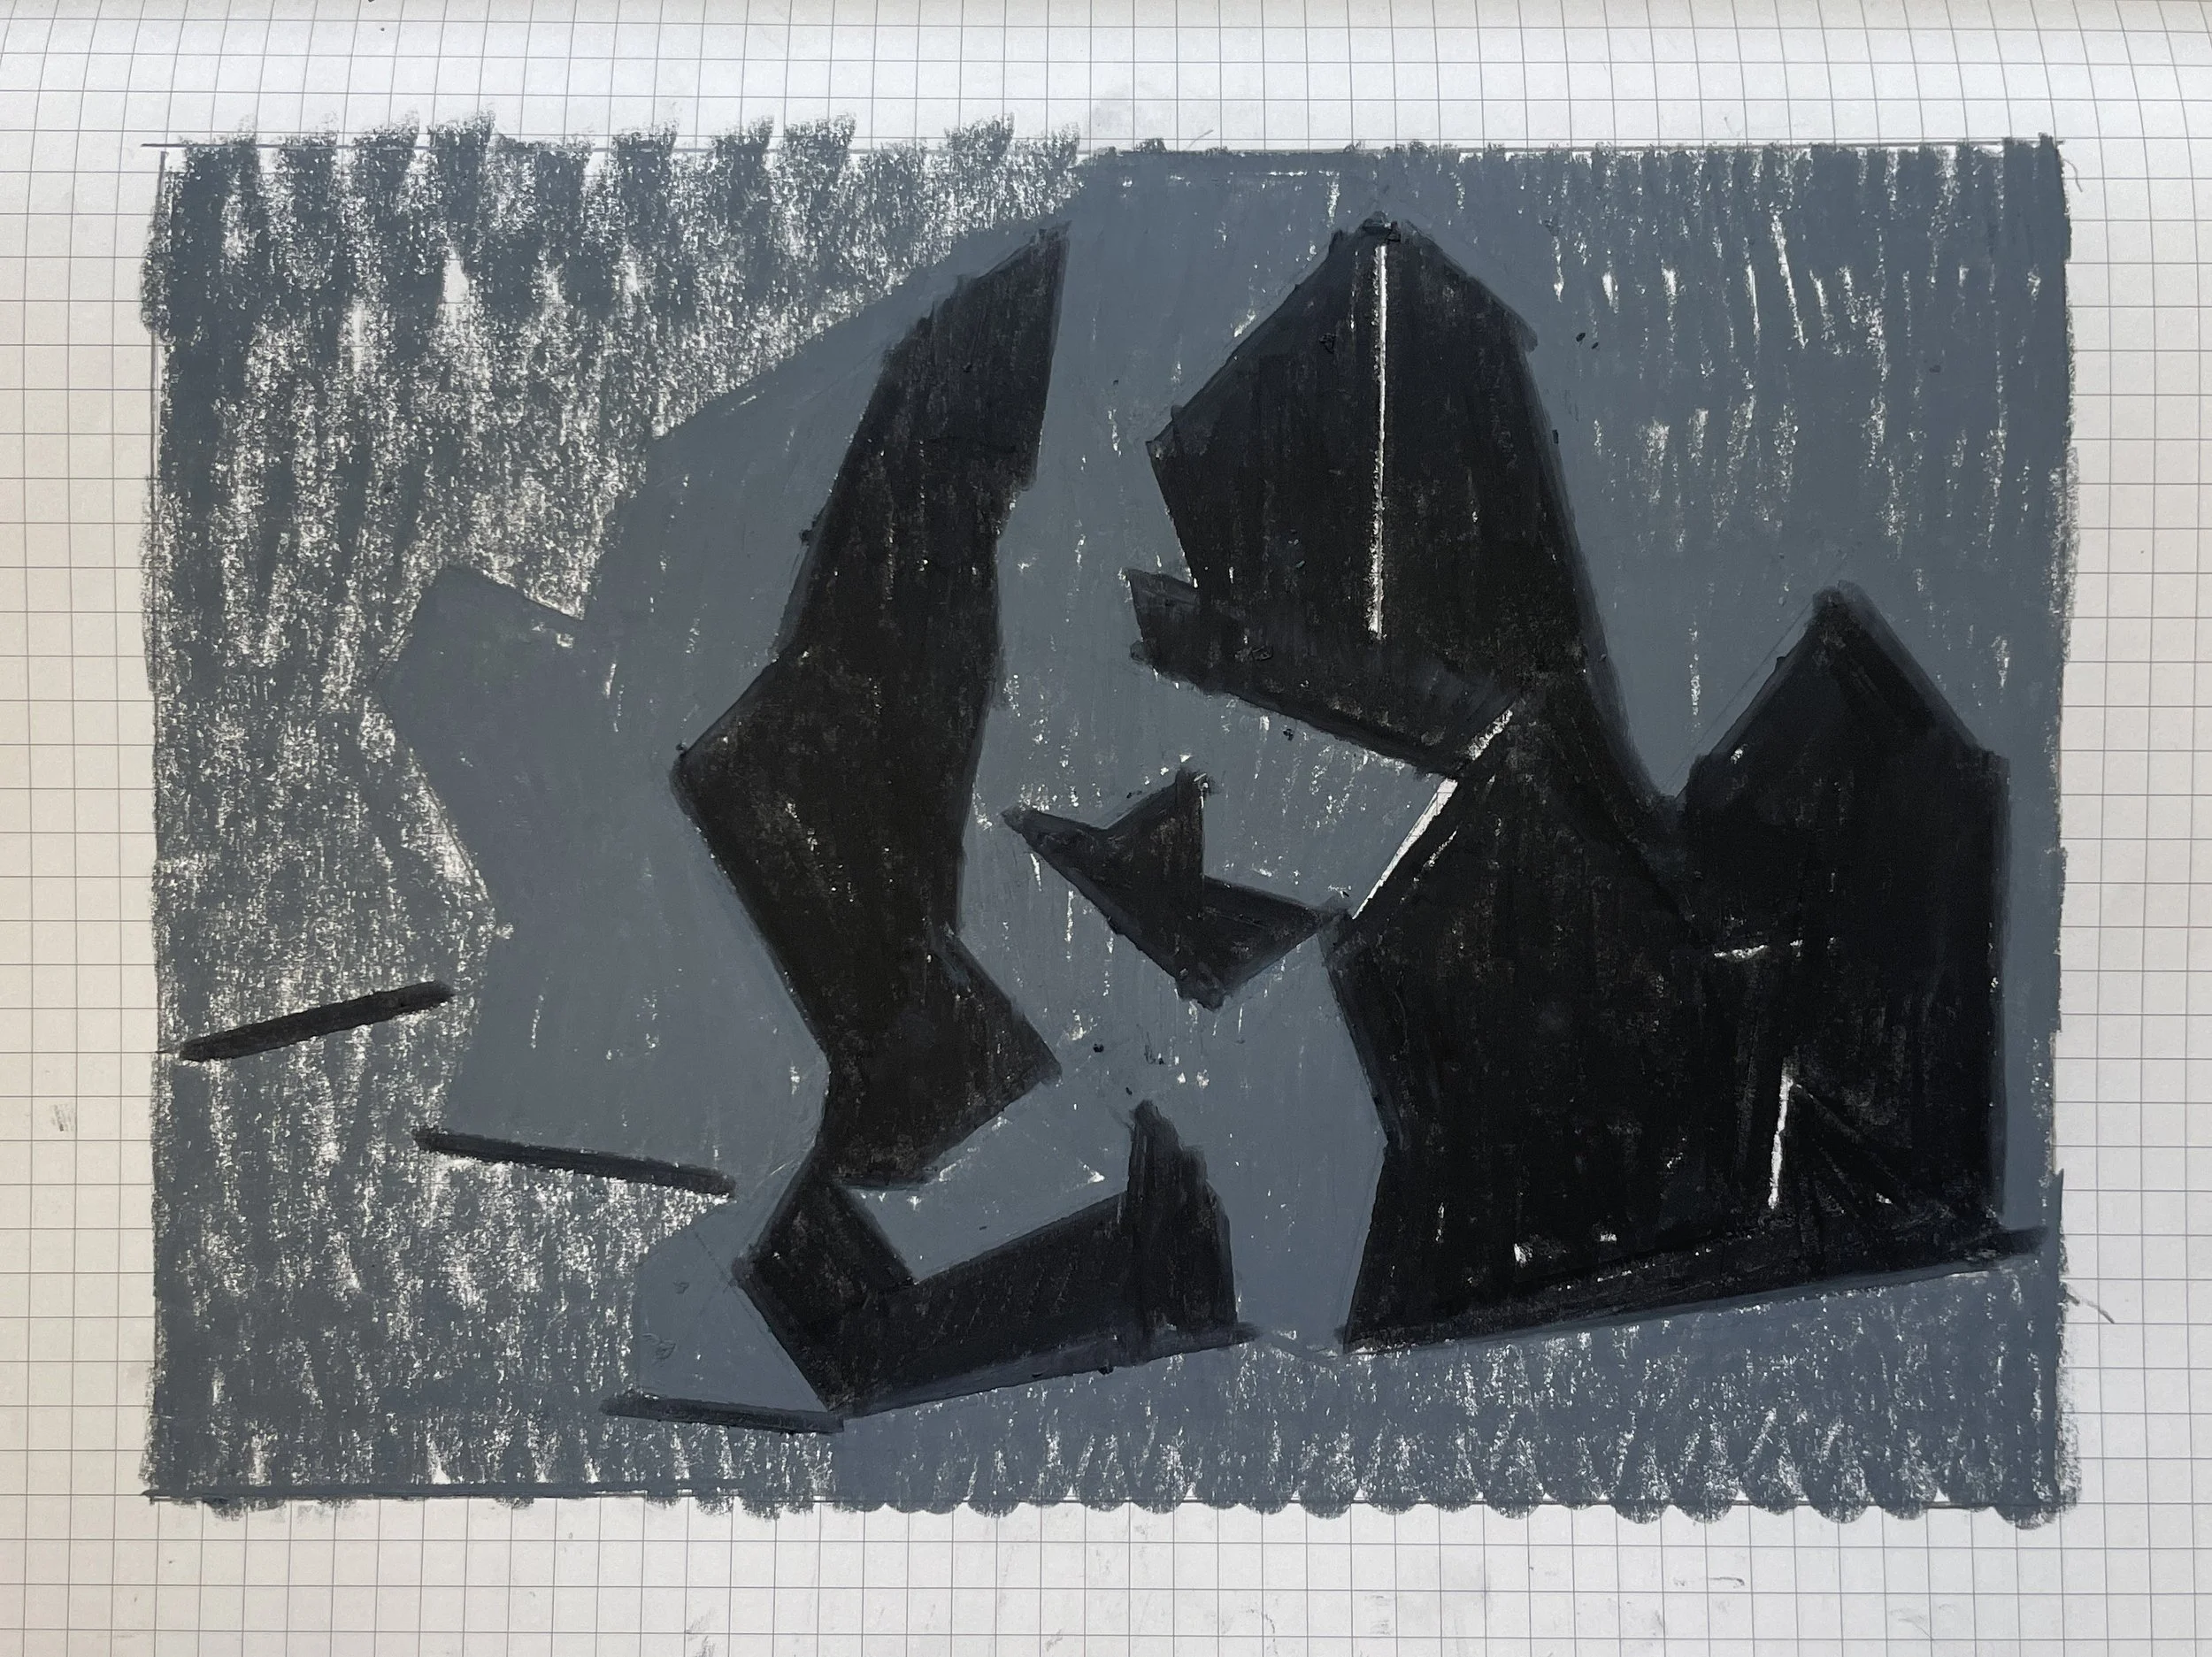
2 Value Crayon
Experiment with the delicious and fun media of crayons to group your values!
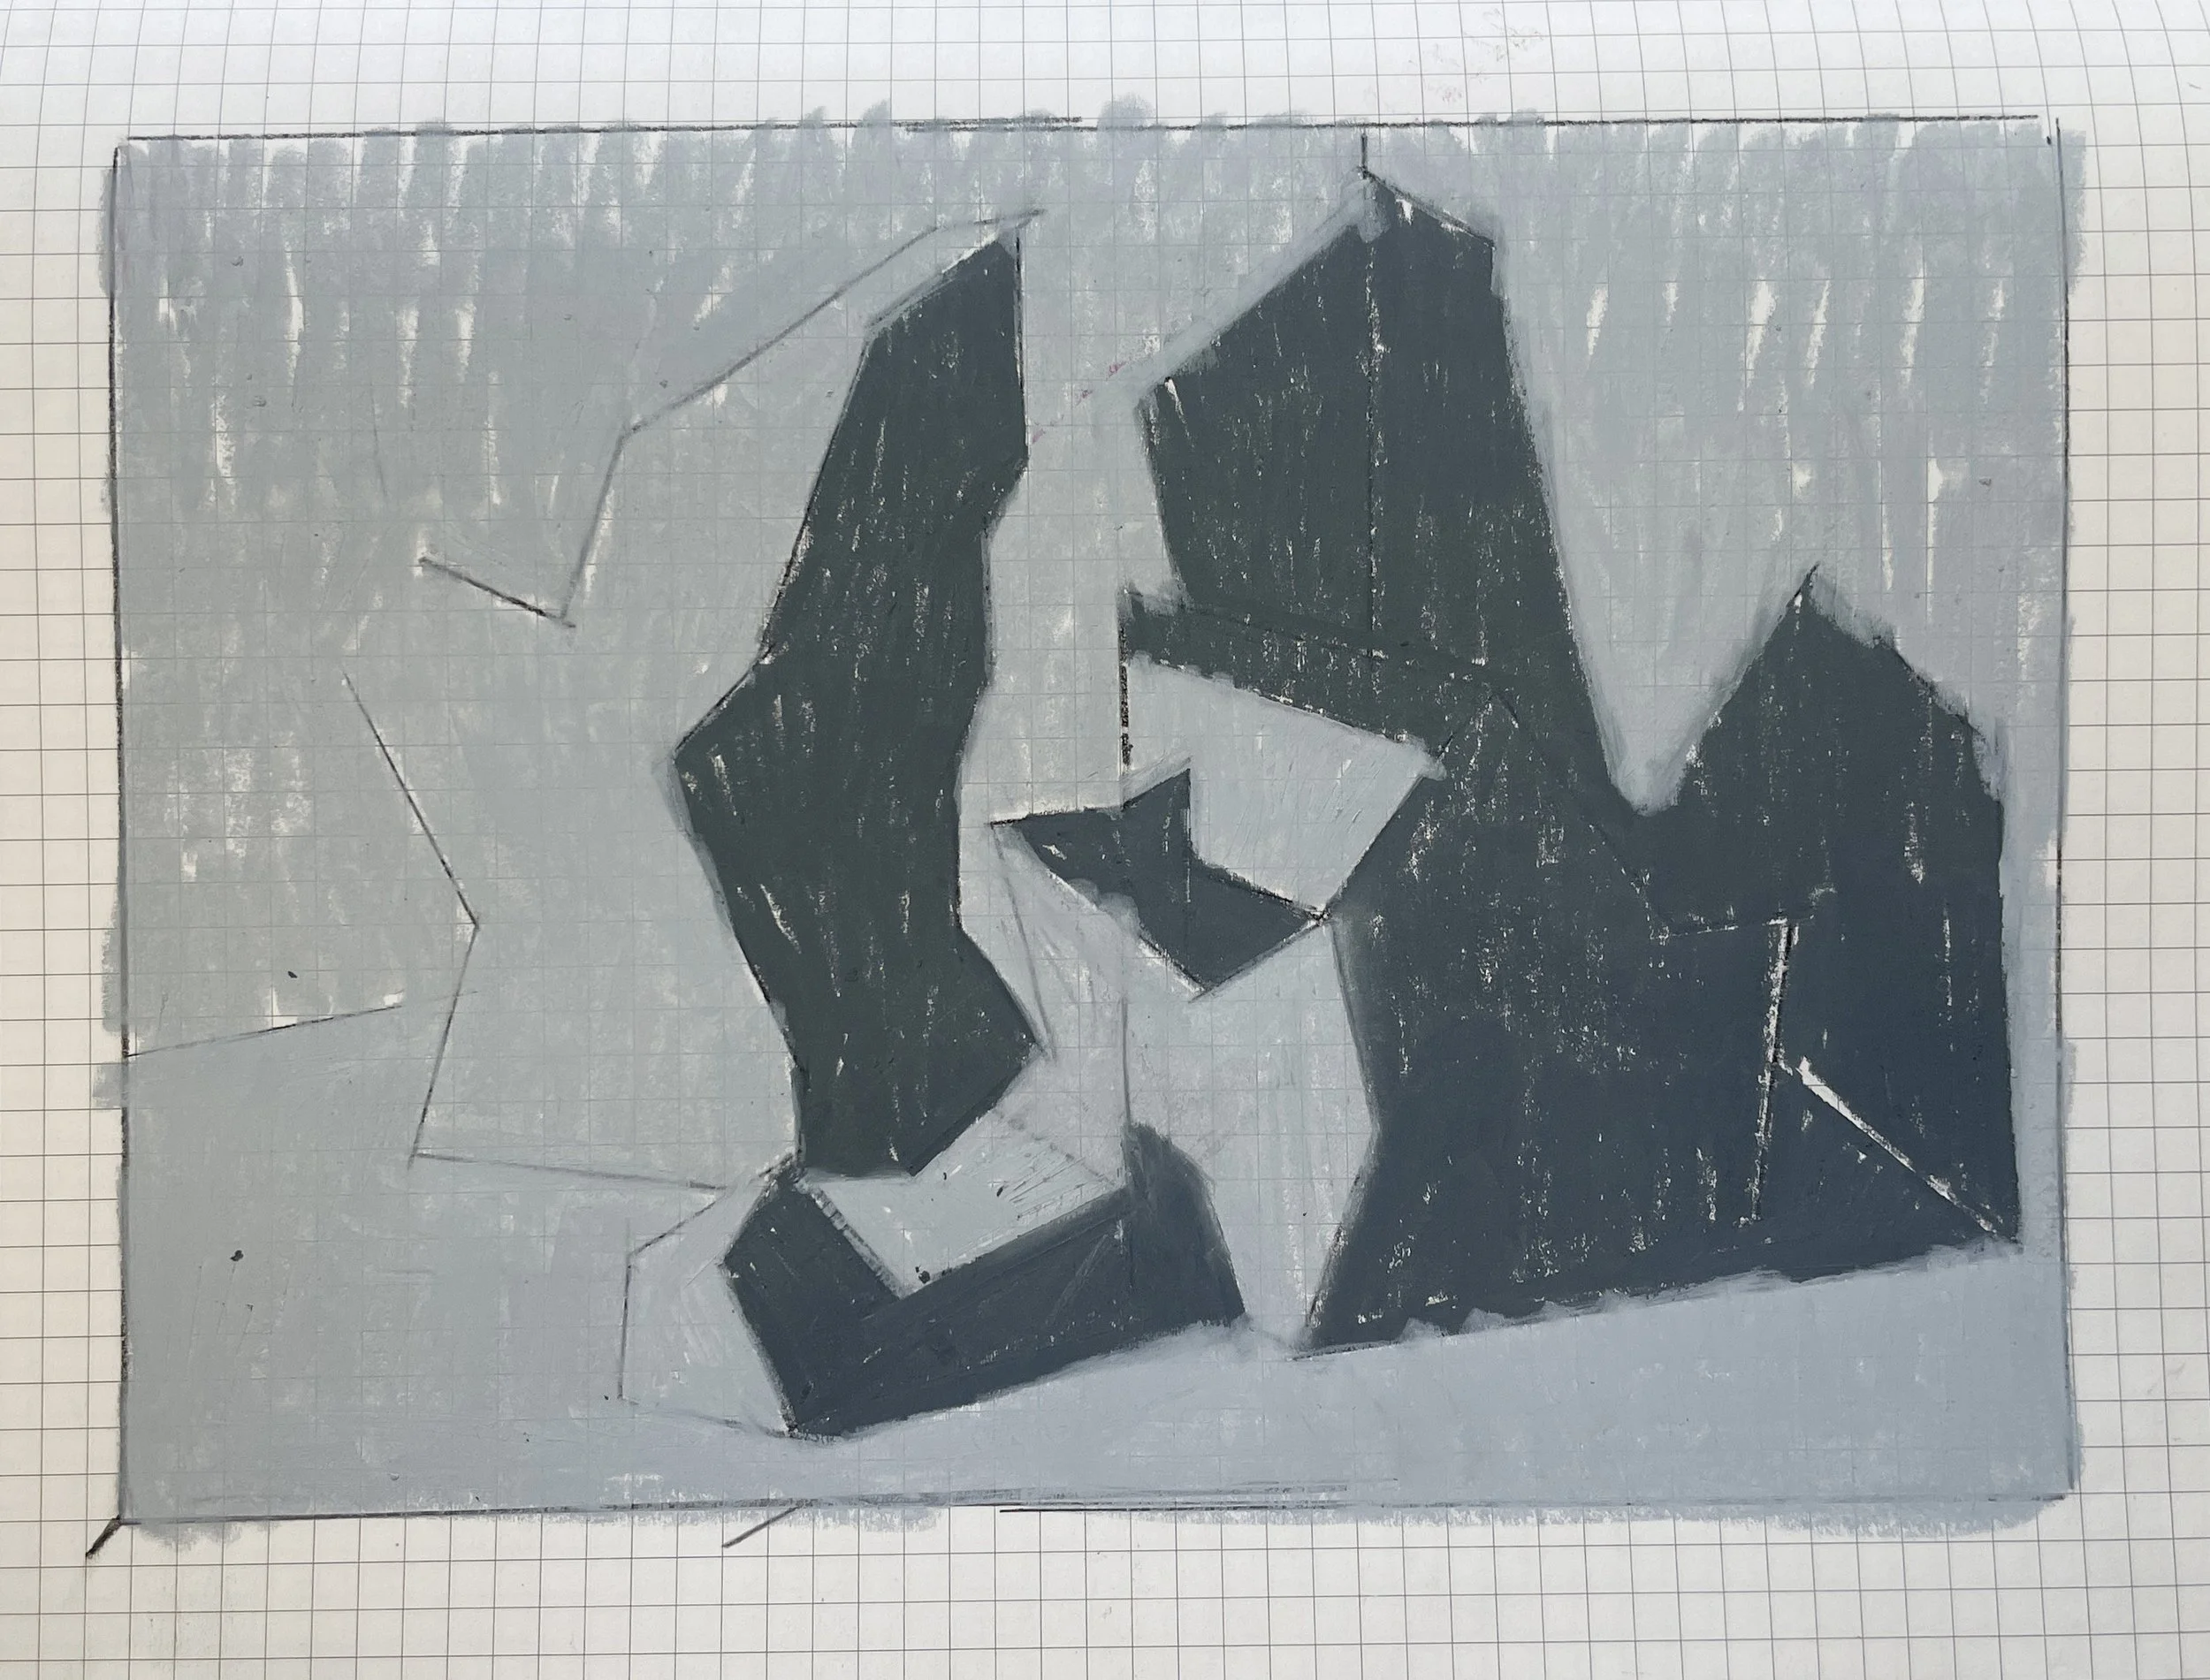
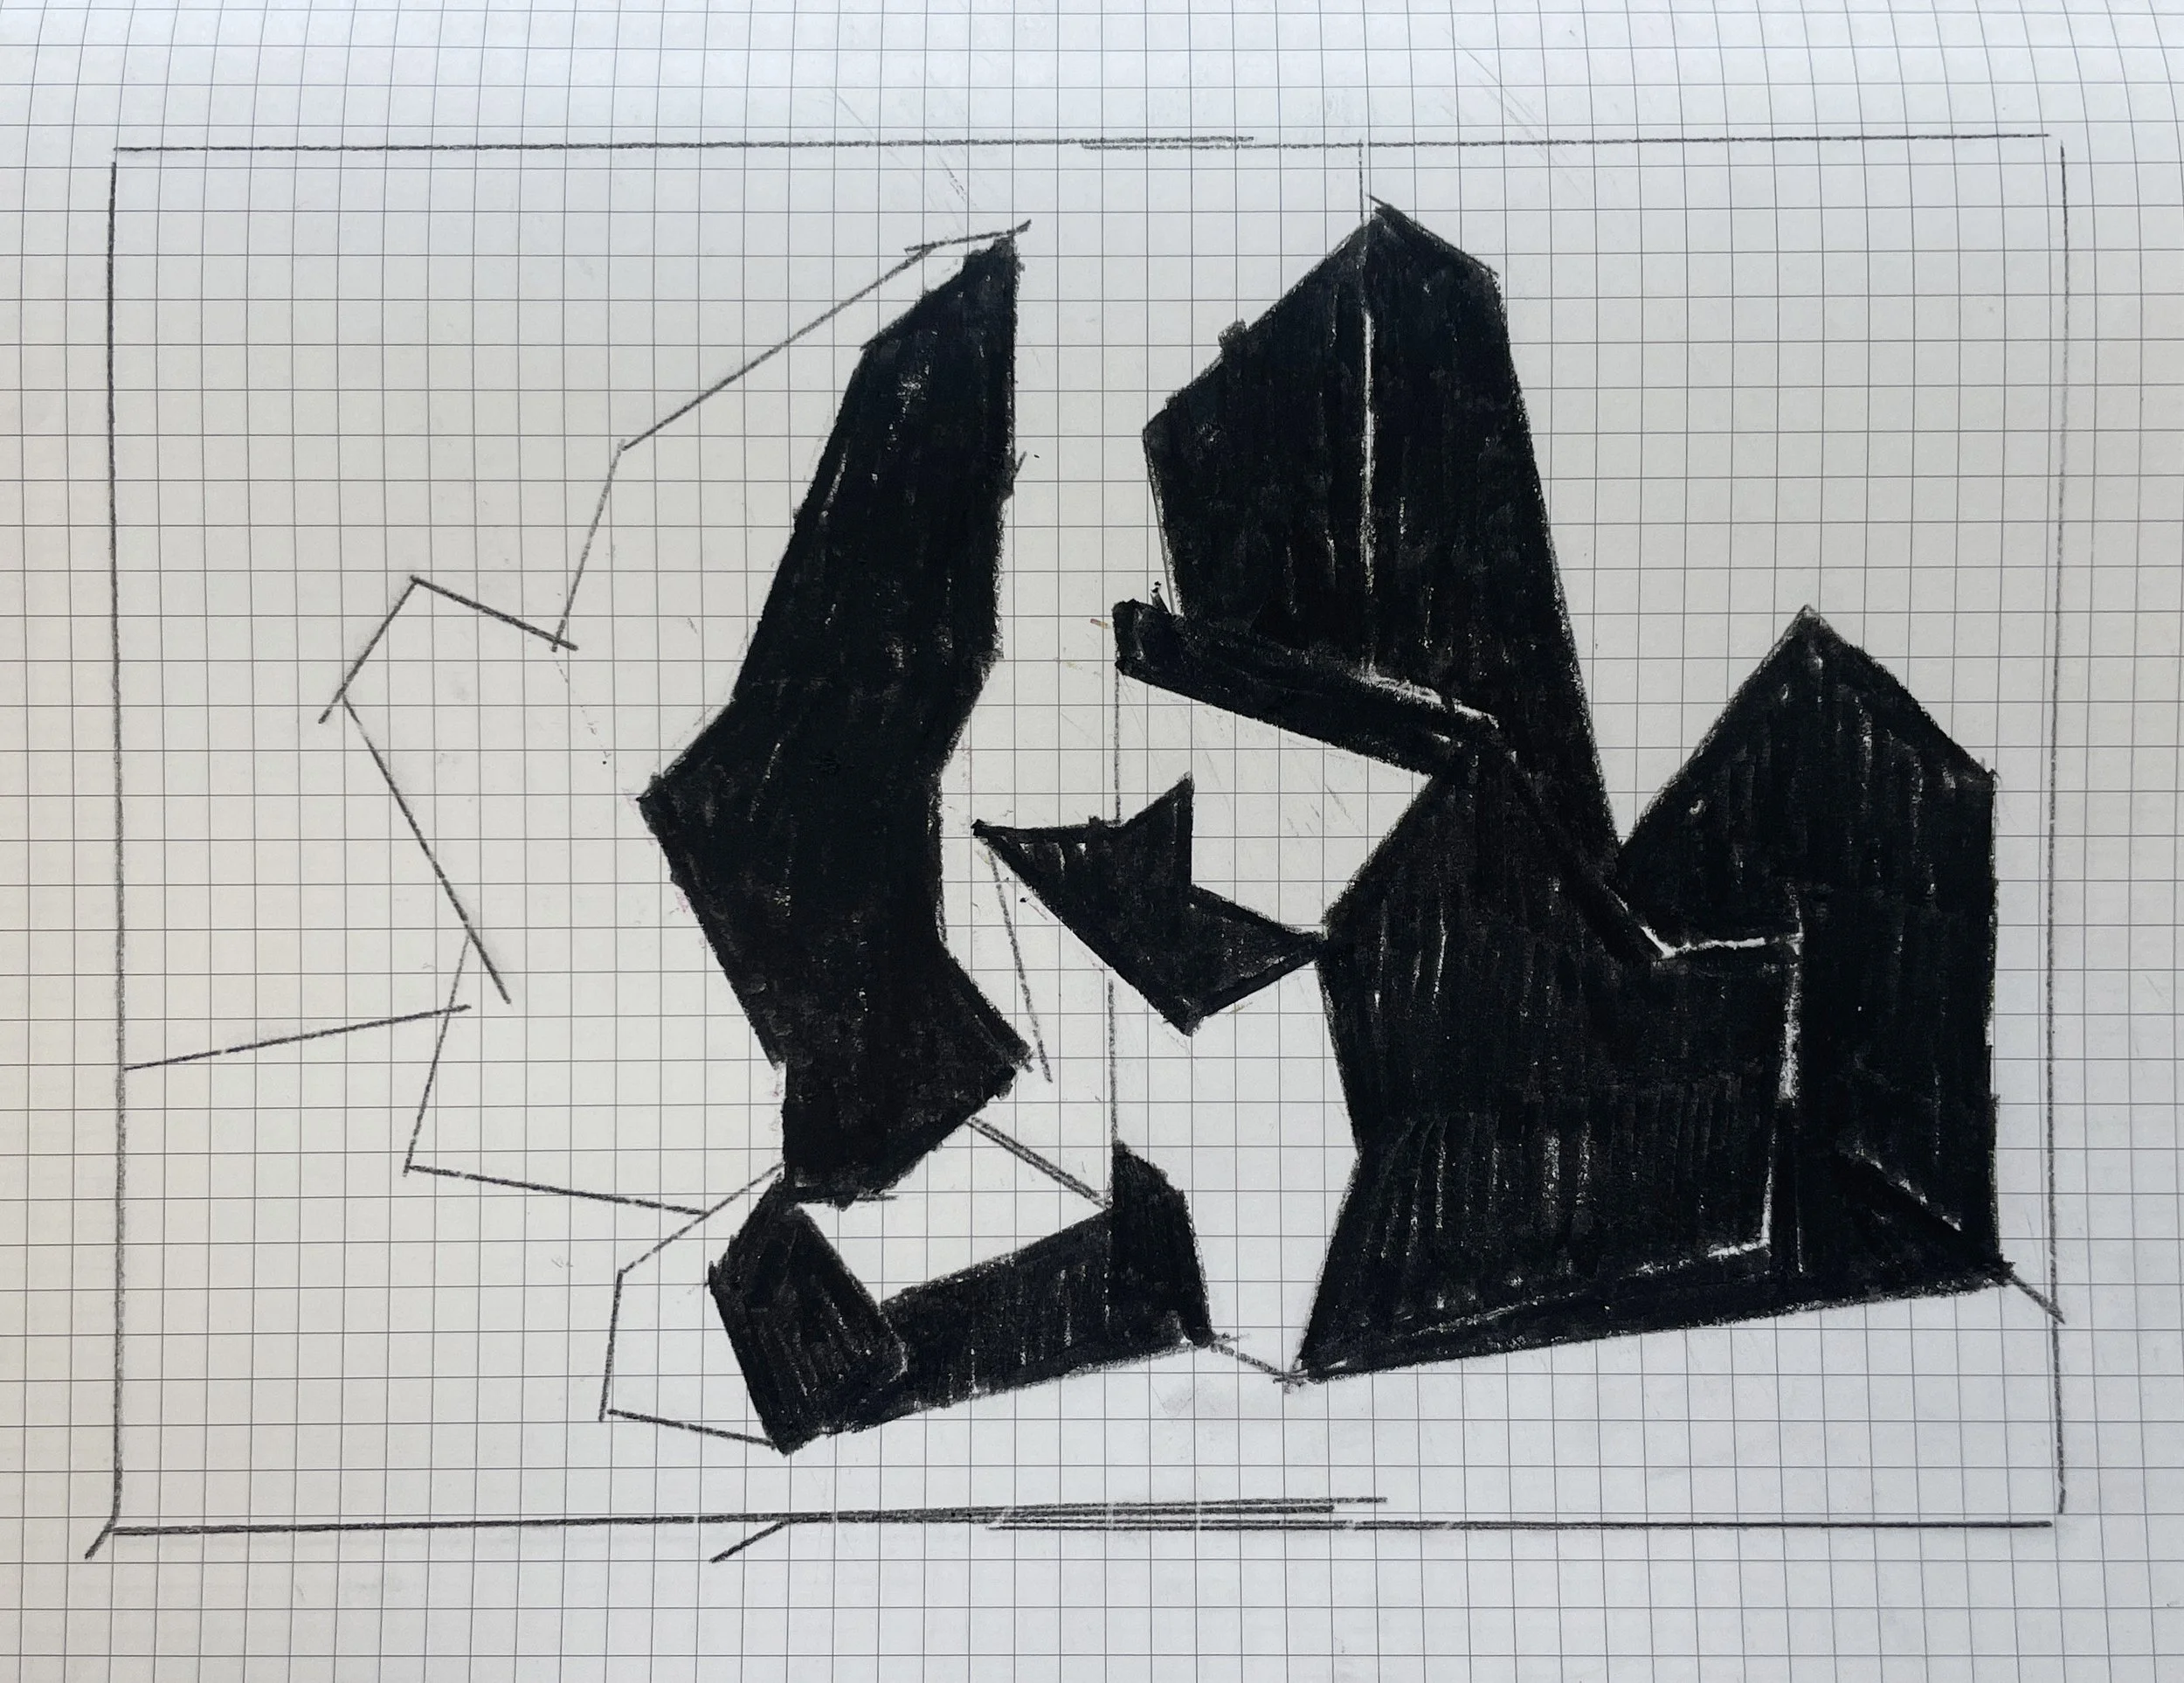
EXTENSIONS:
Interior:
Master Study: