ON THE FIELD: GOUACHE
As you know, I have been working to create a method that feels good for me to use gouache on the field.
I am seeking a method that allows me to respond directly to my perceptual experience with specificity and clarity.
Here are some of the lessons and methods I have found helpful:
I. THE DRAWING
For me, painting with gouache cannot be too spontaneous. I need it to be slow and thoughtful, because the material does not readily allow for scraping and building in the way I am used to with oils.
SO, I need a working method that builds-in preparatory steps that slow me down and put me in a state of mind where I can make singular, clear decisions.
I like to begin with my FORMAT.
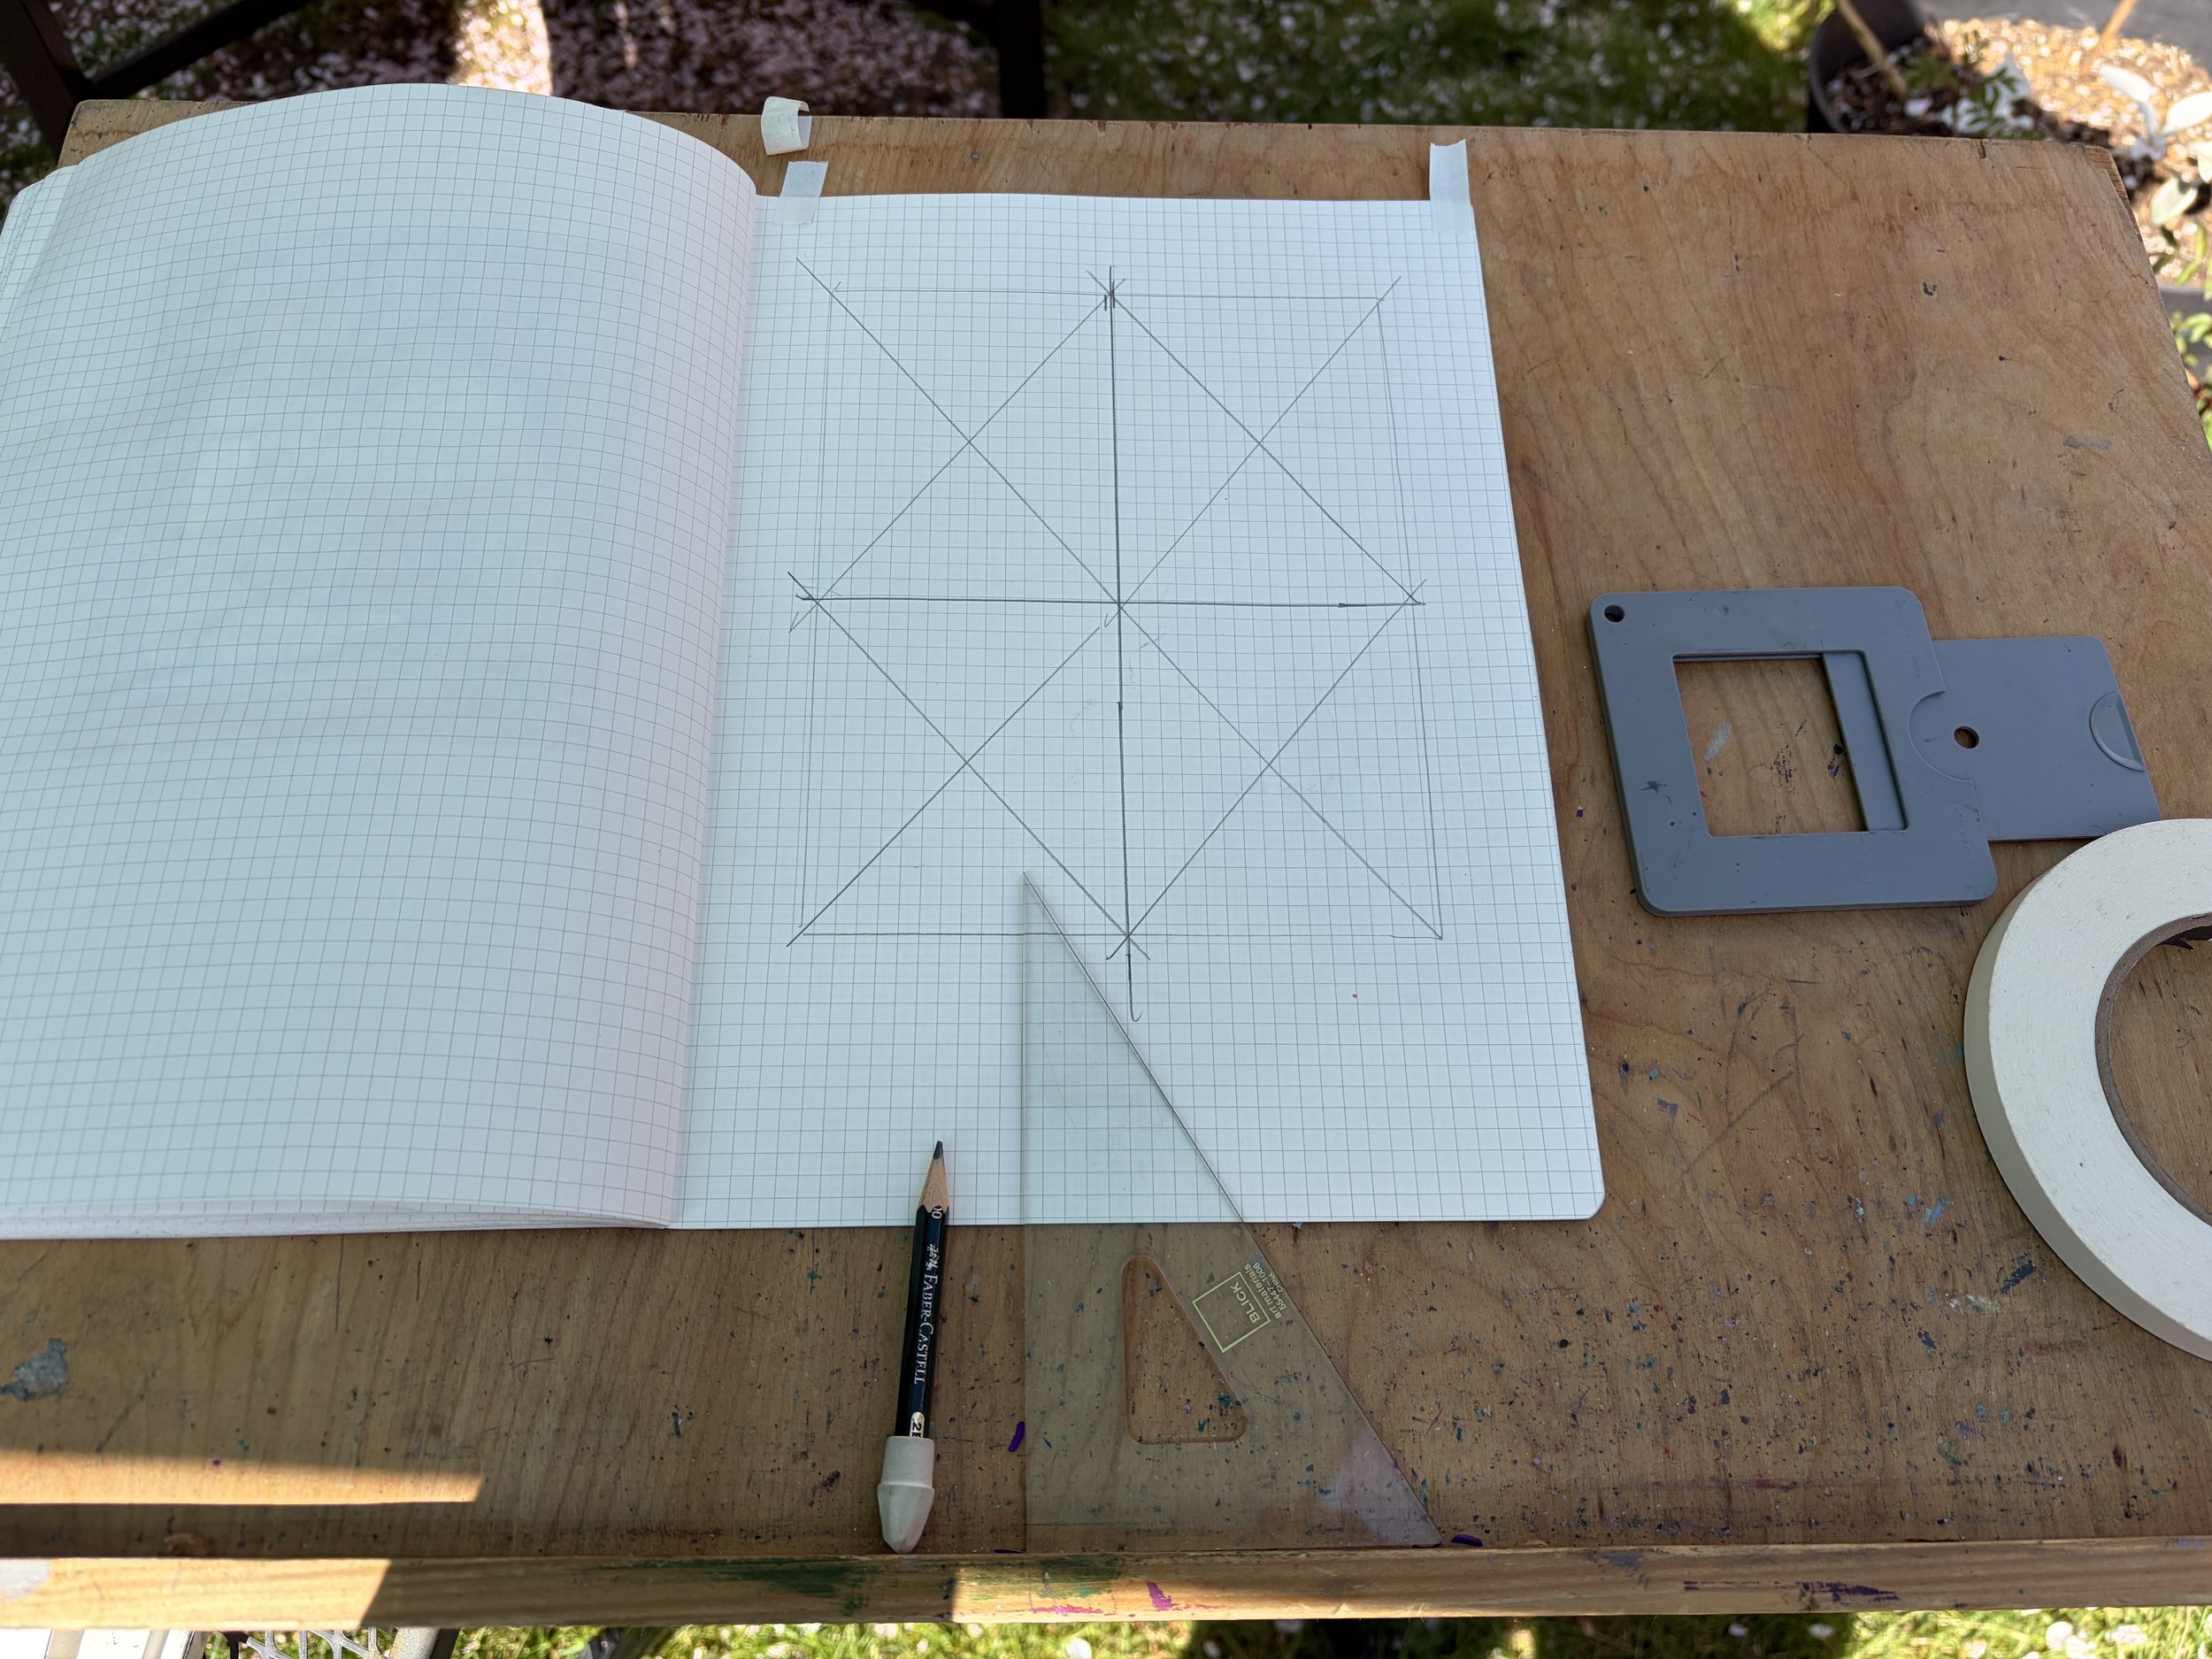
In the back of my sketchbook I keep several pieces of paper that have the same scale/ratio as the main painting formats I like to use. These are rectangles I want to honor and use again and again, learning and returning to their divisions, and speaking to the possibility of sizing-up any of my studies if I so deicide to in the future.
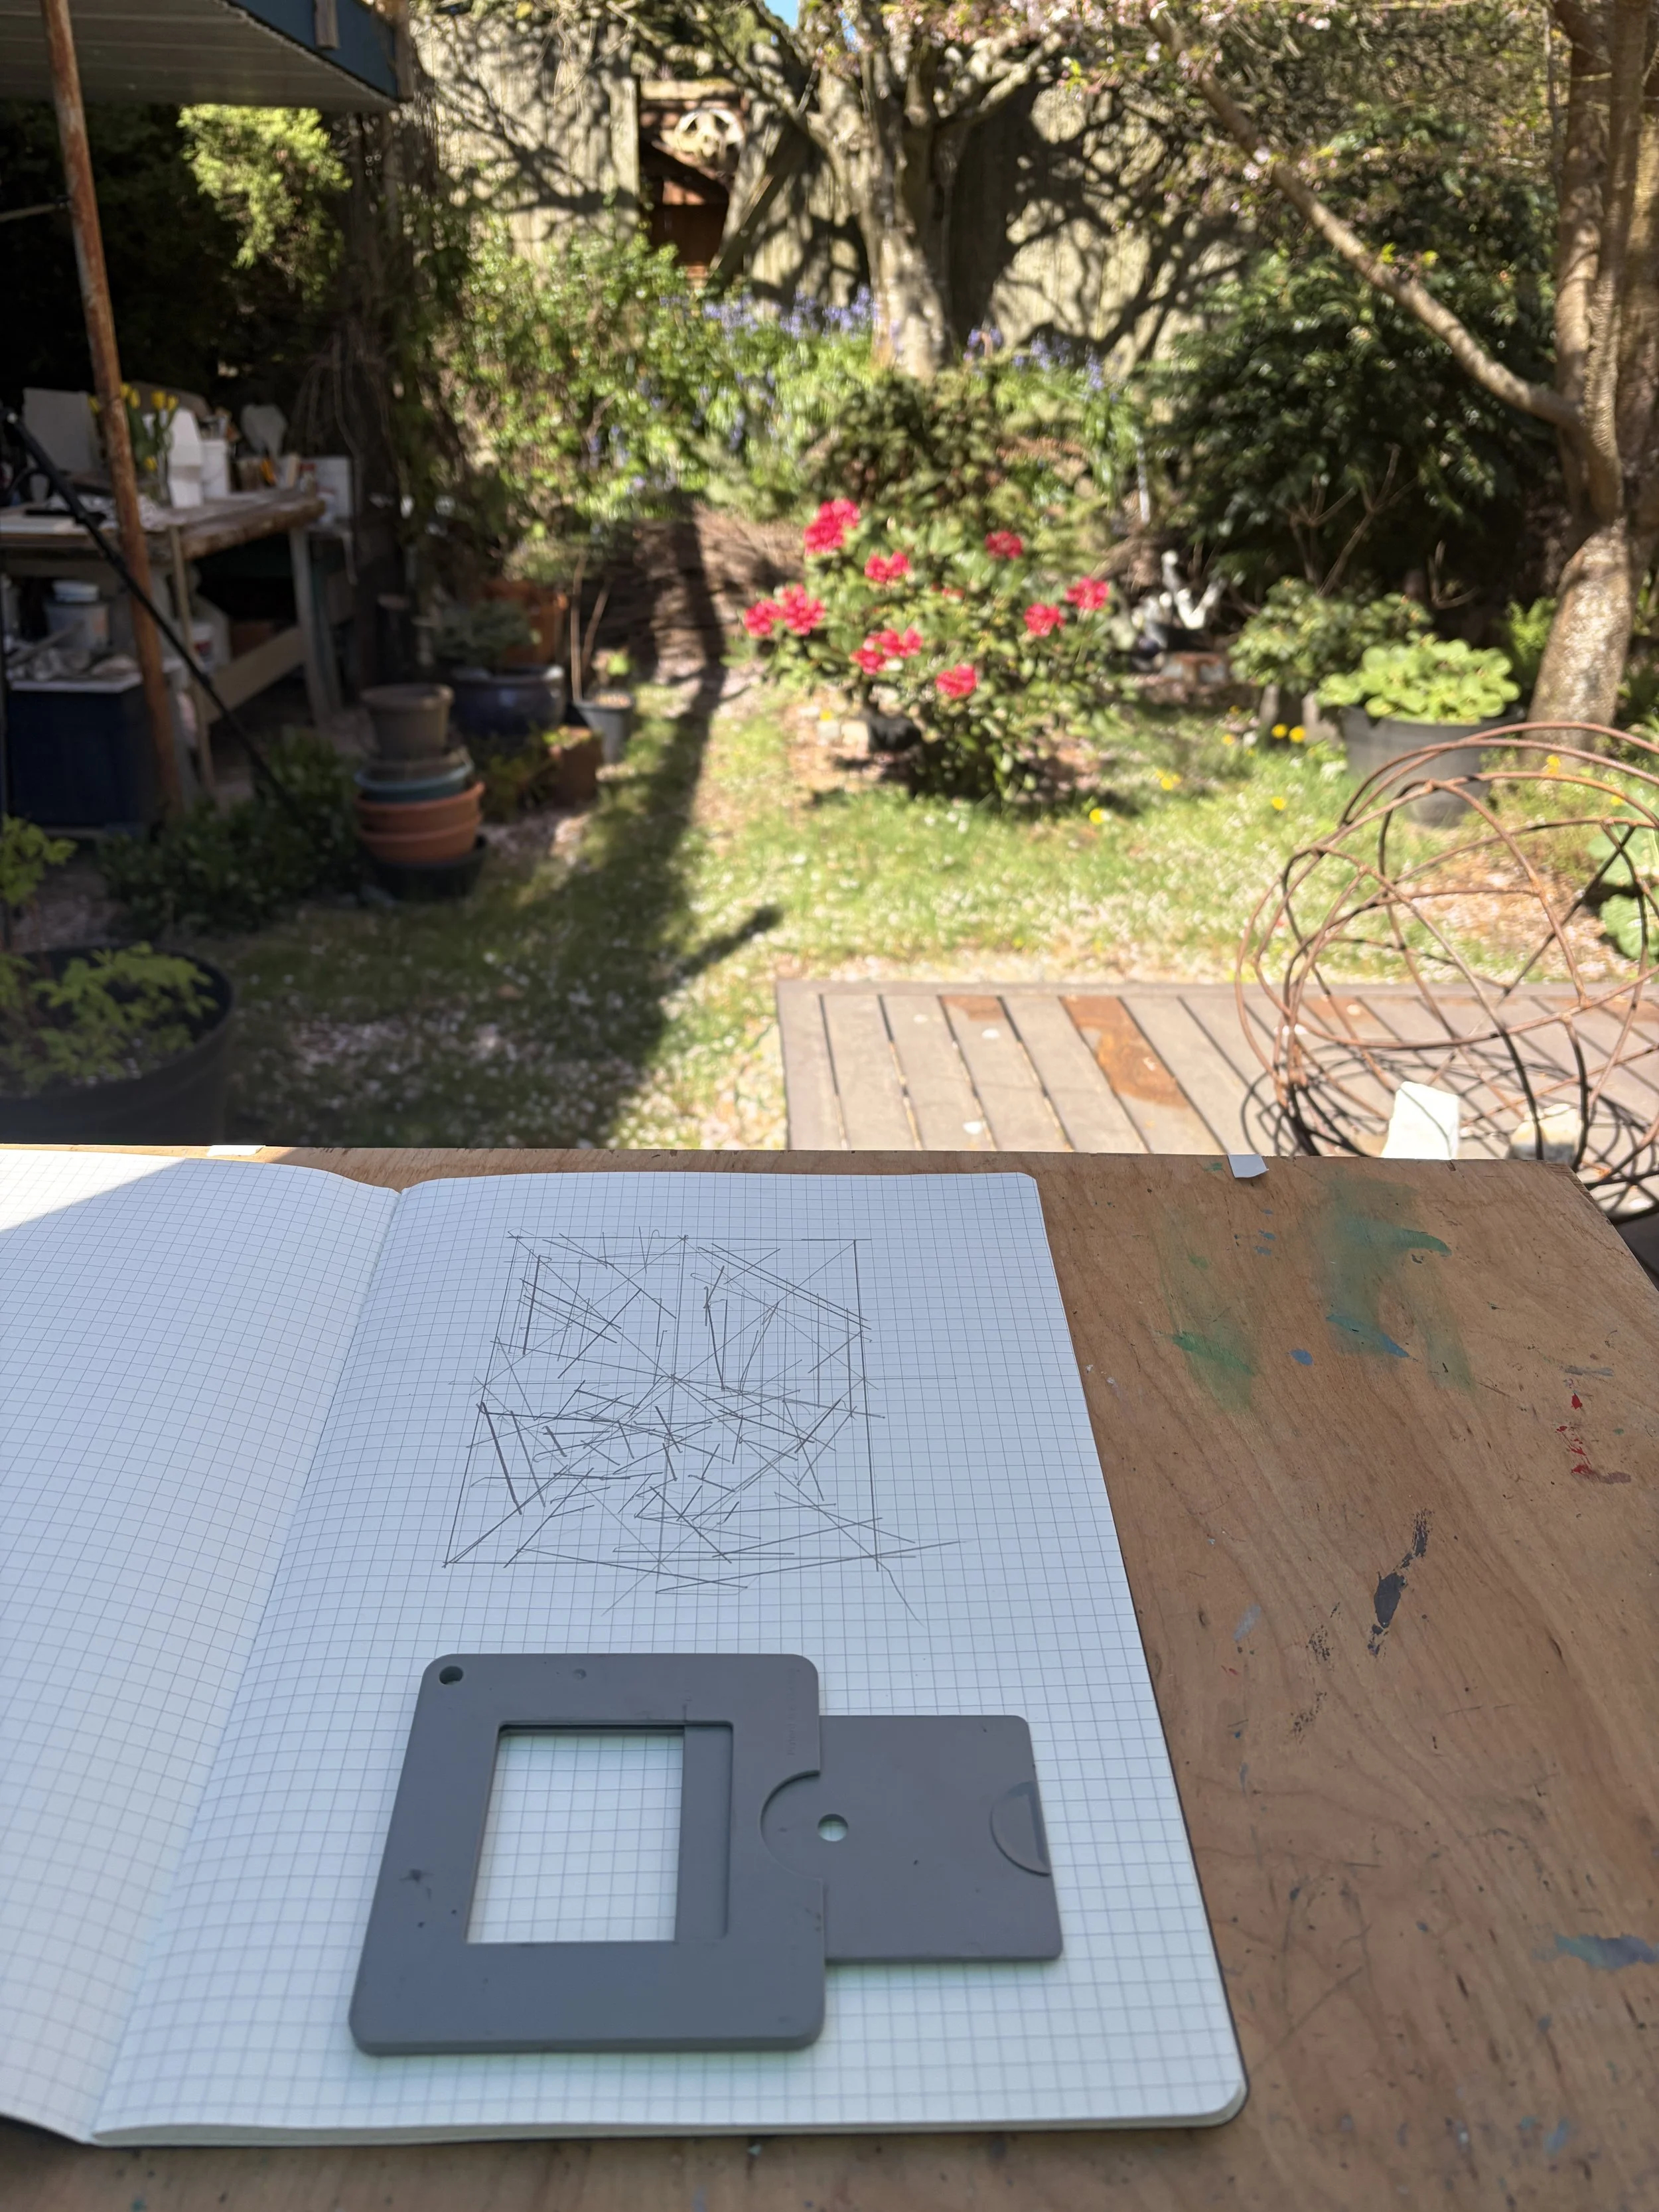
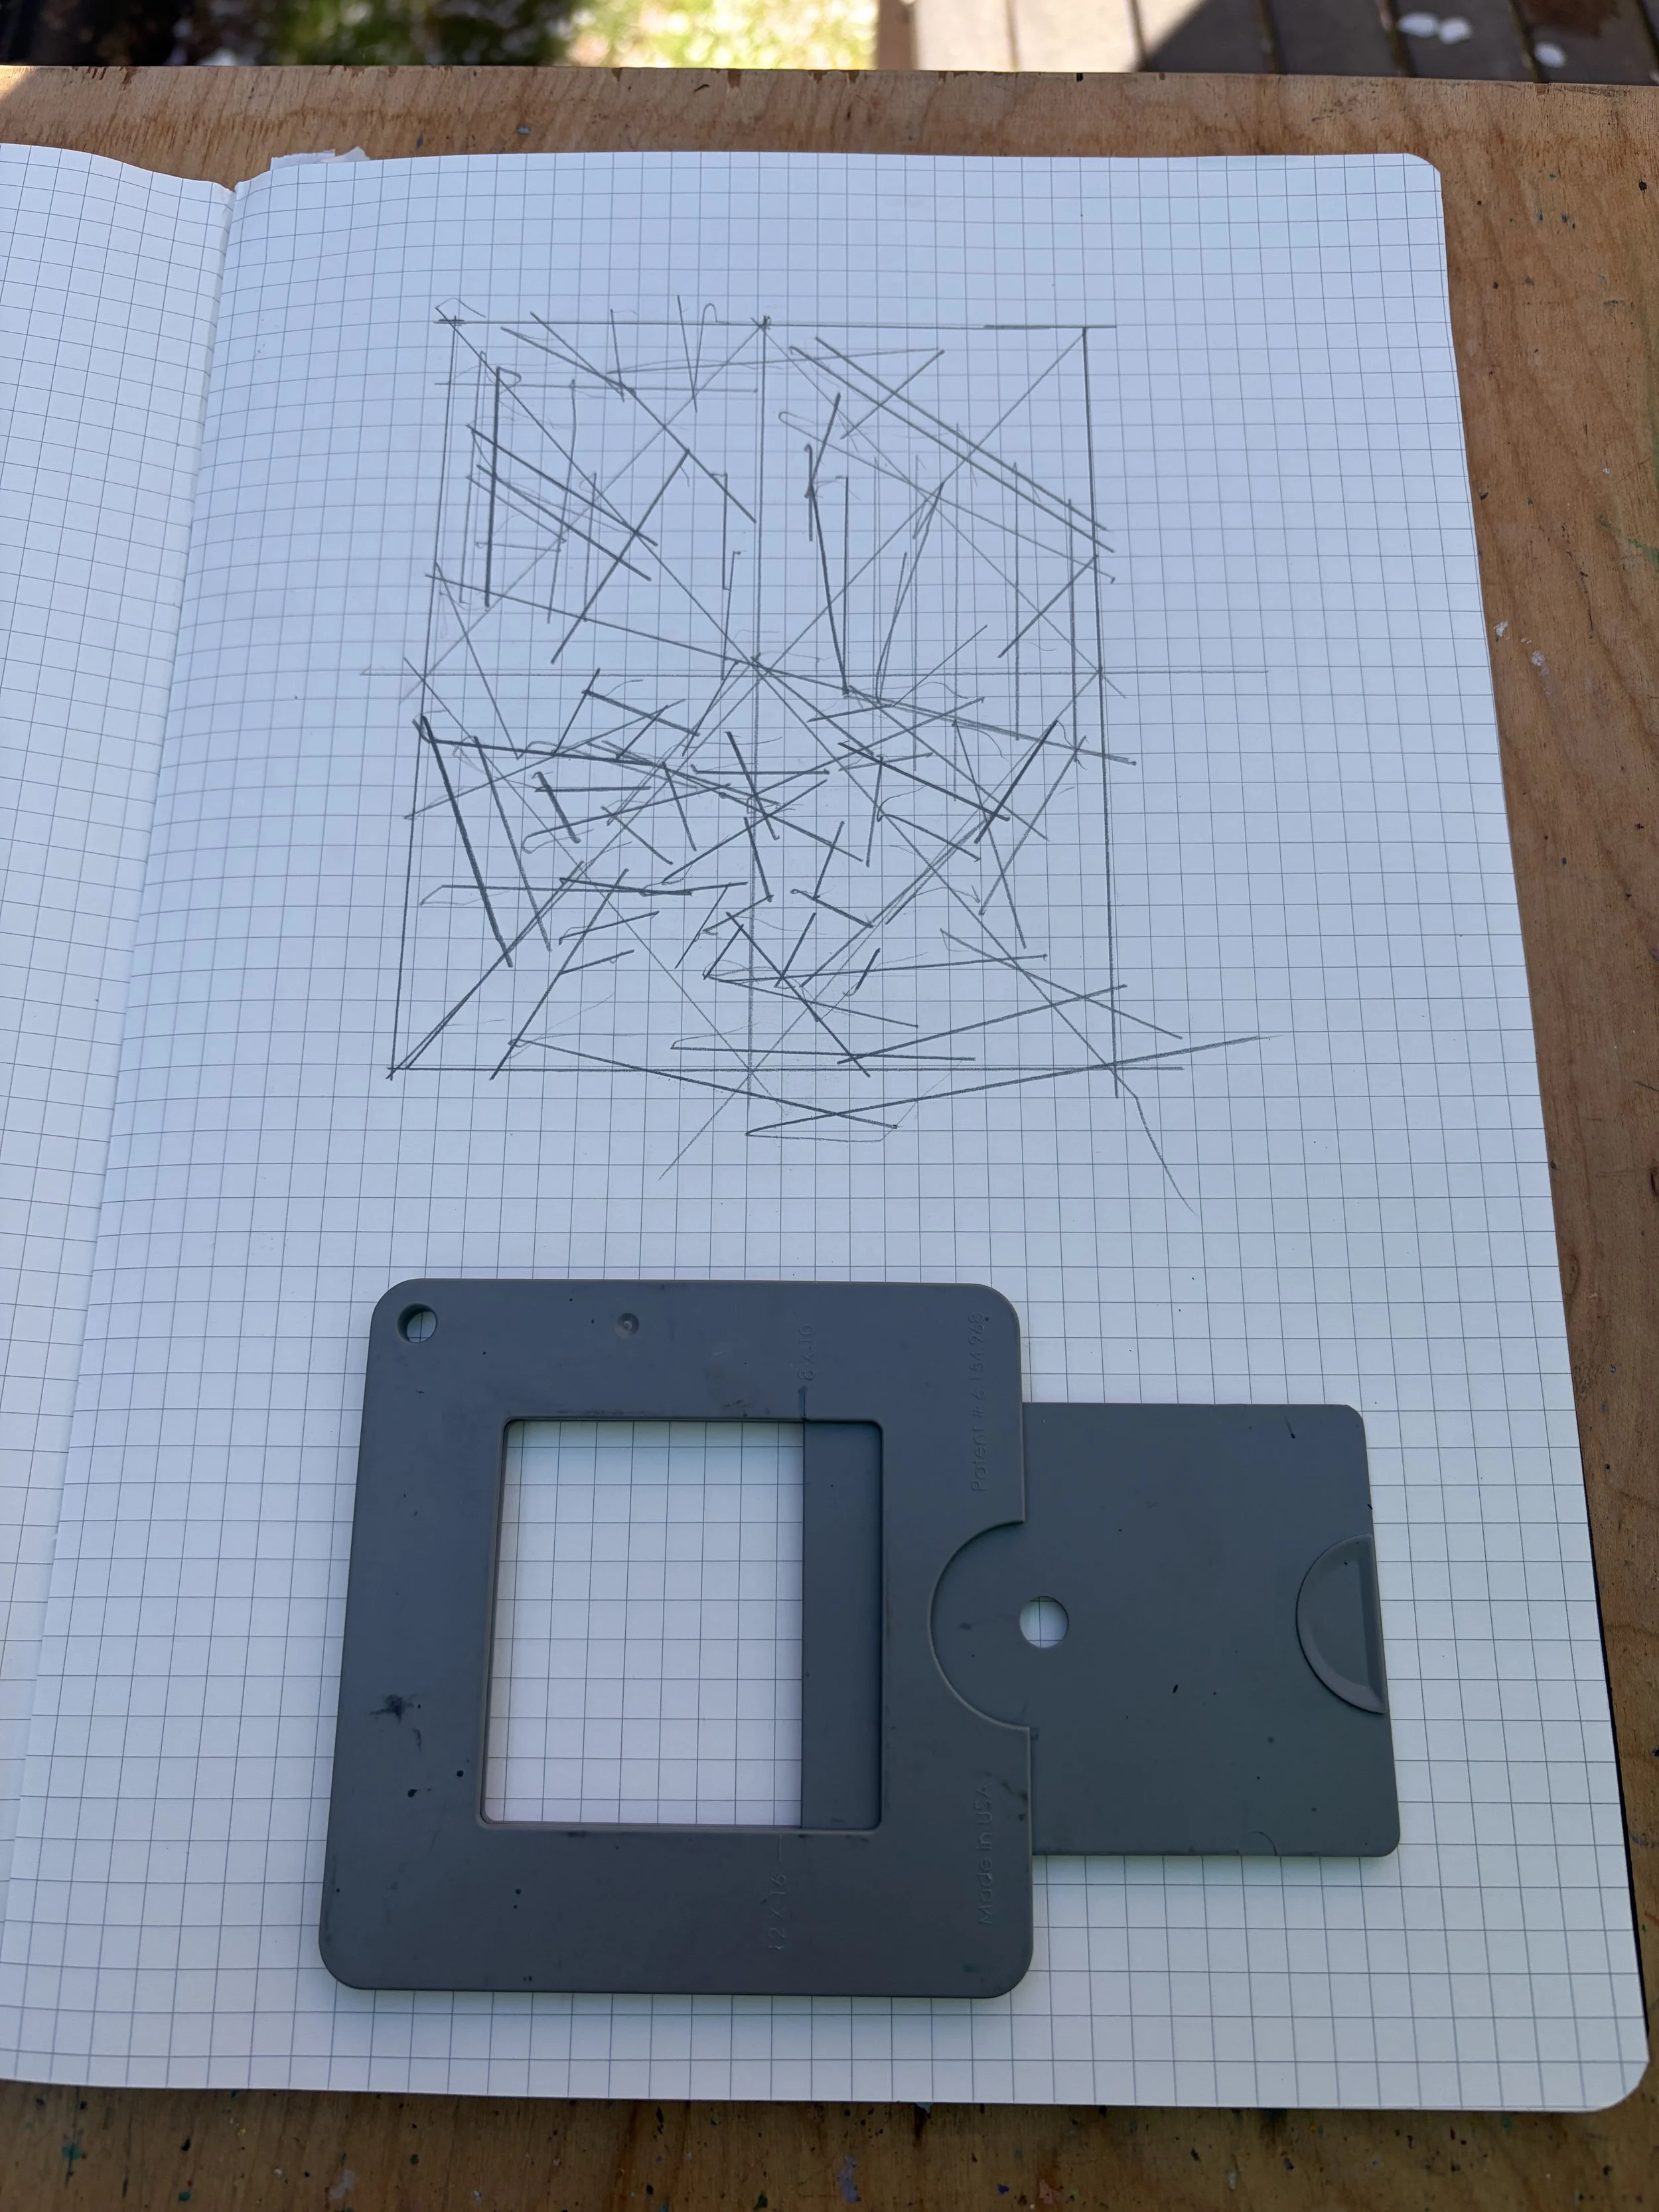
I simply trace this shape onto my page, and then apply a simple GRID.
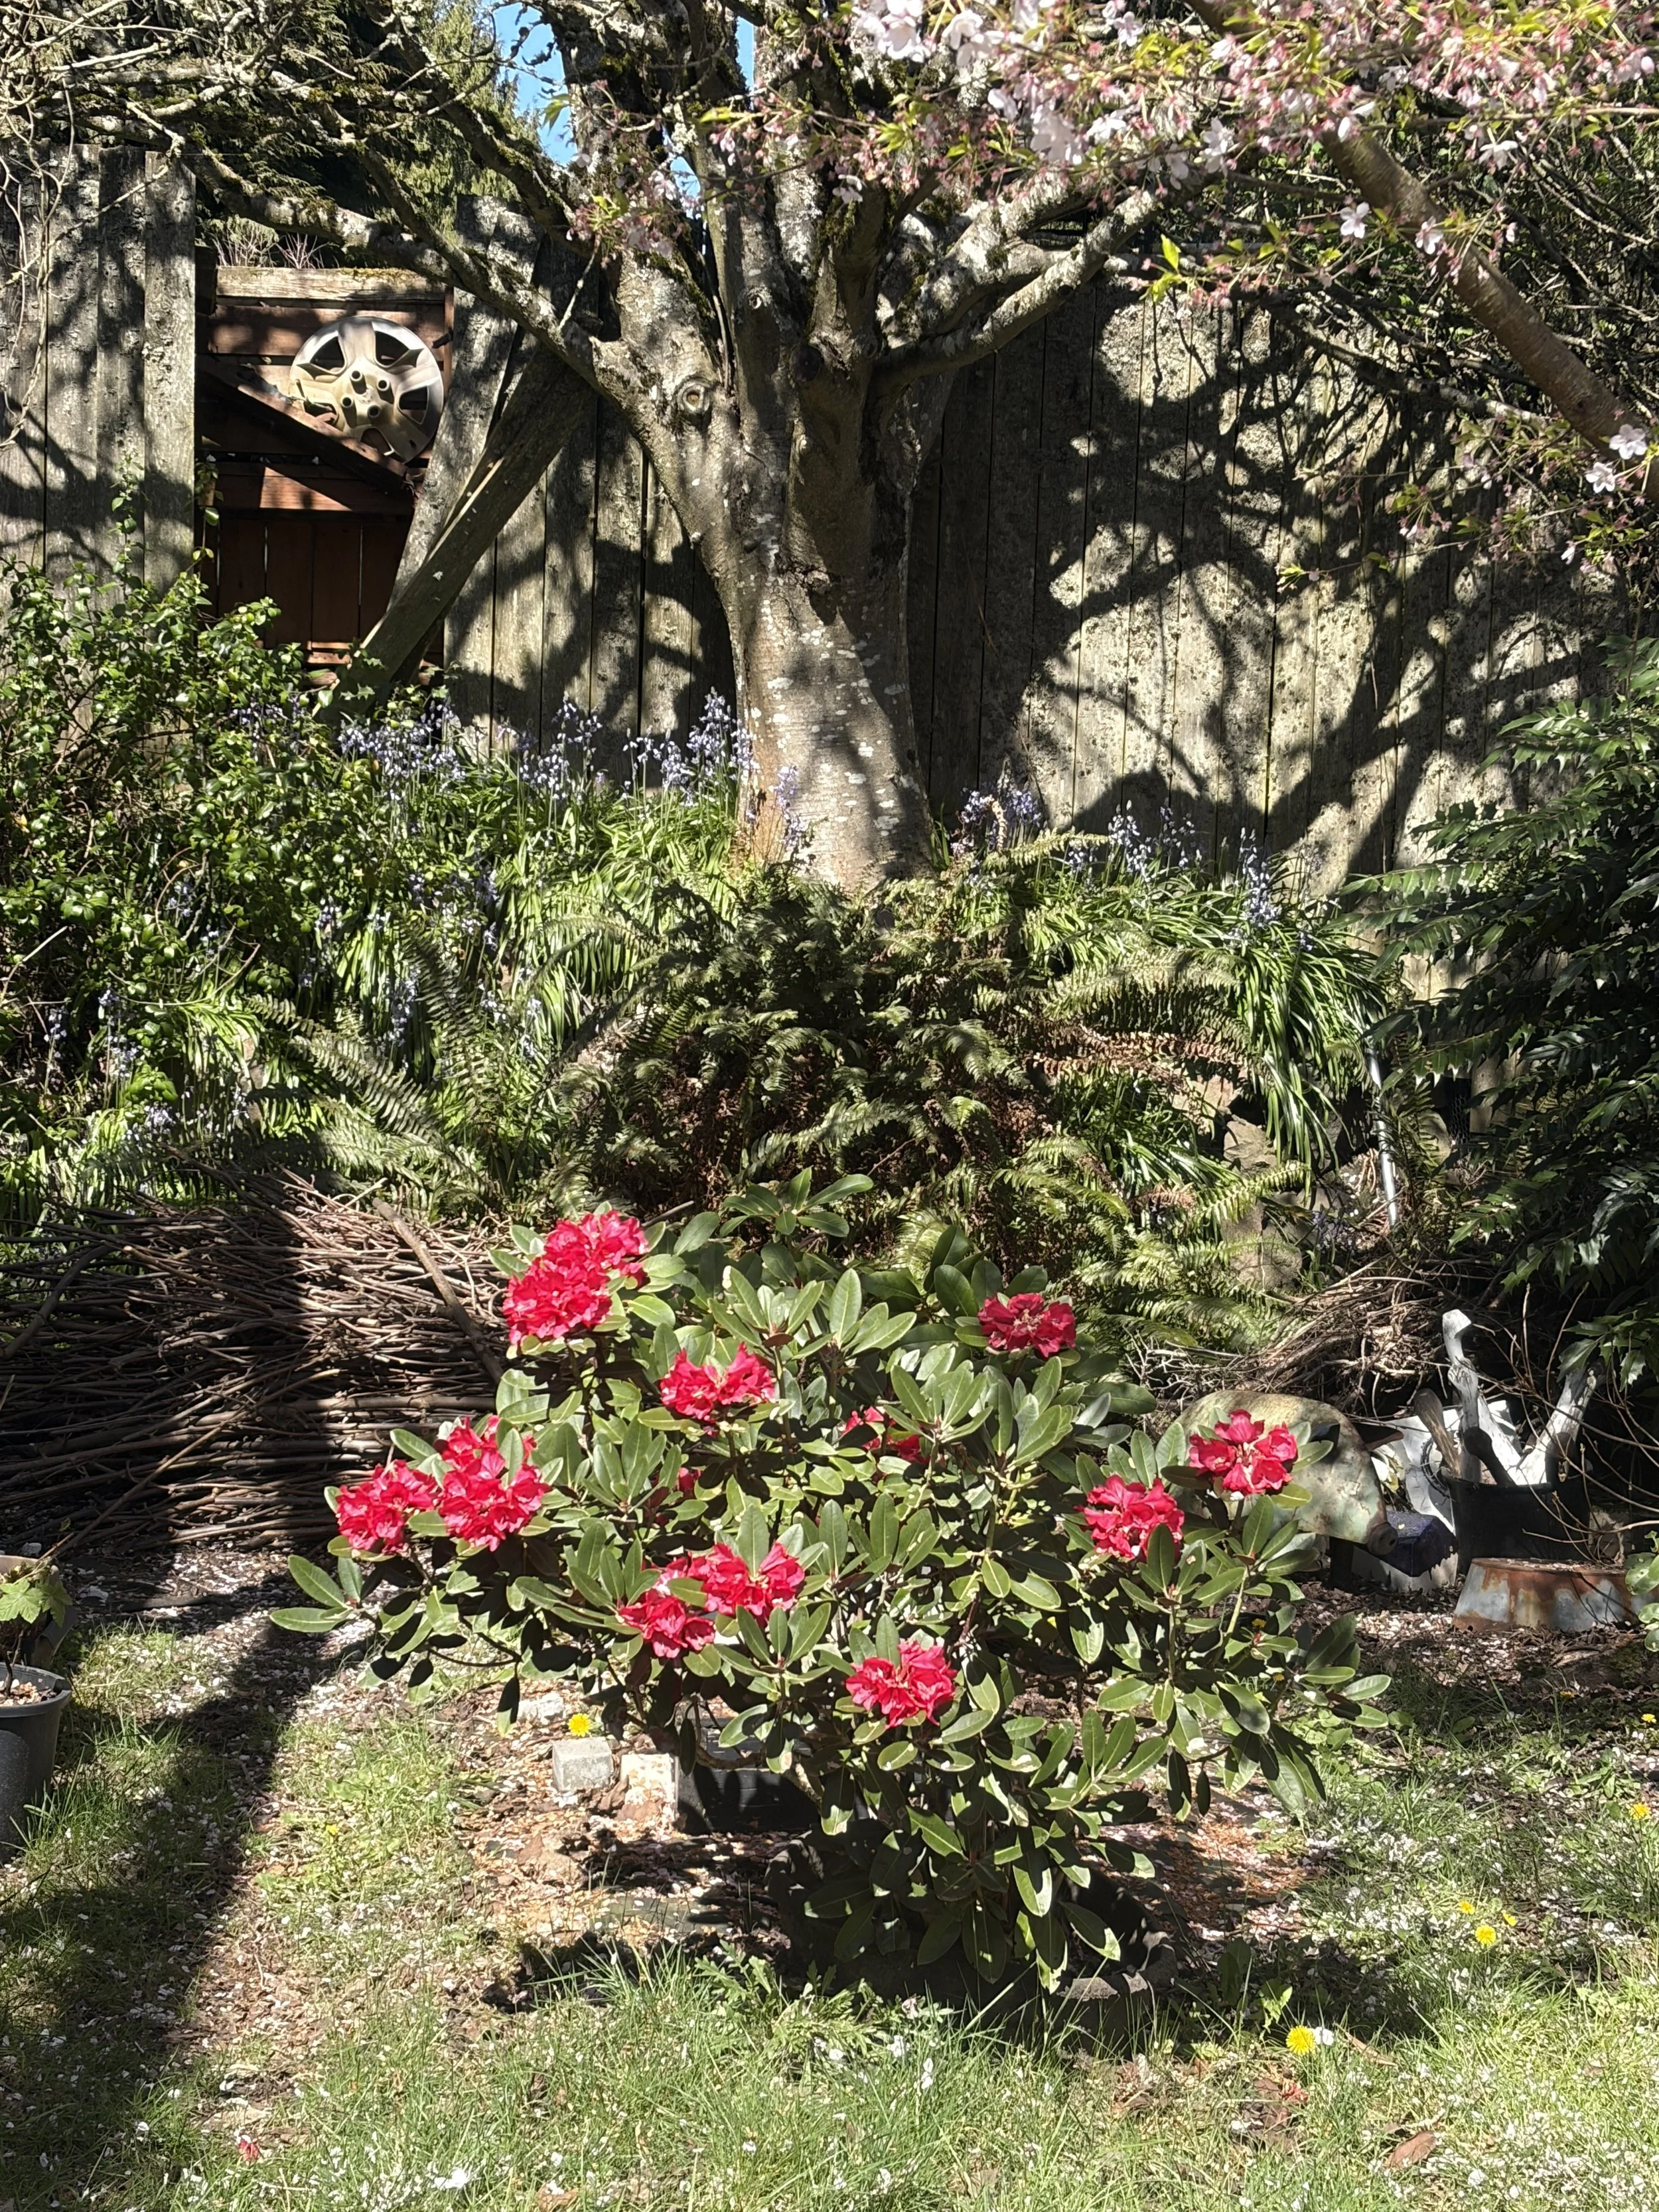
I then use my VIEW-FINDER, also set to the same ratio, to frame my motif and to establish the scale of my composition. I take visual note of my center, both horizontally and vertically.
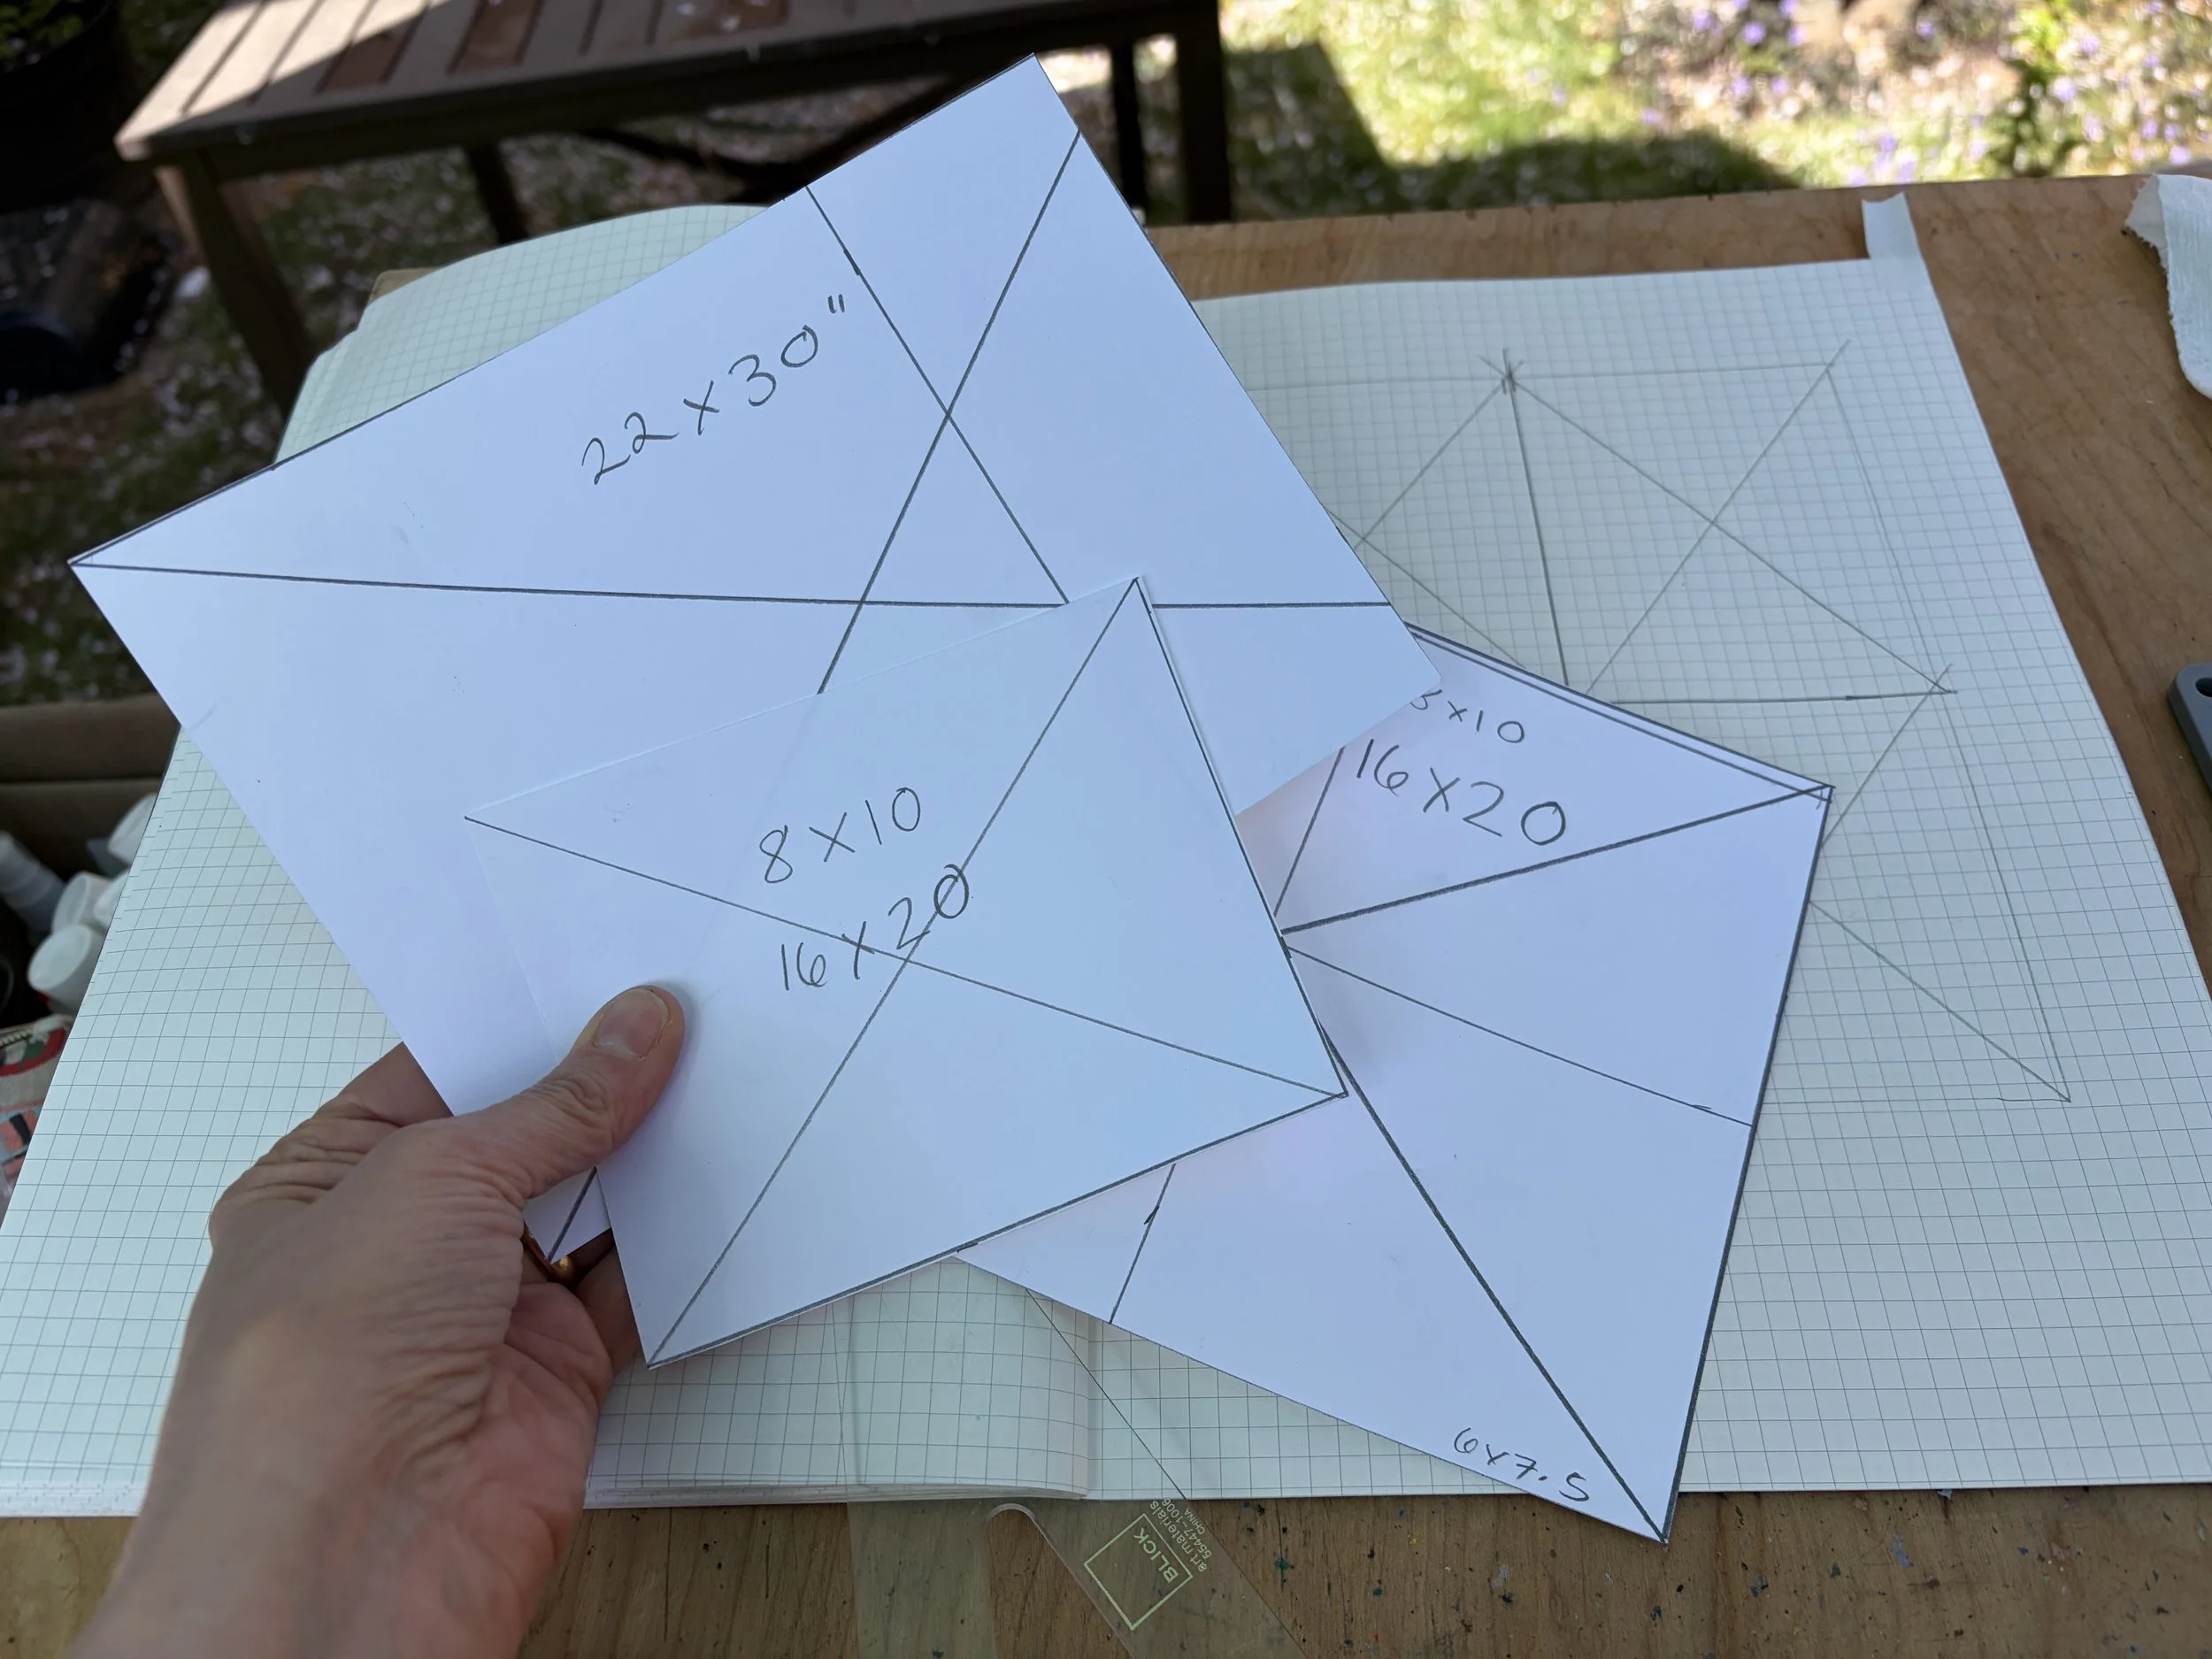
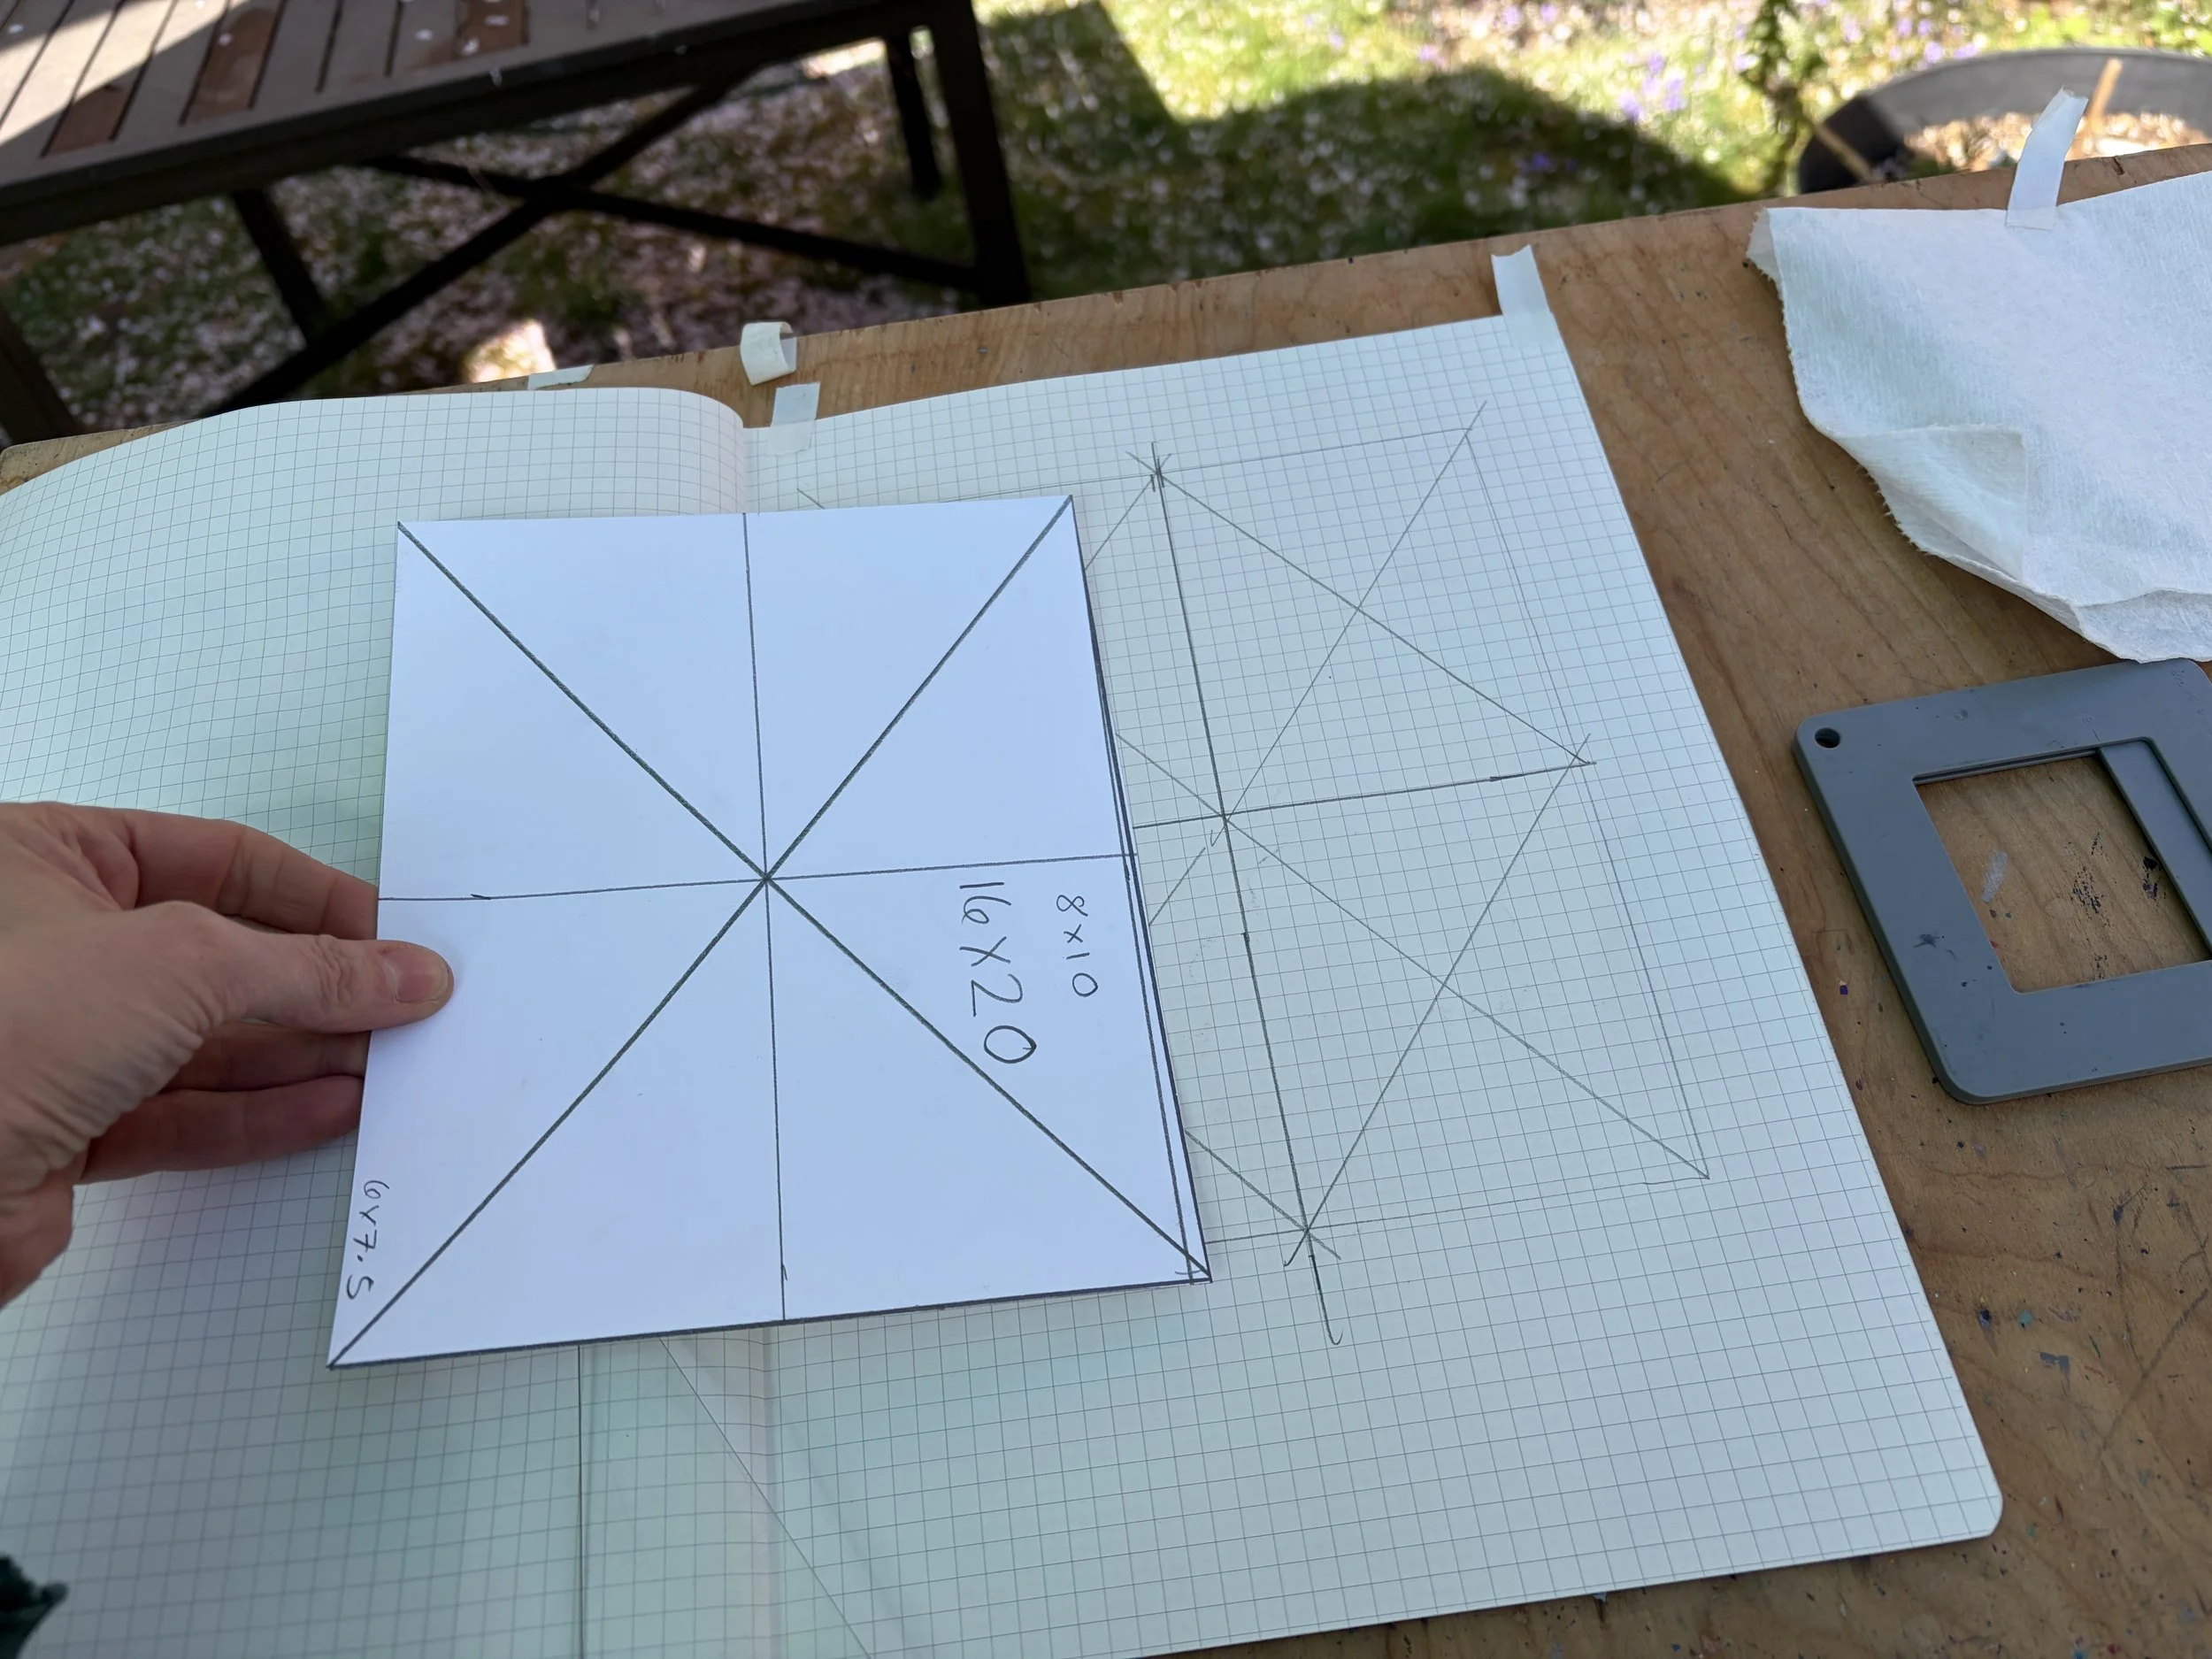
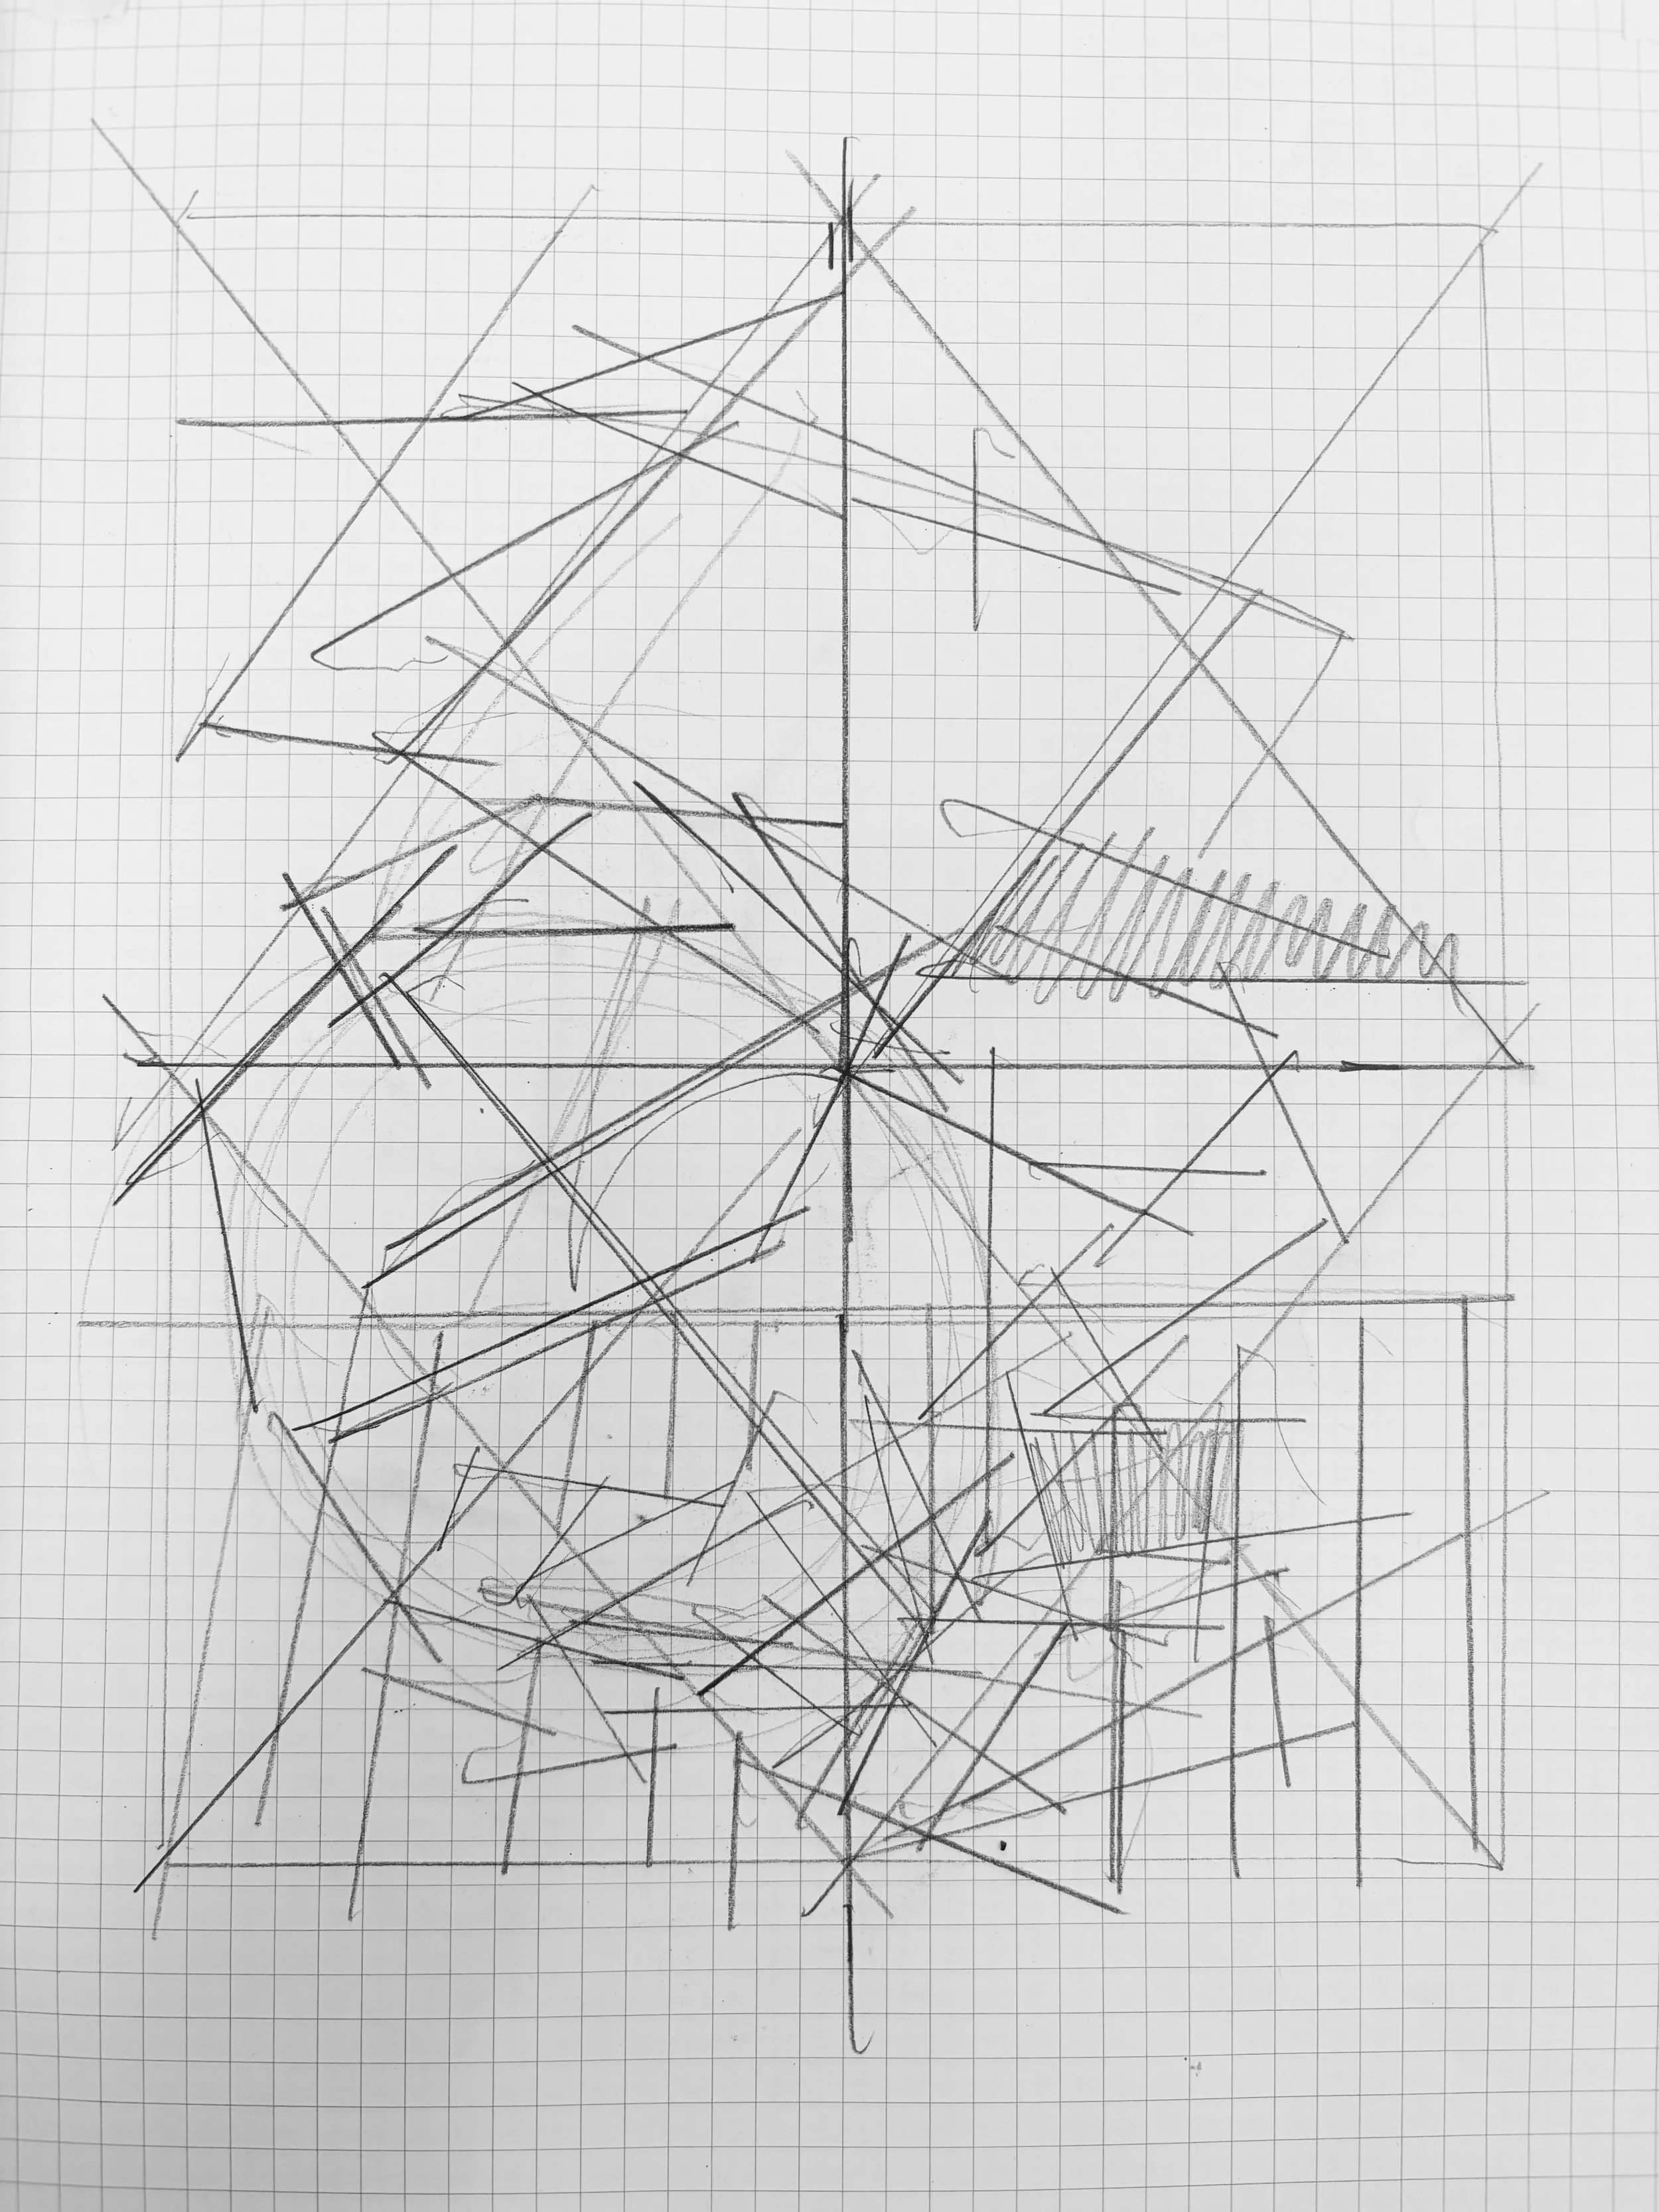
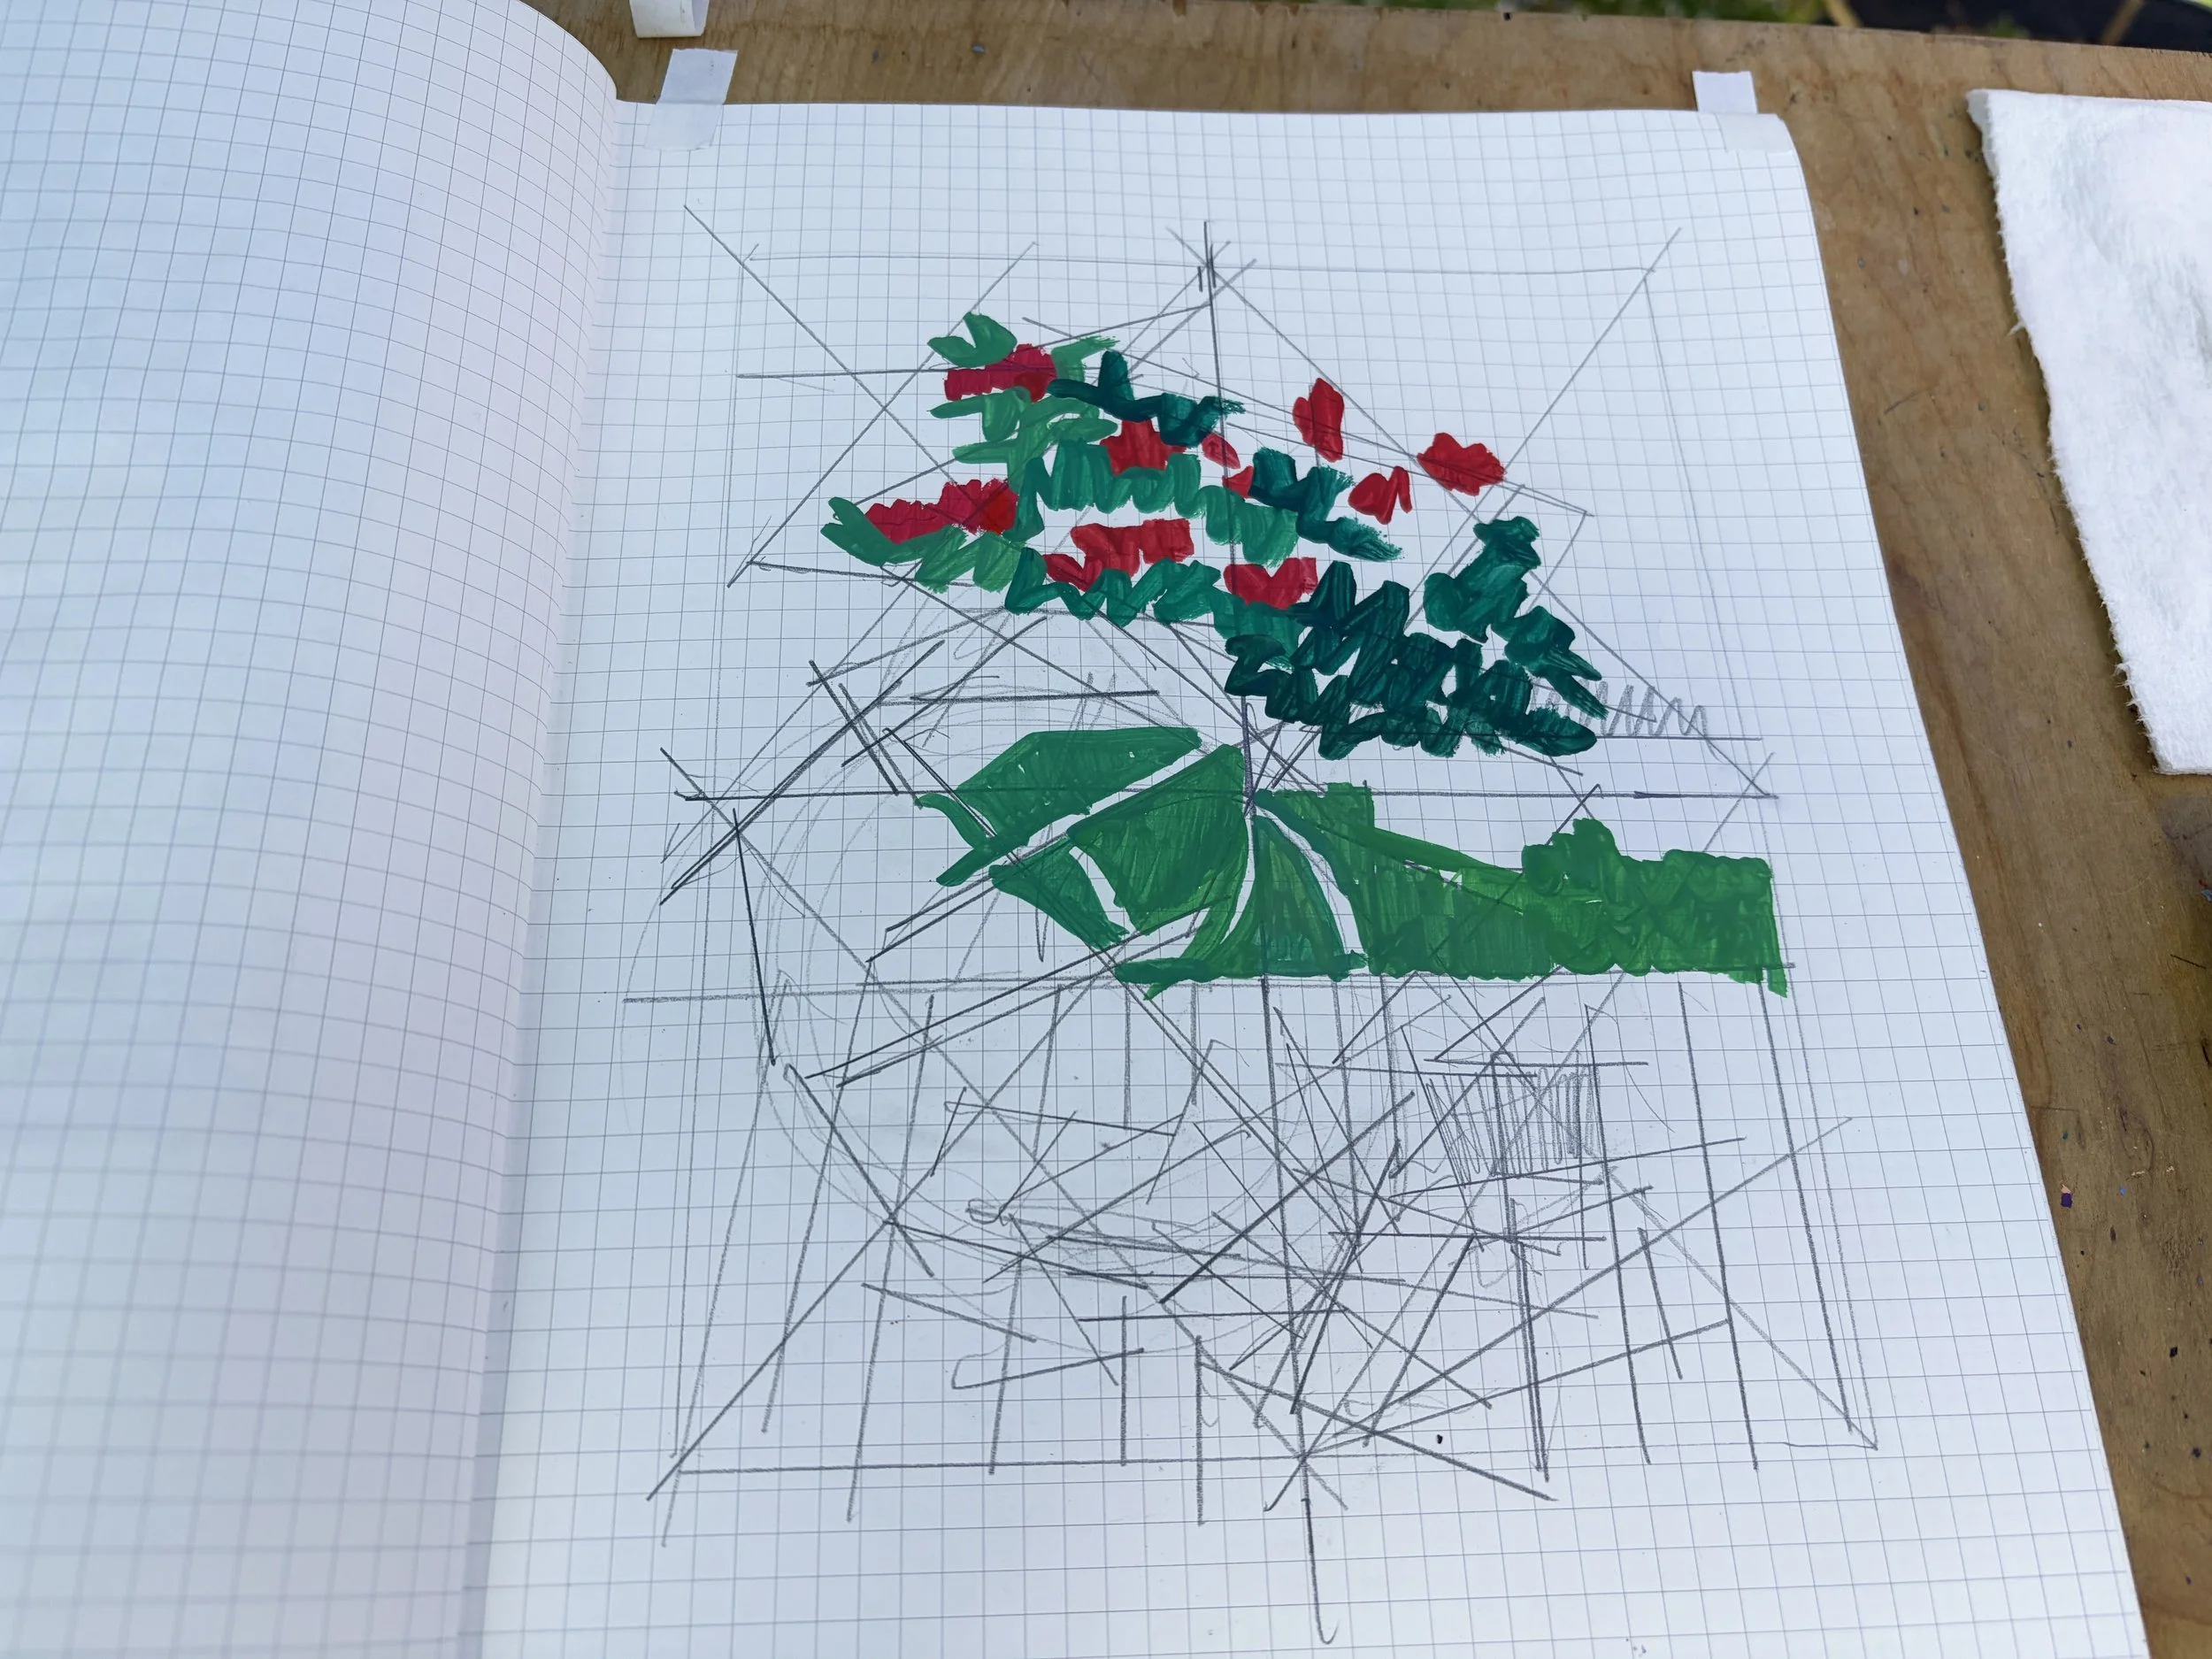
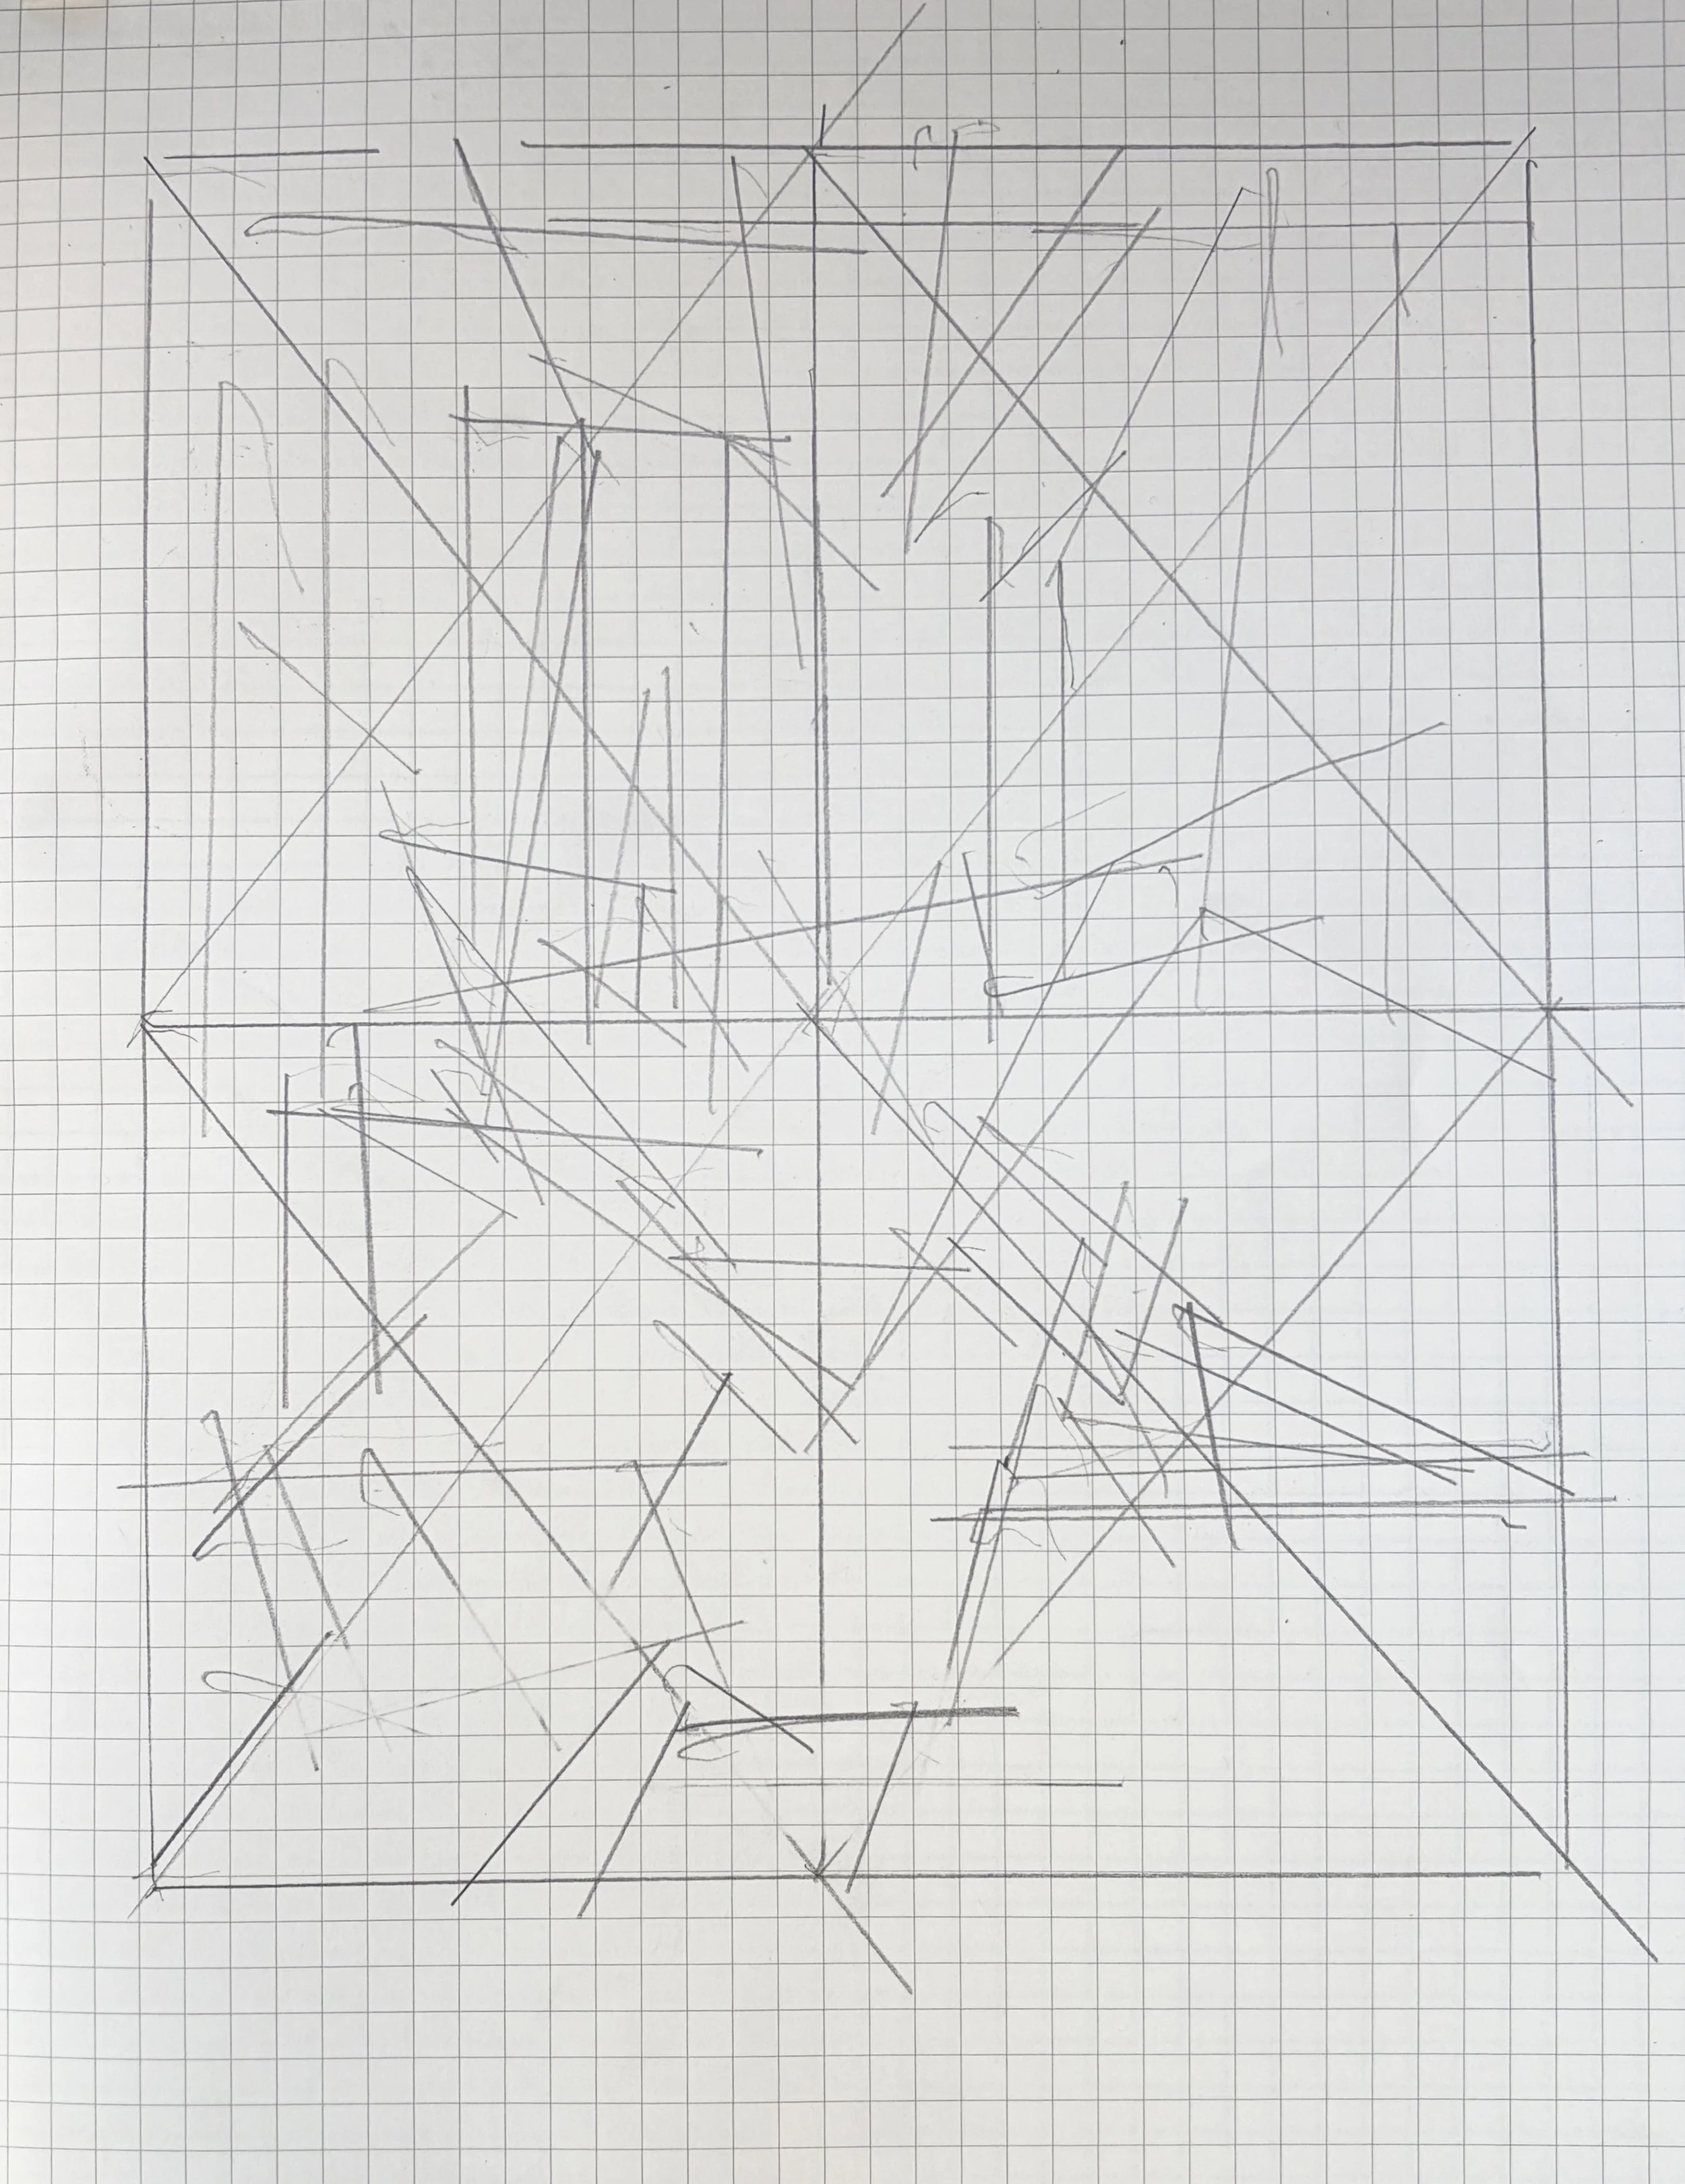
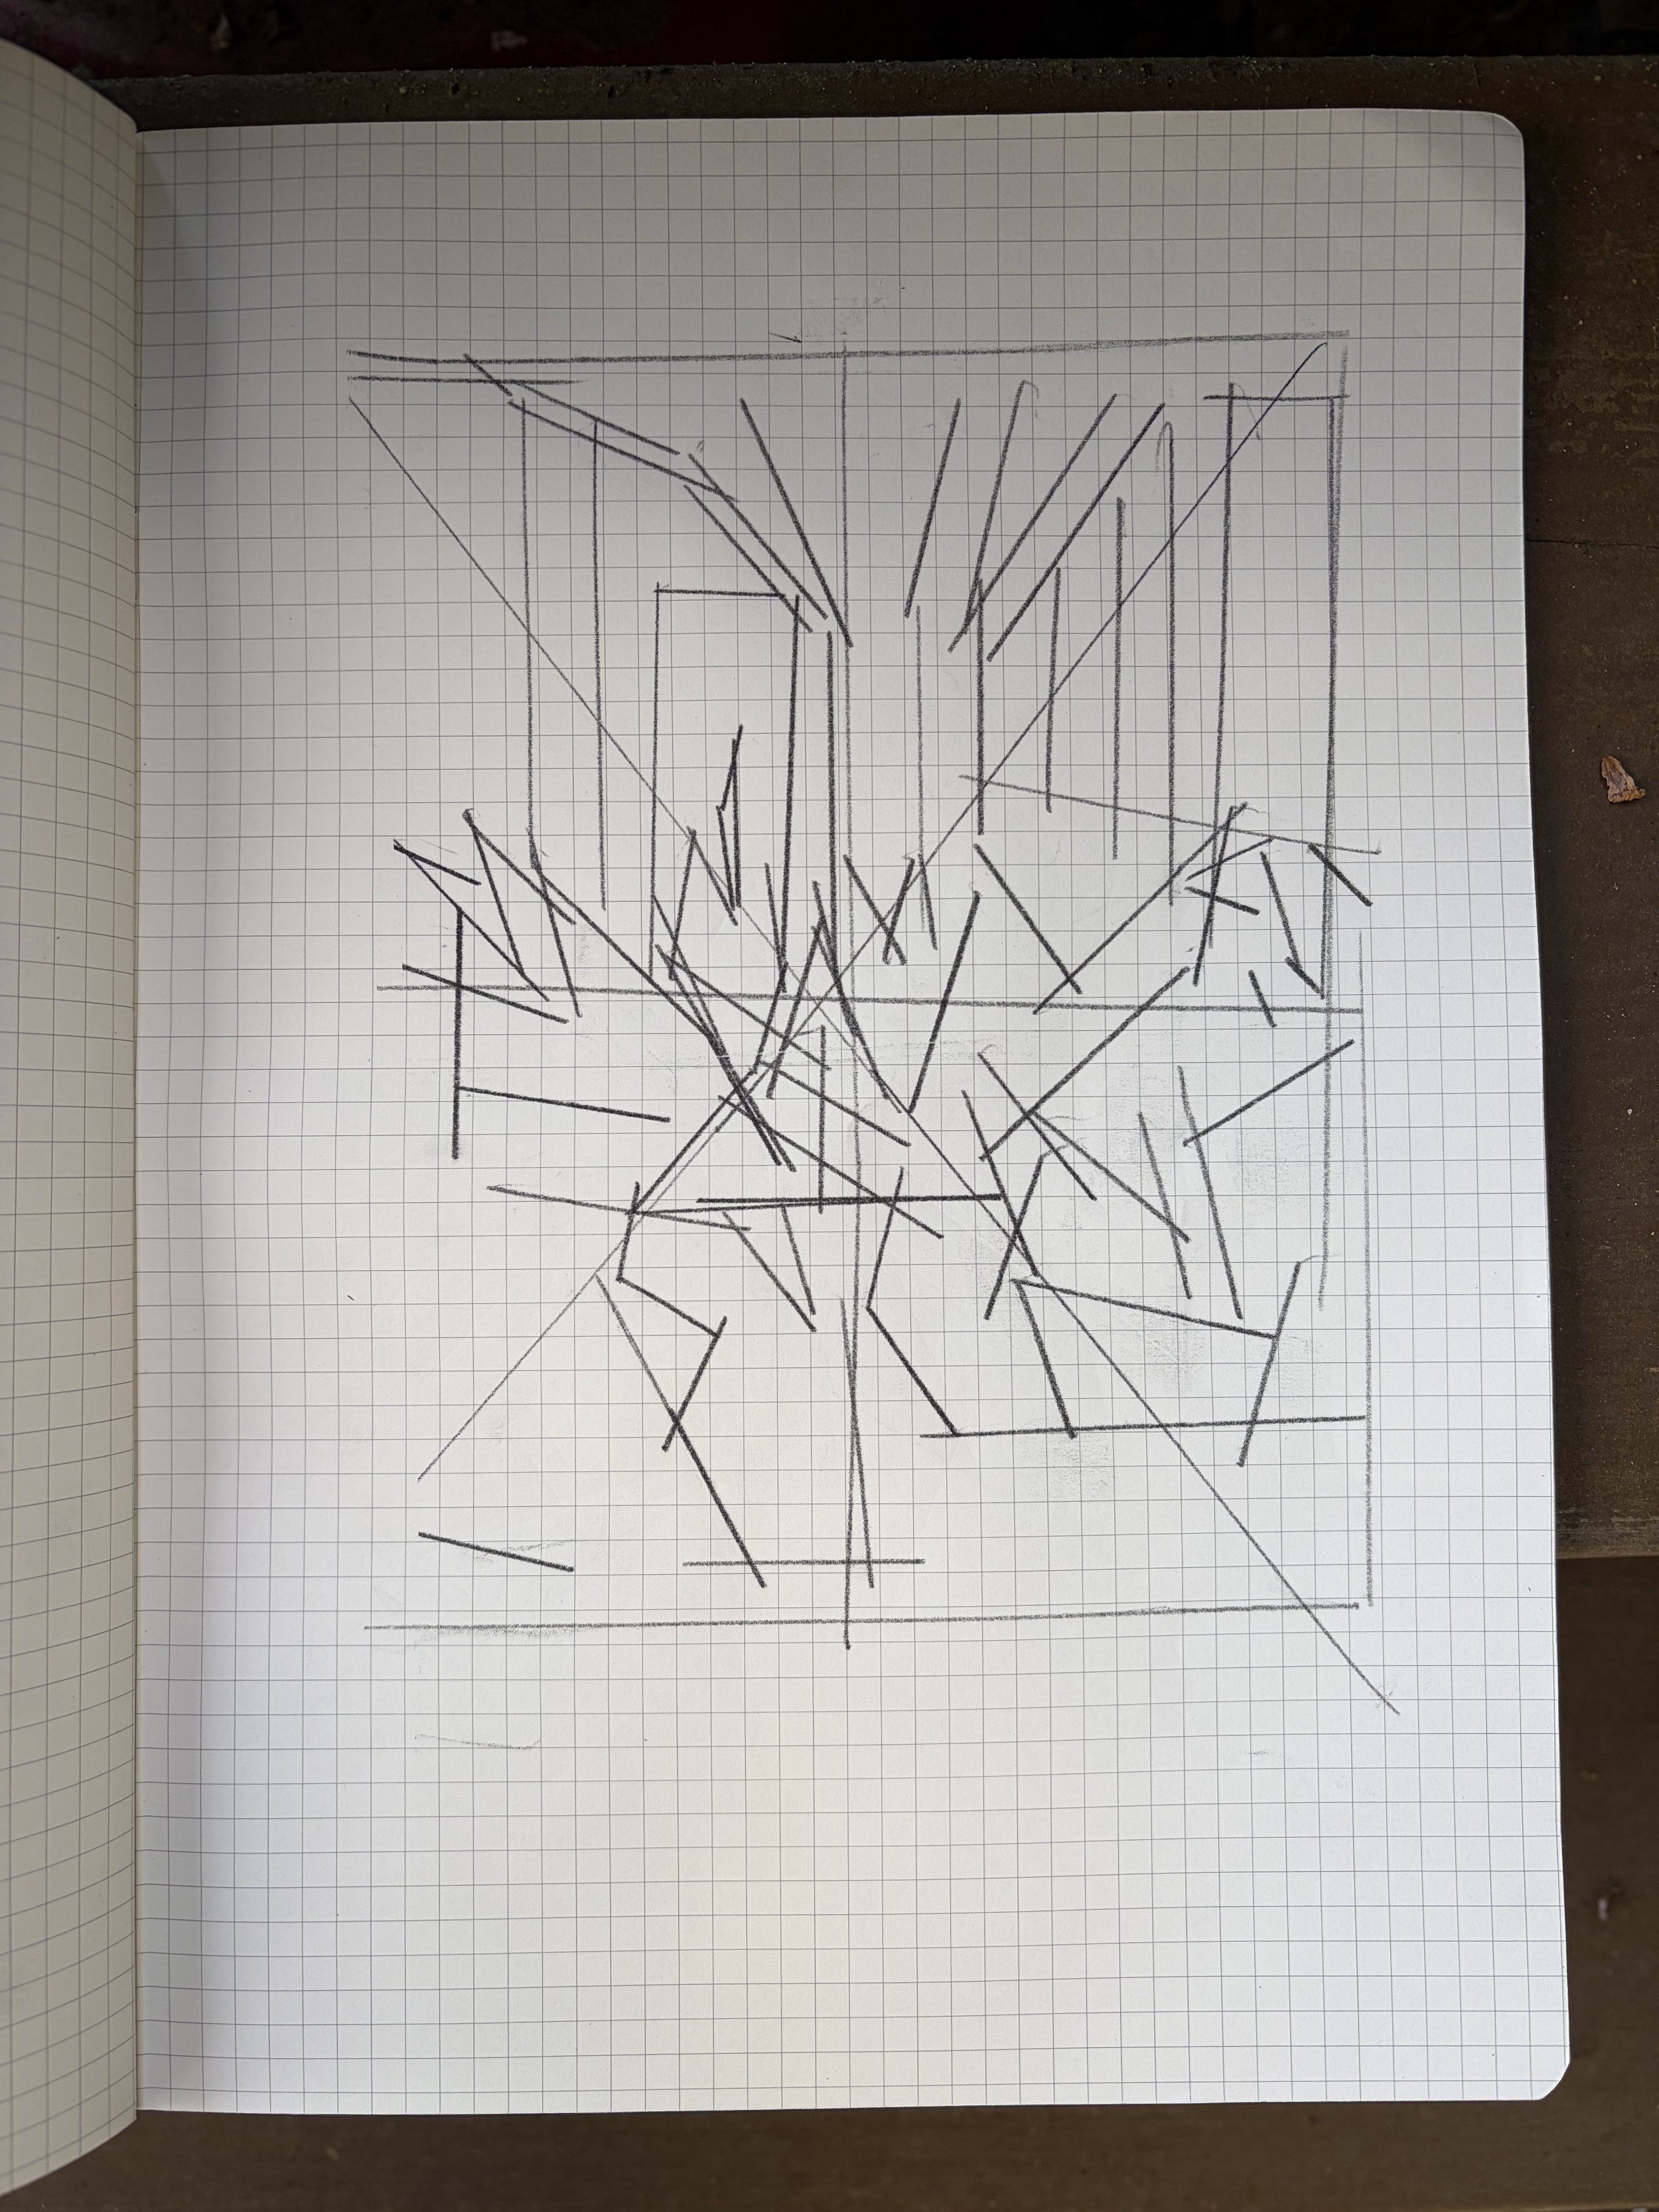
Next, on my page, I start at the center, notating what I saw at that intersection of my viewfinder, as well as other major angles and divisions. I construct a LINEAR DRAWING, using a ruler or triangle.
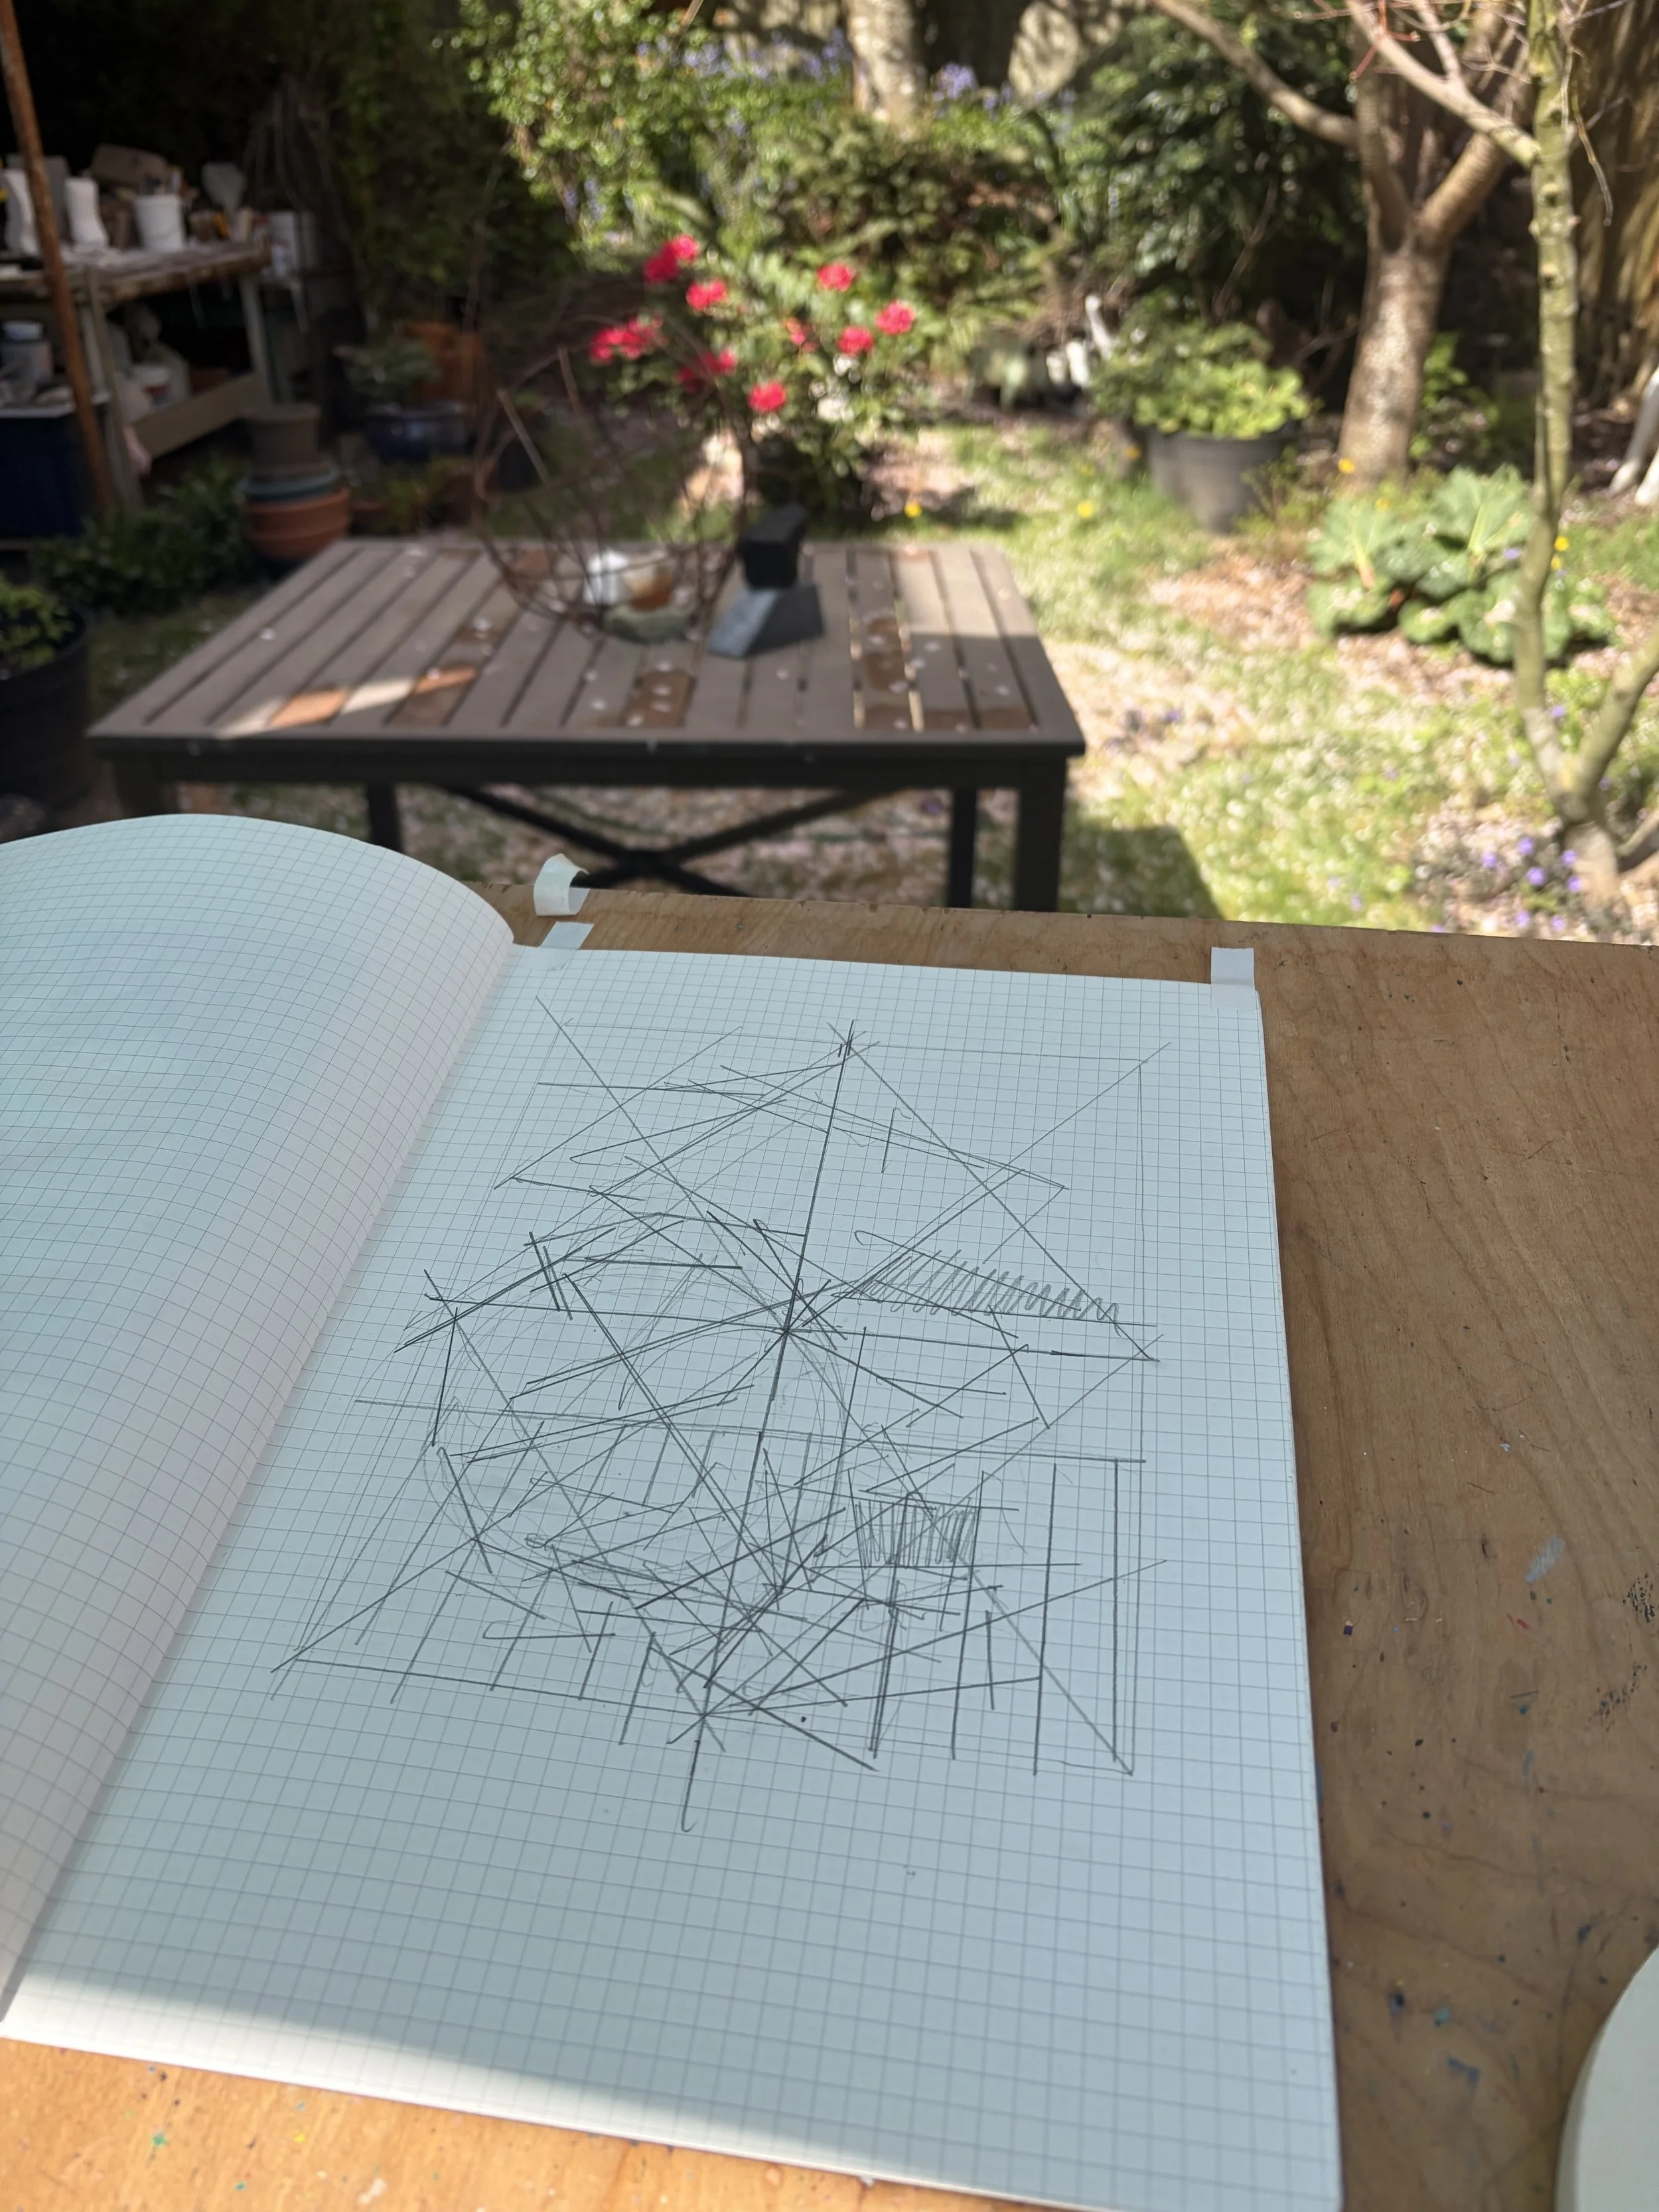
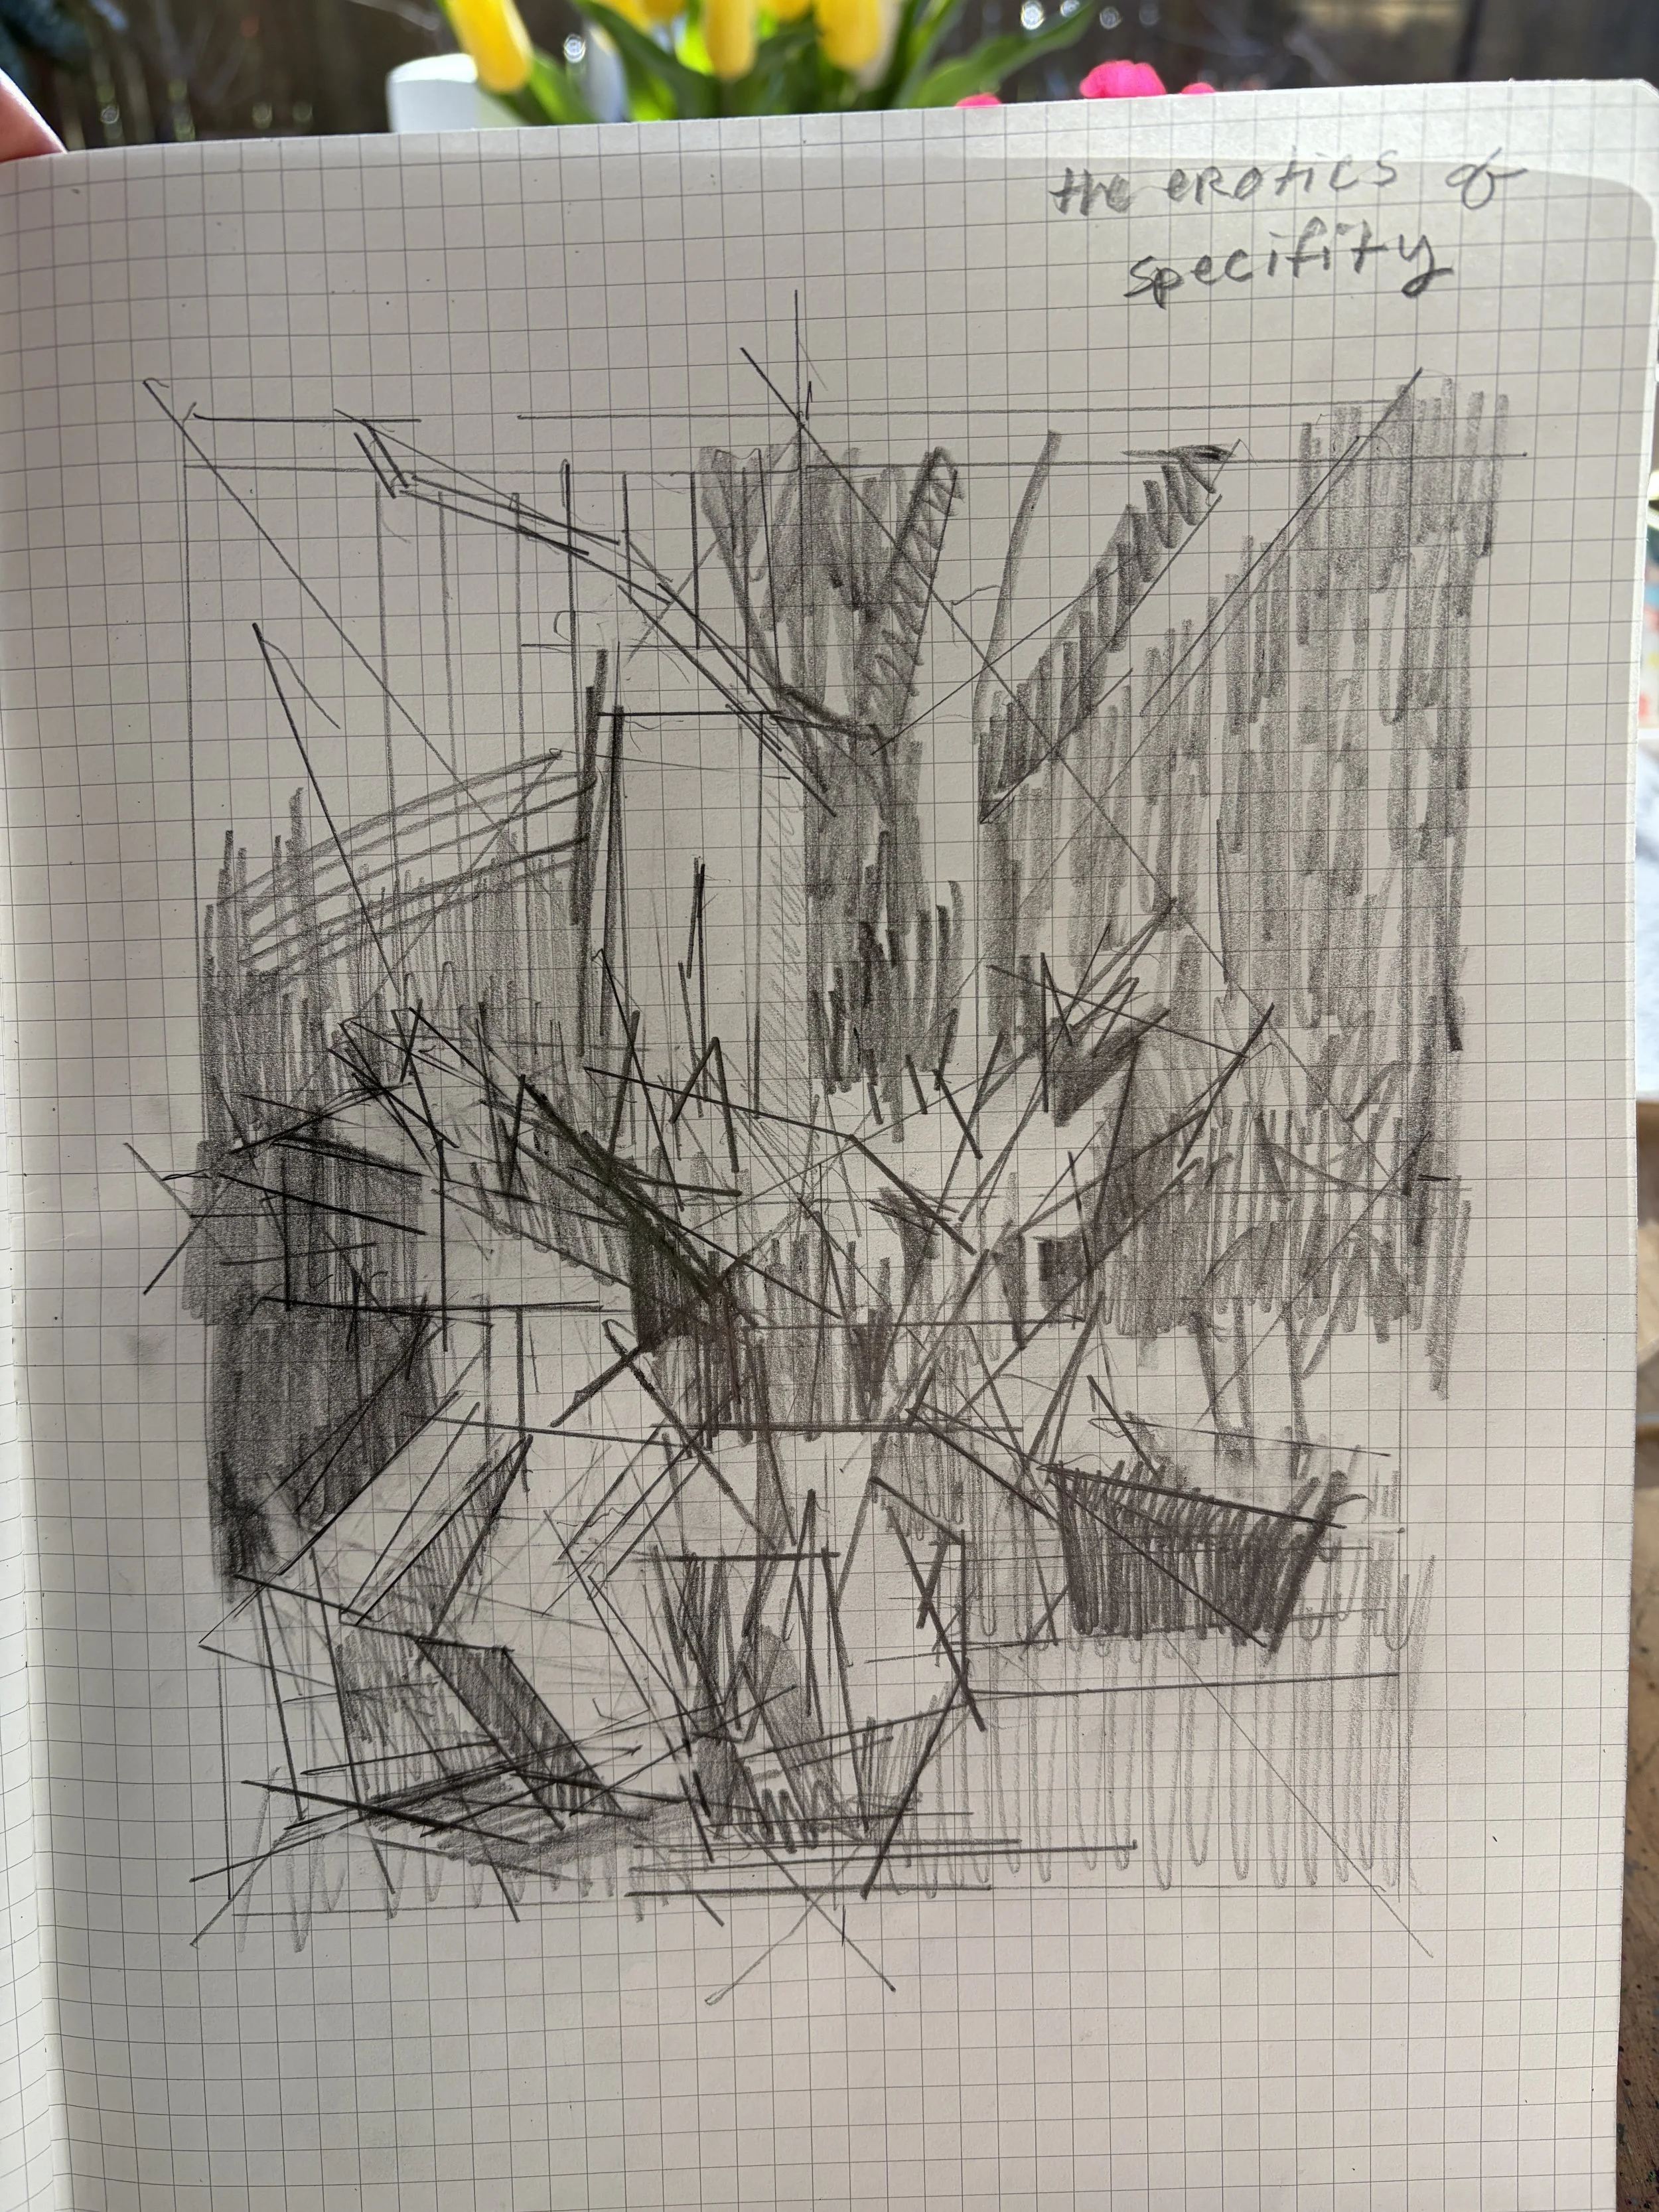
This process sets-up the scaffolding for the painting. Sometimes it comes easy and elegantly. Sometimes the initial drawing is a struggle and requires more time and energy and becomes itself the main line of inquiry. Time well spent.
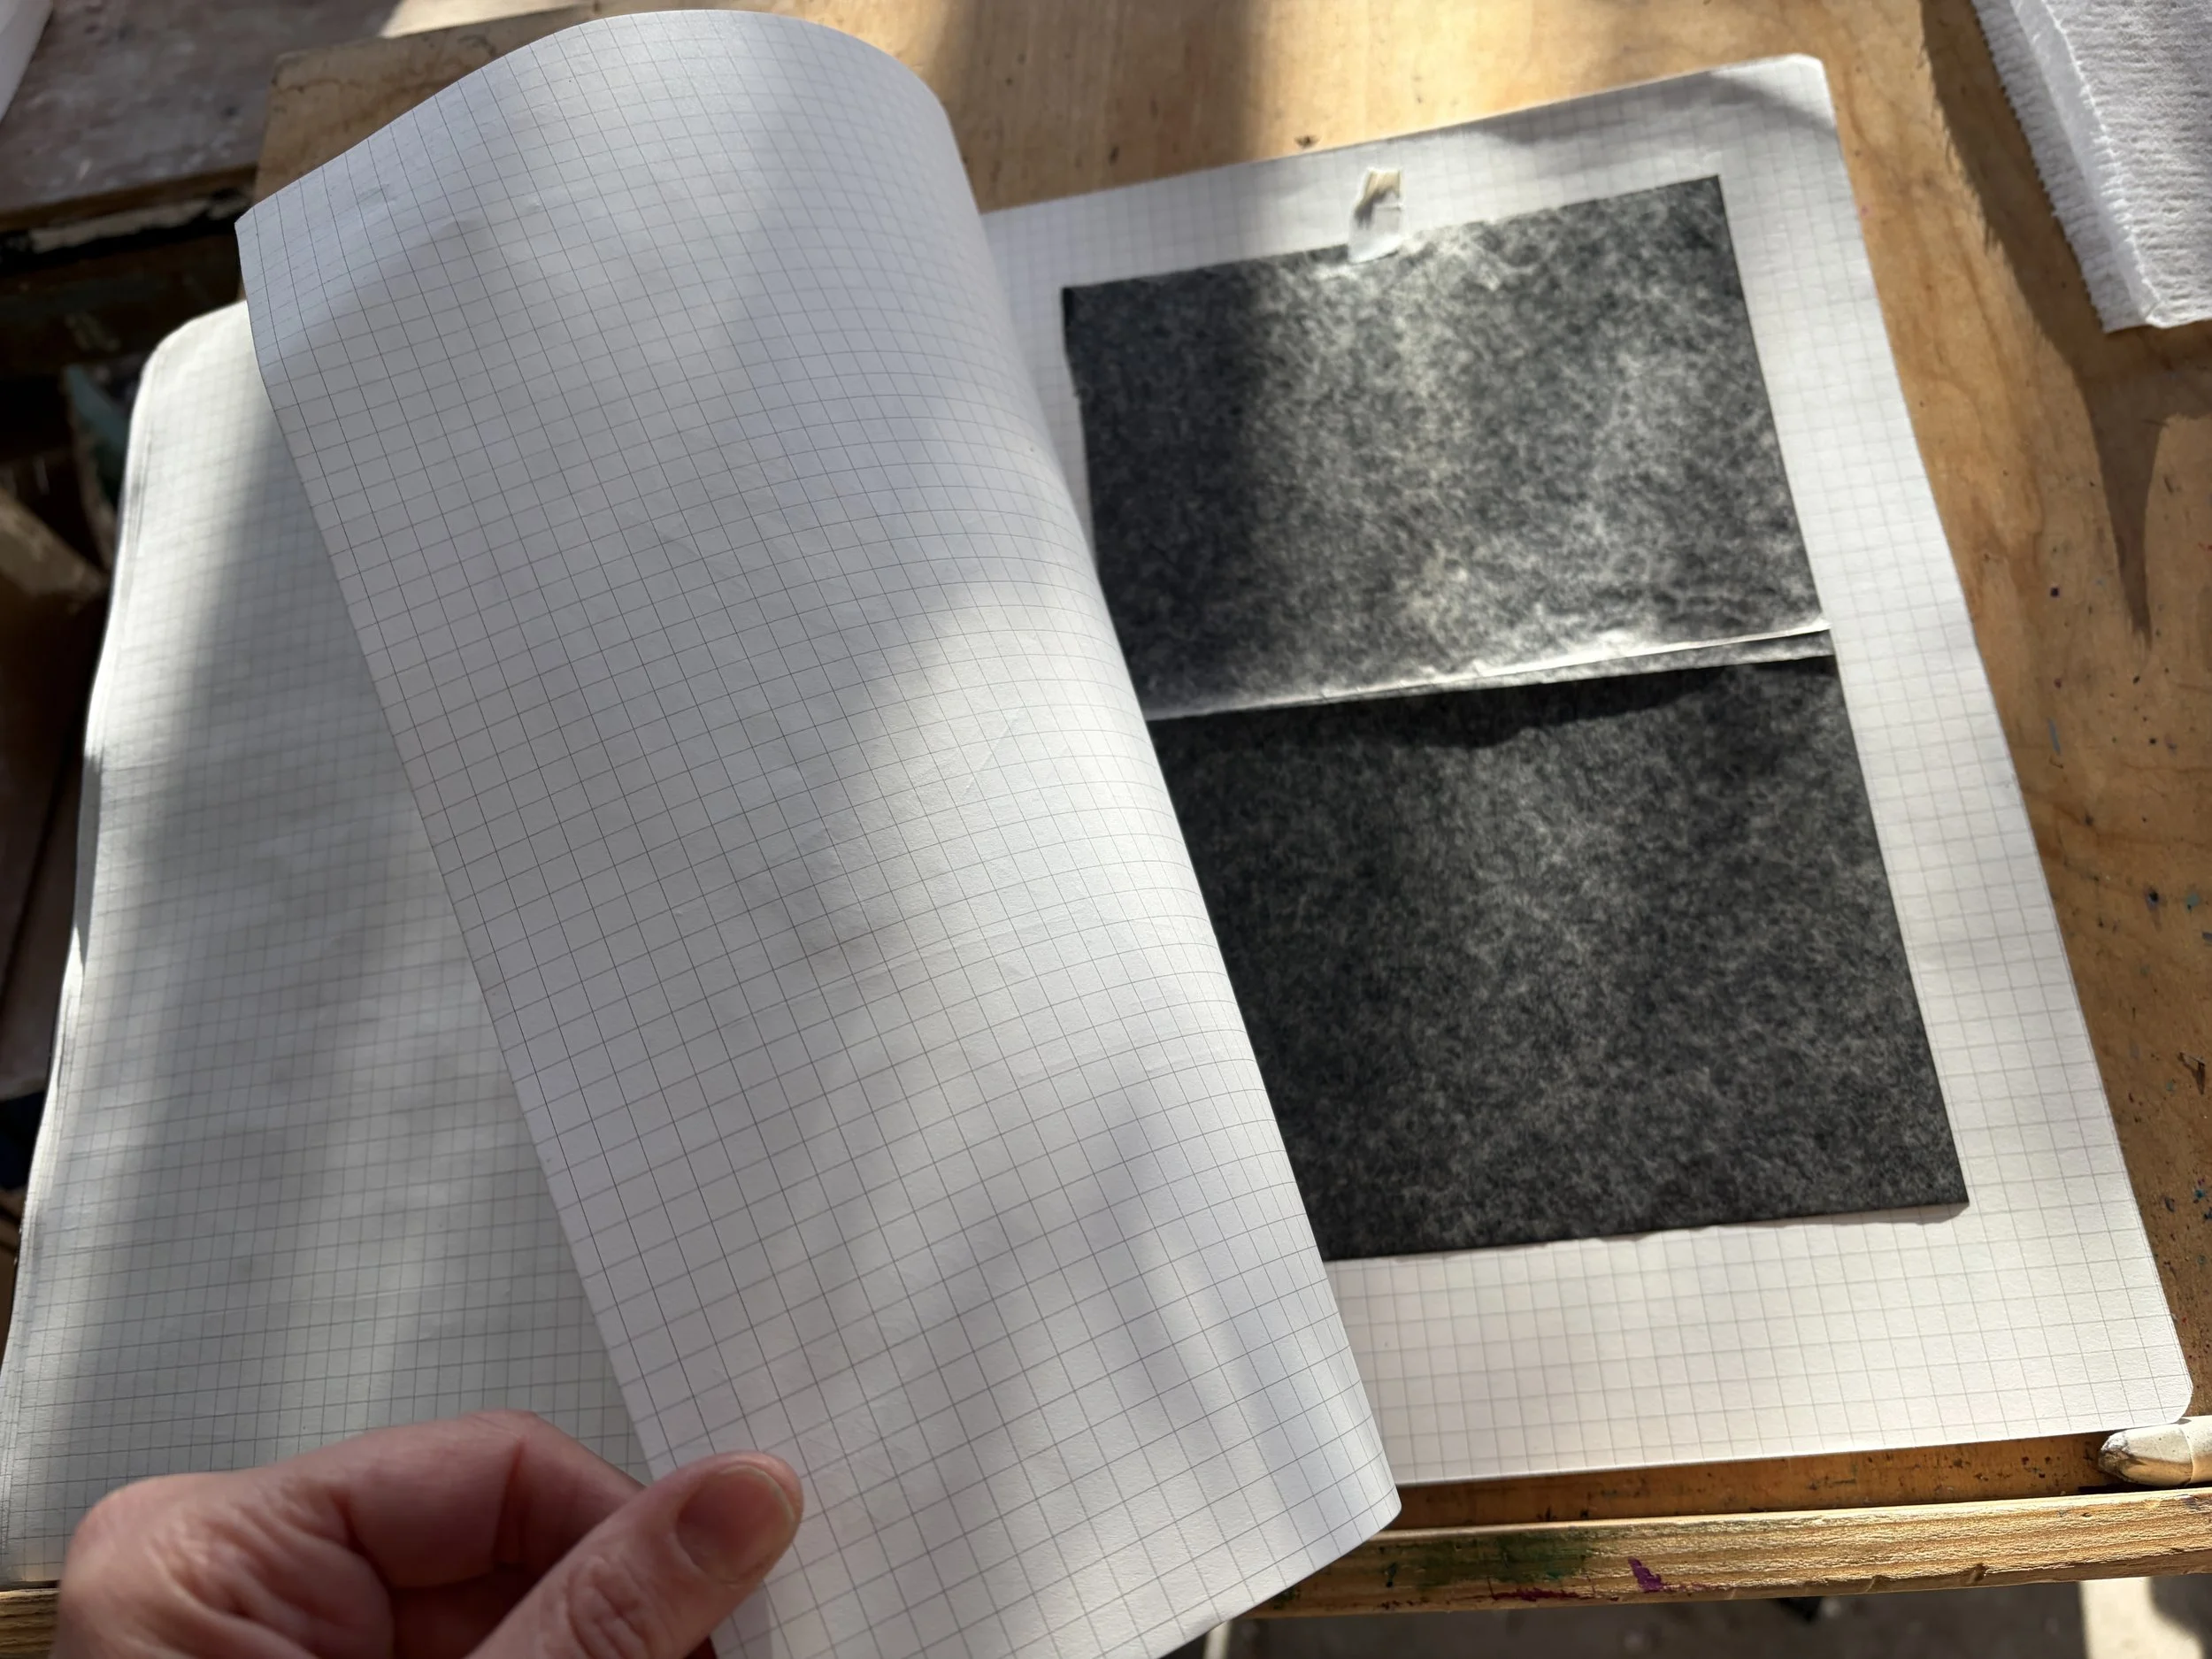
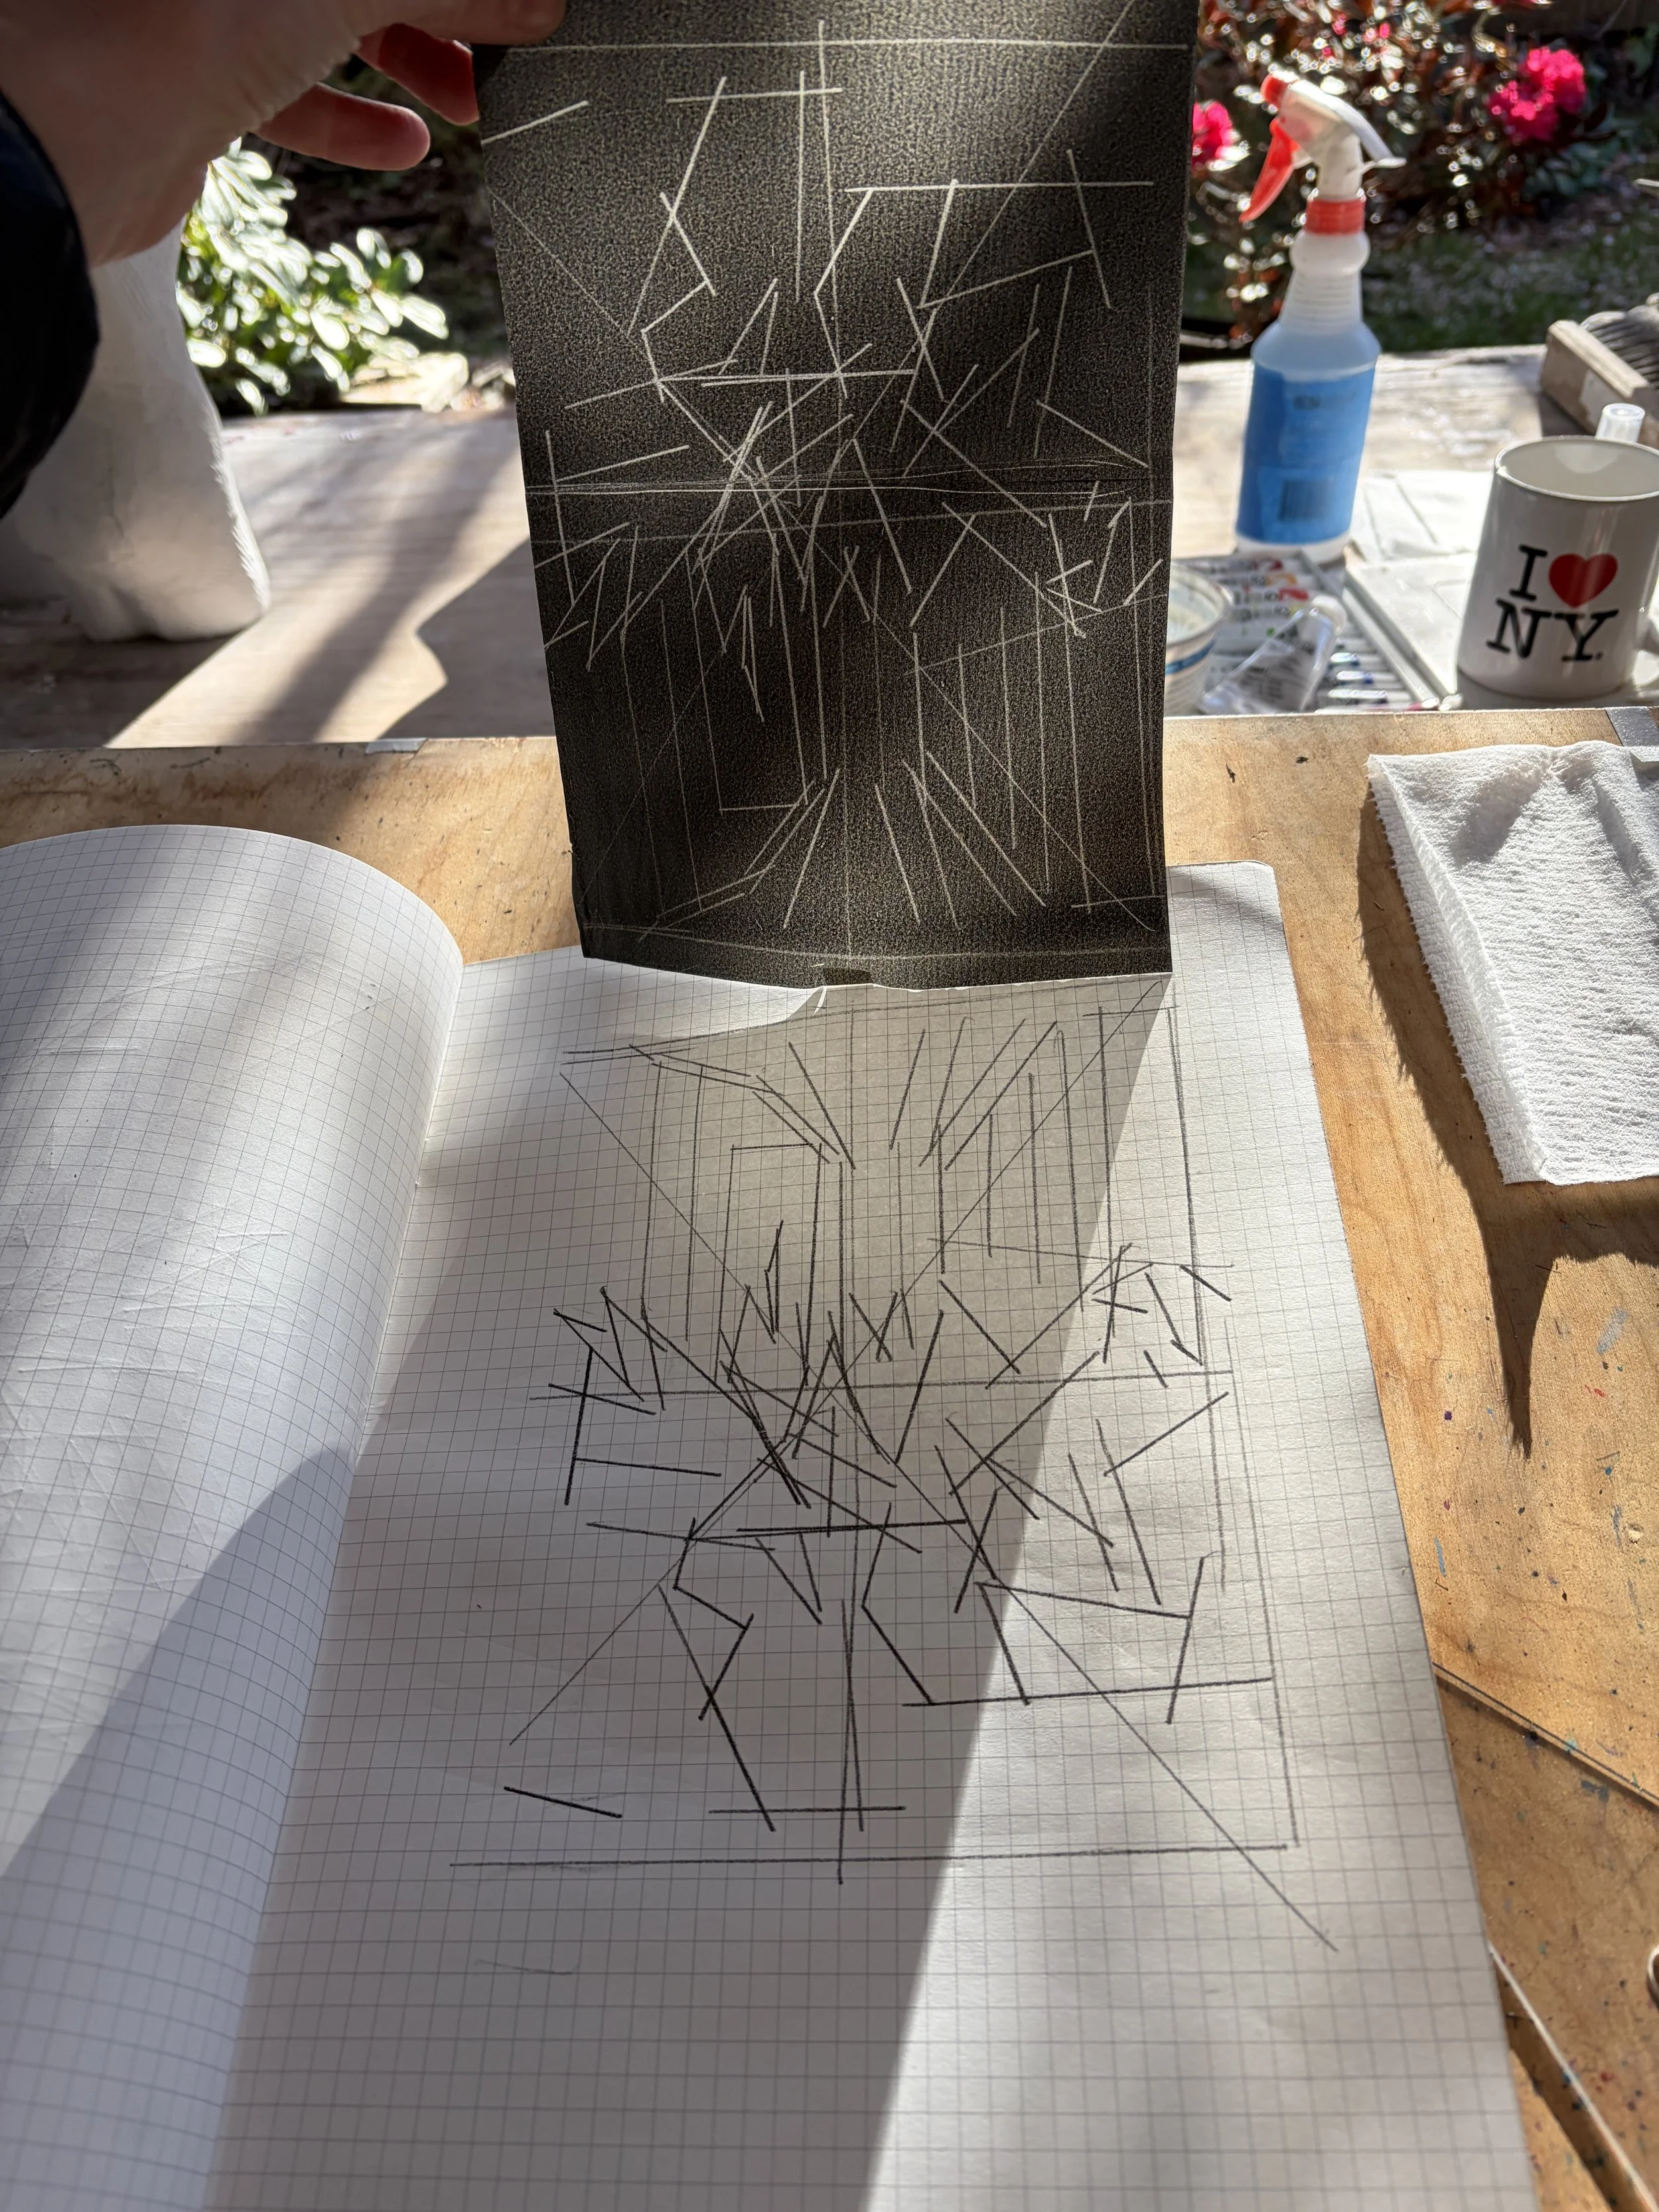
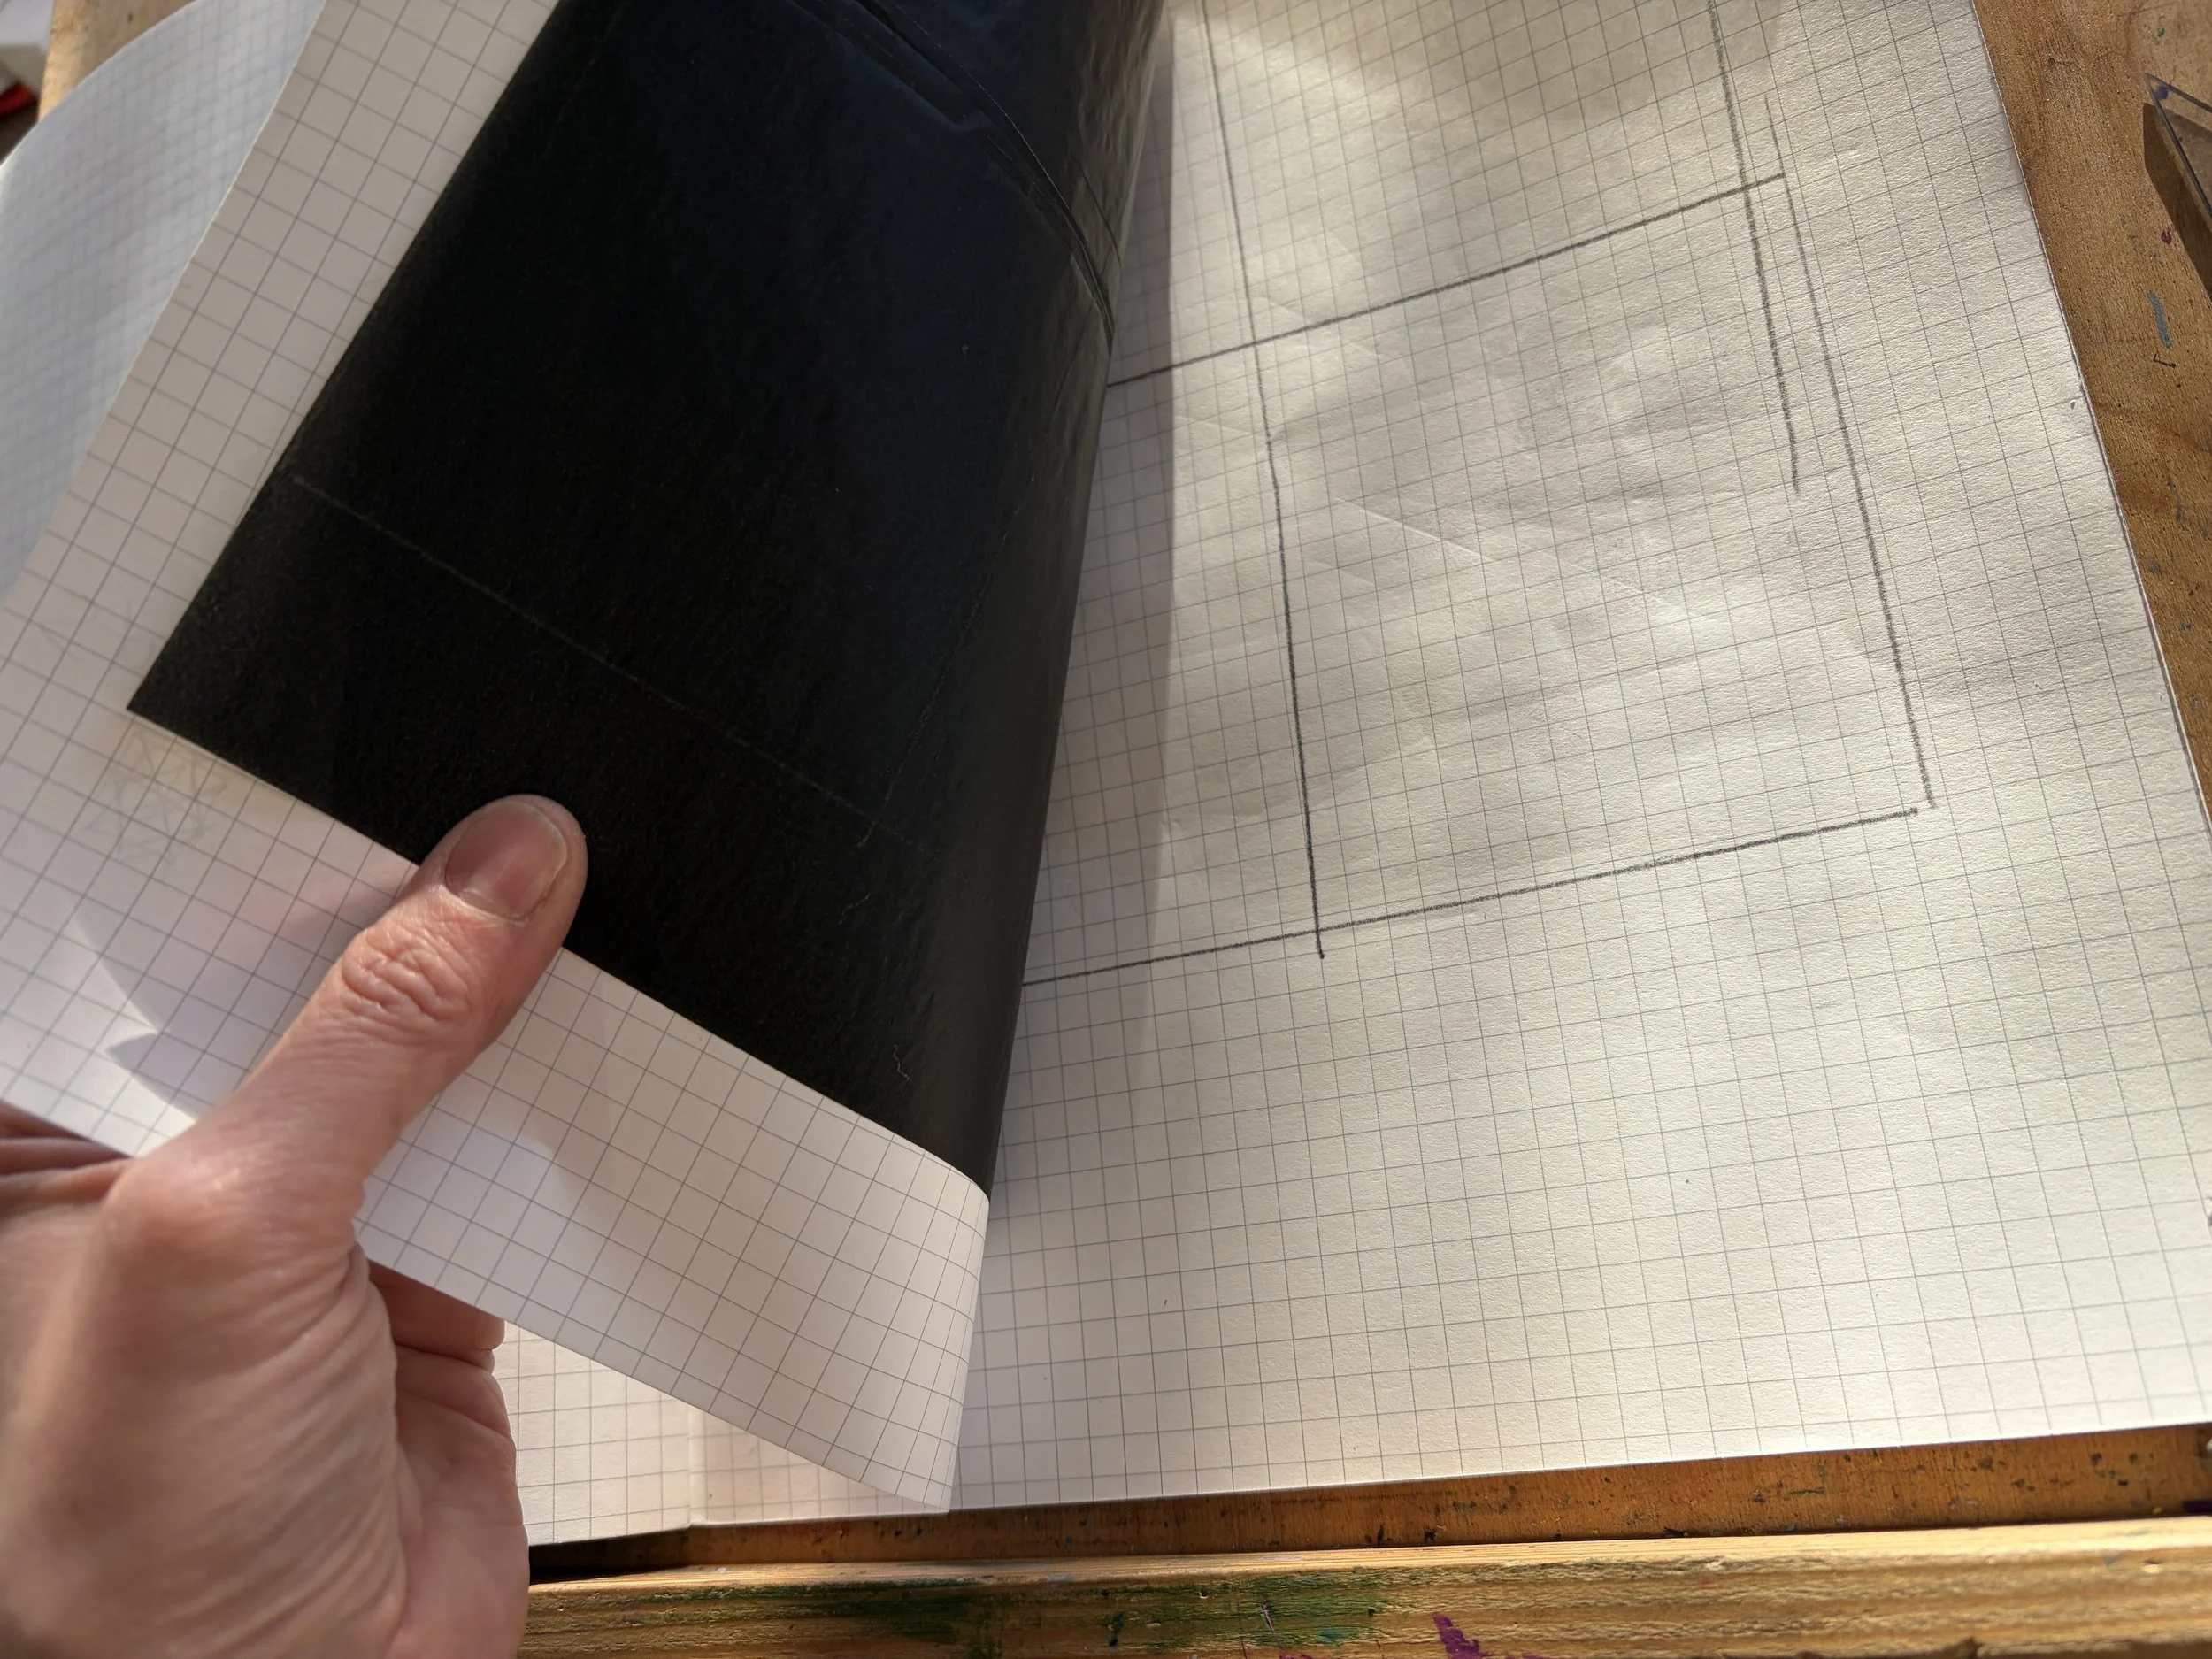
If the drawing becomes too layered, I like to then start a second one that is simpler, using the knowledge I have gained from the first attempt. This second one can then be the scaffolding for the painted version. Too many drawing marks and the painting gets too “dirty.” …You can also place a sheet of graphite transfer paper beneath your drawing and trace the main compositional divisions onto the next page for your painted version.
II. THE PALETTE
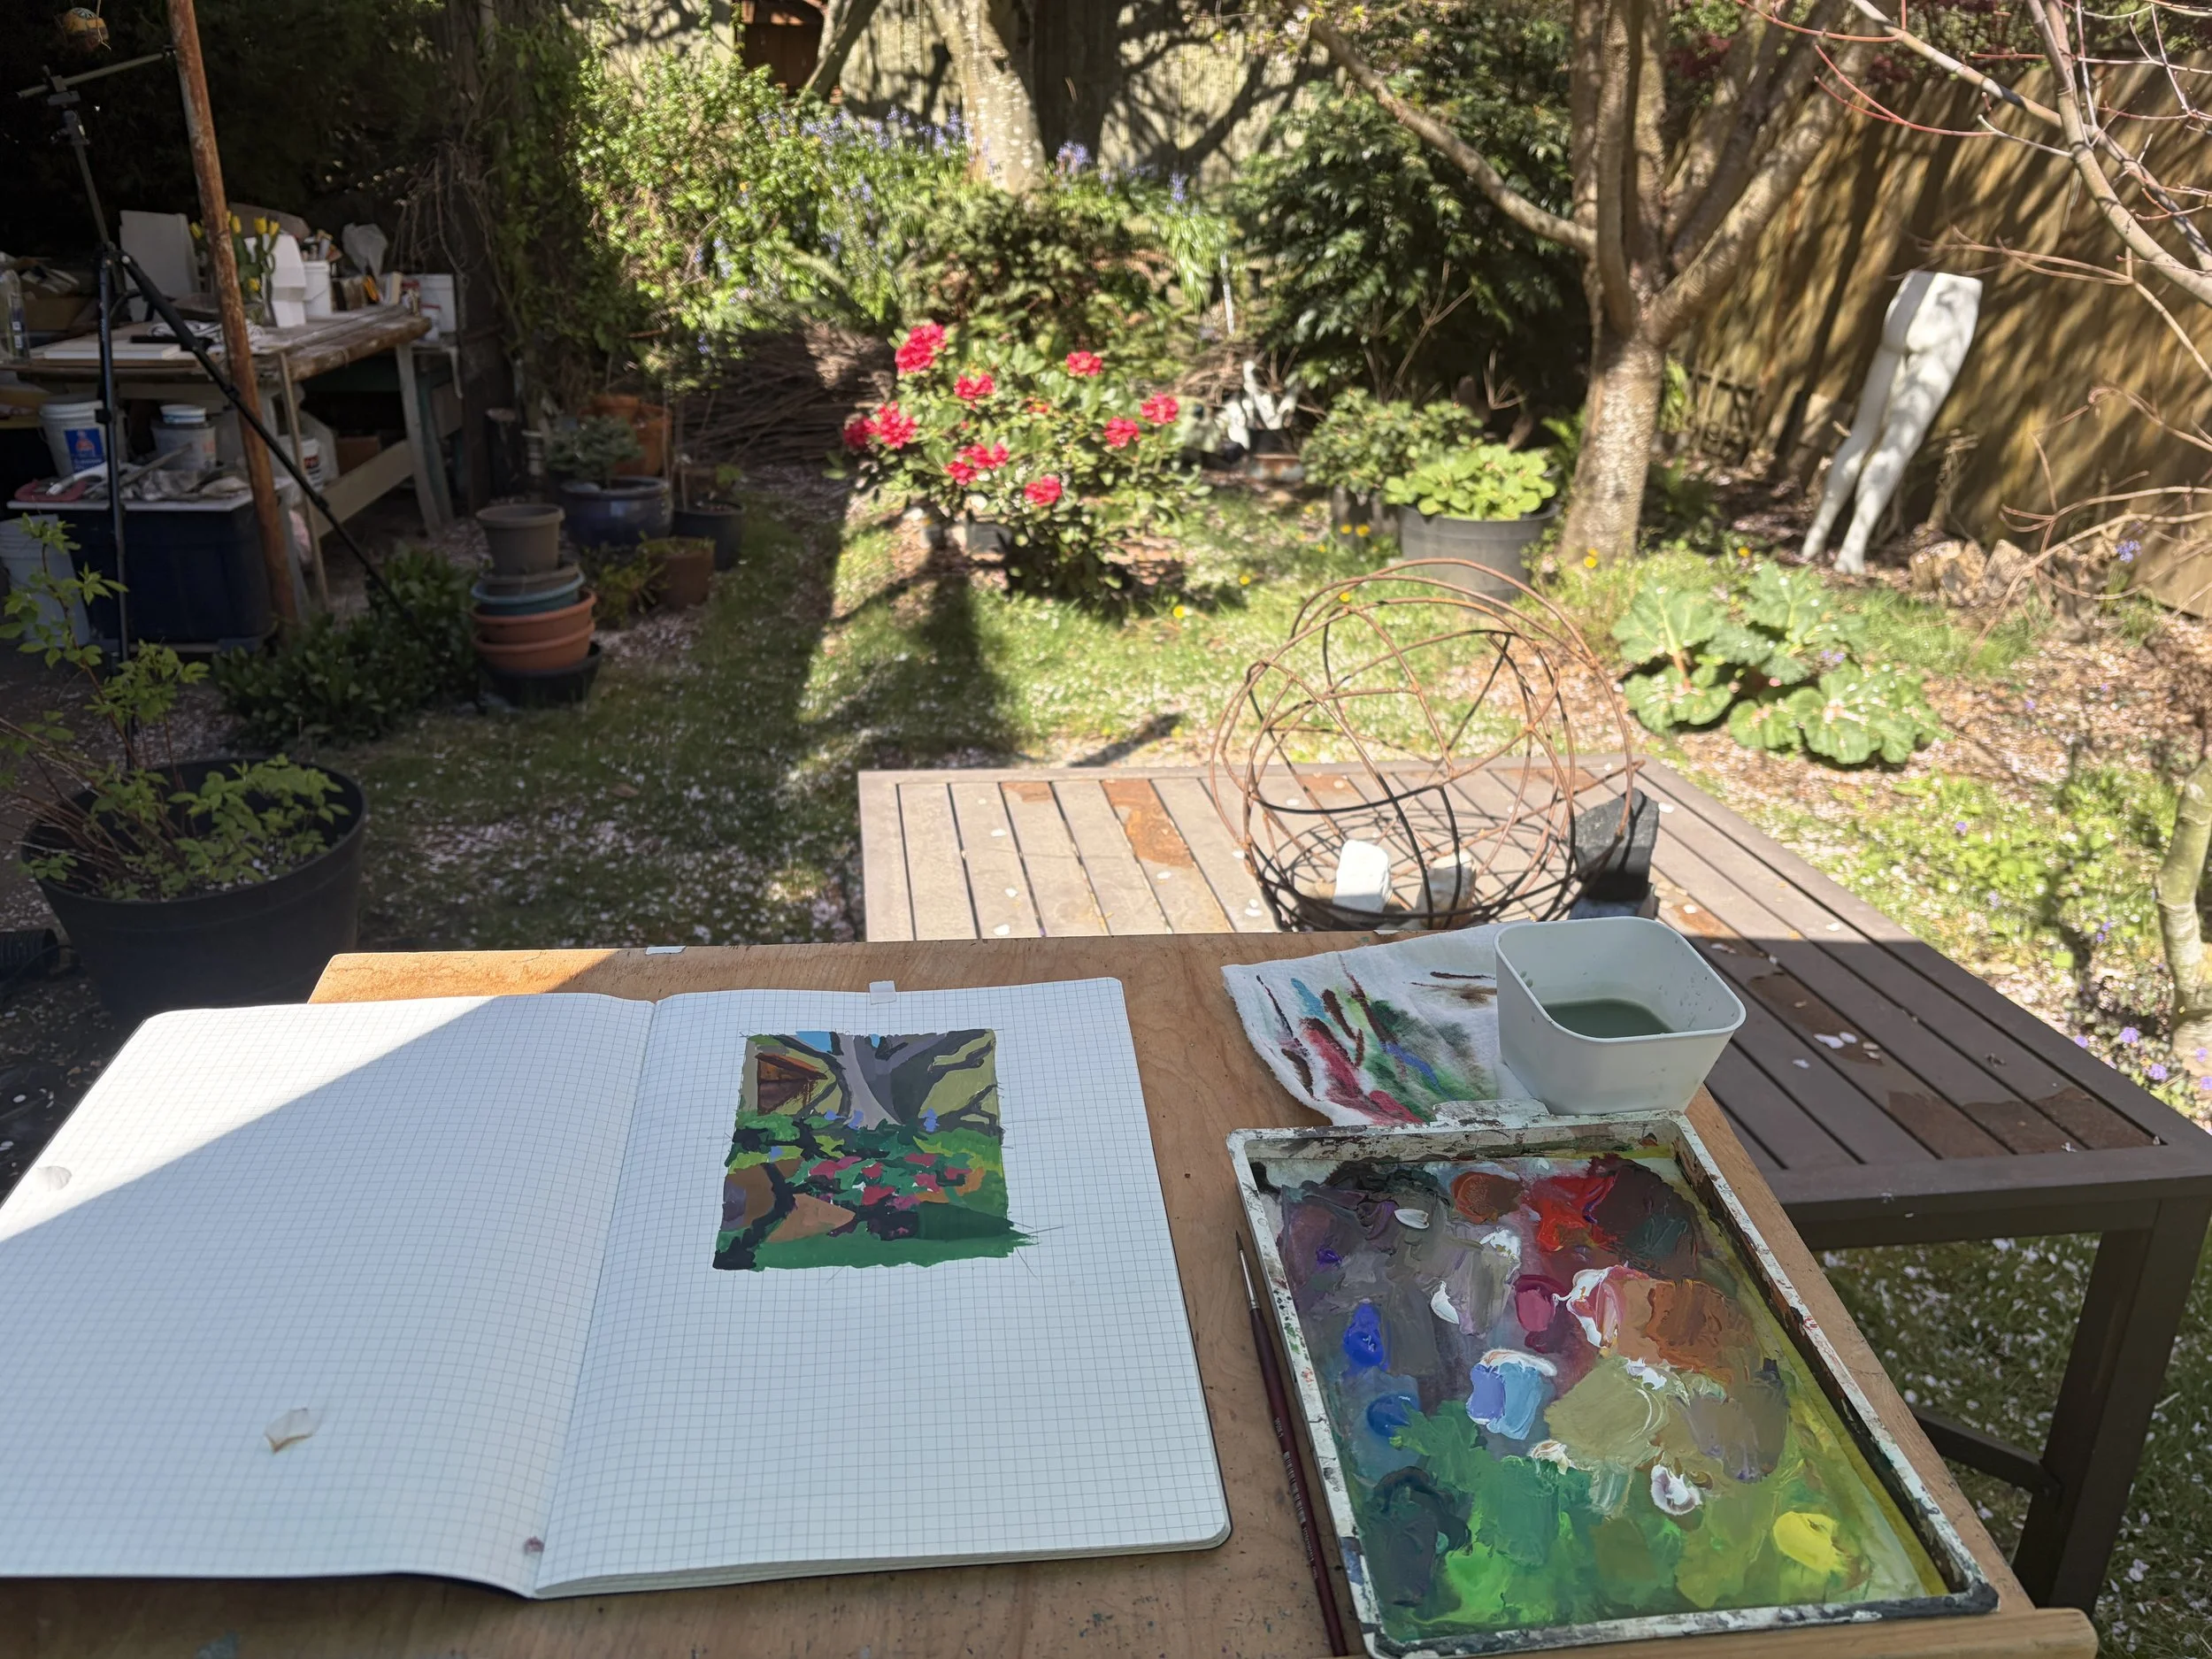
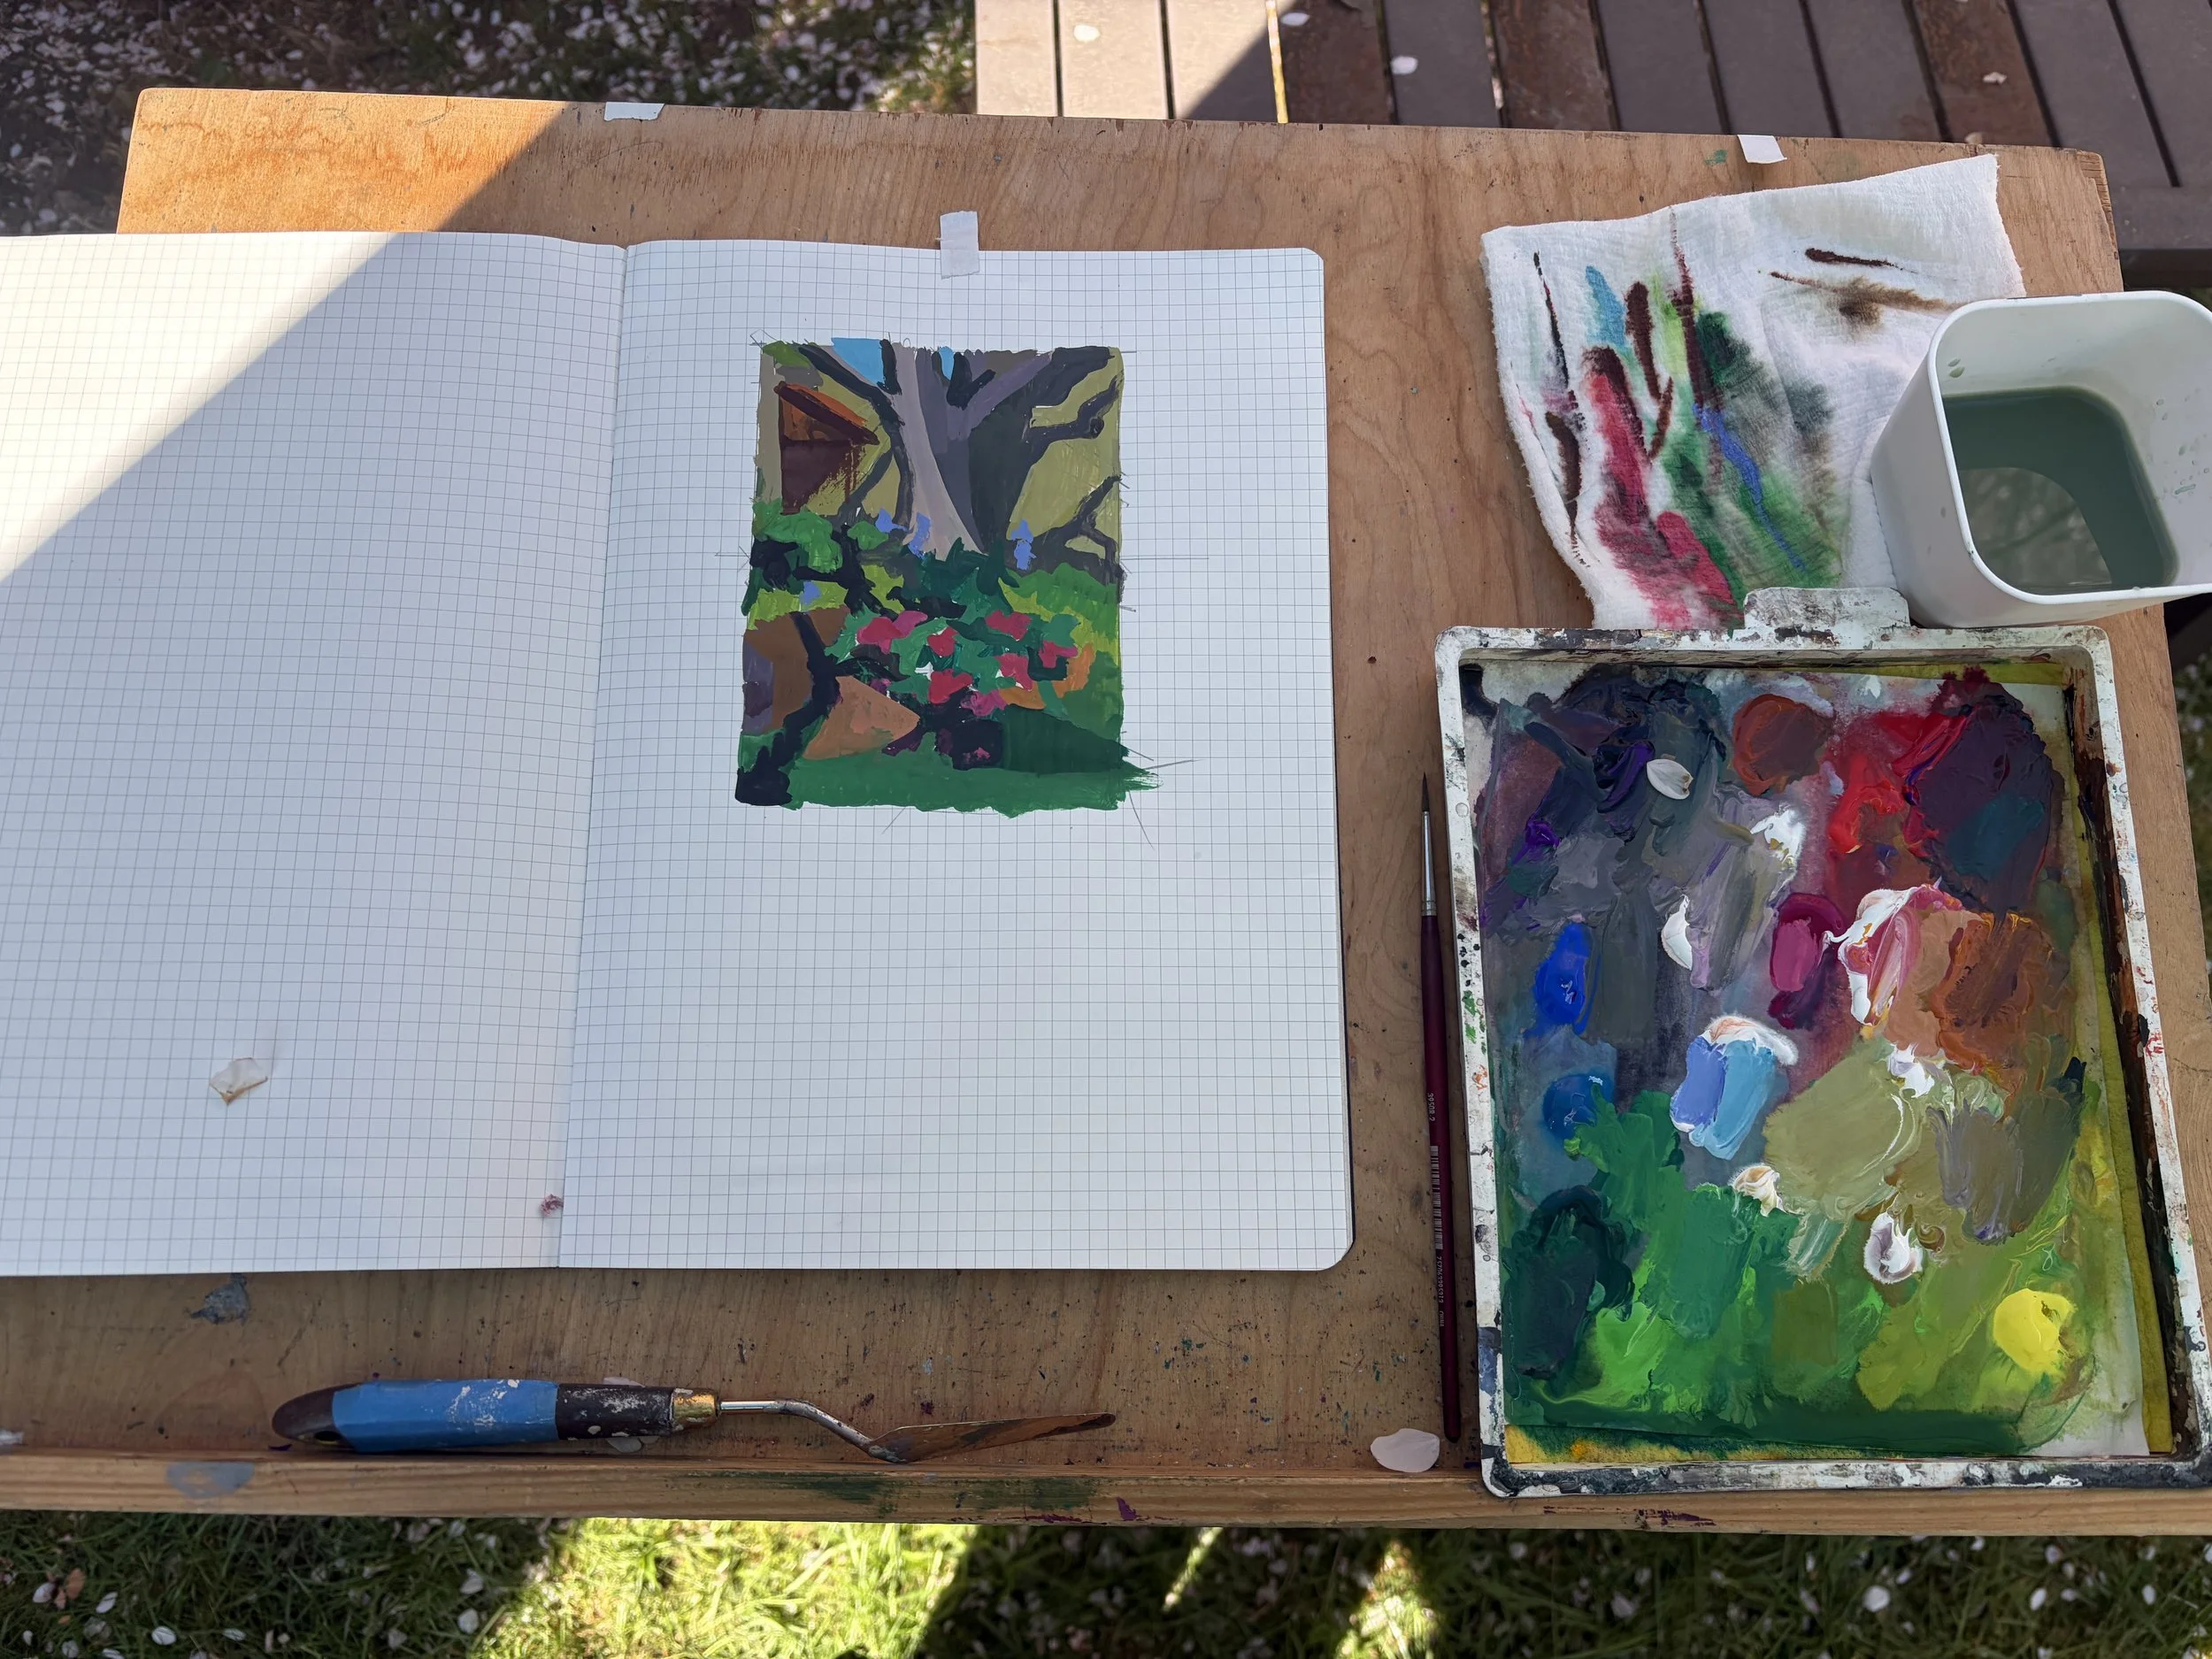
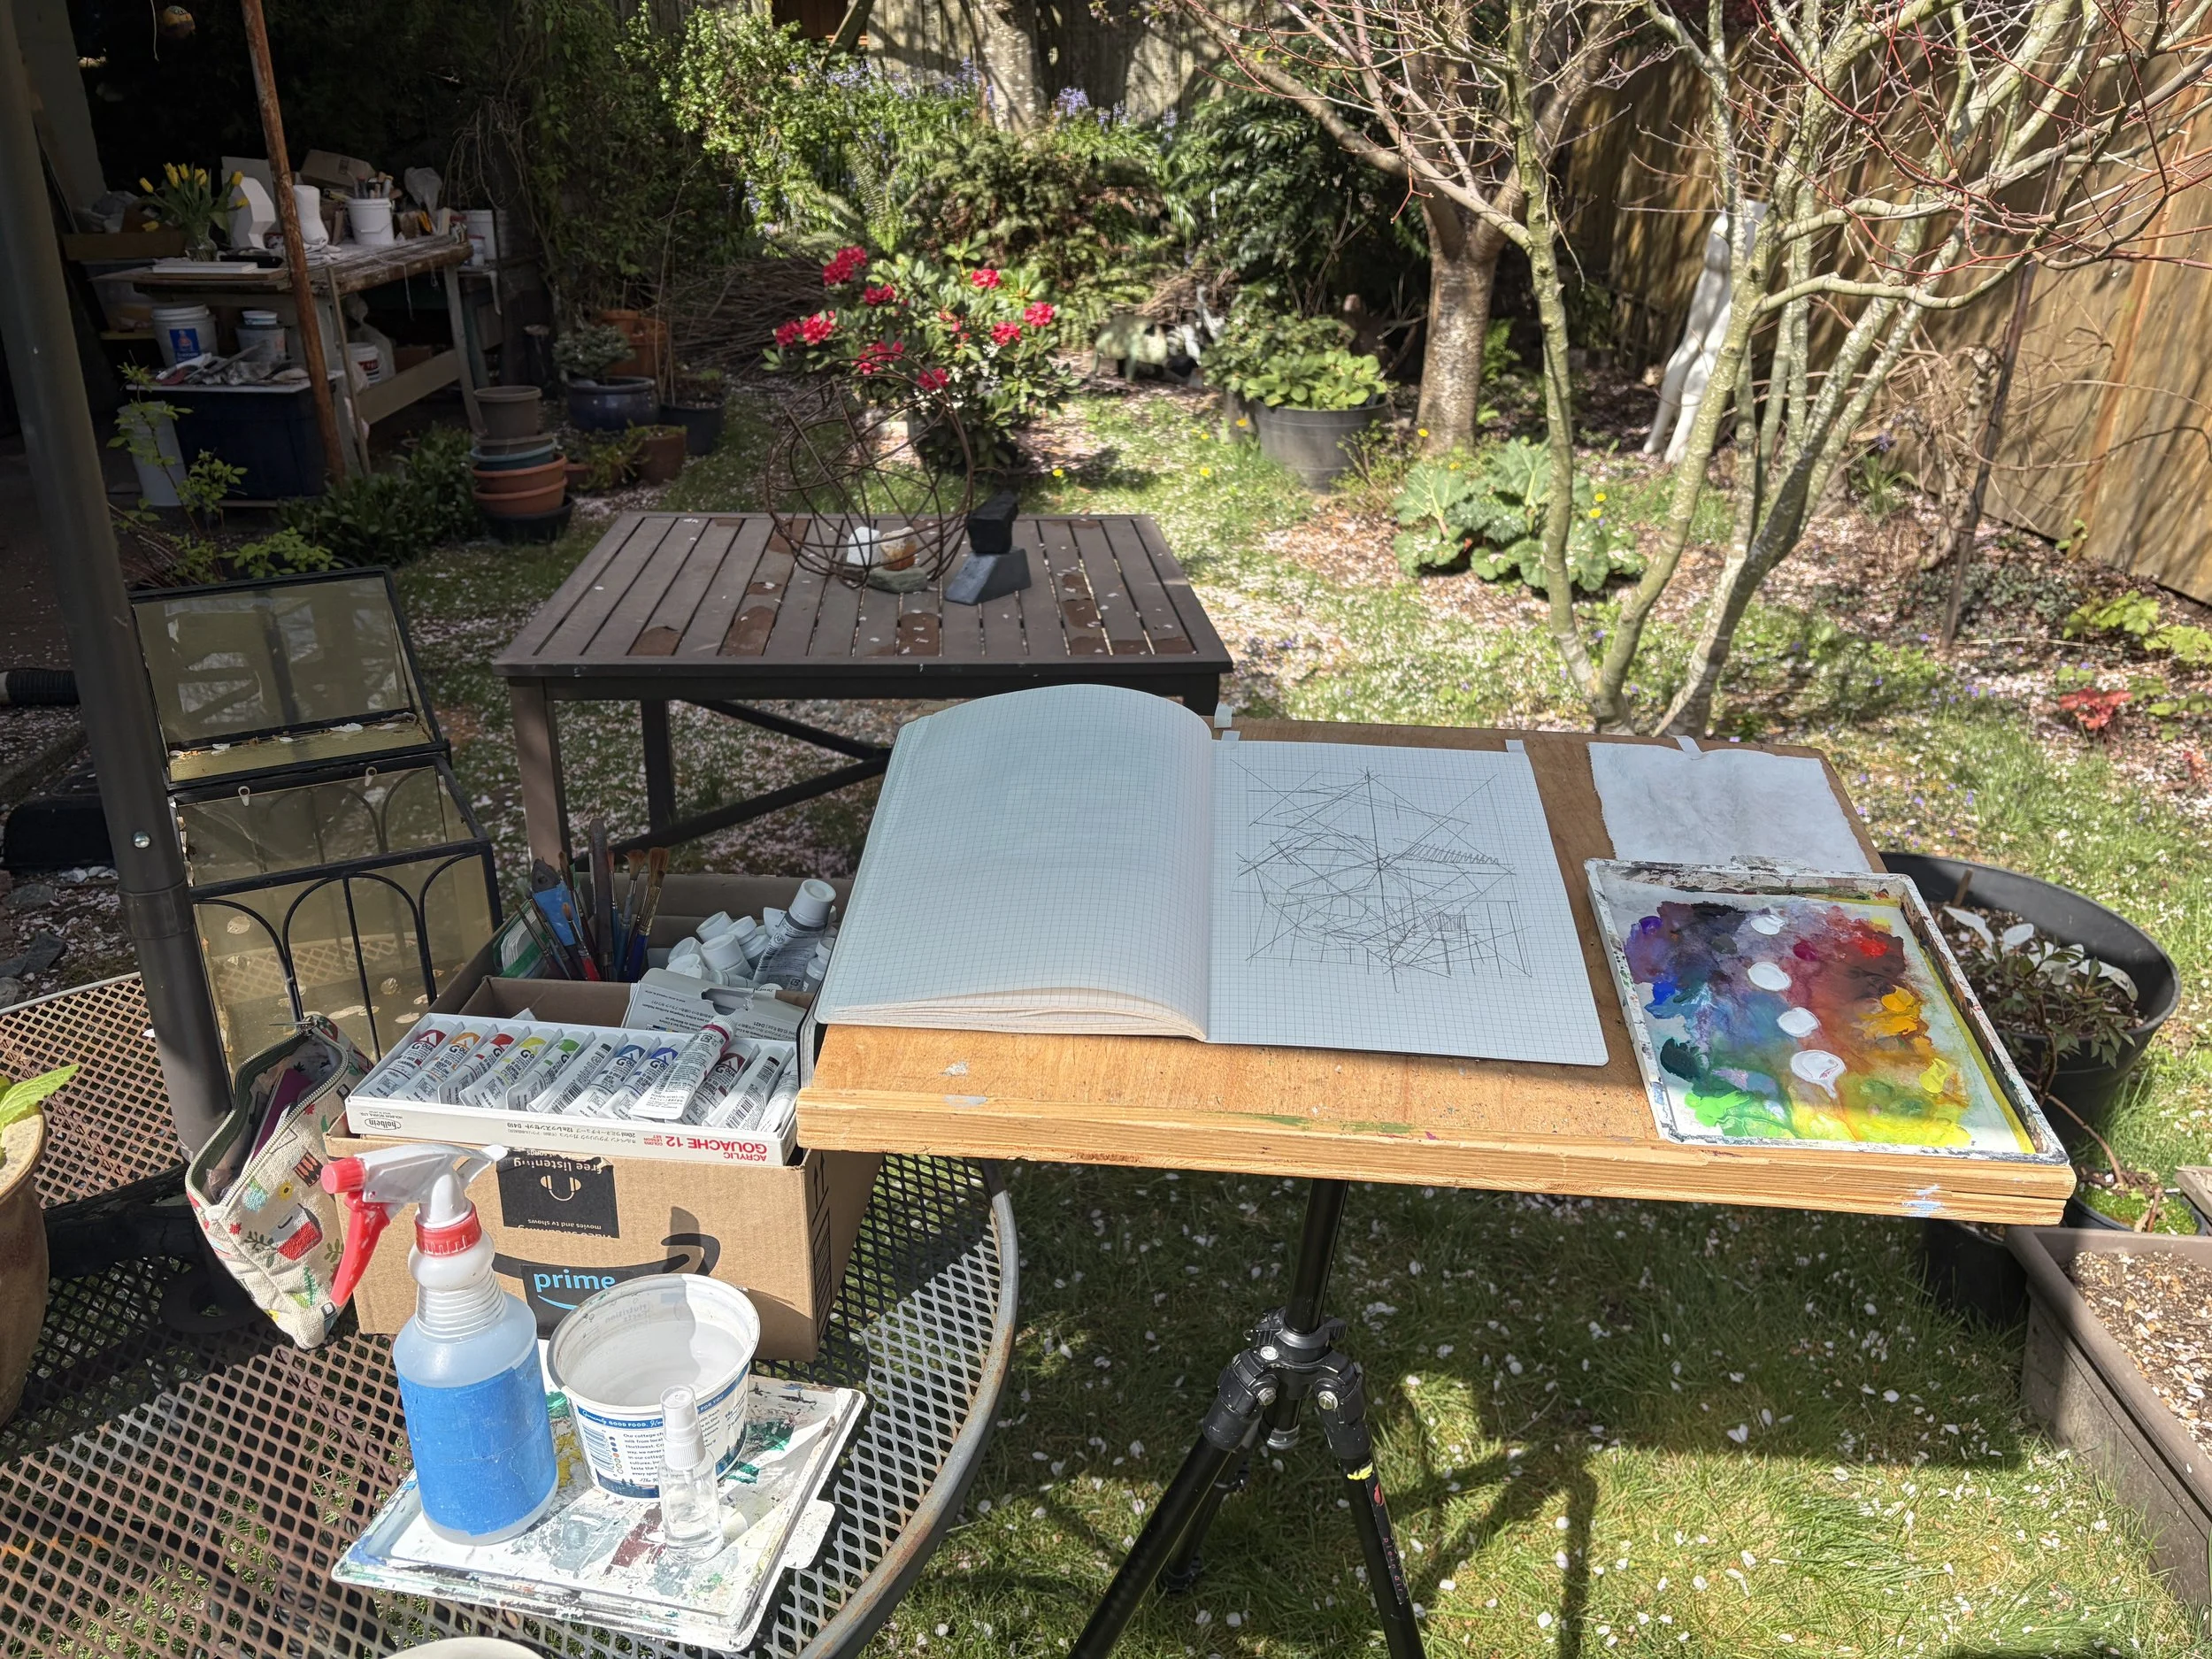
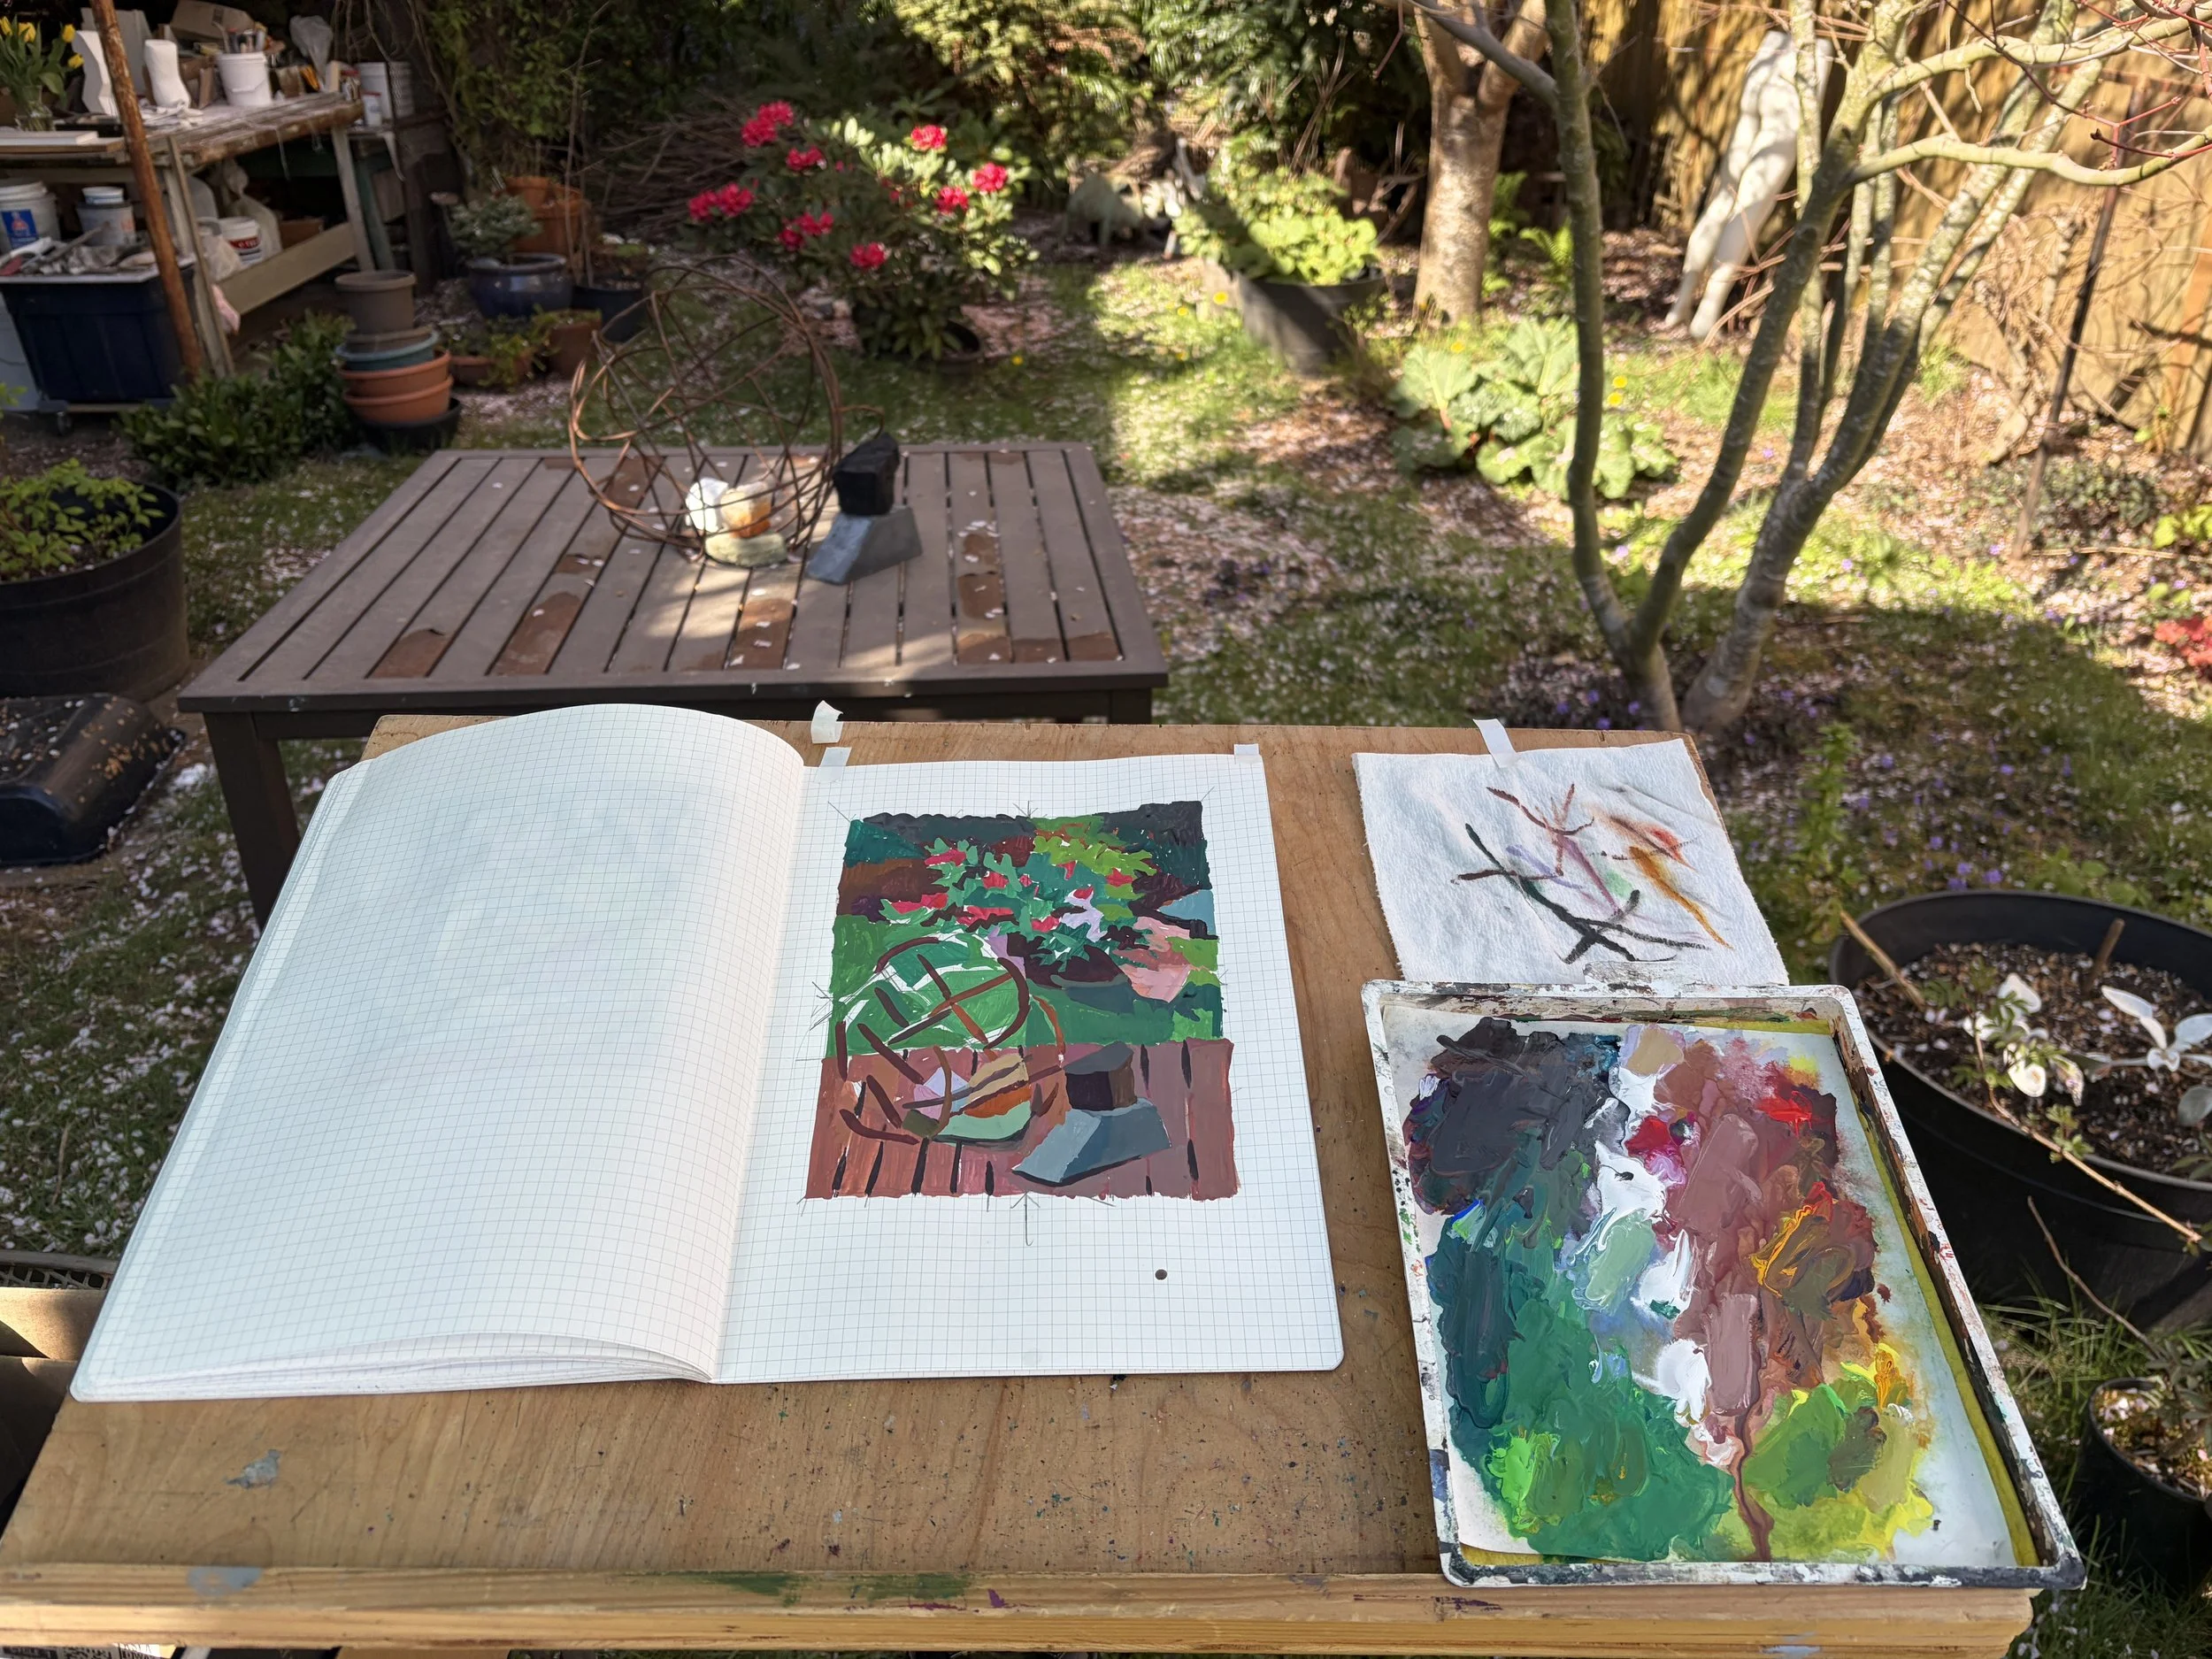
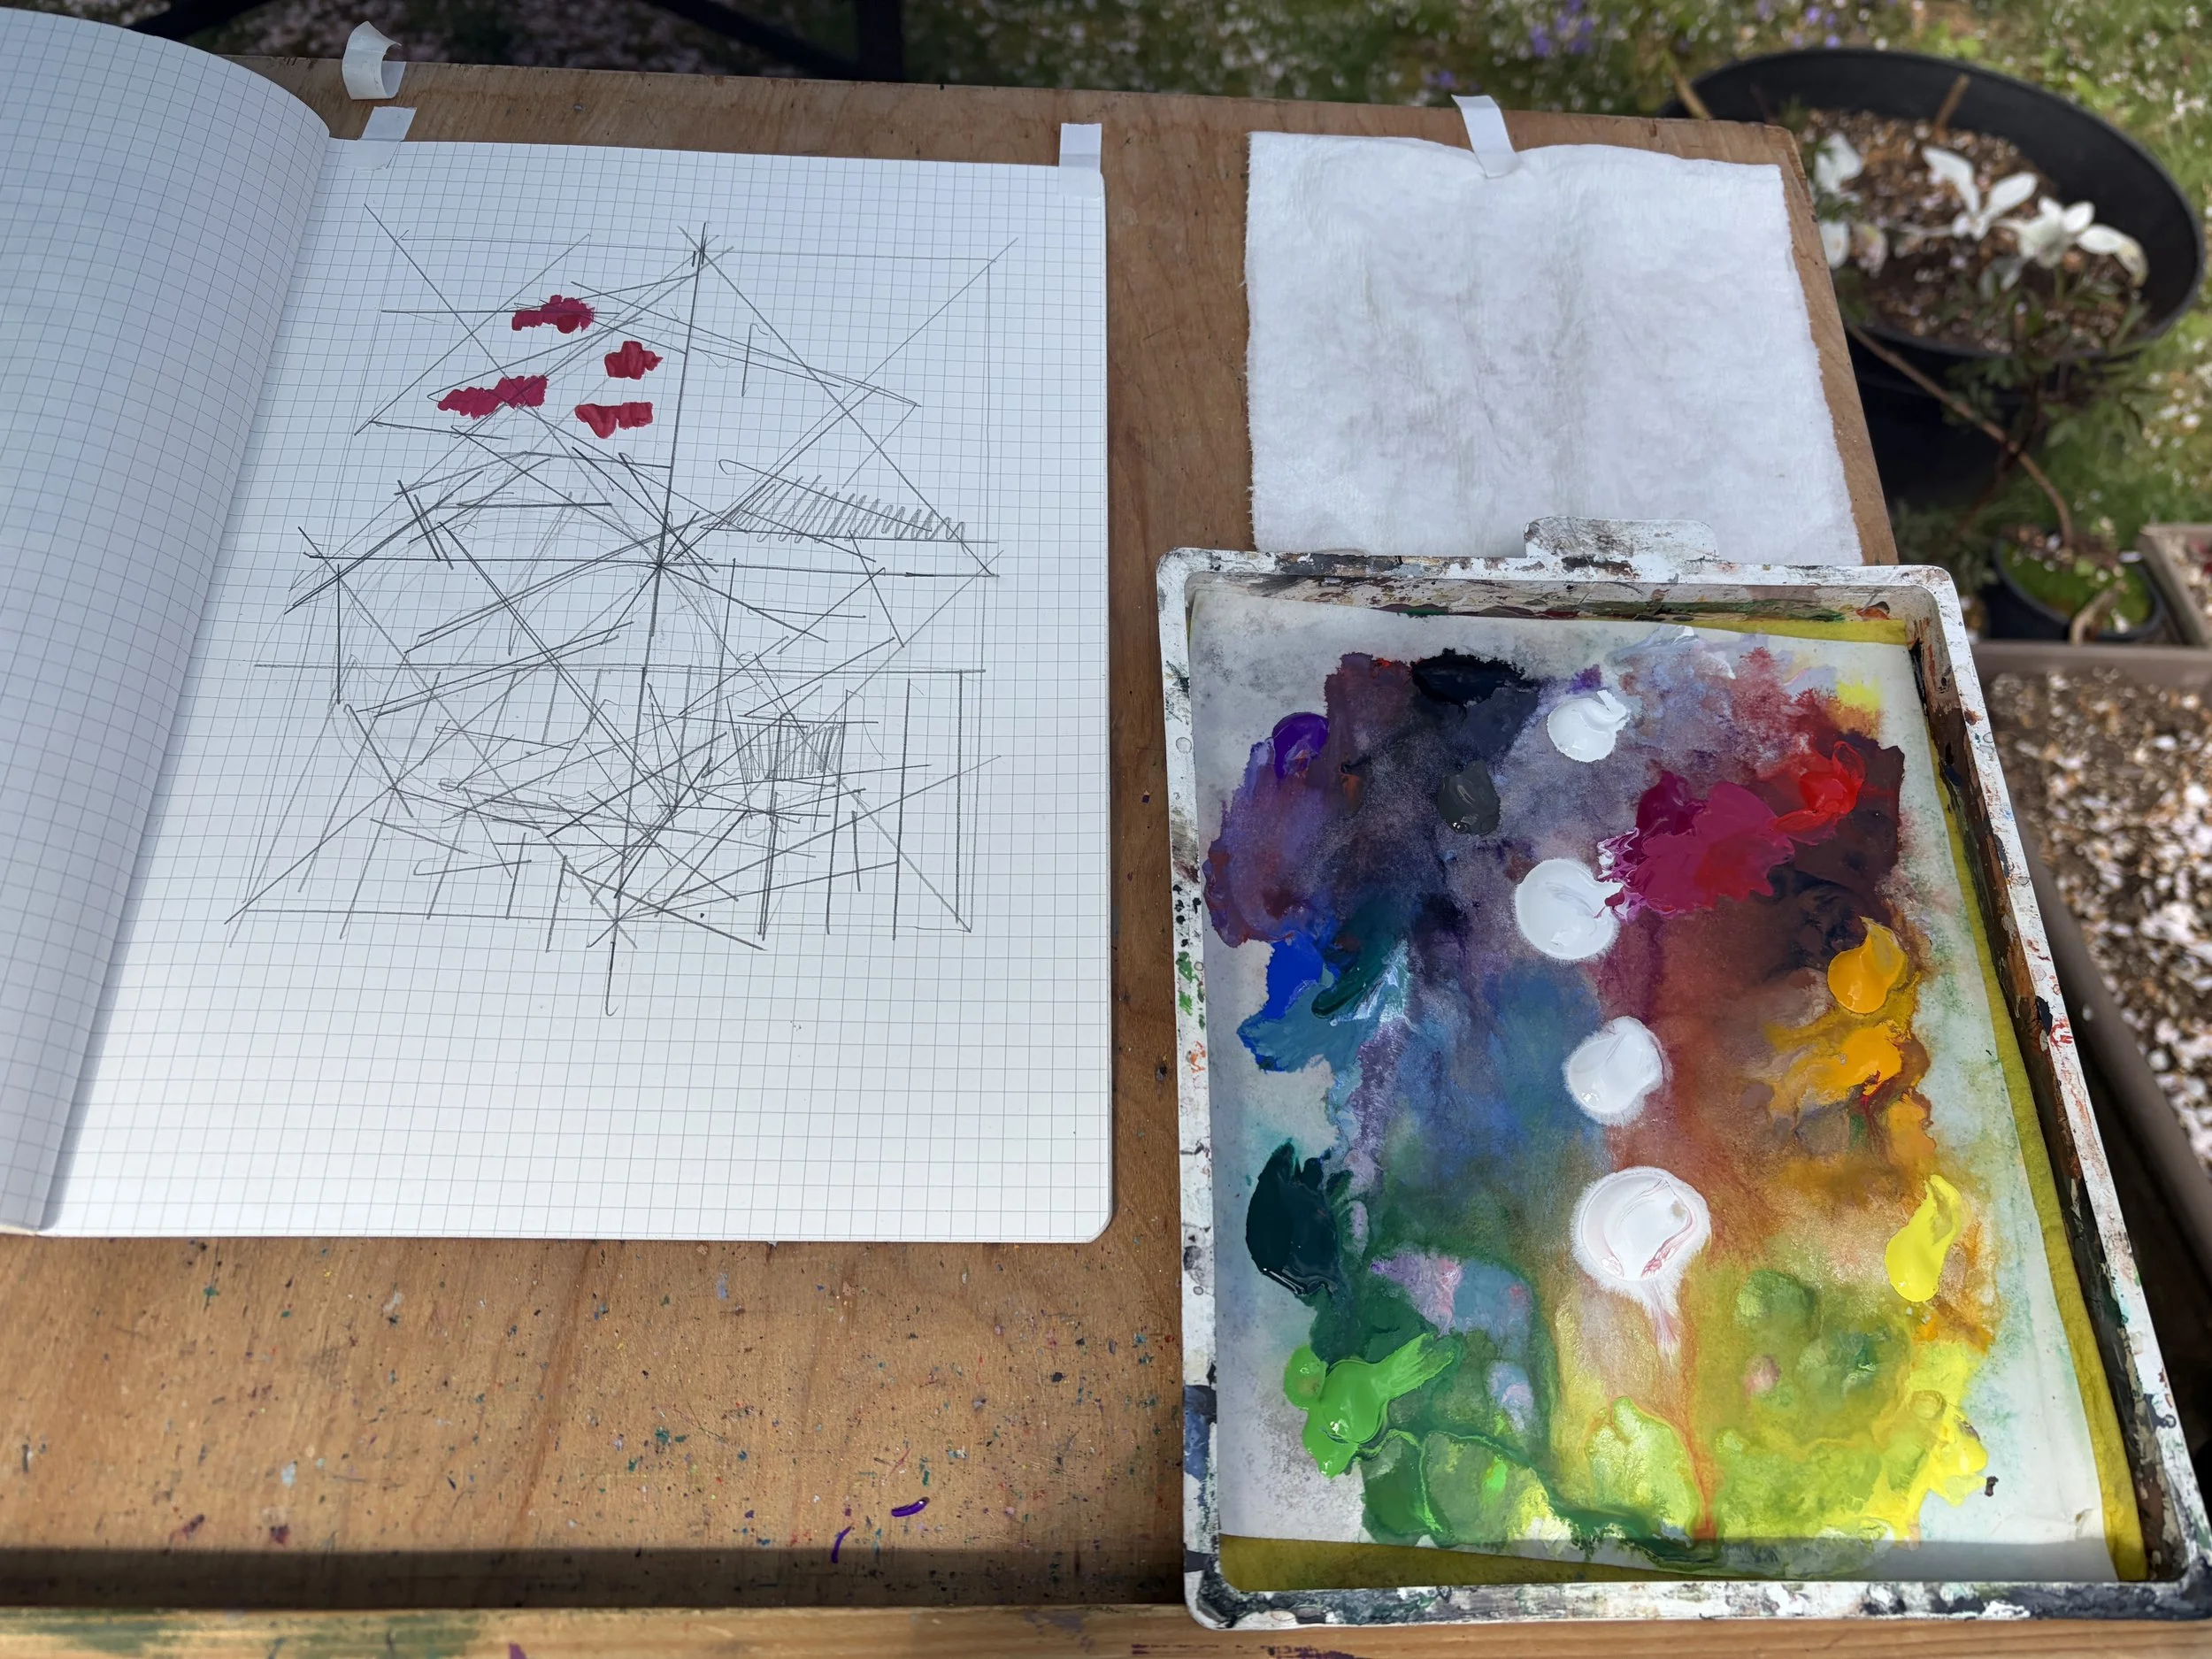
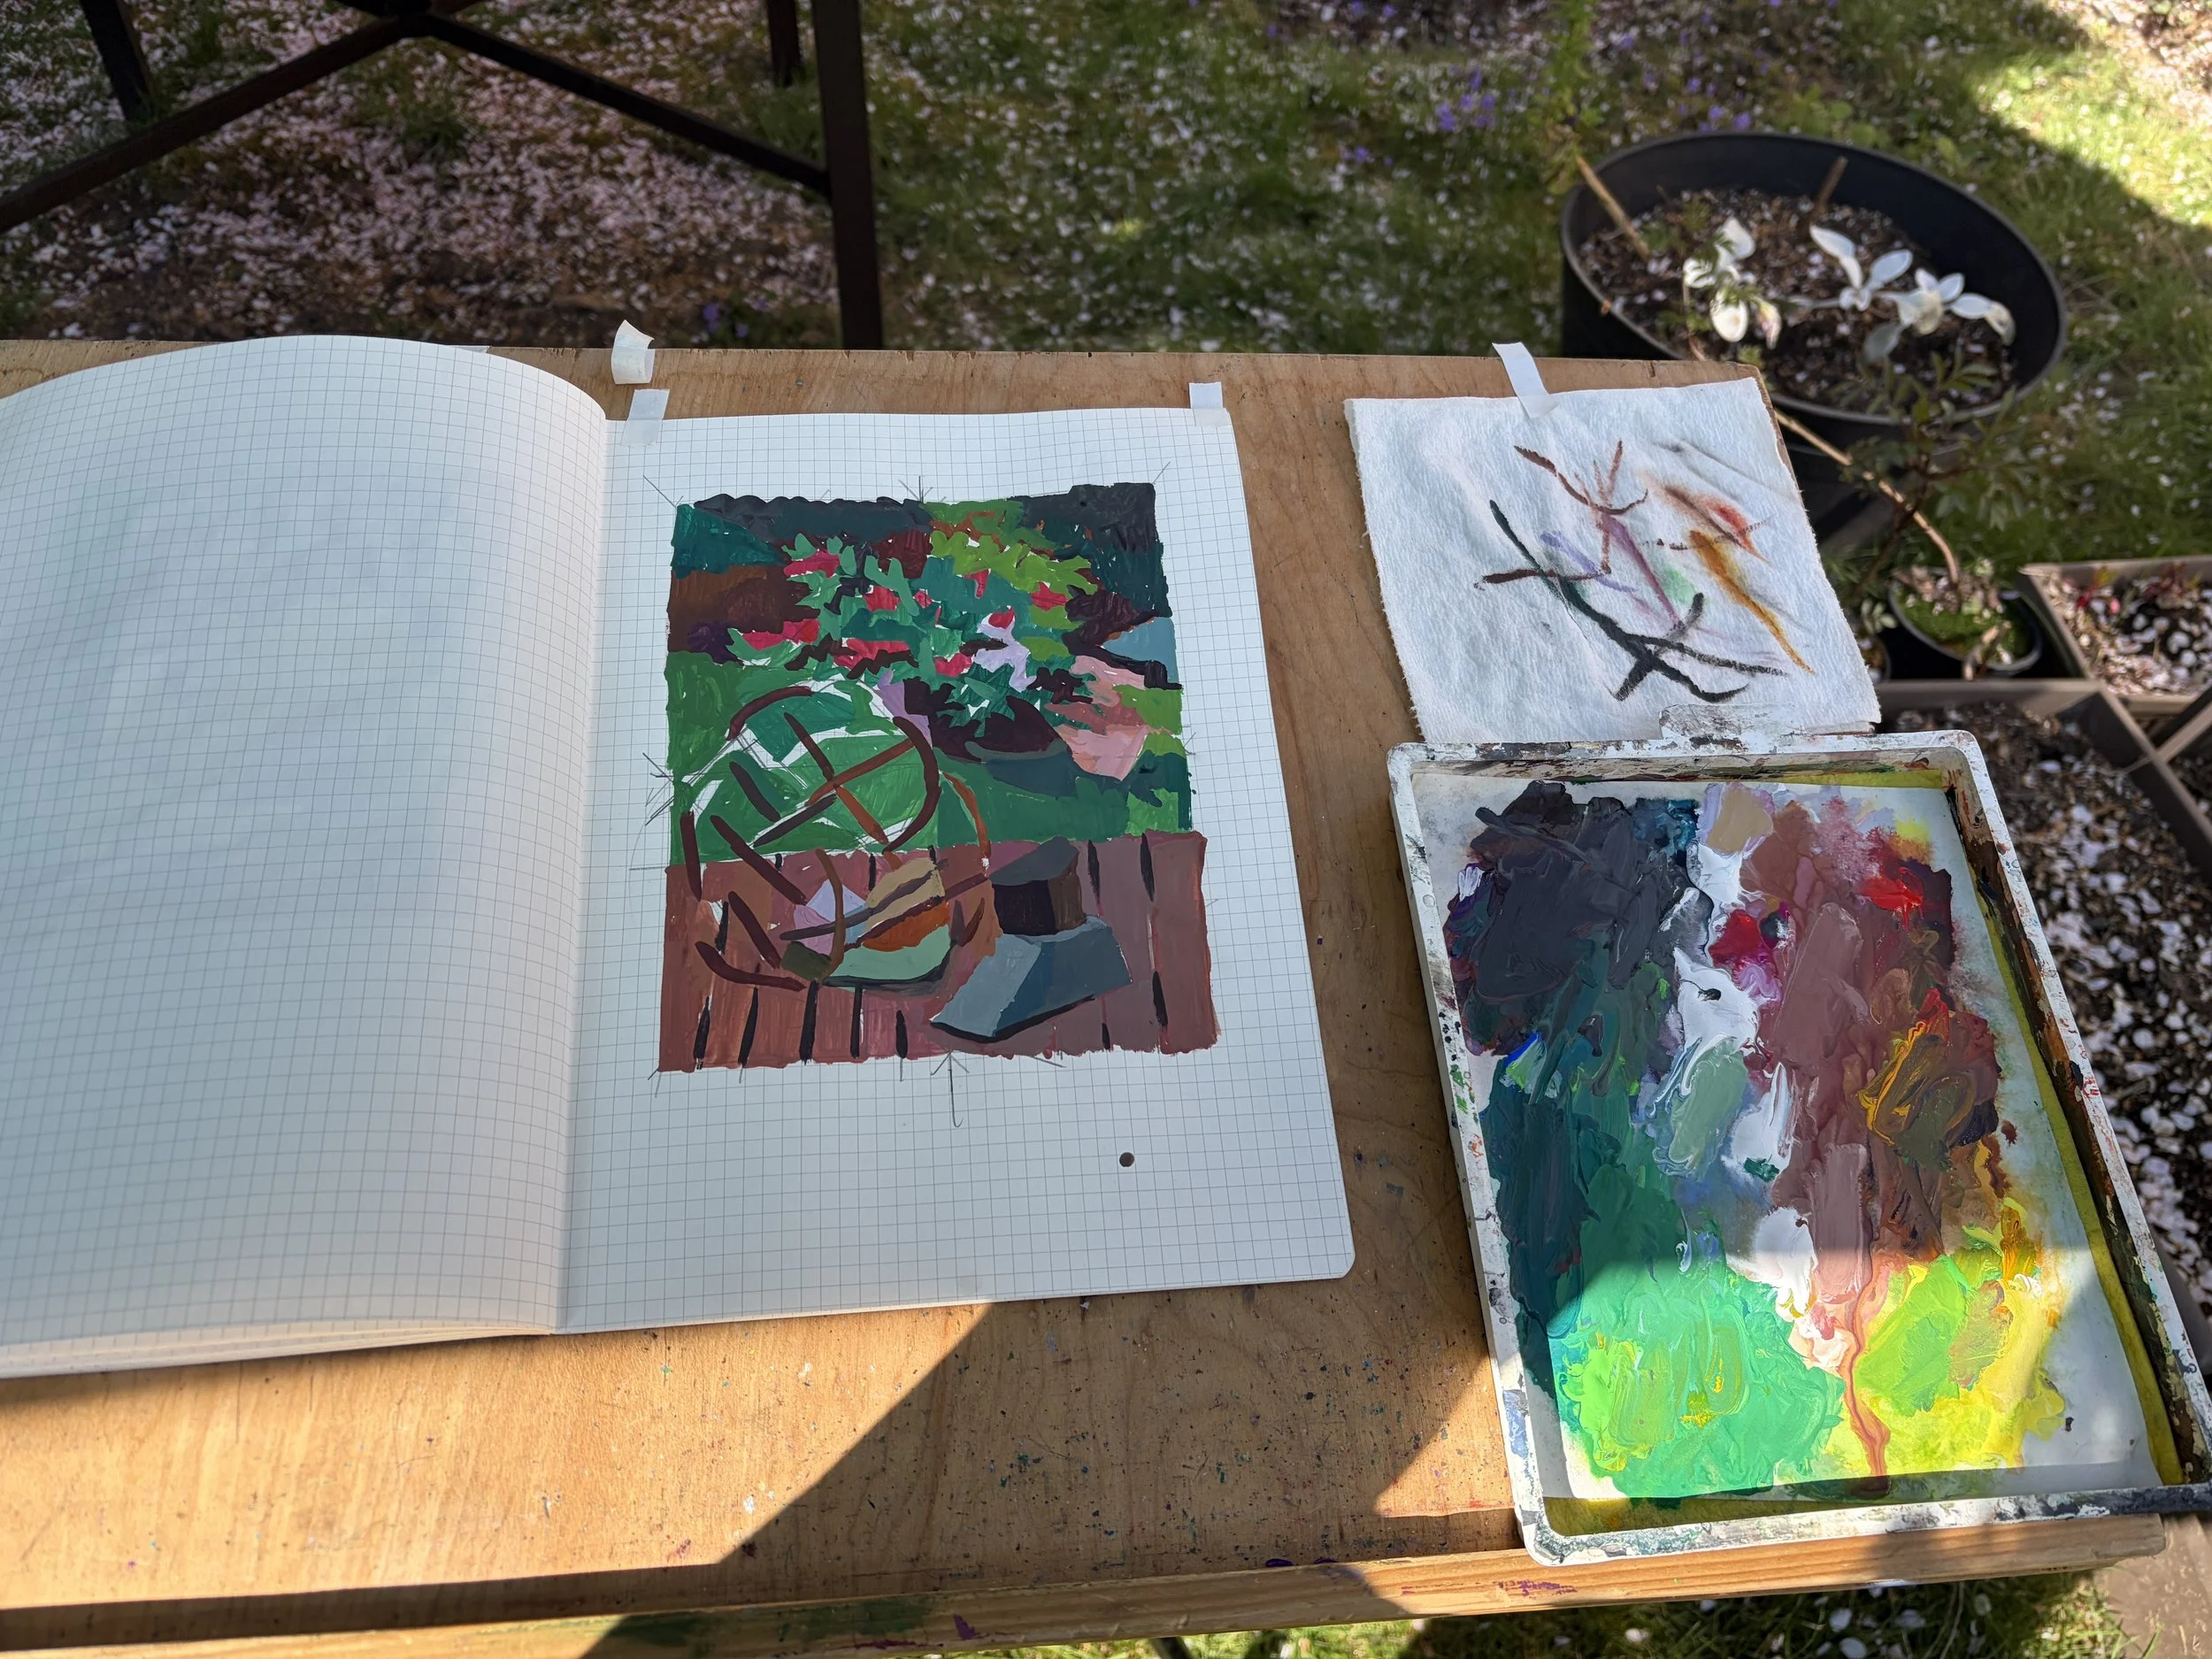
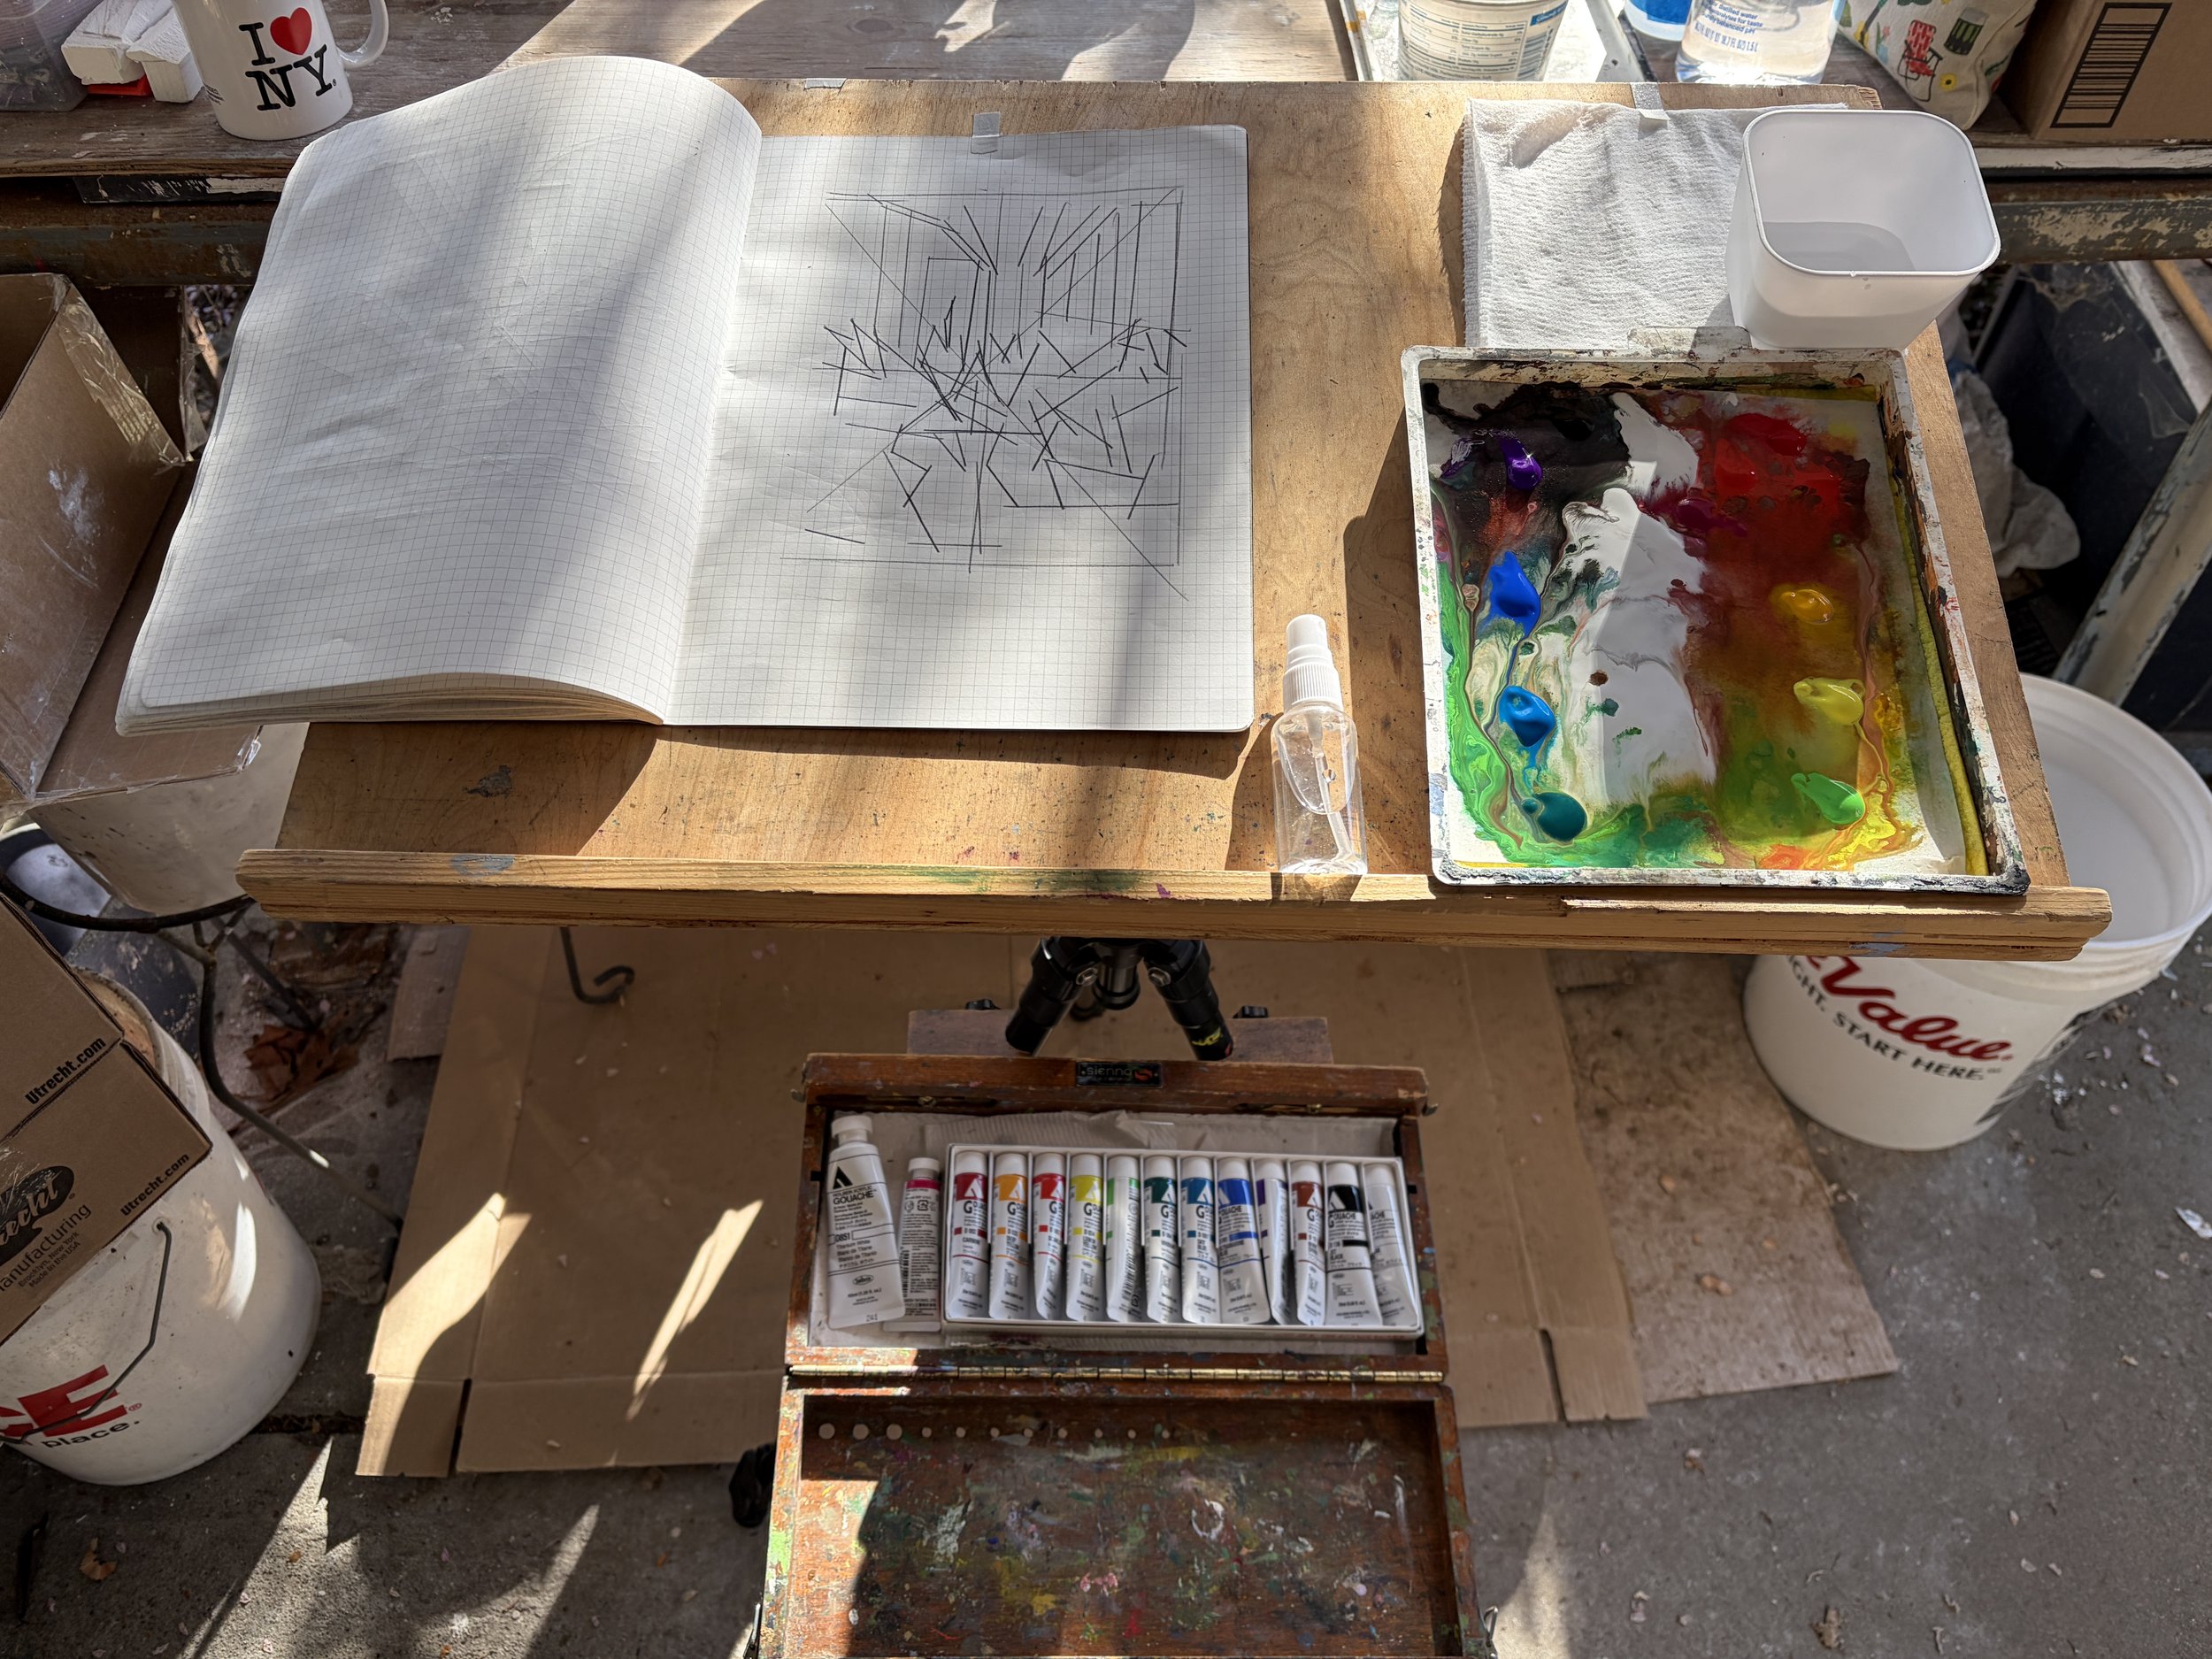
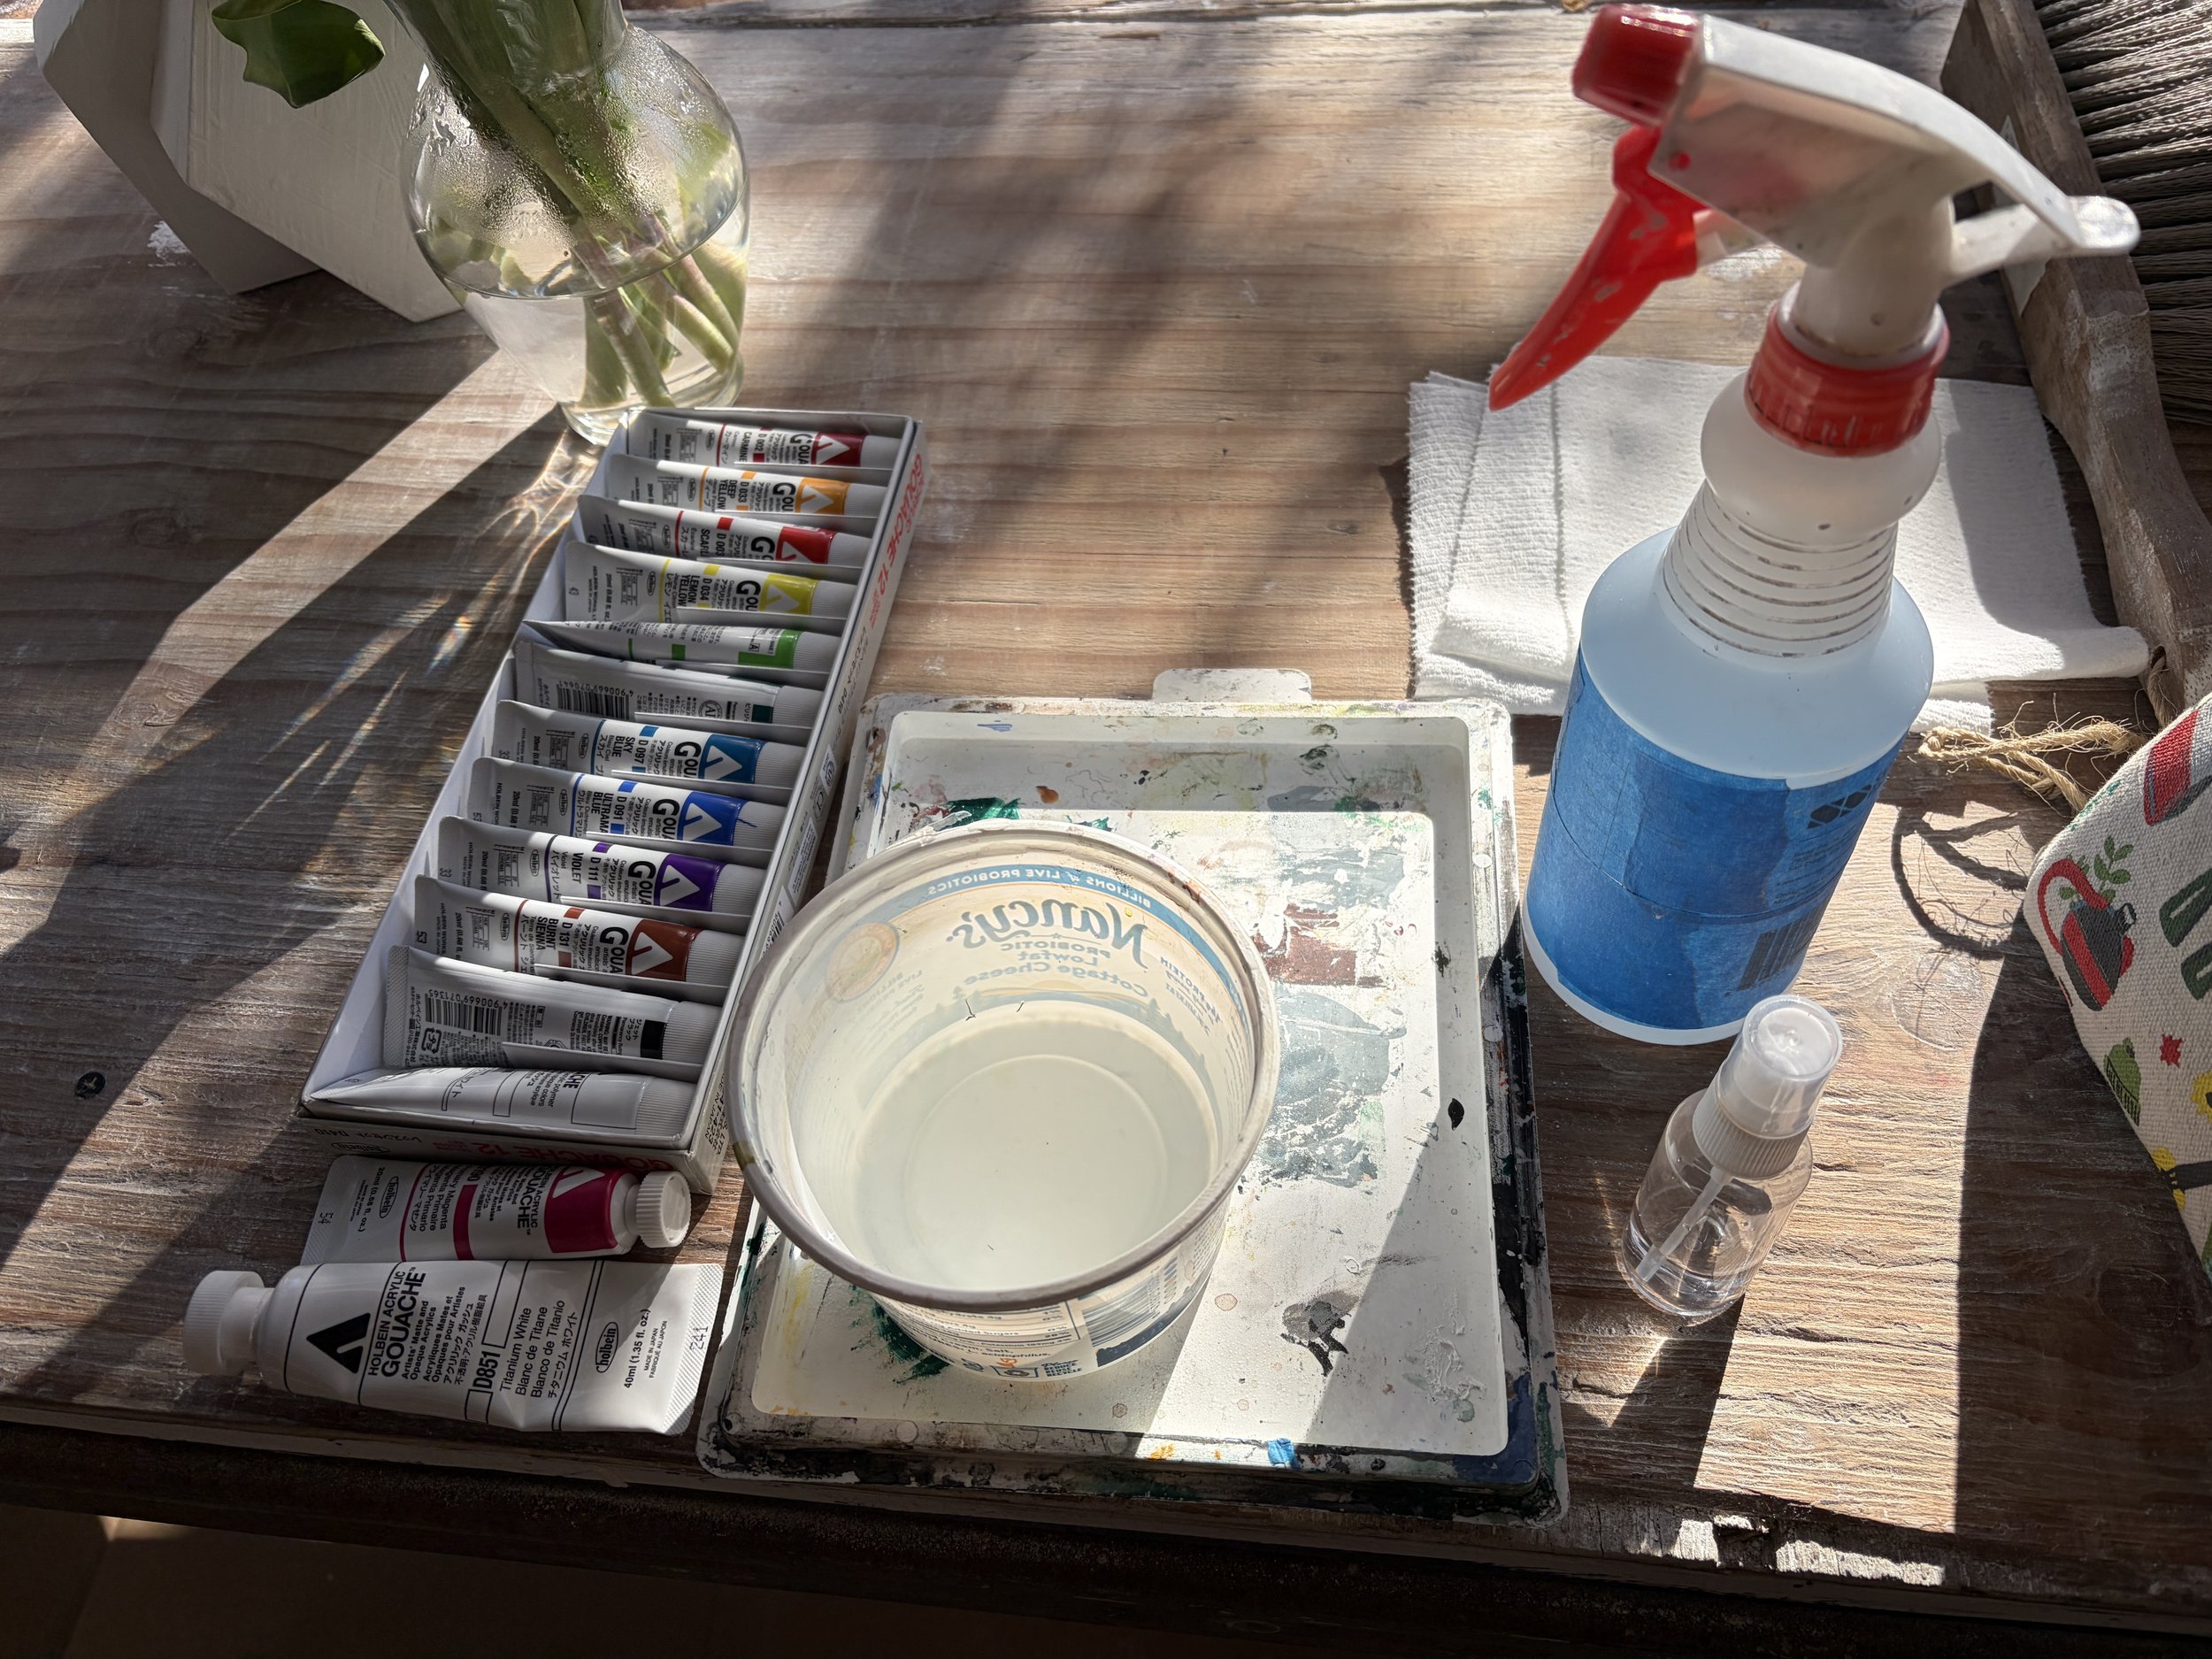
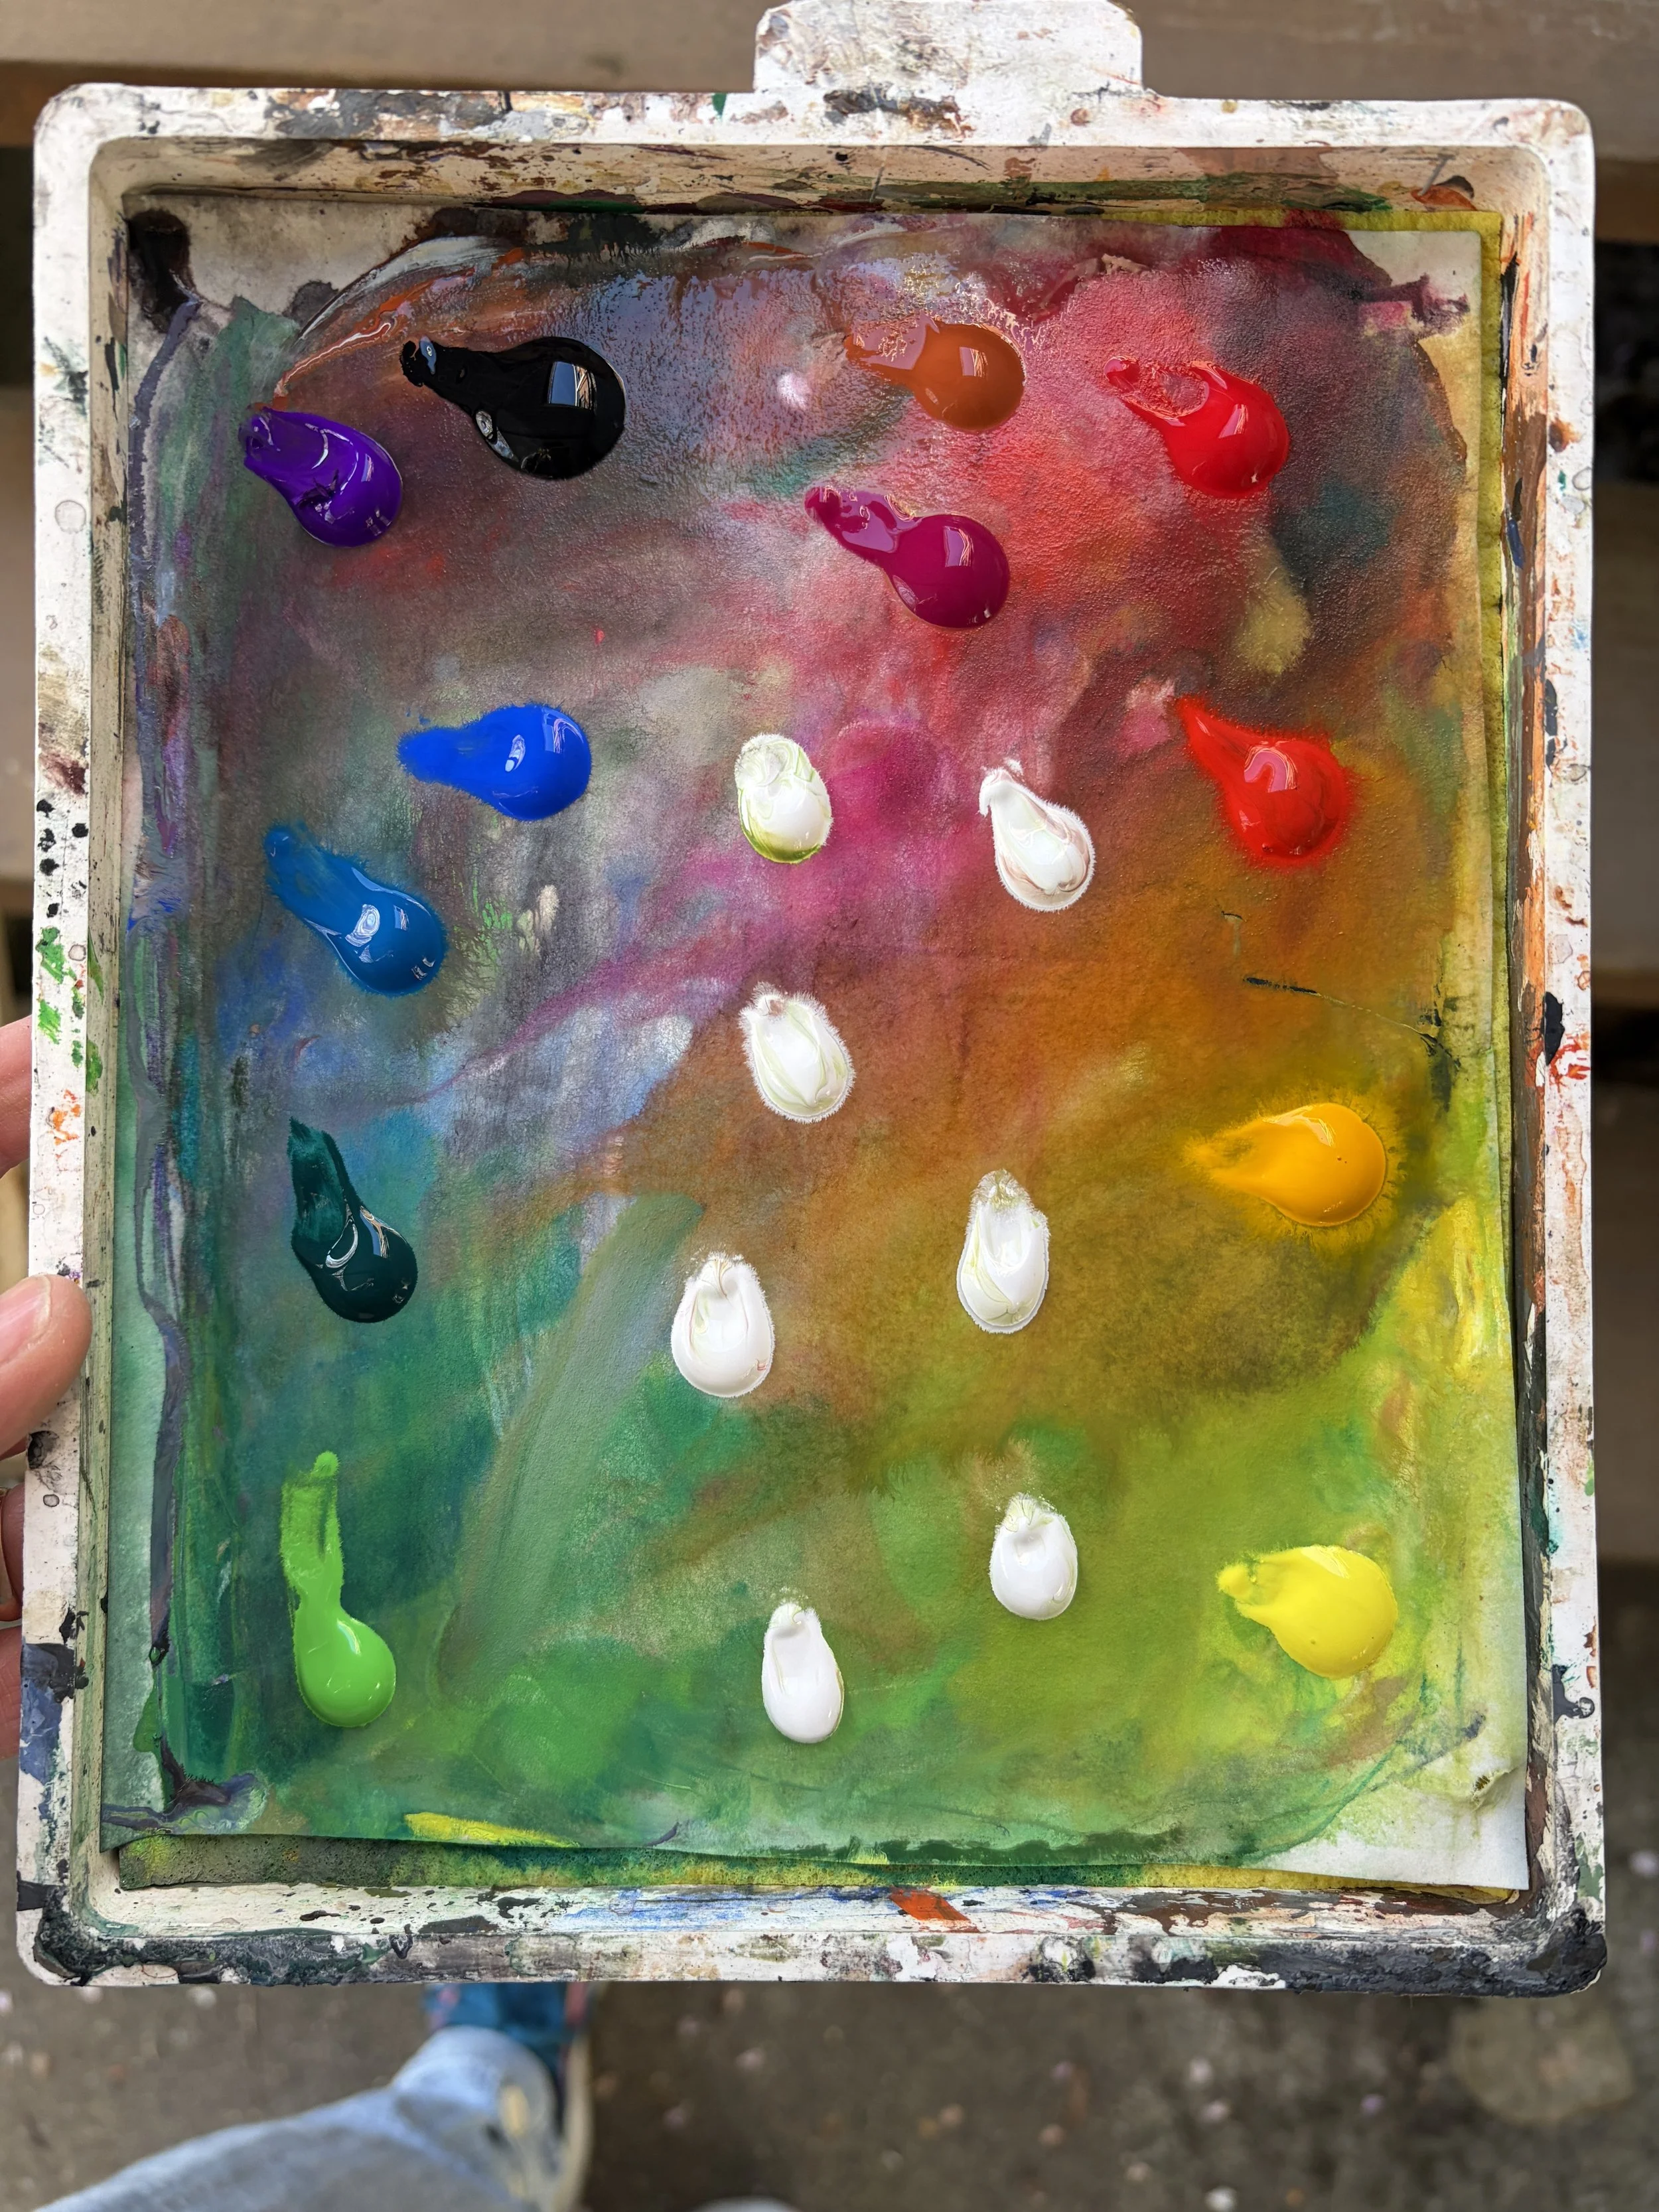
So far, I’ve been using Acryla Gouache and a STA-WET Palette. This palette has a sponge underneath and special, re-useable palette paper that absorbs the moisture and helps keep the paint moist throughout the painting session, and beyond.
I like this method because I can lay-out all of my pigments at the same time, so that as I enter my flow state I can mix as I am working without having to stop too often to squeeze out more paint.
I am laying out my pigments in this order: Red, Orange, Yellow on the right side; Violet, Blue, Green on the Left side; Black and Gray up top, Magenta up near my Red and Violet; multiple blobs of White down the center.
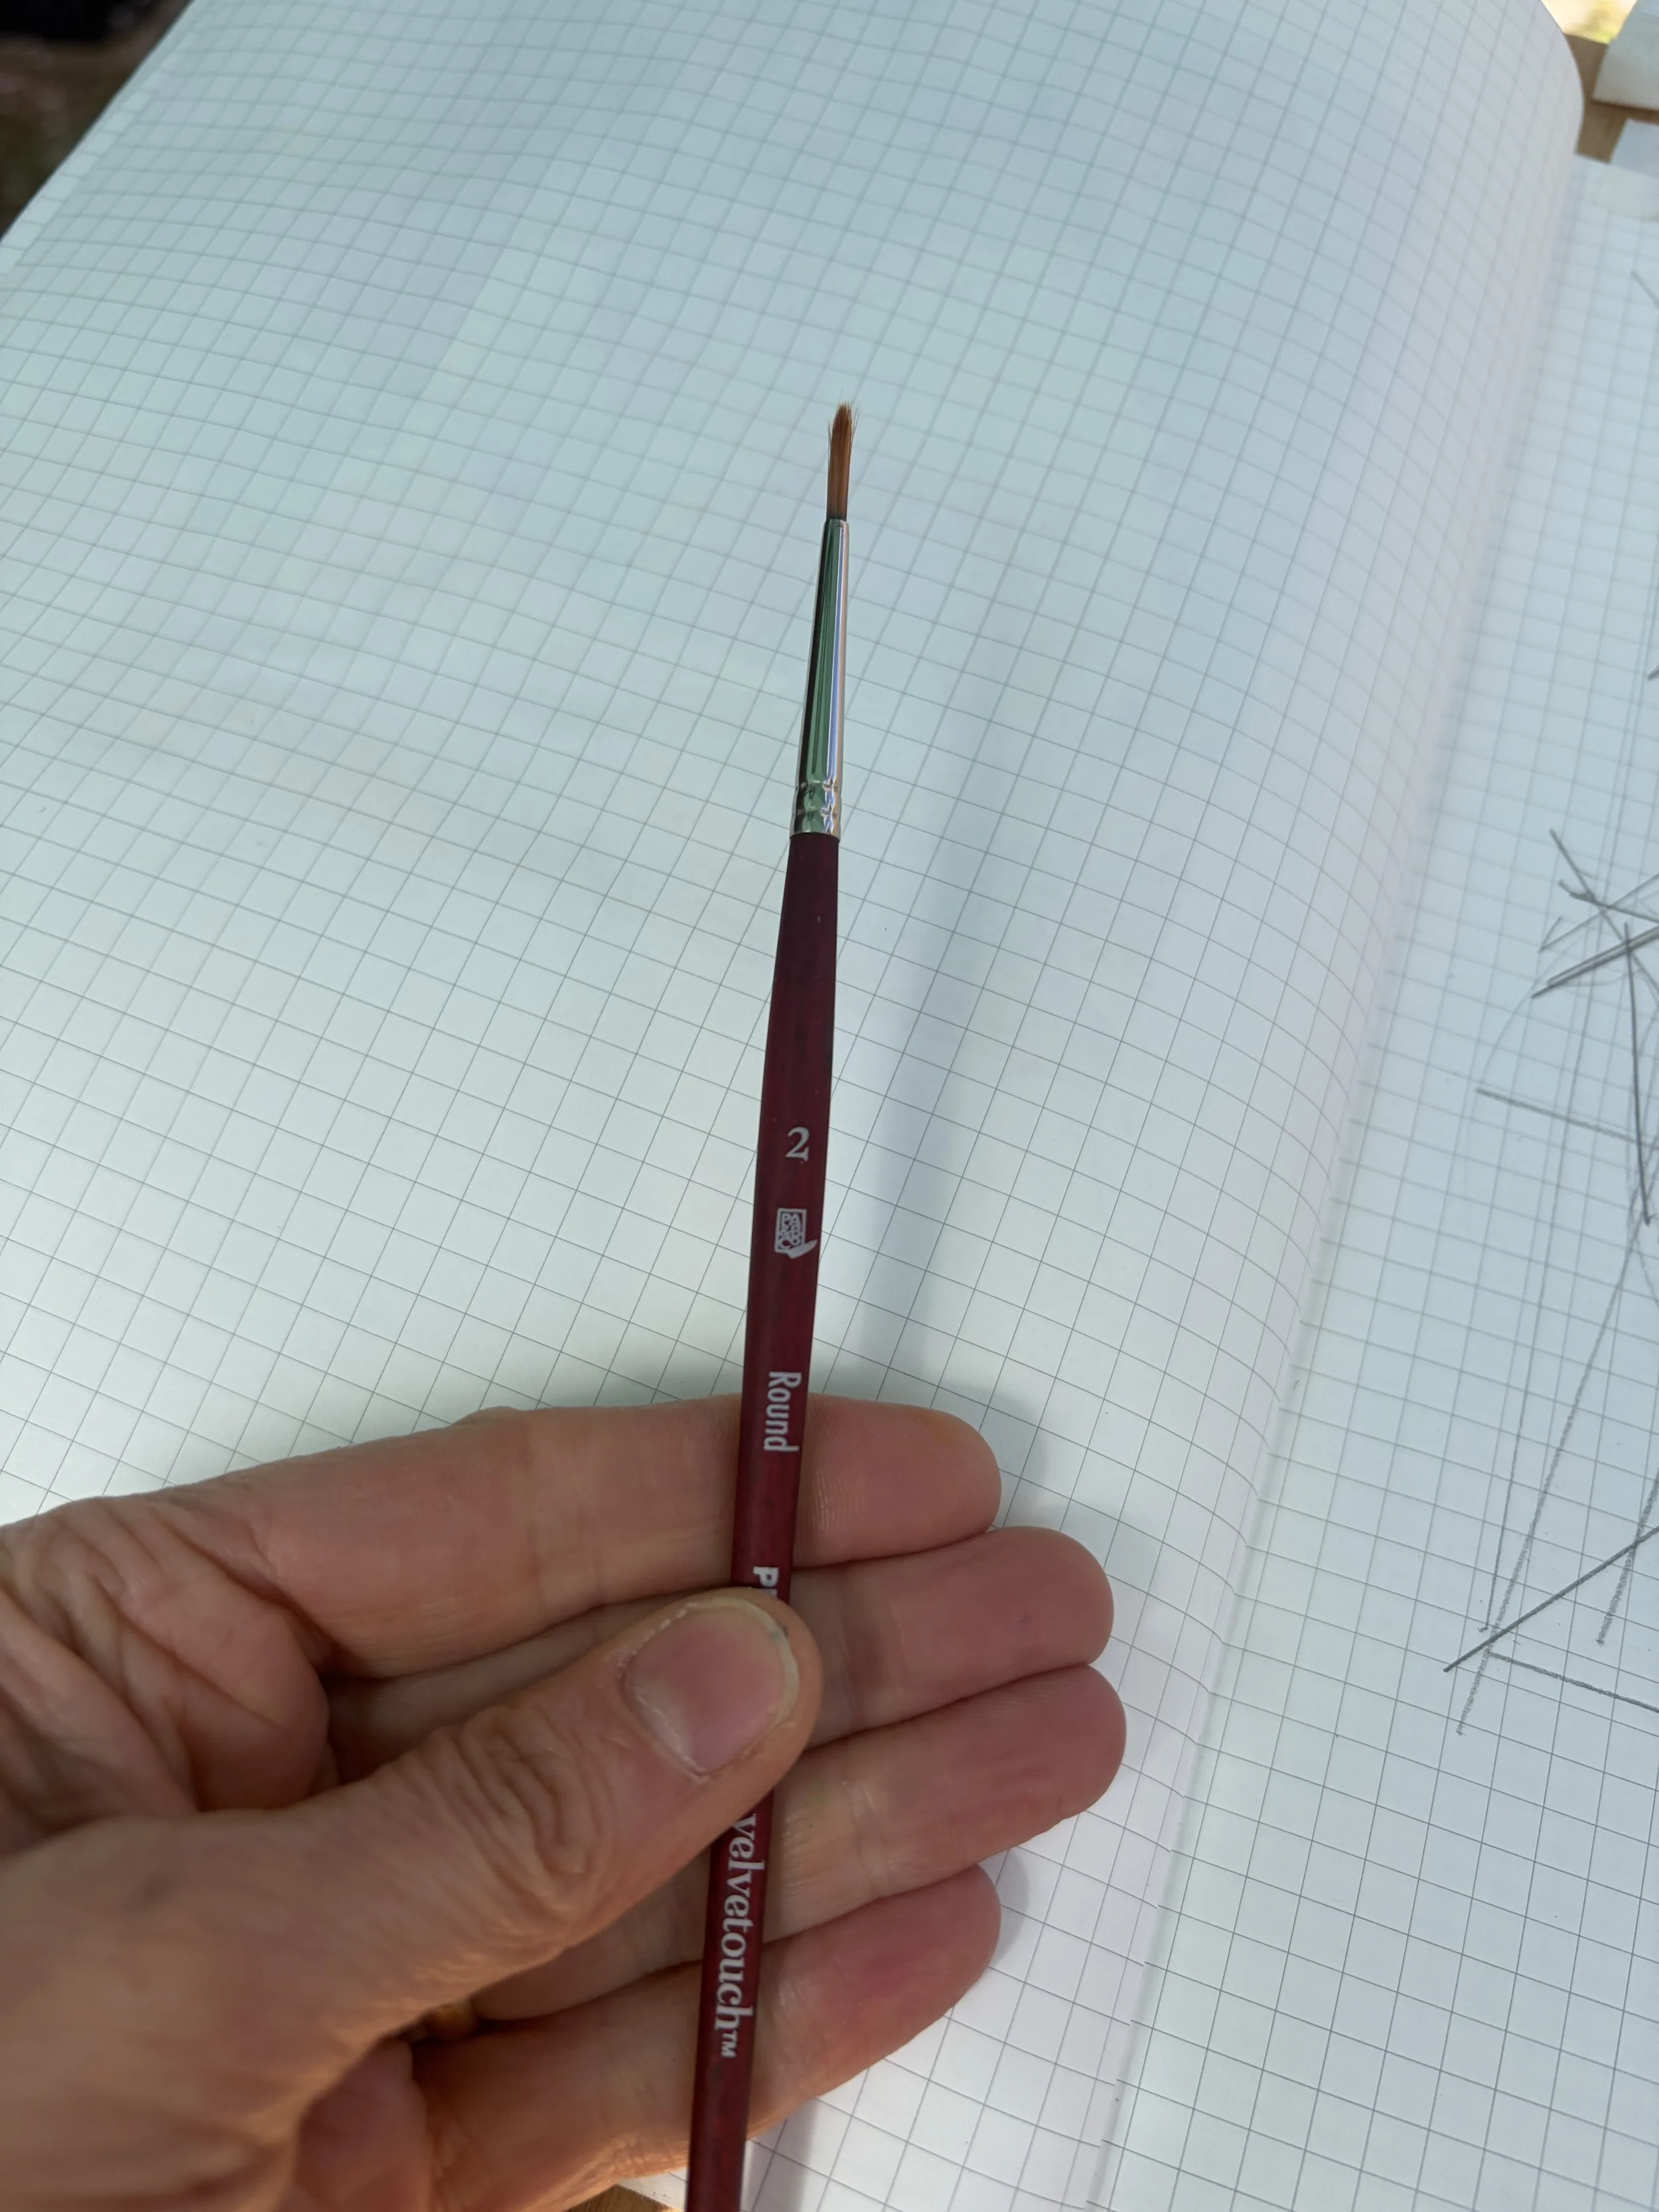
I am using just one, rather small, round brush for both mixing on the palette and for painting. This small brush helps slow me down, it also encourages me to spot mix small piles on my platte as I am working, helping to keep my palette a bit more organized and not overrun by large, unnecessary piles.
Perhaps the greatest challenge of gouache is the constant maintenance to achieve the appropriate level of liquidity v. viscosity. Not too wet so as to make the paint transparent like a watercolor, and not to viscous so as to get chunky and build-up too fast. We are seeking a liquid opacity. A delicious, fluid consistency that lays down the paint with clarity and opacity.
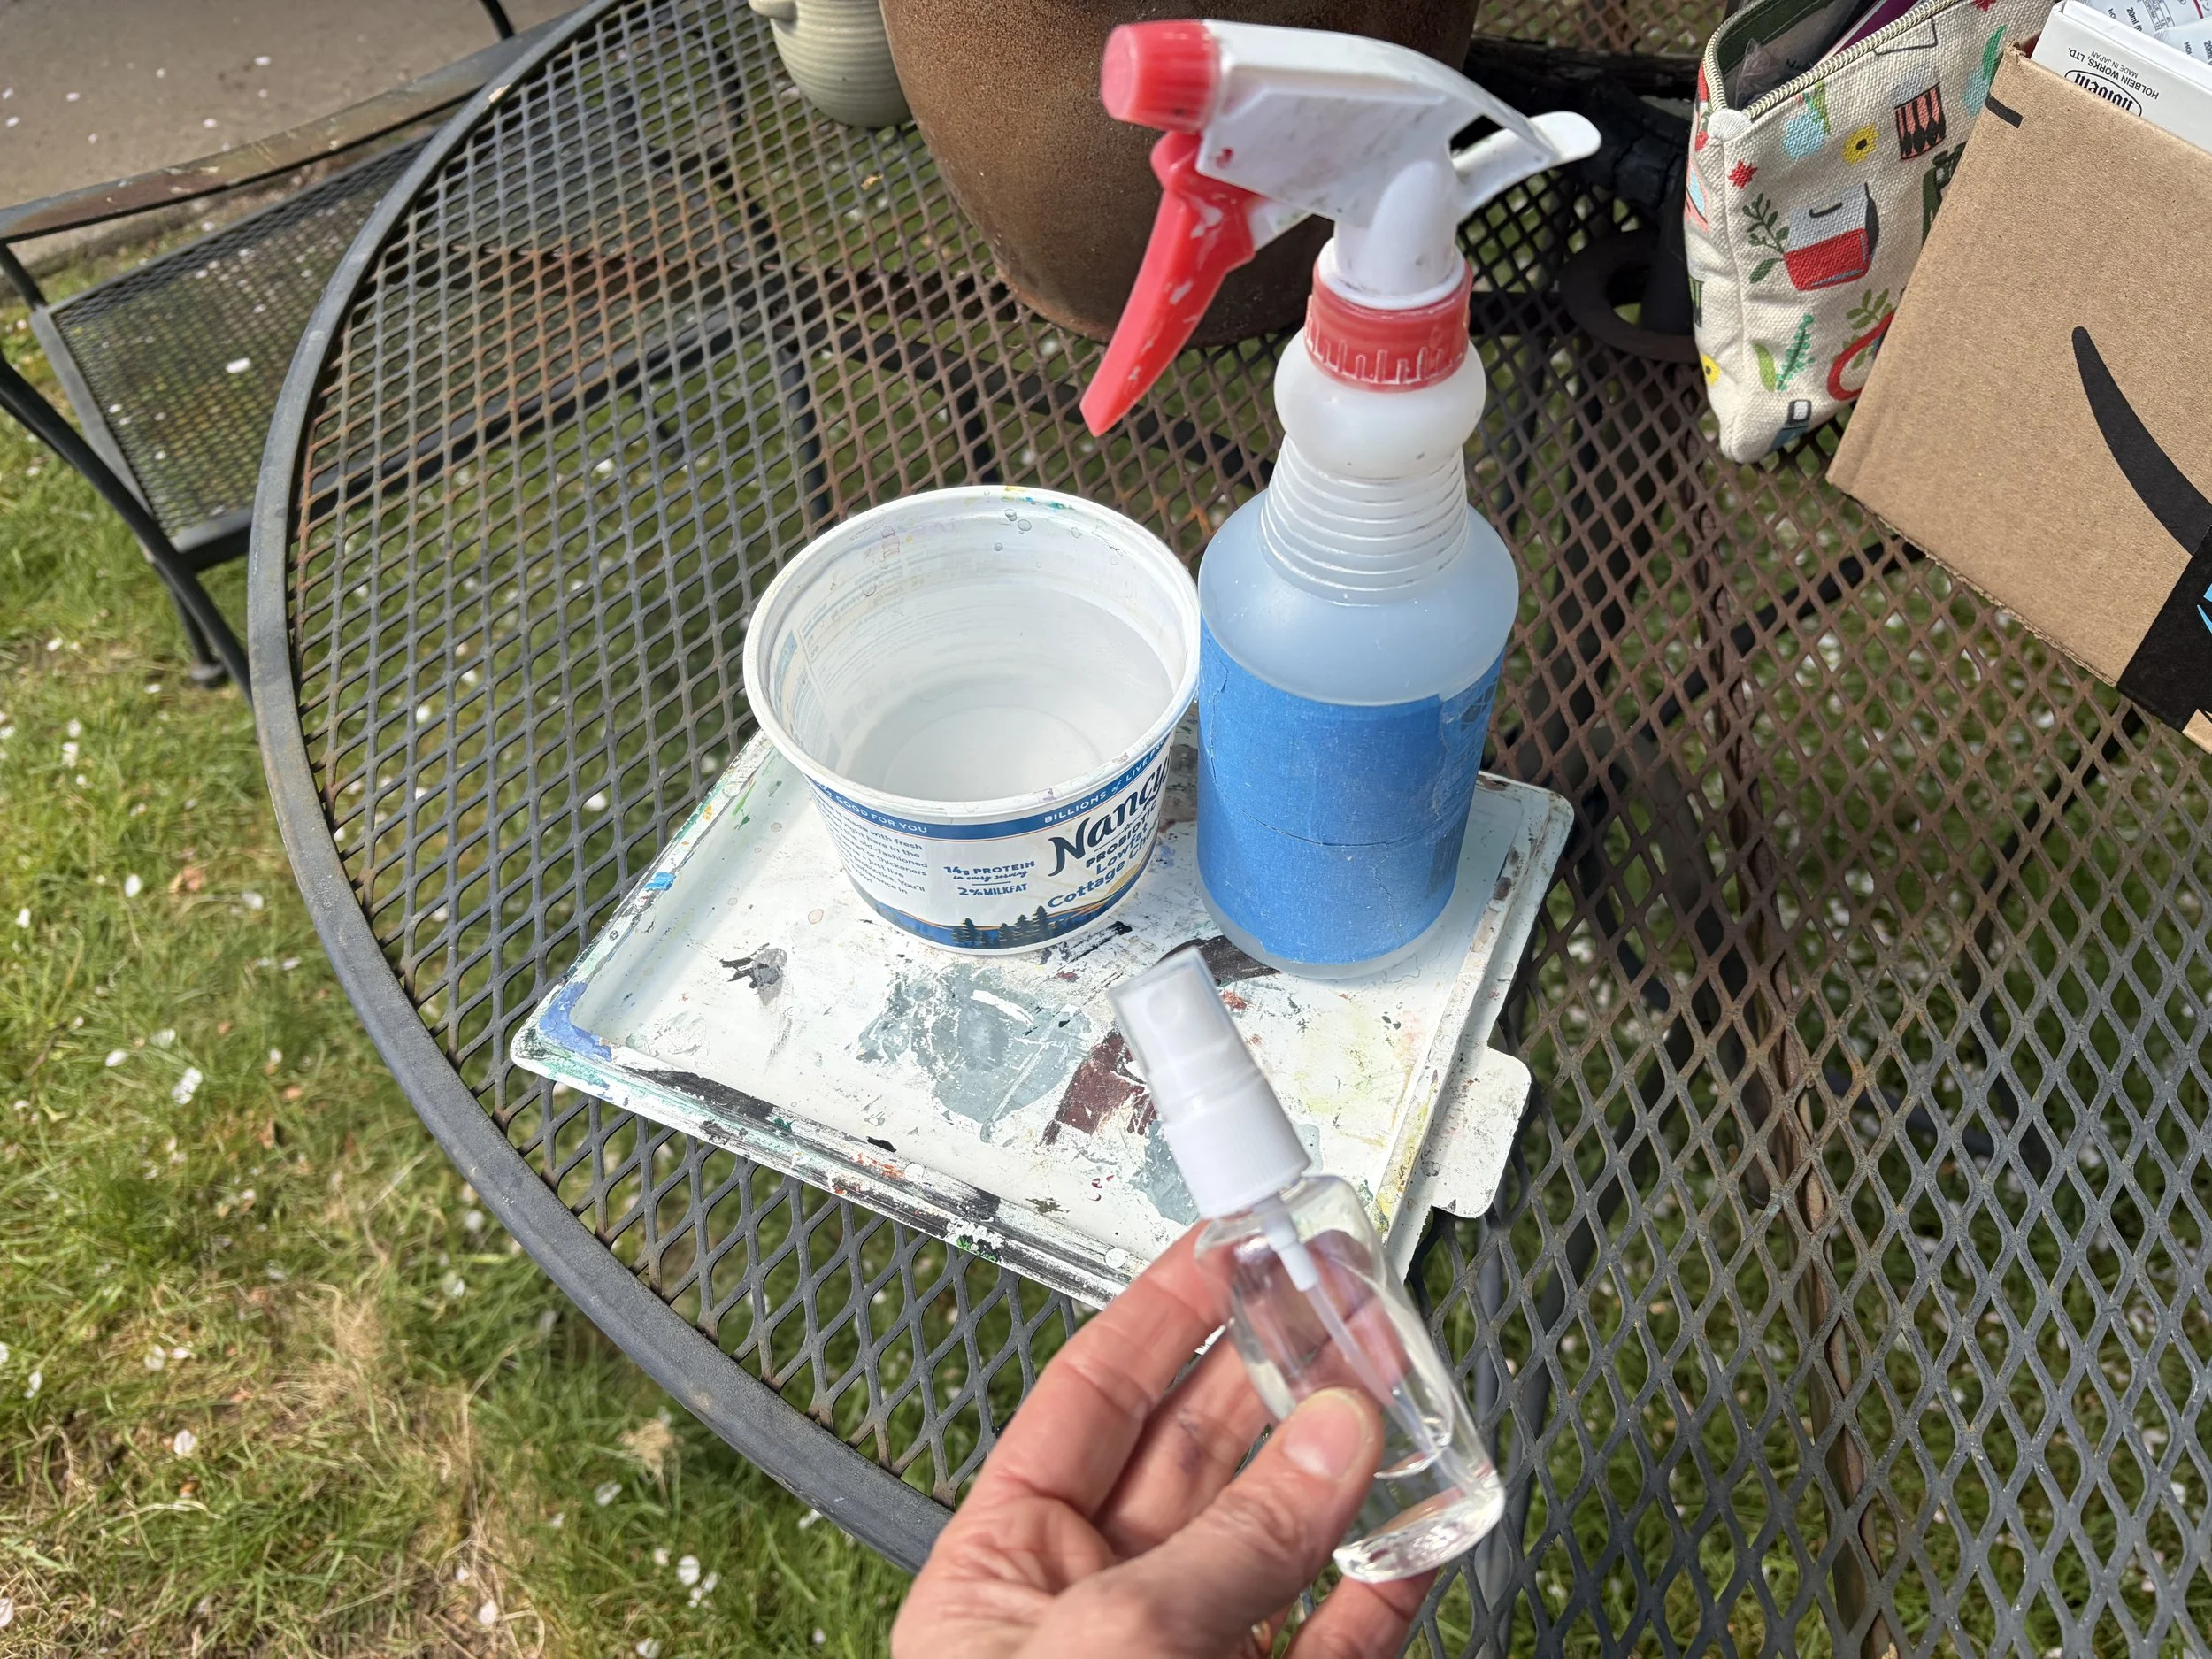
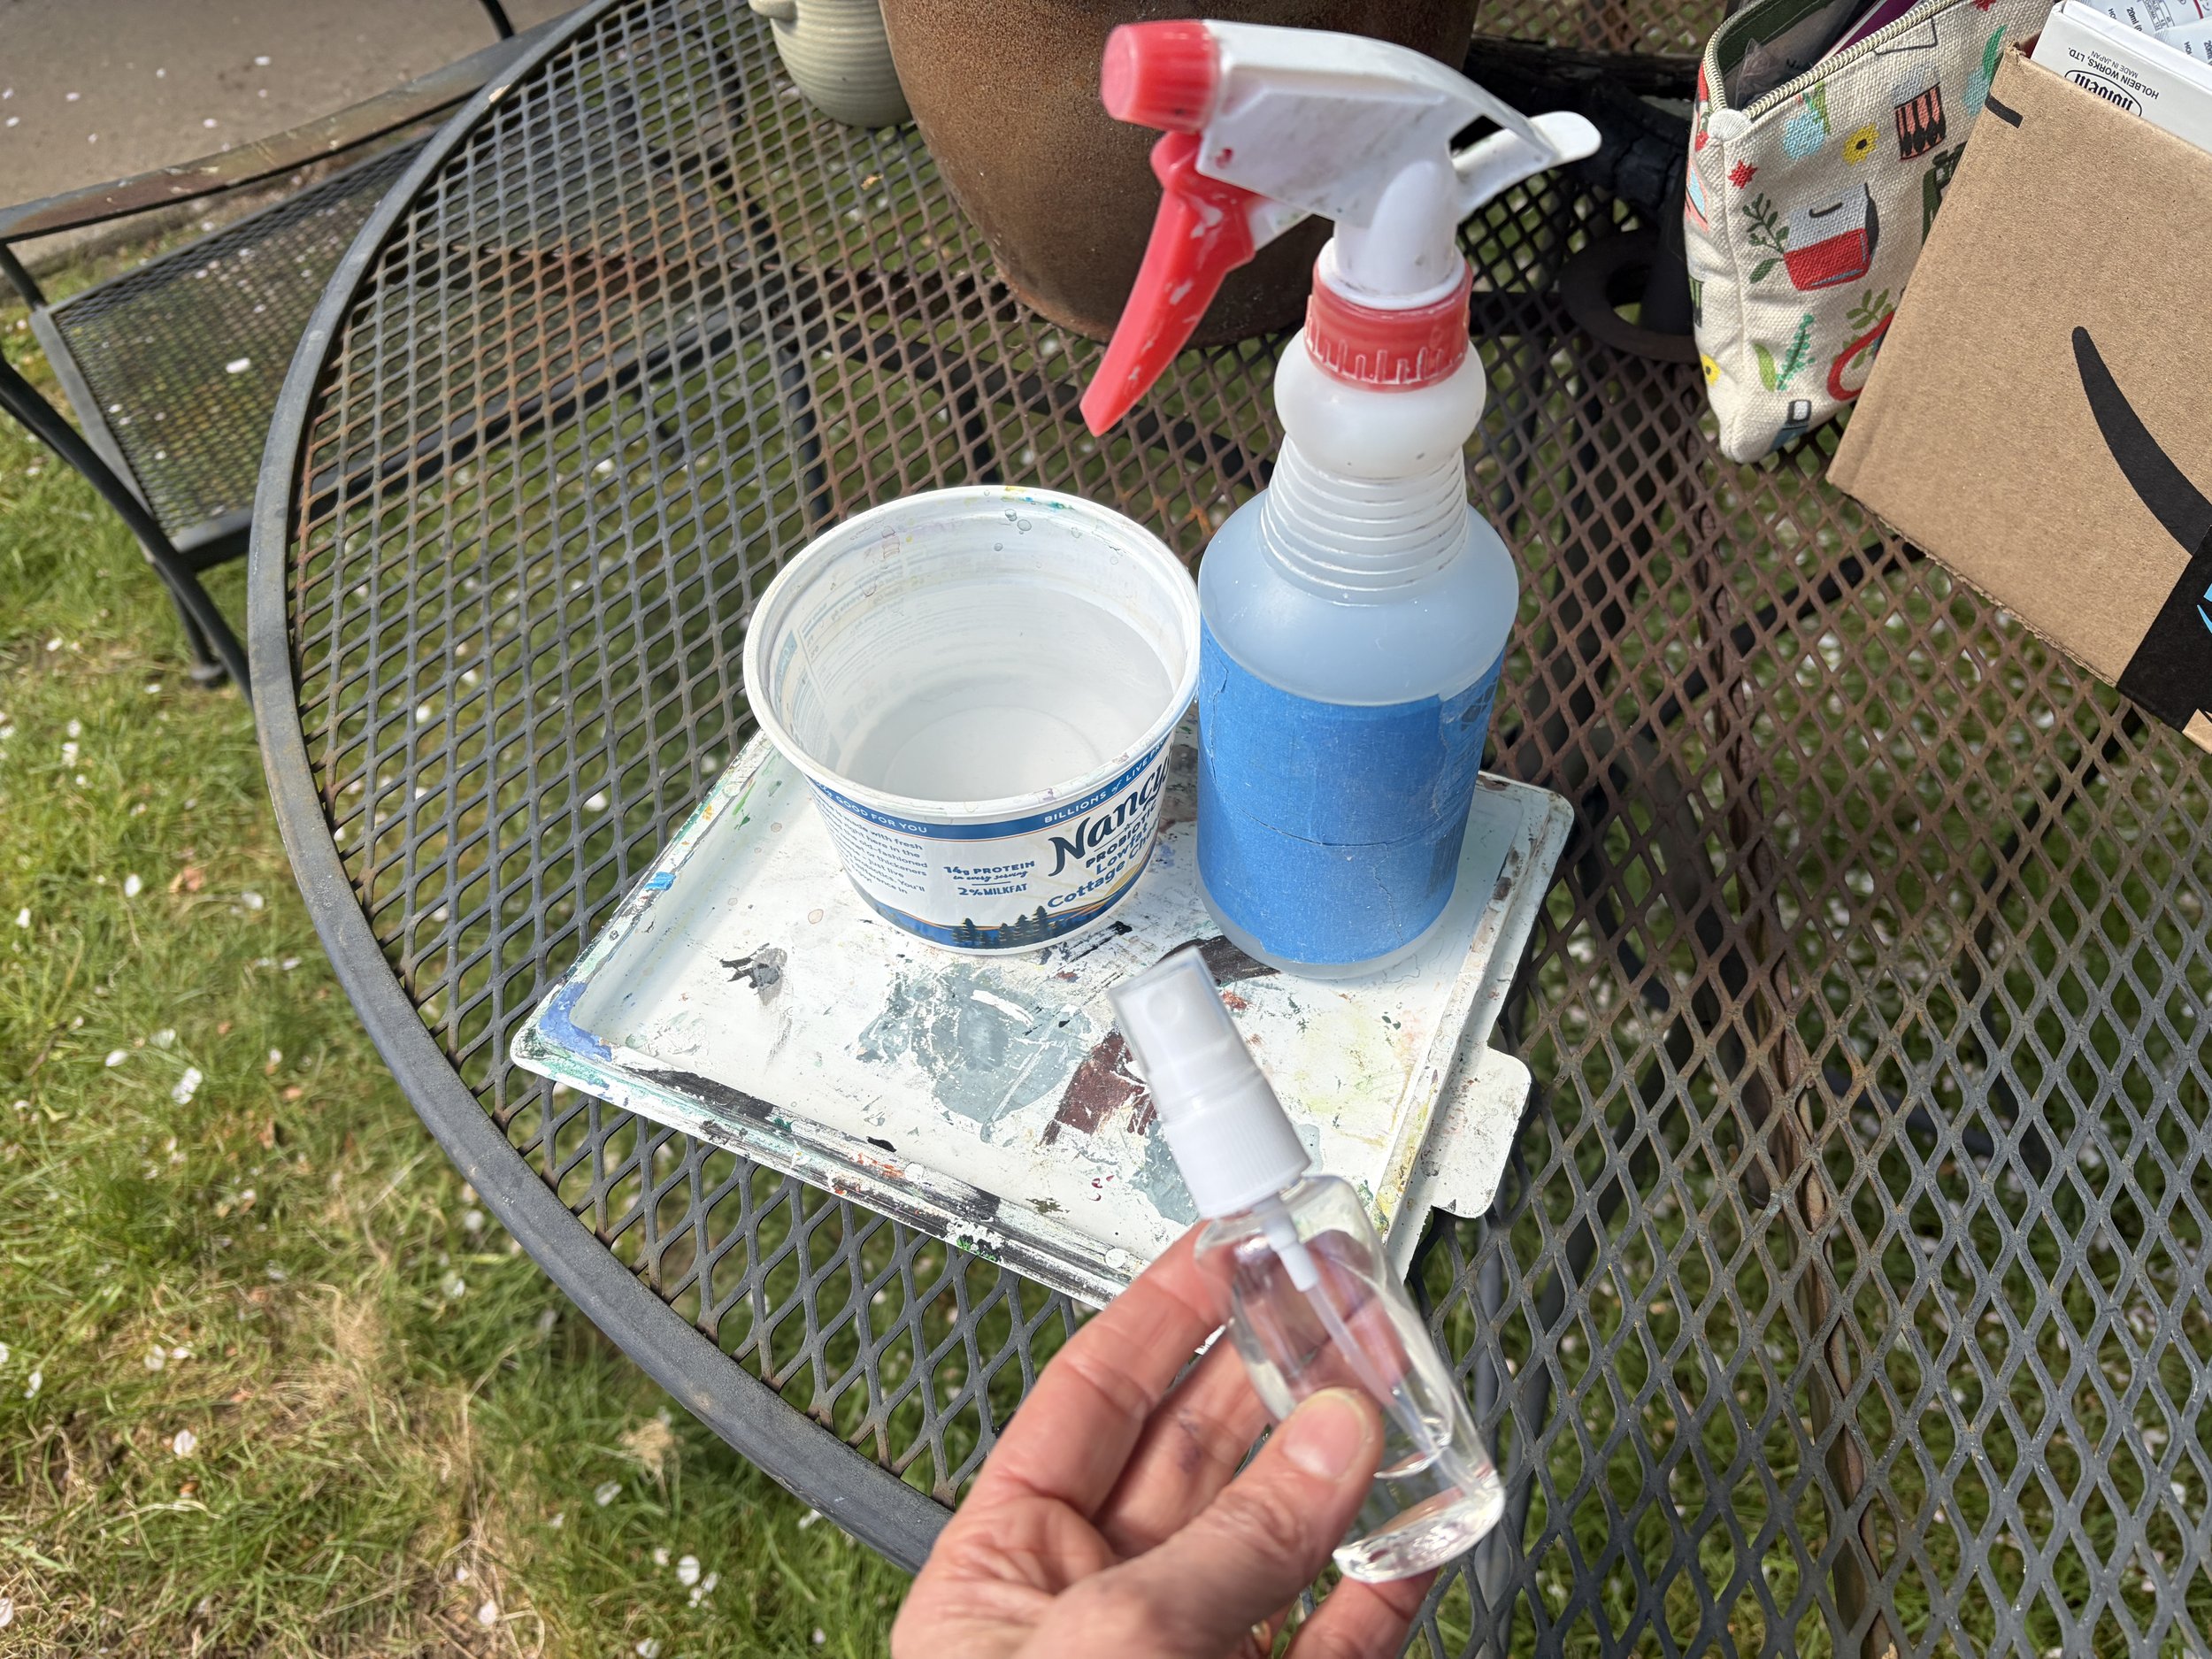
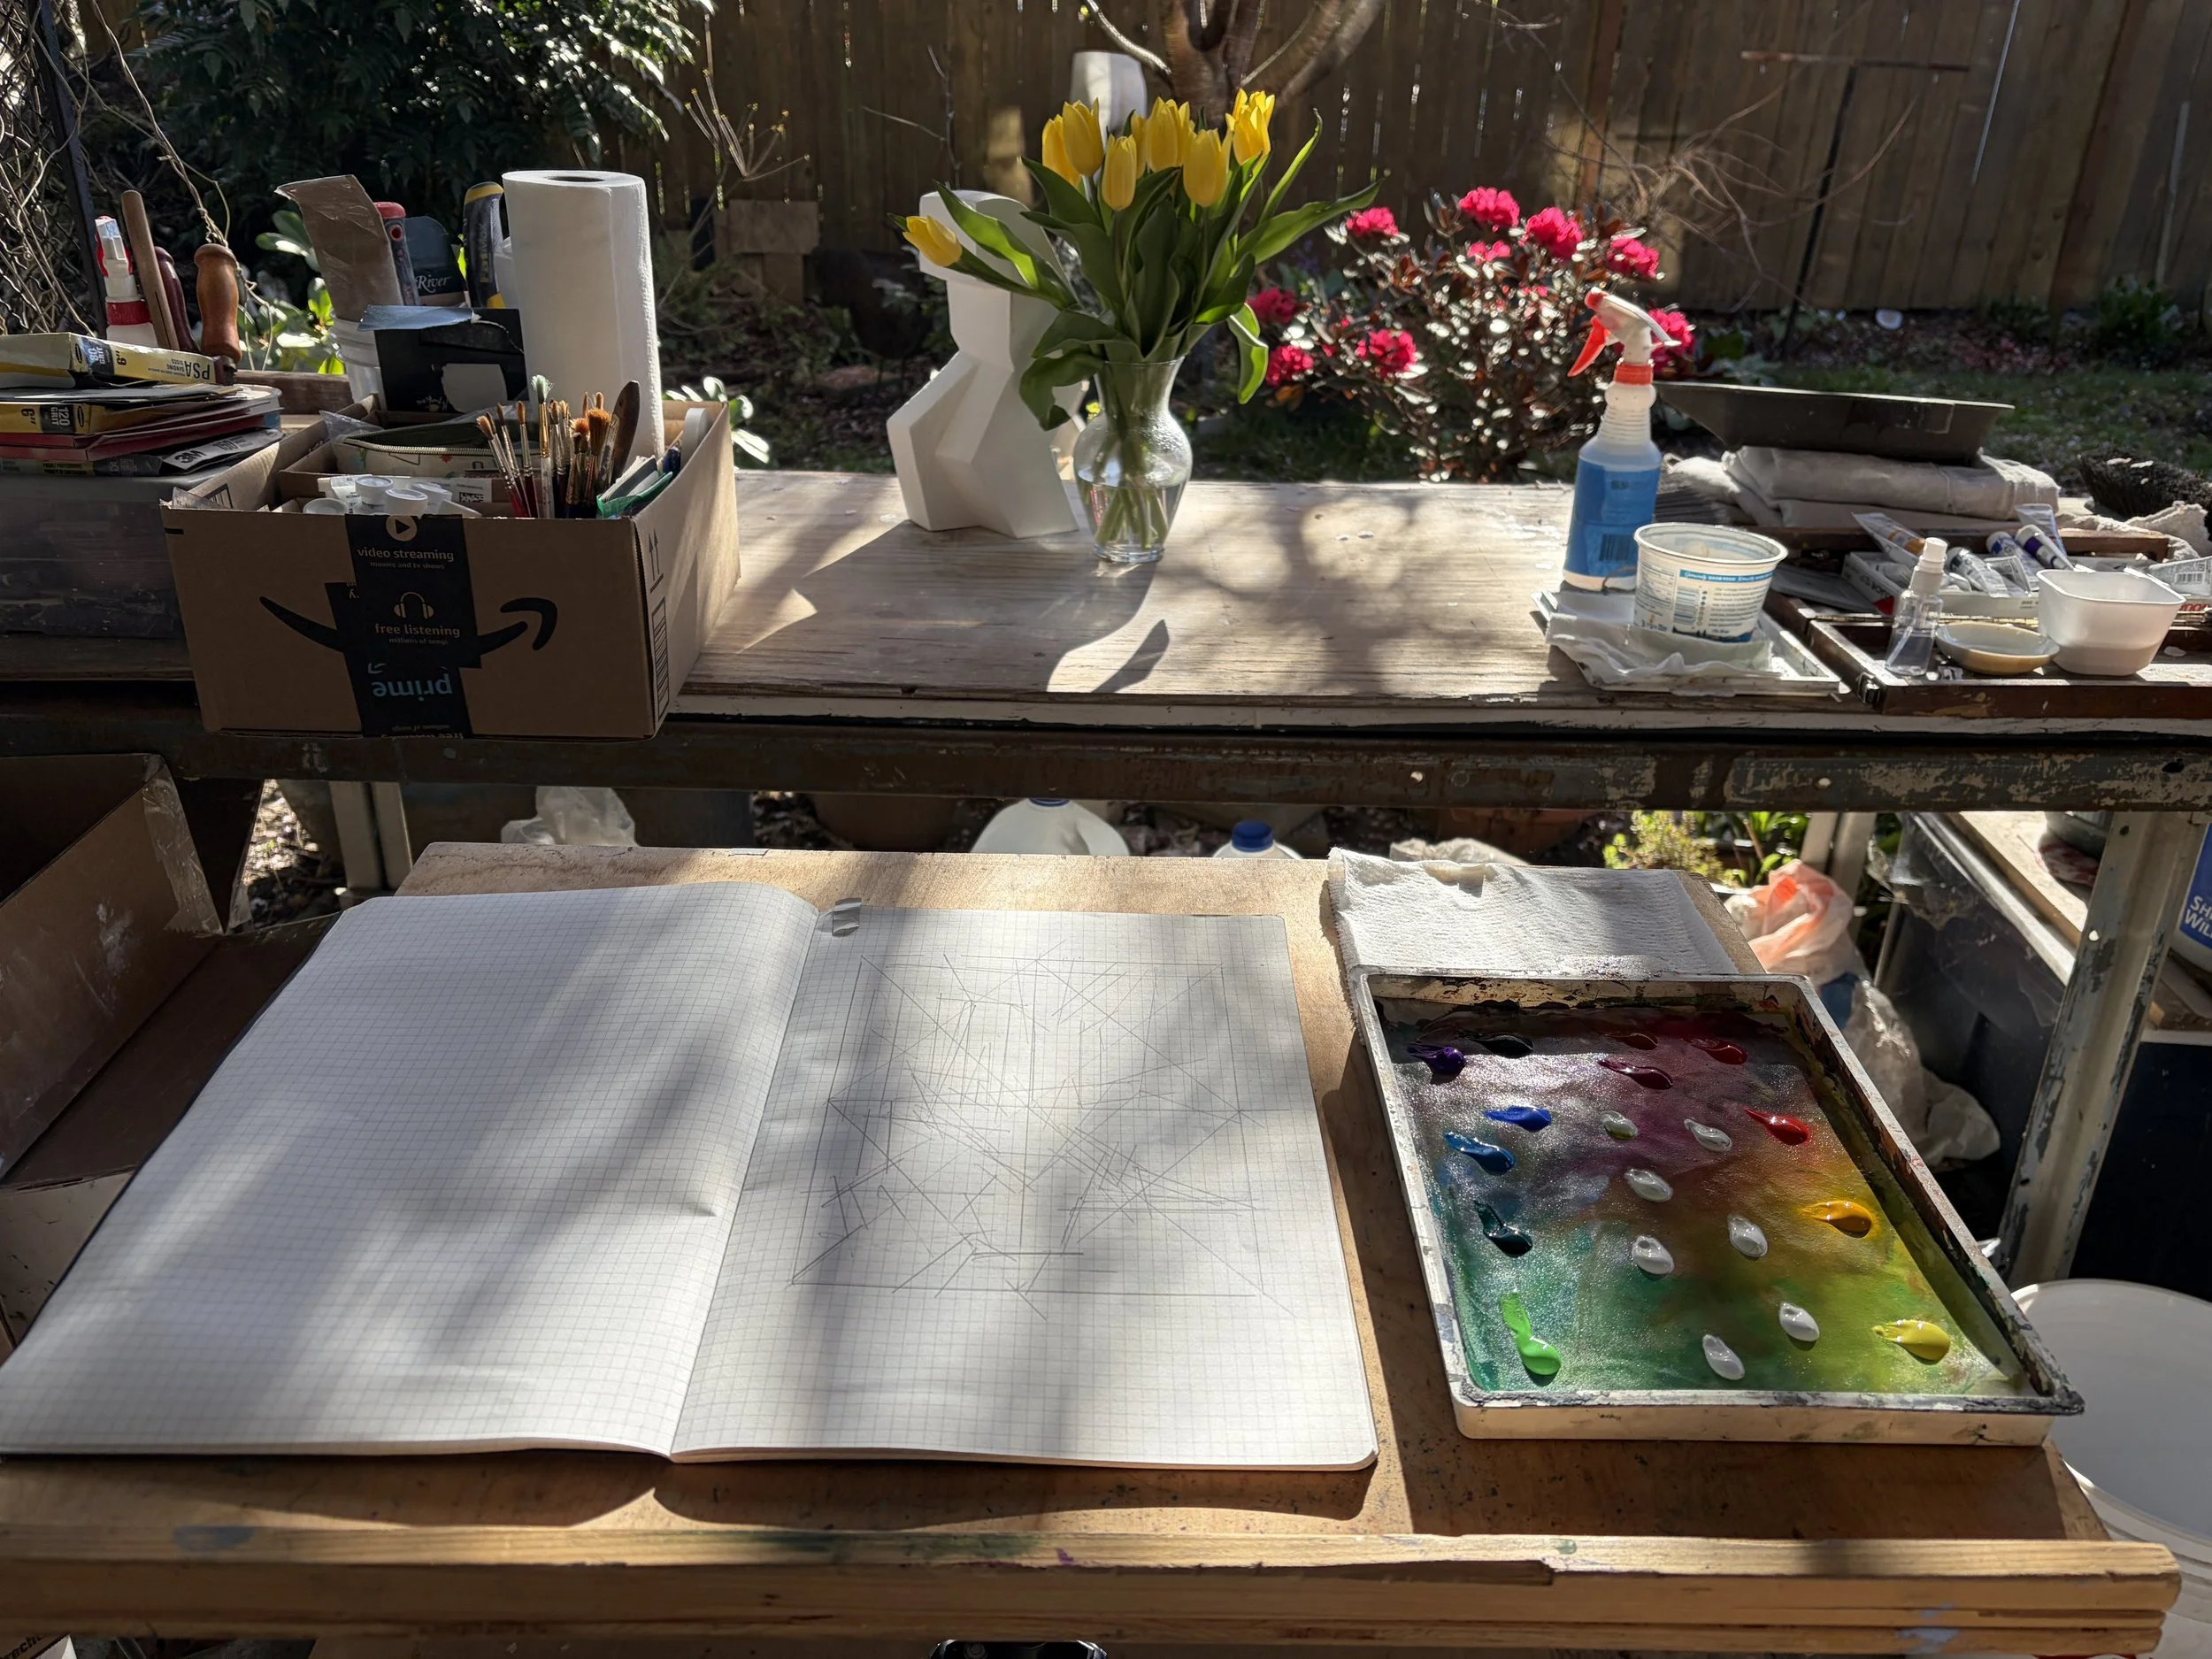
I like to have 3 forms of water: container for washing my brush in-between mixtures, a spray bottle for more hefty moisturizing of the sponge and palette paper, and a small mister, which I use most frequently during the painting process- it is a gentler application of moisture to my pile of paint, and always clean water for the pigments on my palette.
I also like to have a dampened paper towel (I spray it with my spray bottle) near my palette, to use as a blotter for my brush as needed.
VIDEO: Tid-bit of brush mixing and applying liquid opacity!
CLEAR NOTES OF COLOR AND SHAPE: SPECIFICITY
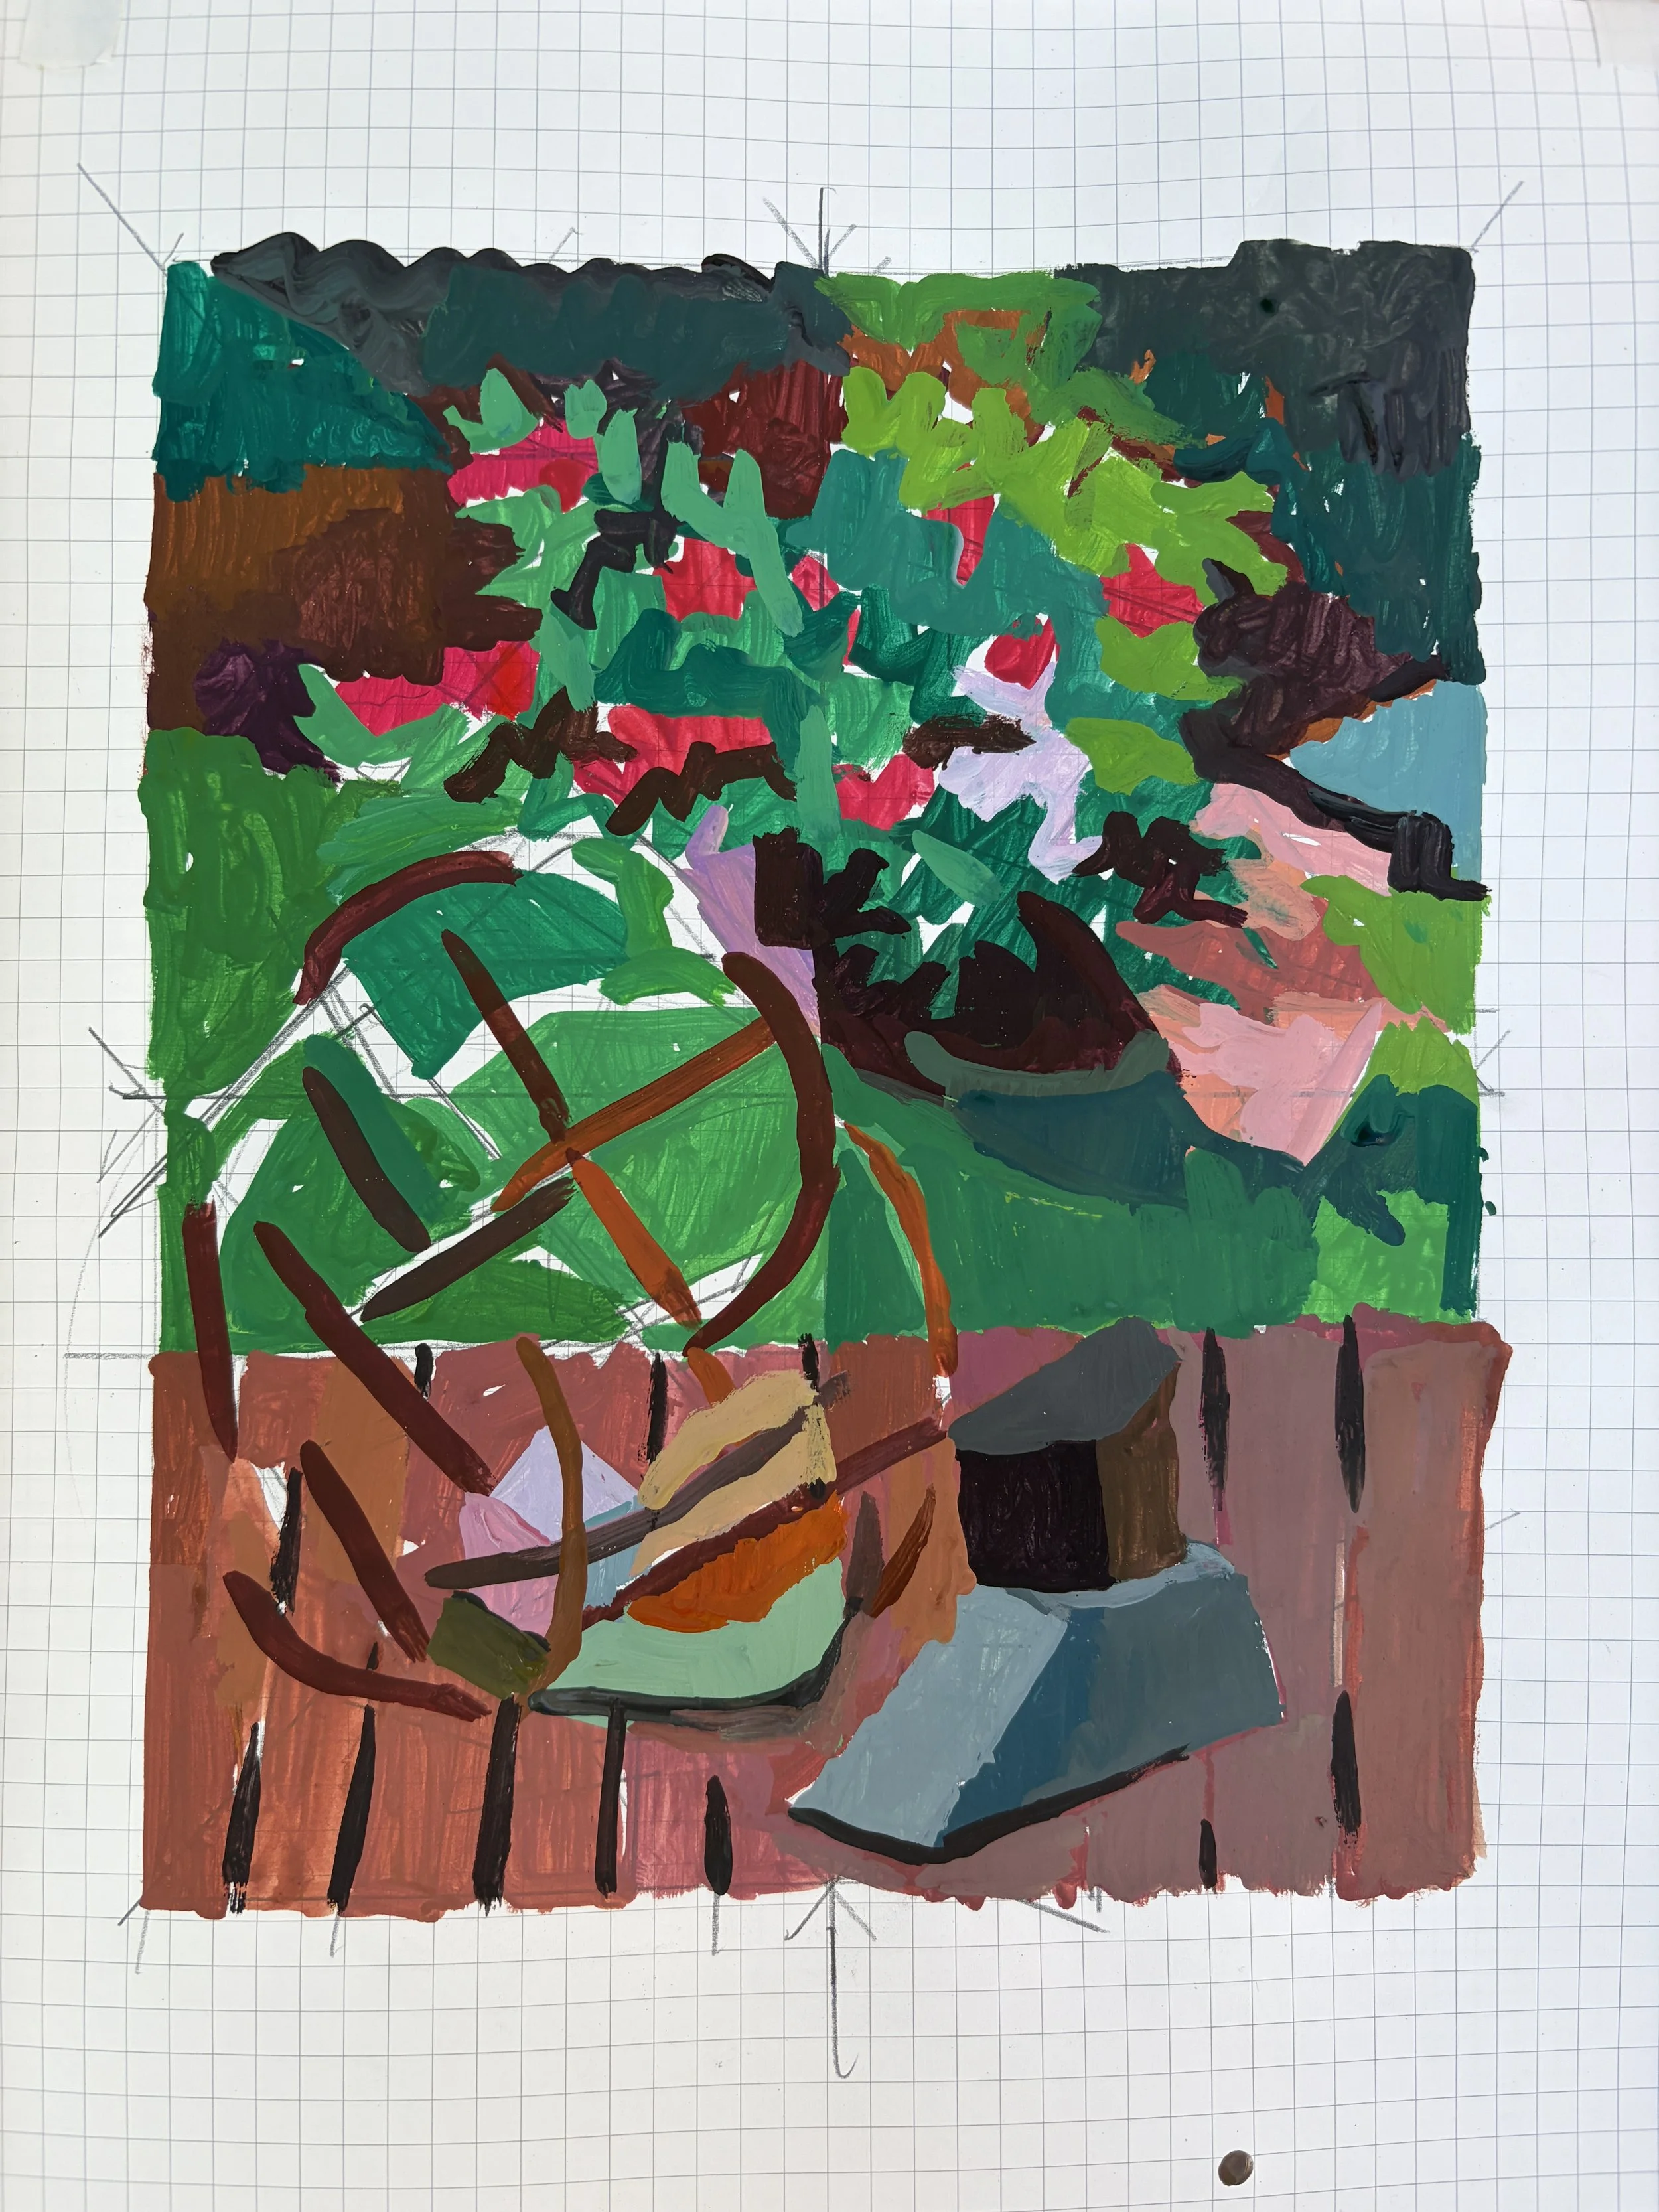
Many of my recent studies have started with the most saturated hues— placing those on the page and calibrating around that. It is a way of further establishing scale and also a way to reserve a freshness for those colors, and to begin calibrating my other colors around that.
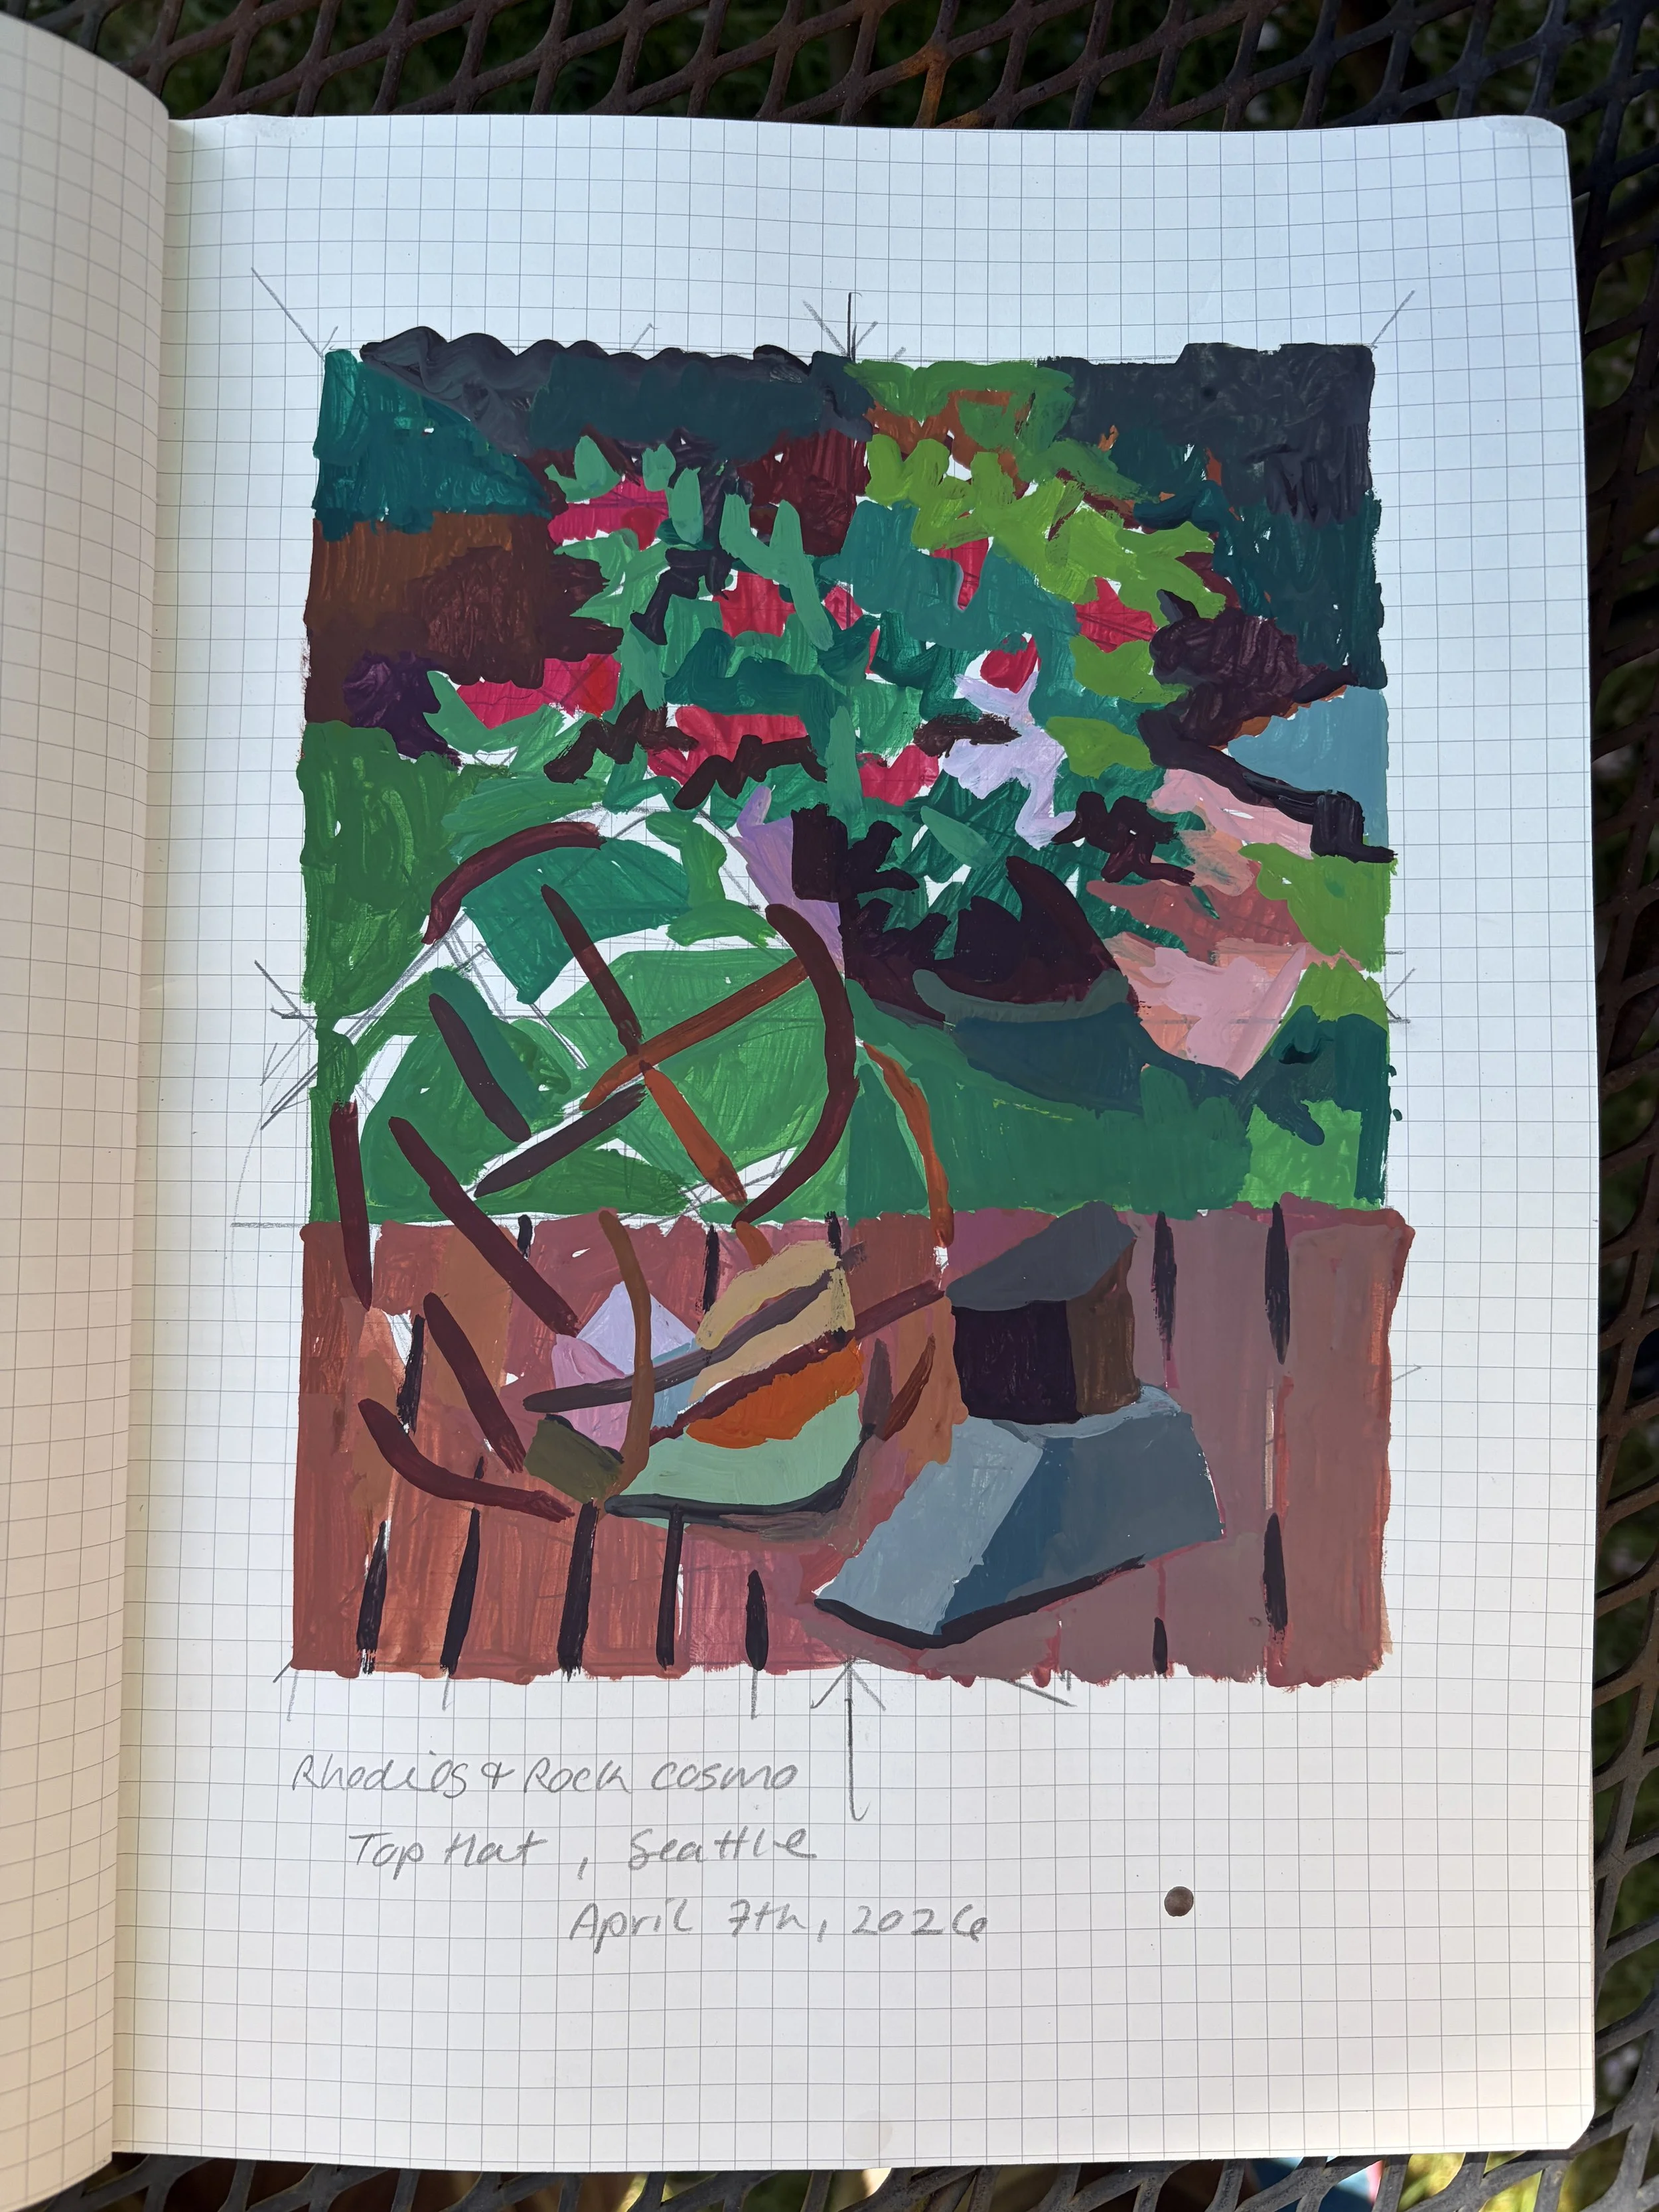
Working observationally, for me, is a unique experience and requires a process that allows for a deep, intimate level of shape specificity and placement. That is my SWOON state. That is the particularity of the here and now, the locating of my sentient body in this specific place.
This painting process is about spending time locating myself. I do not want to generalize; I want to notate that specific shape next to that specific shape, as it is only this very moment in time through which that relationship is present.
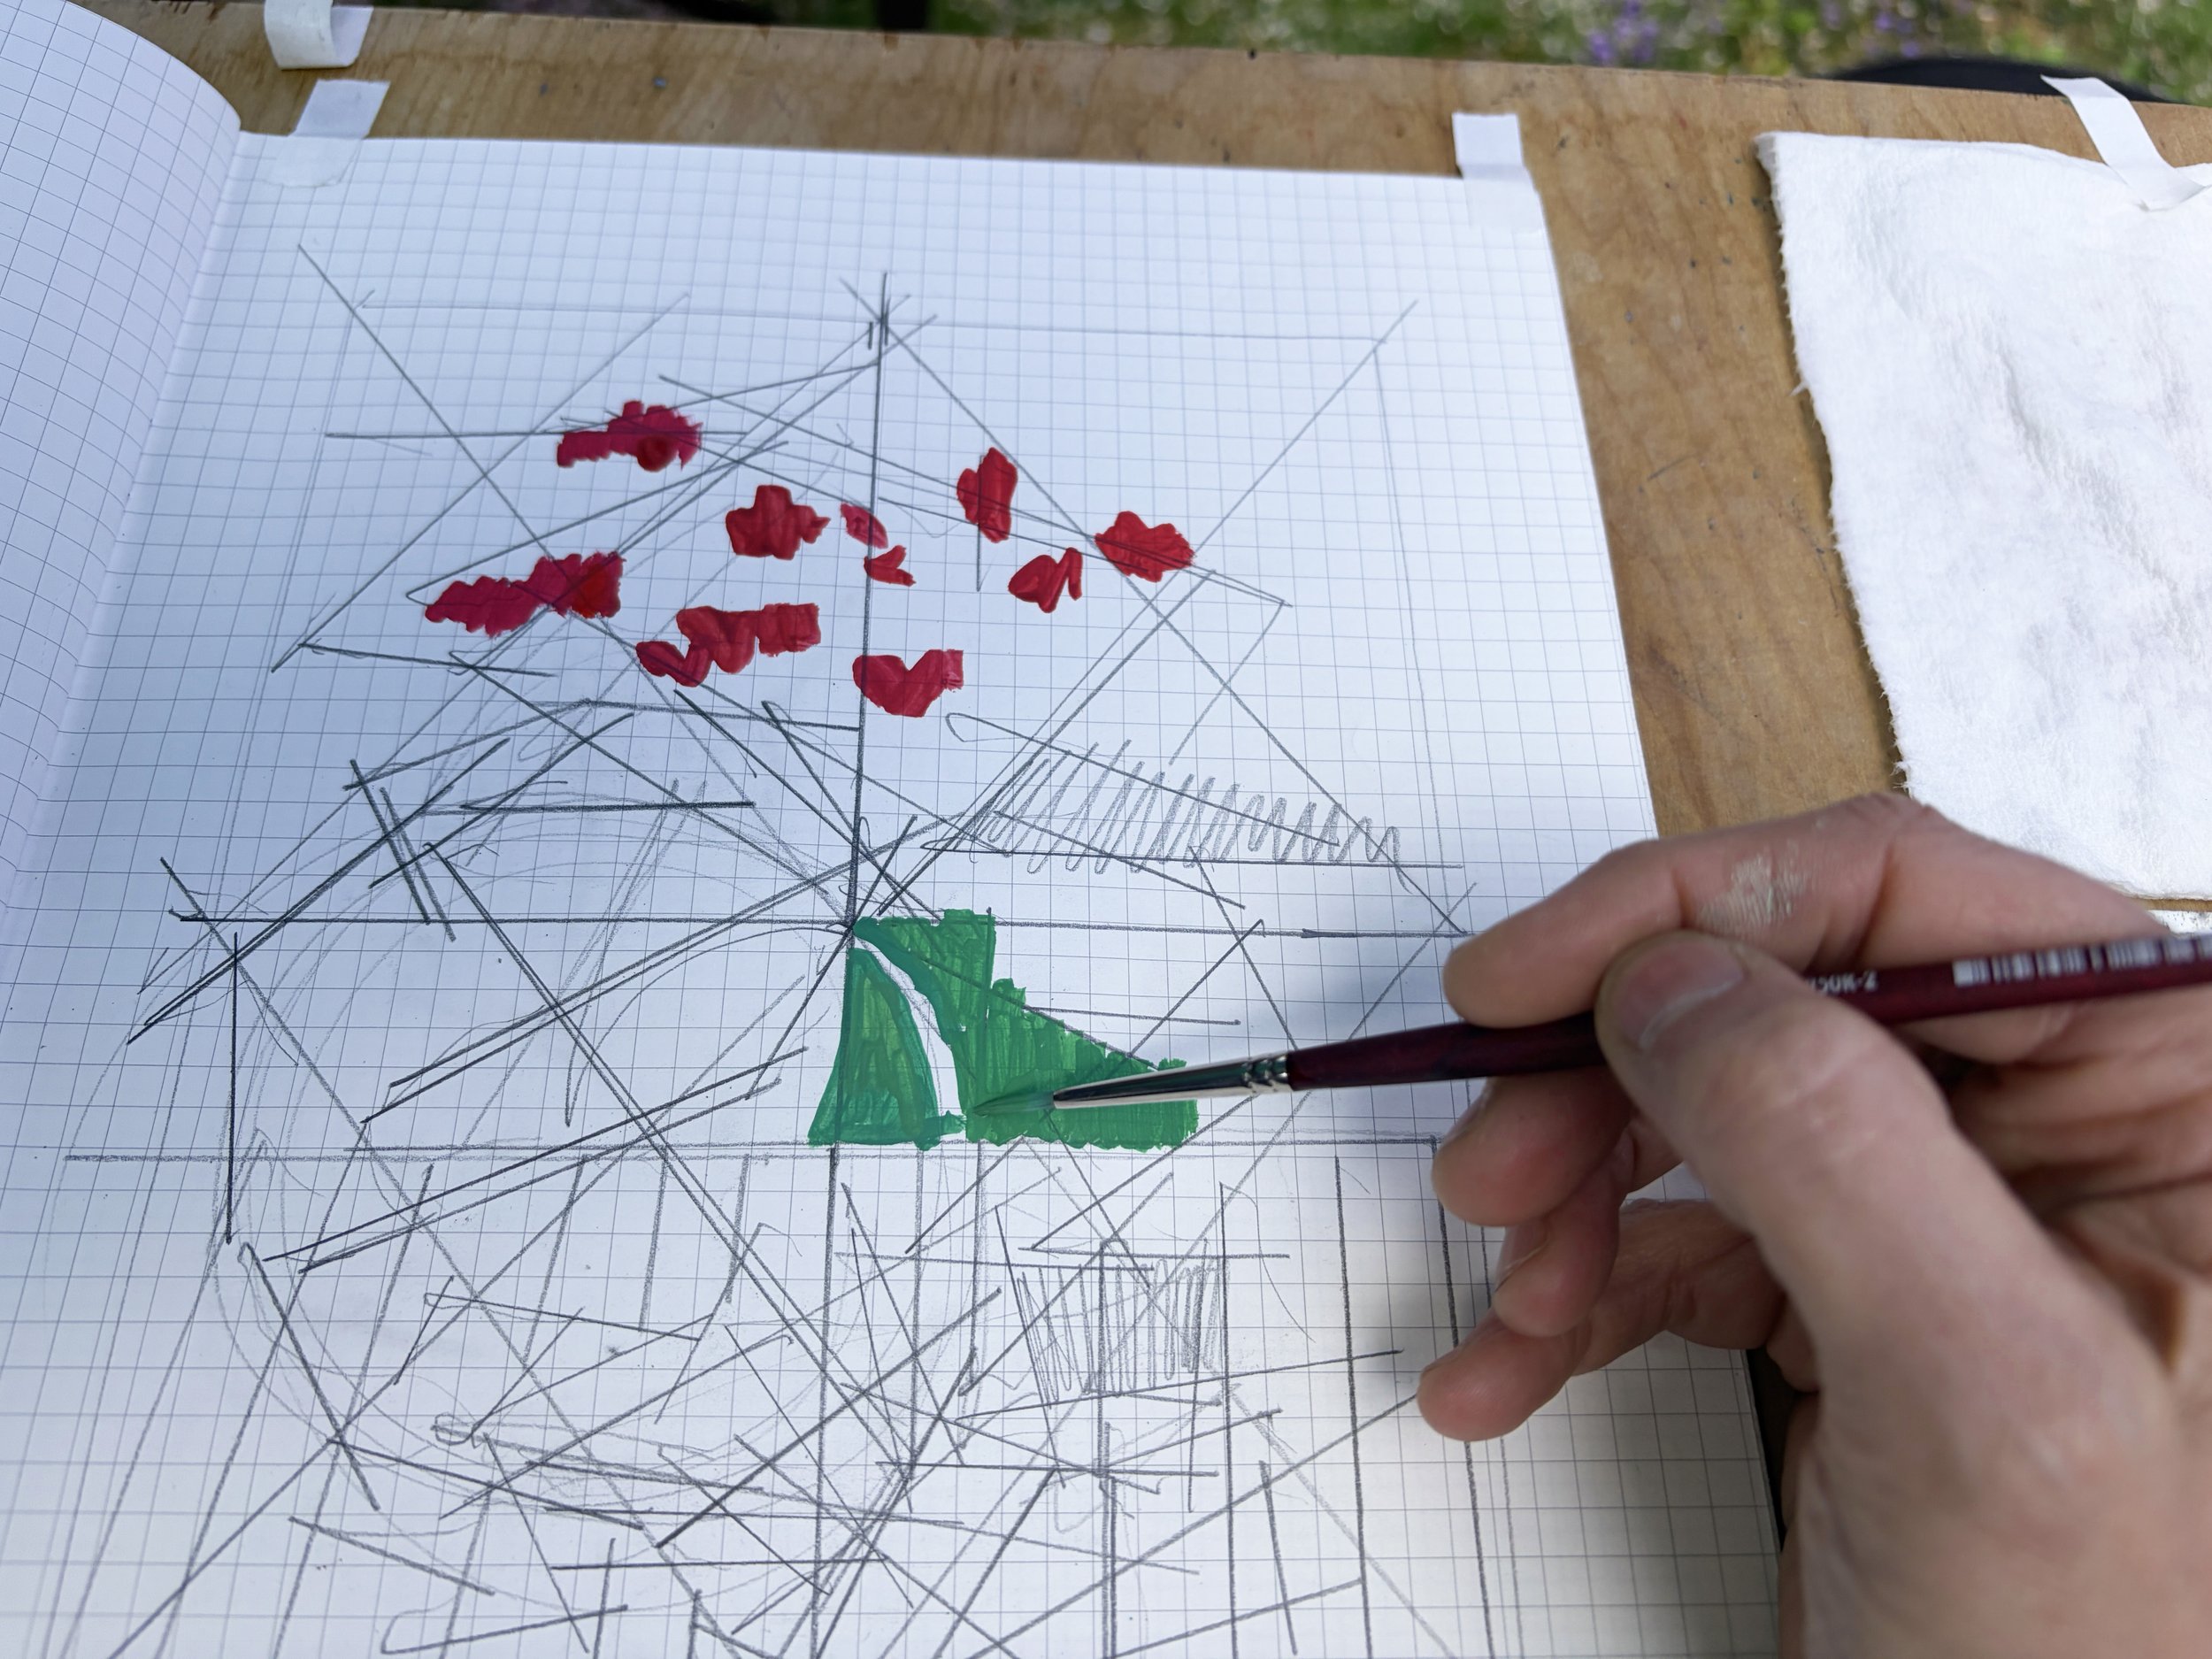
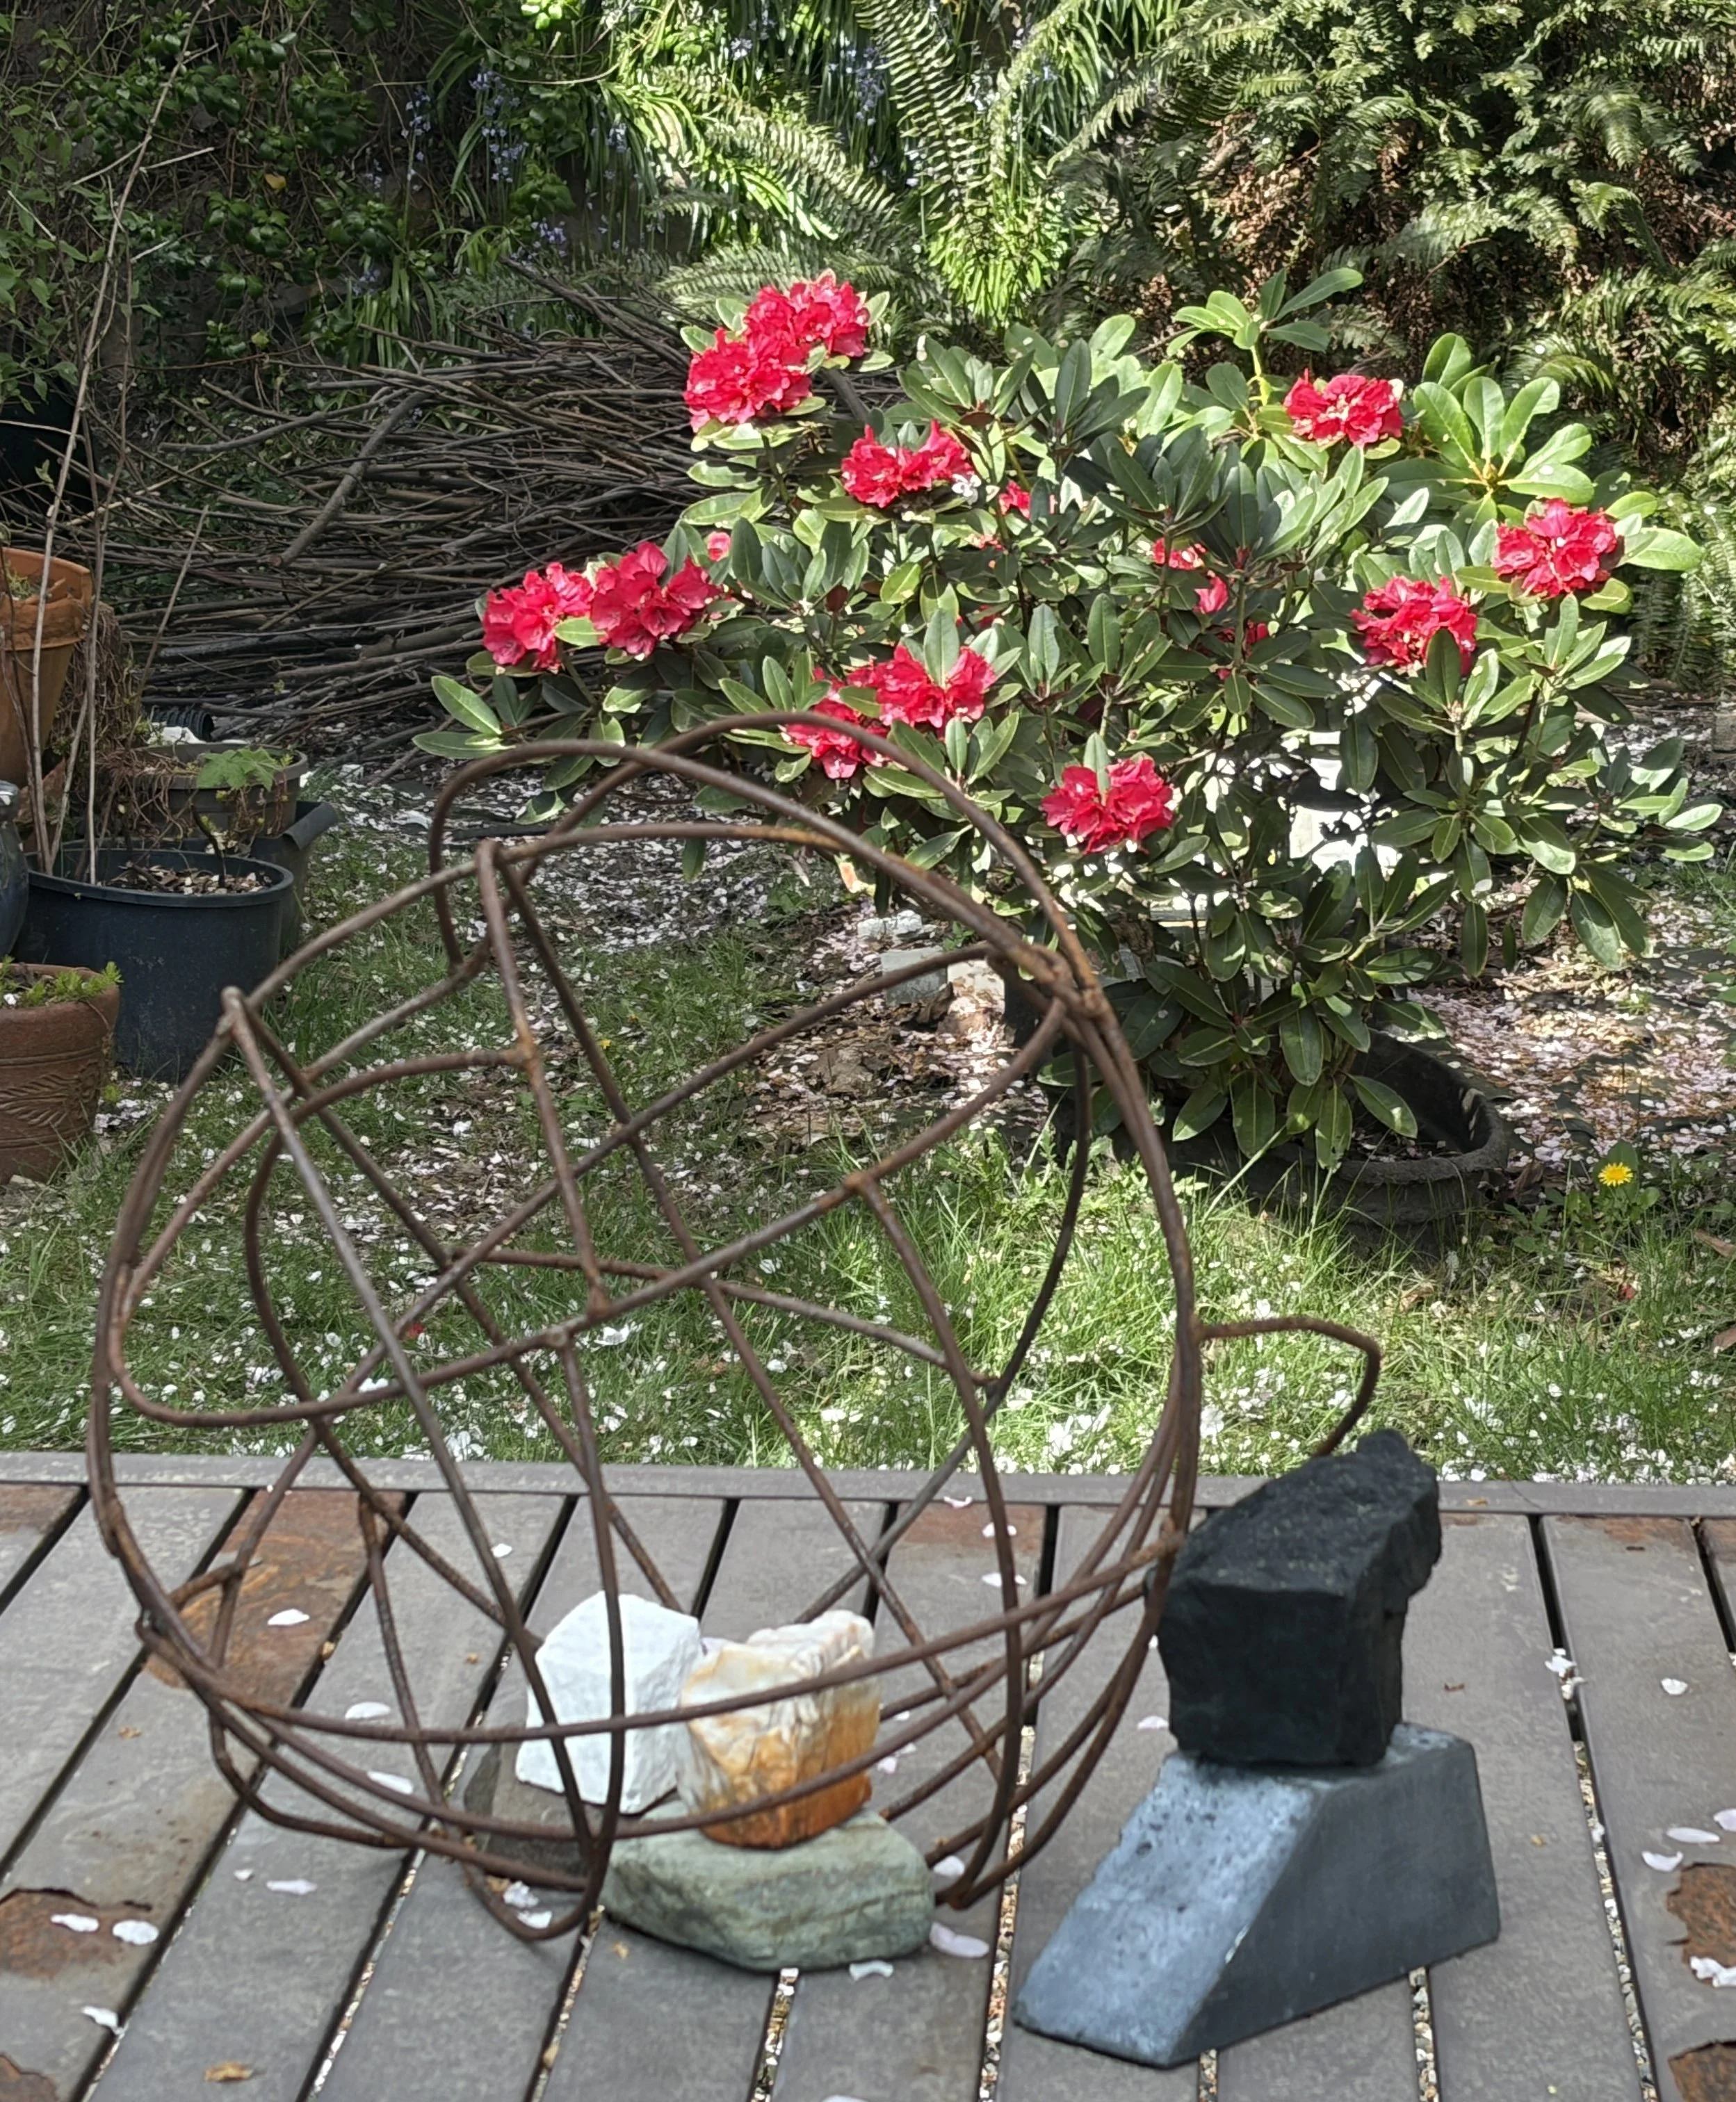
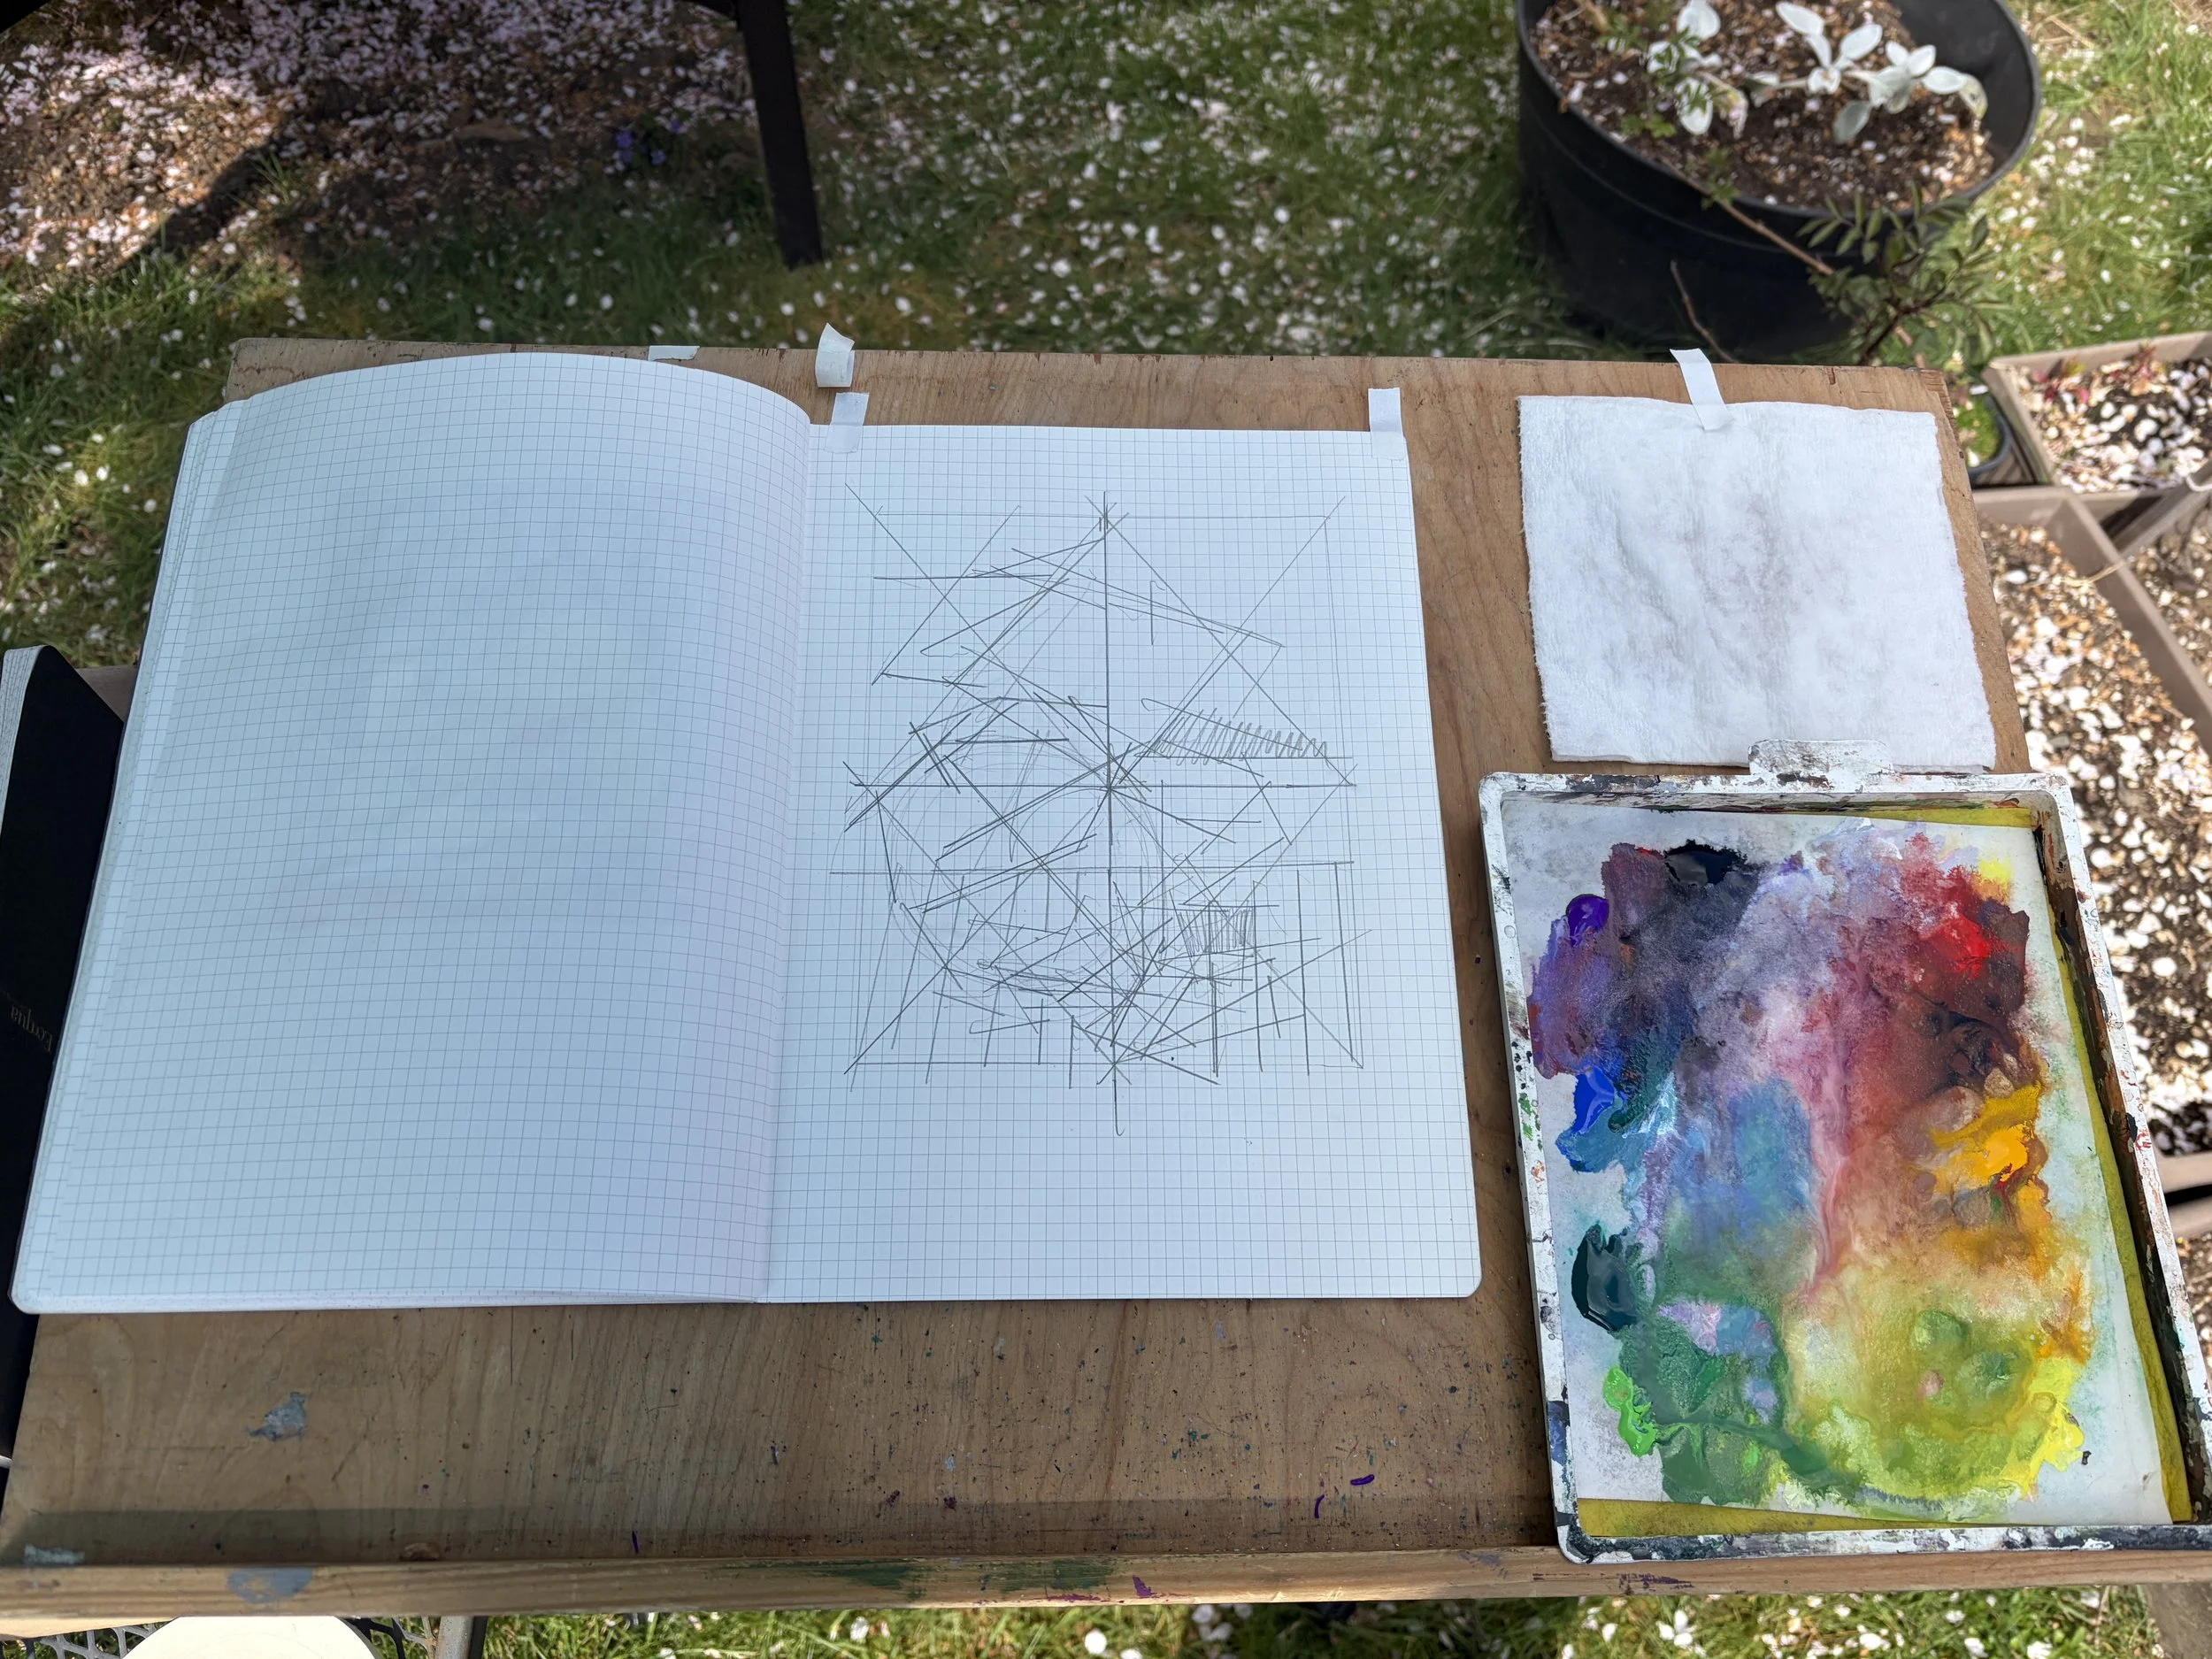
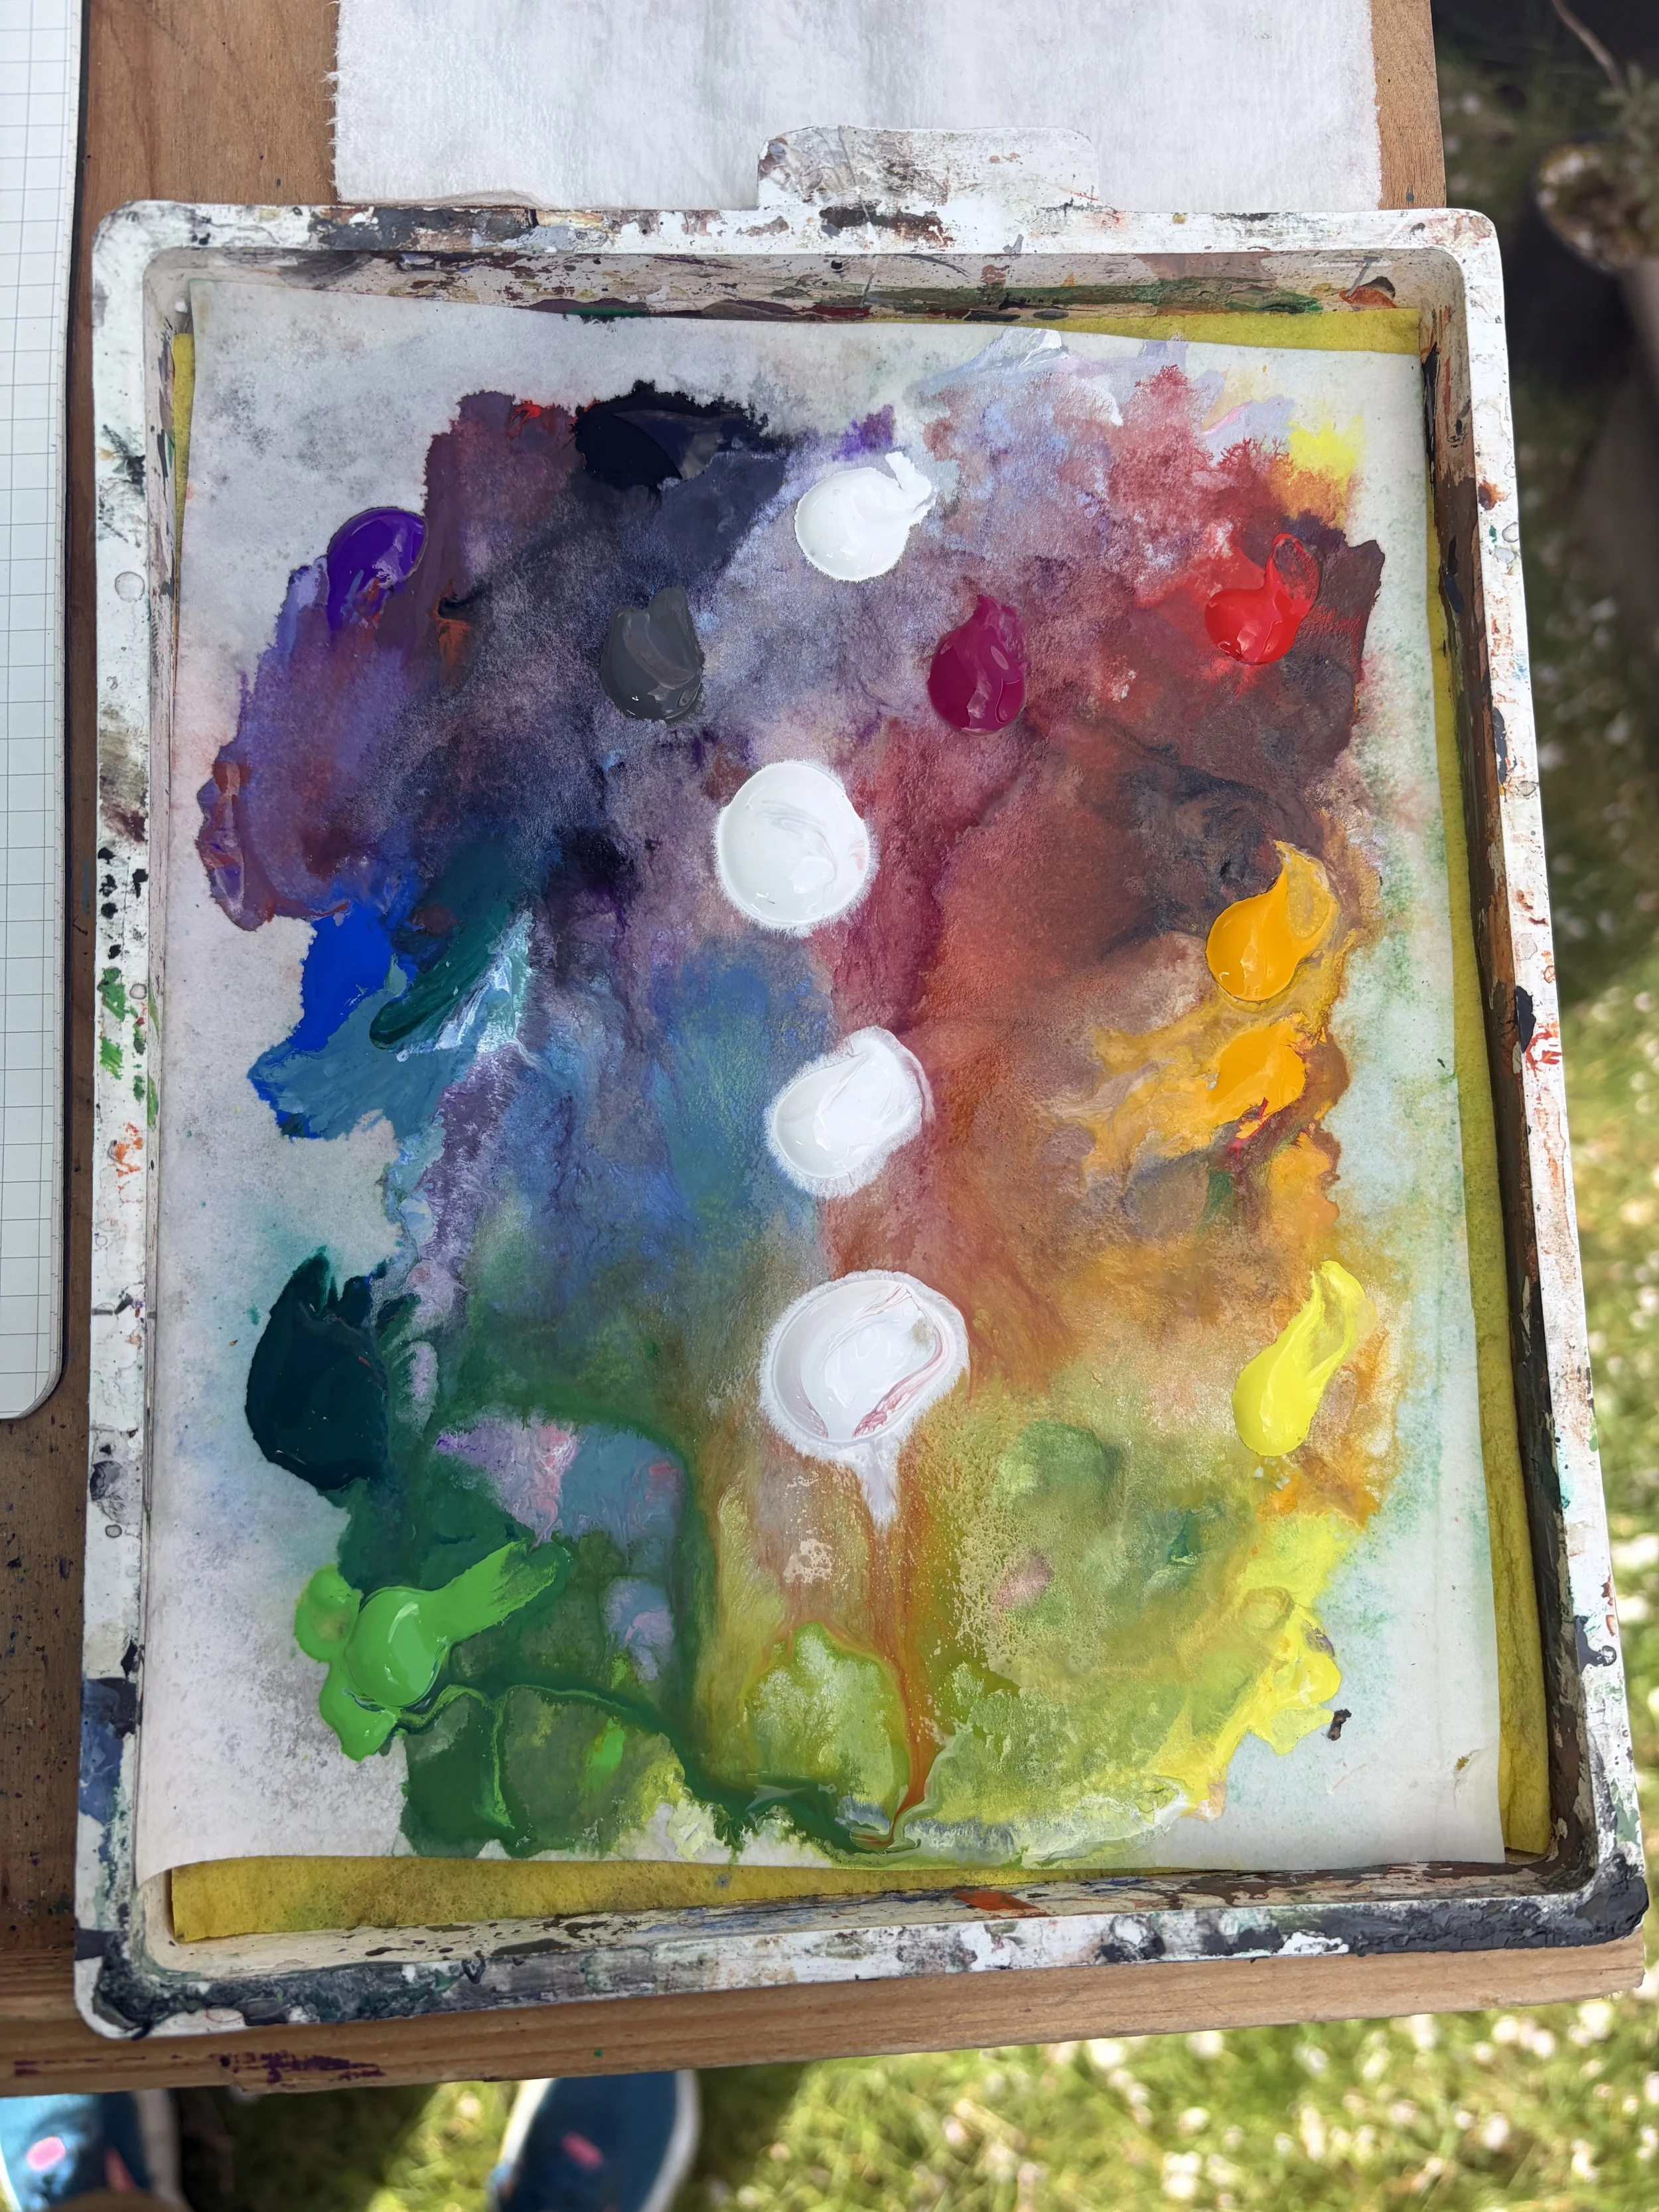
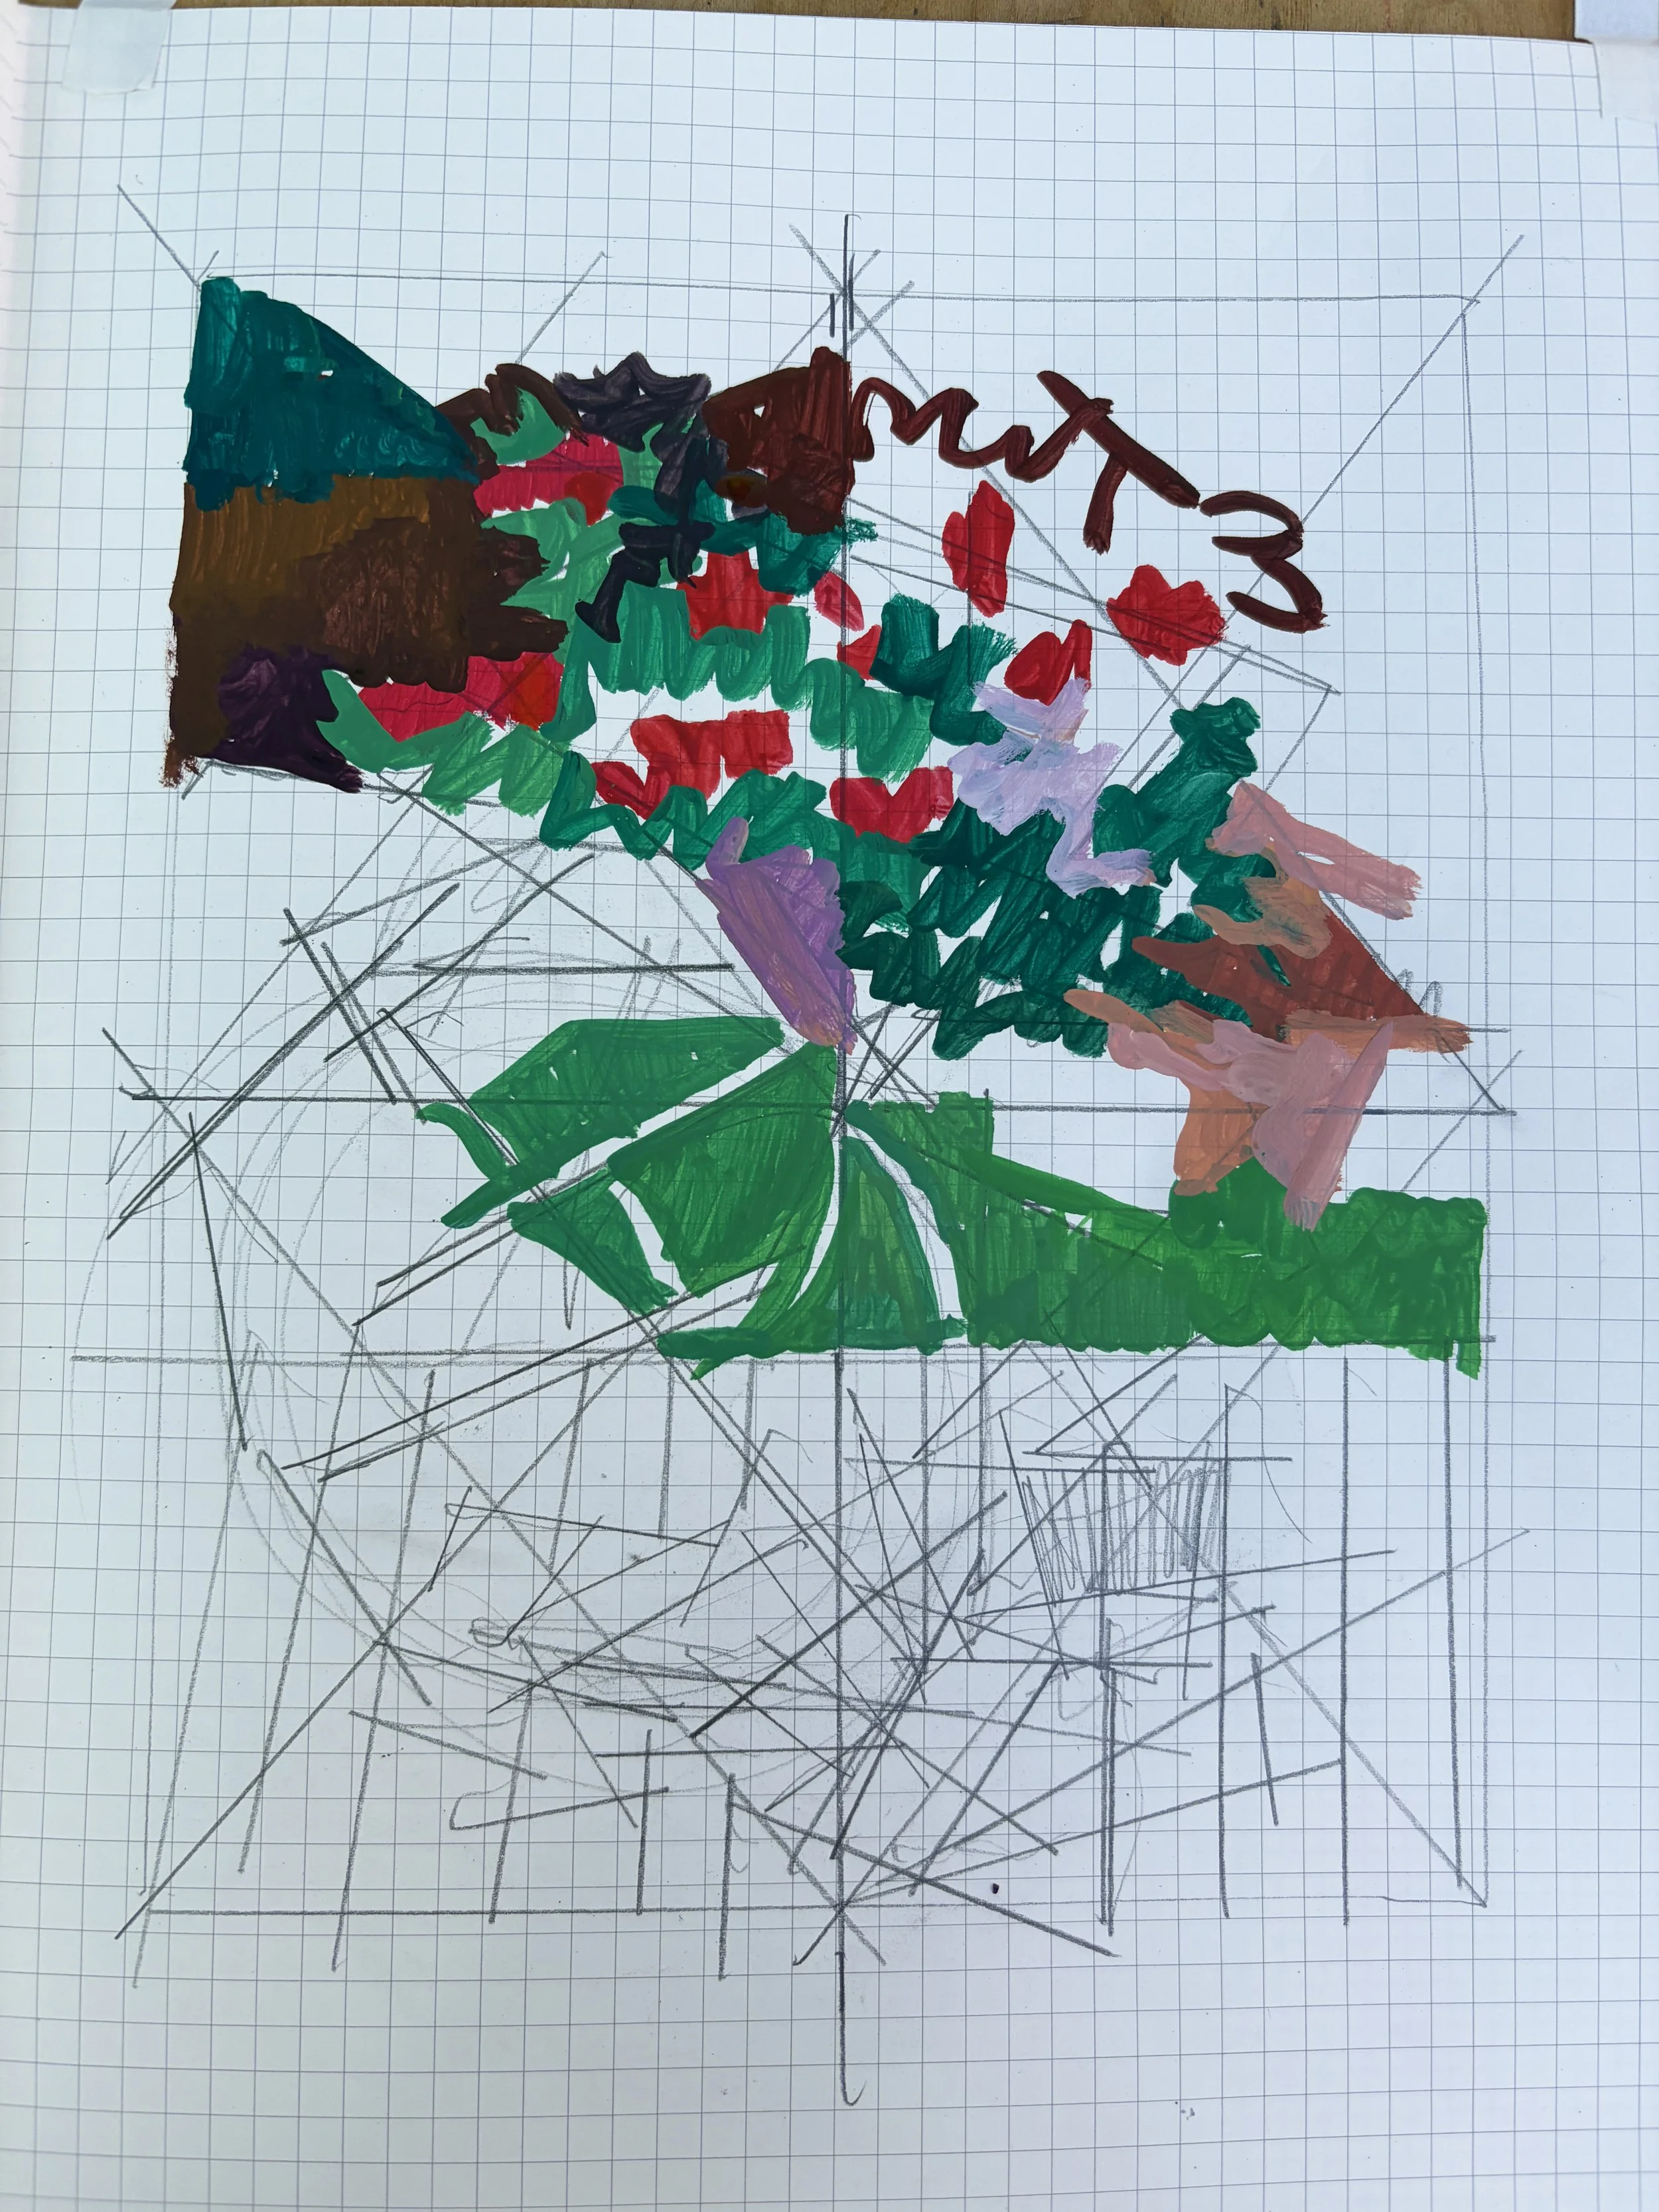
Rhodies & Rock Cosmo
Additional Adventures:
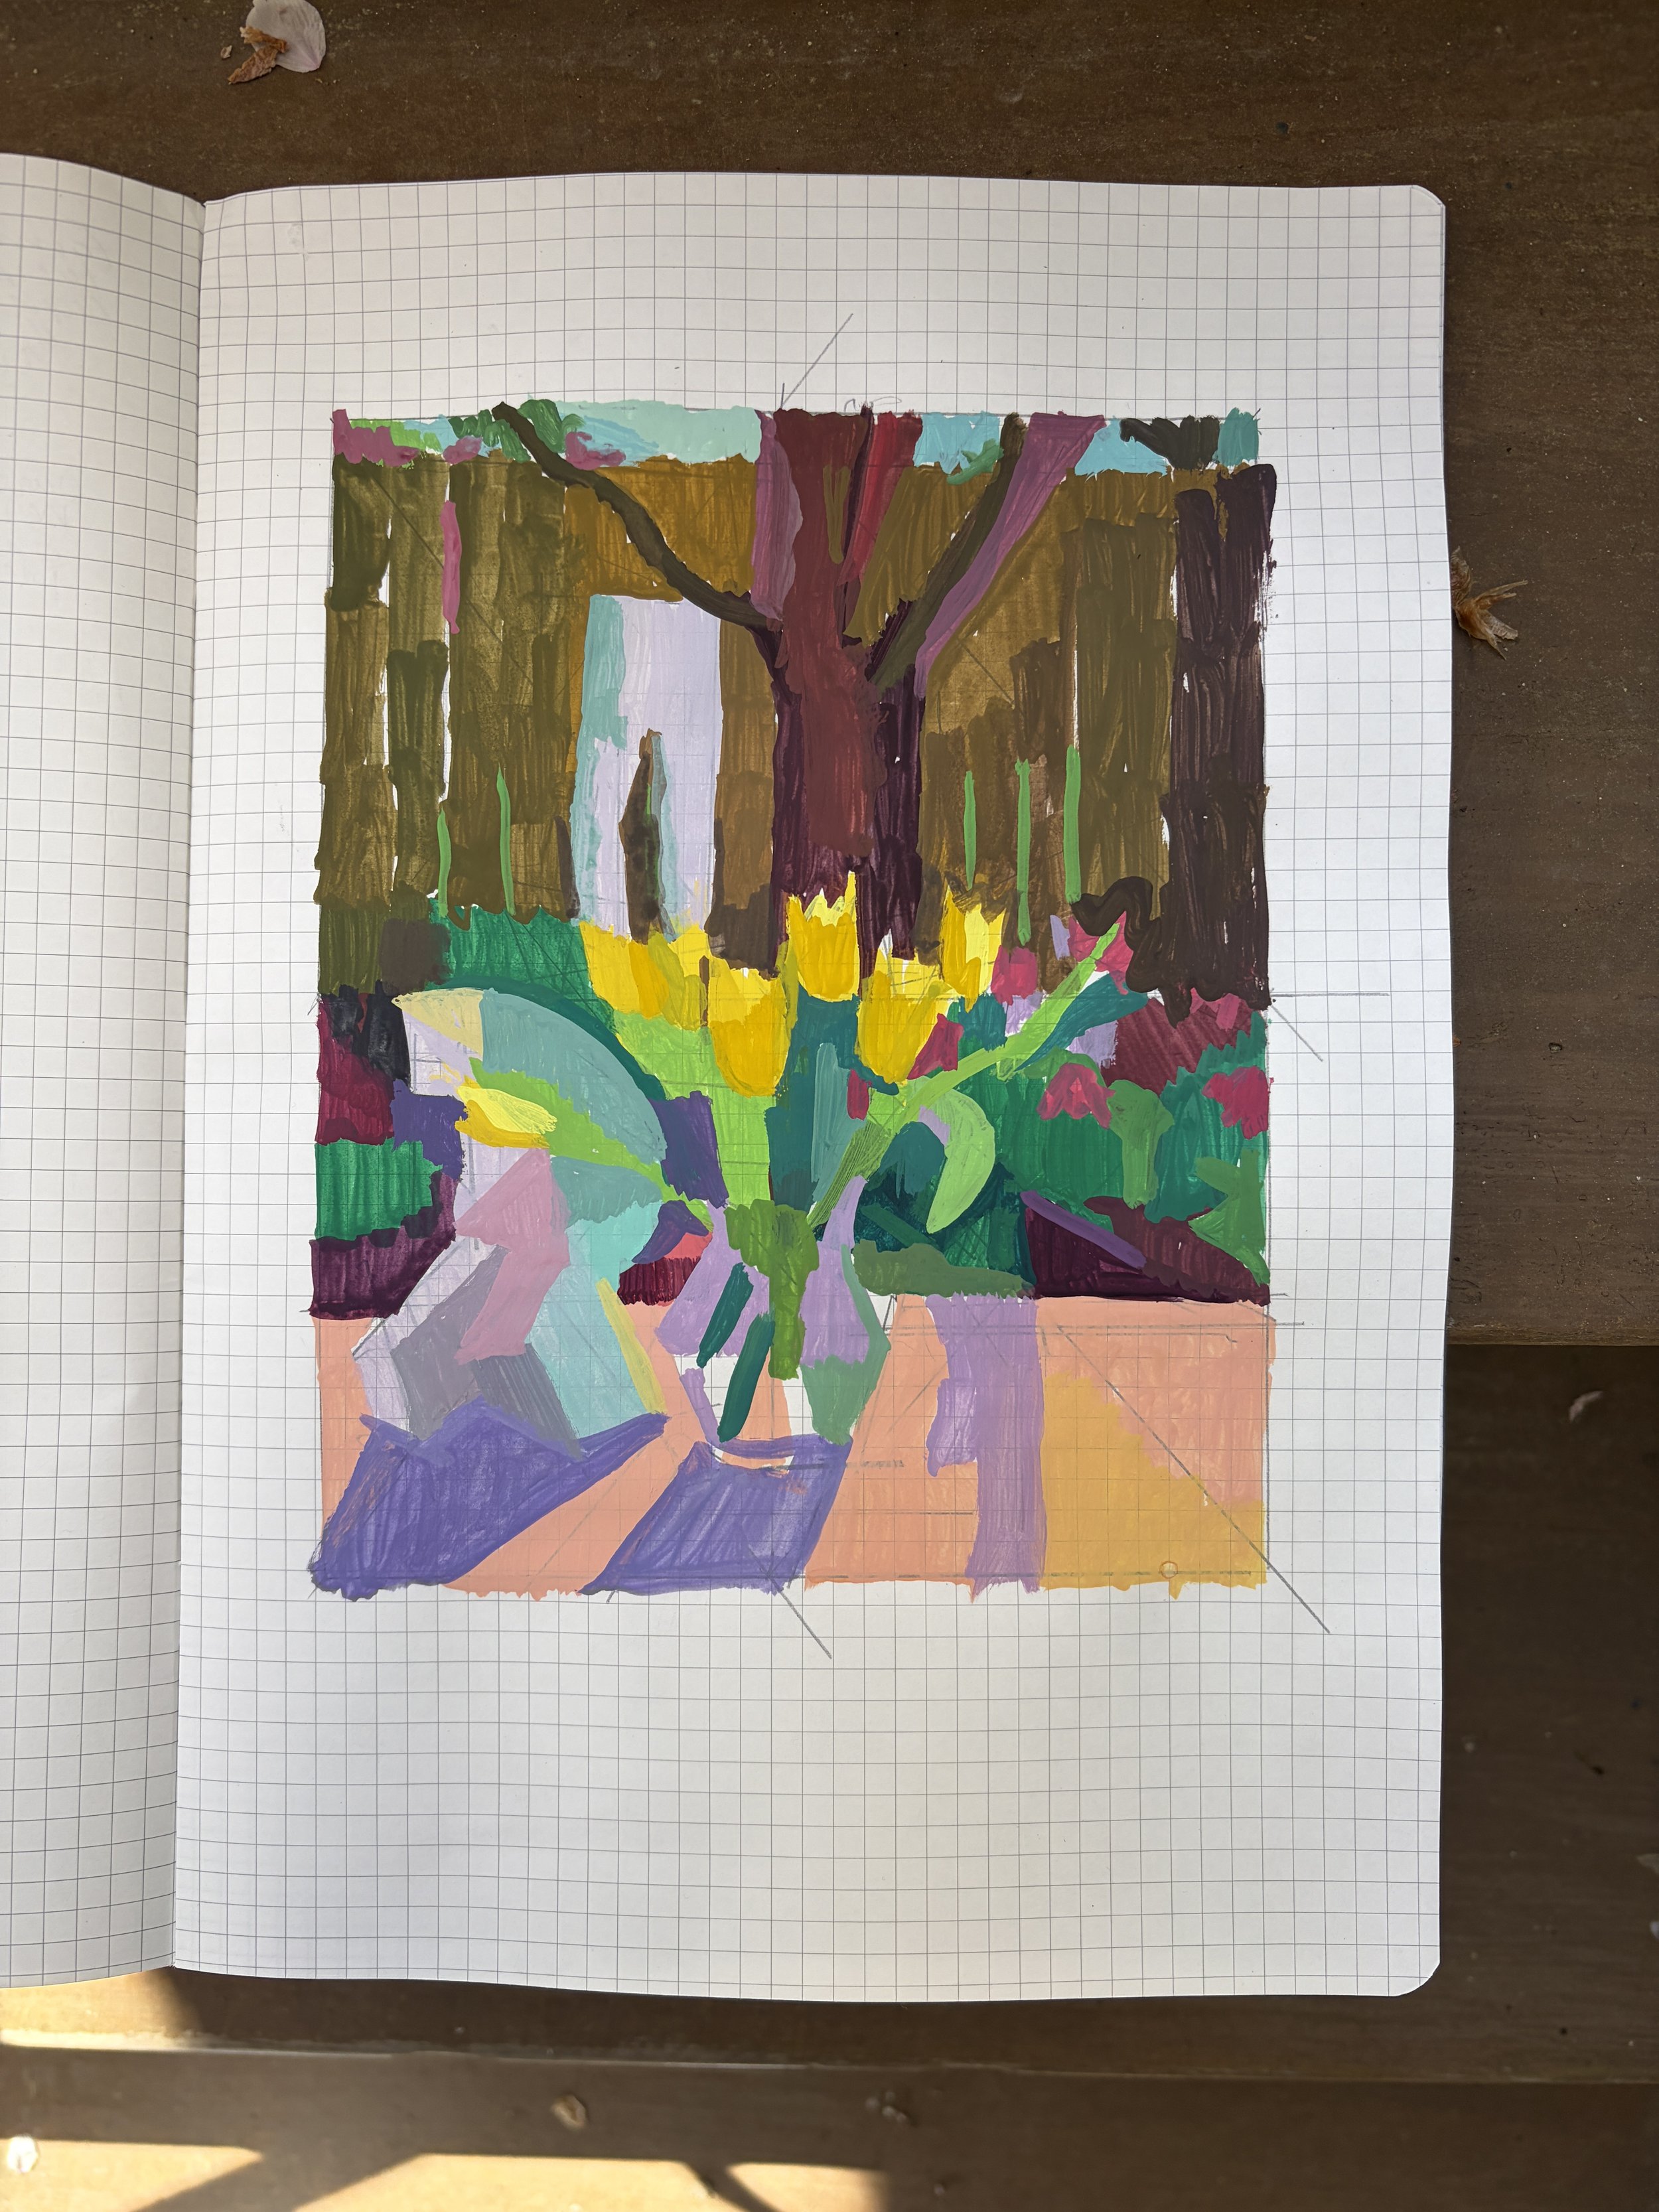
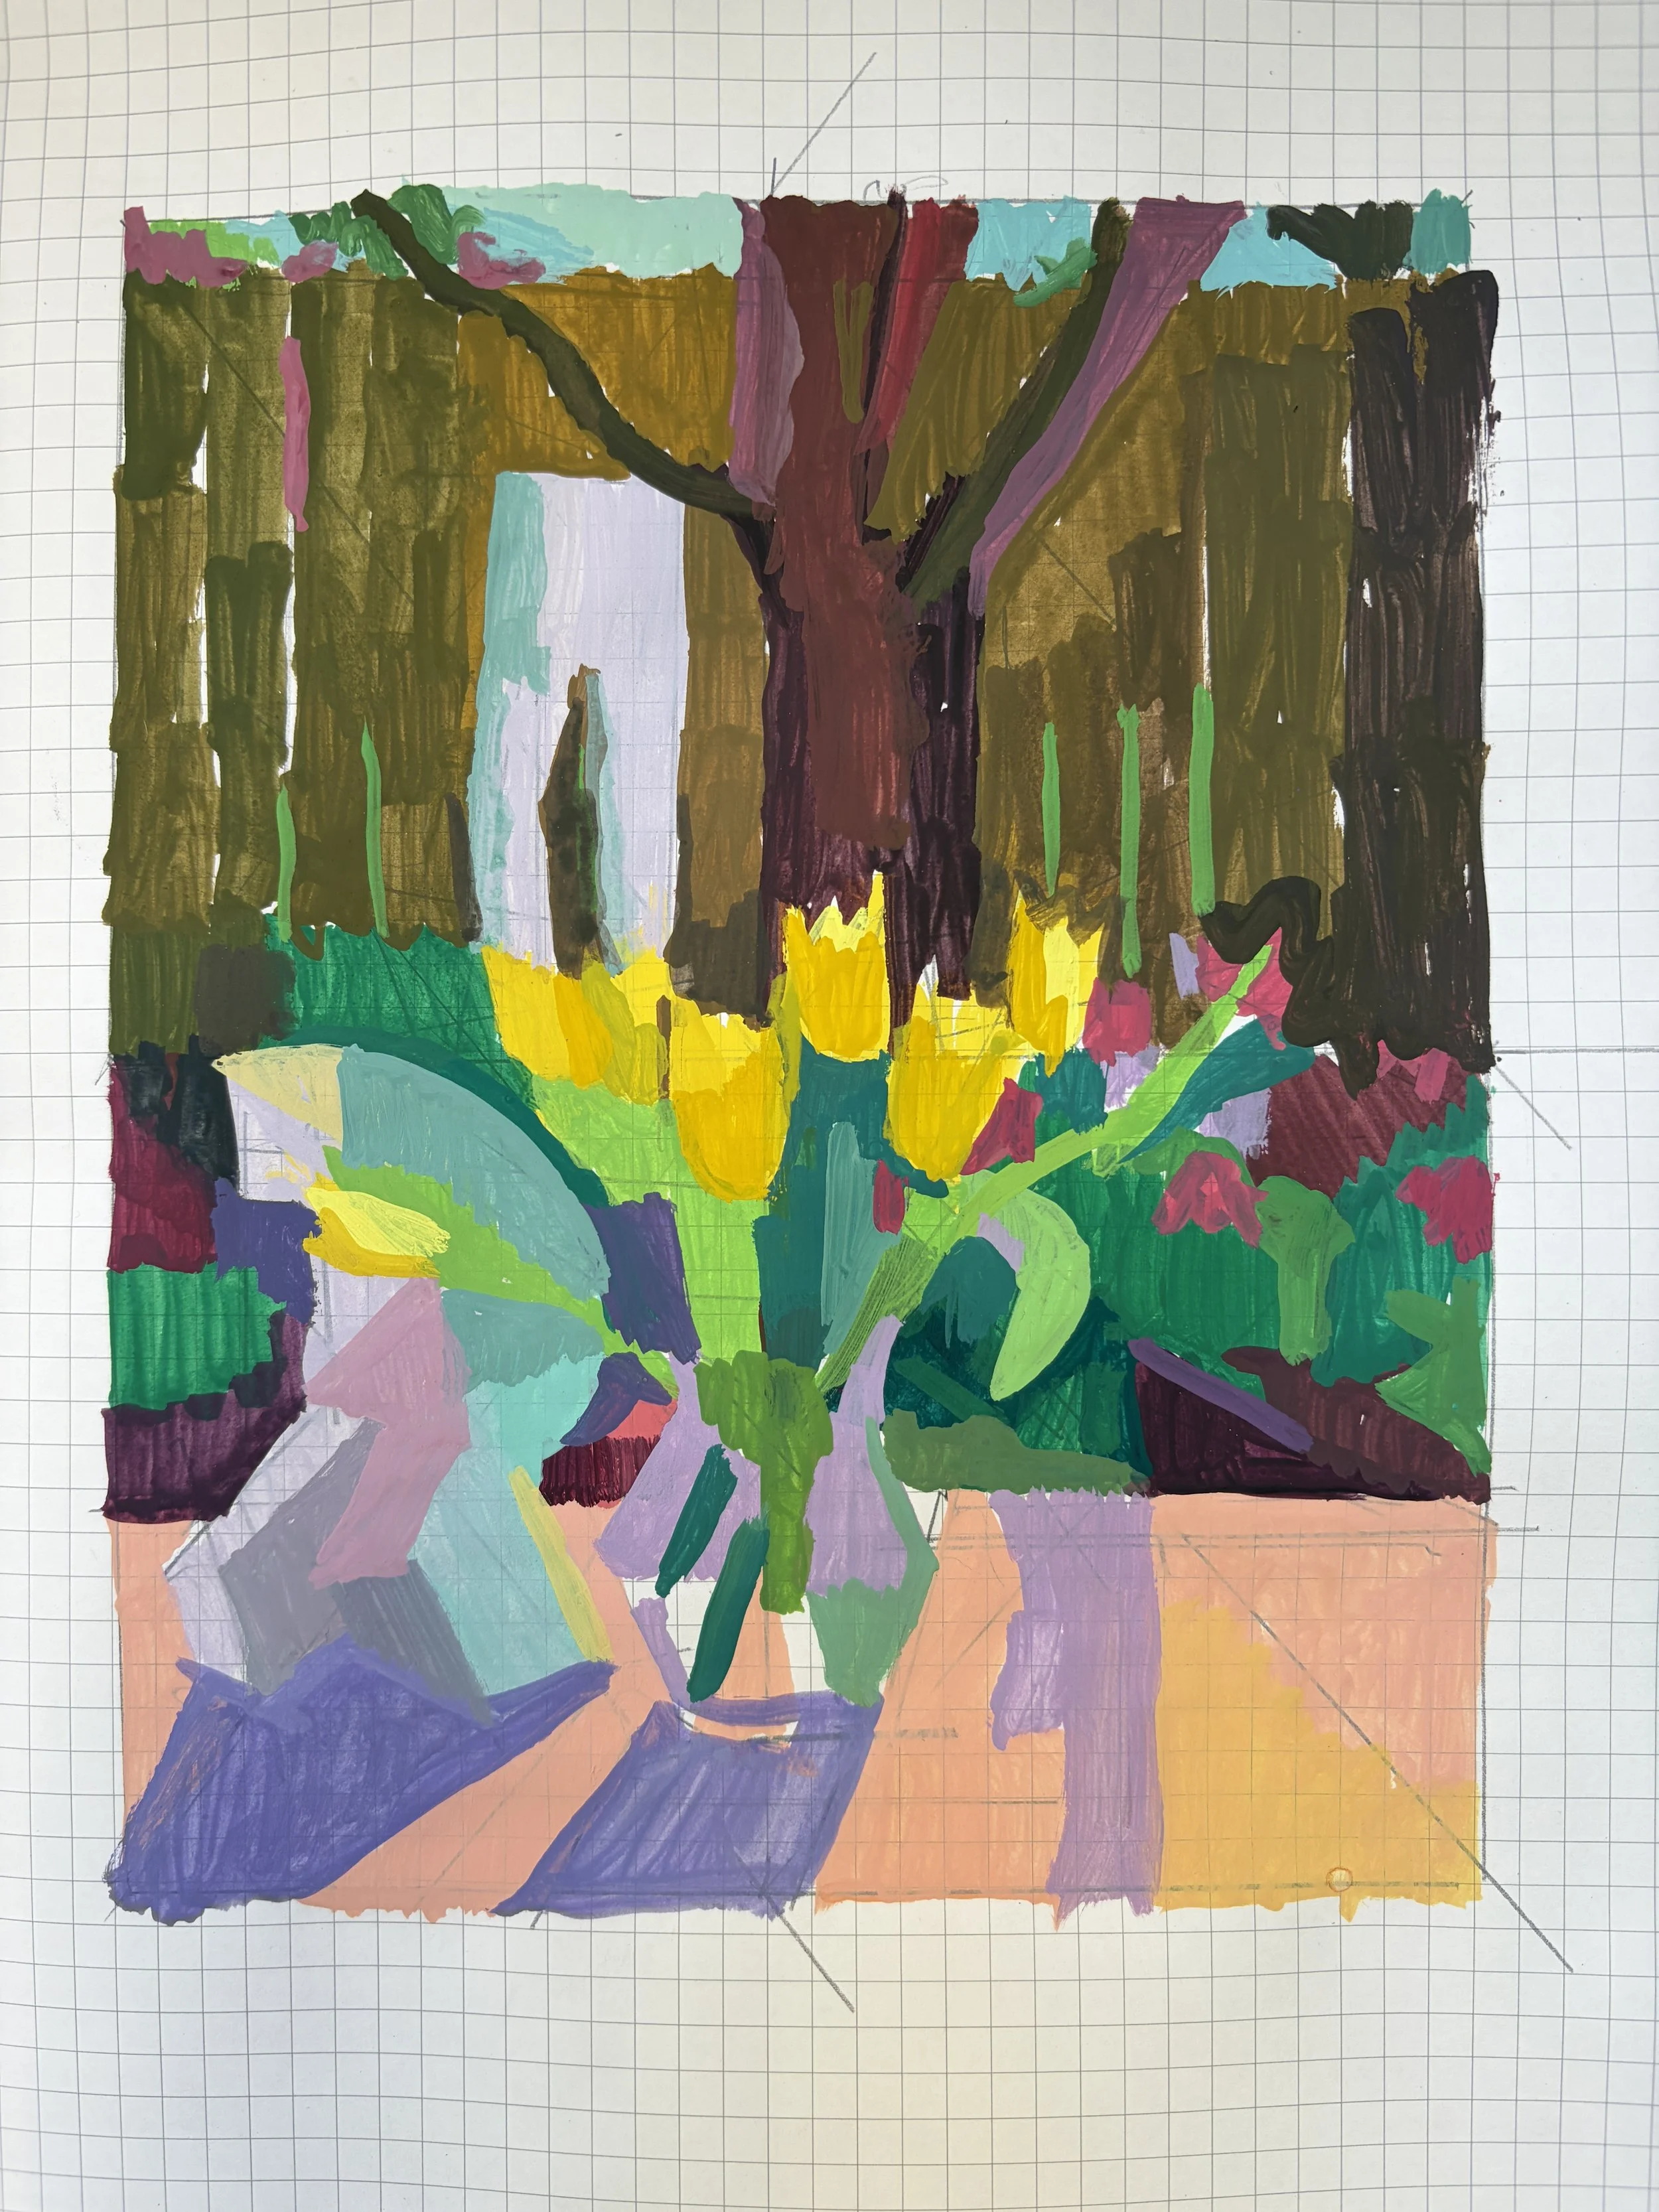
Legs and Tulips I
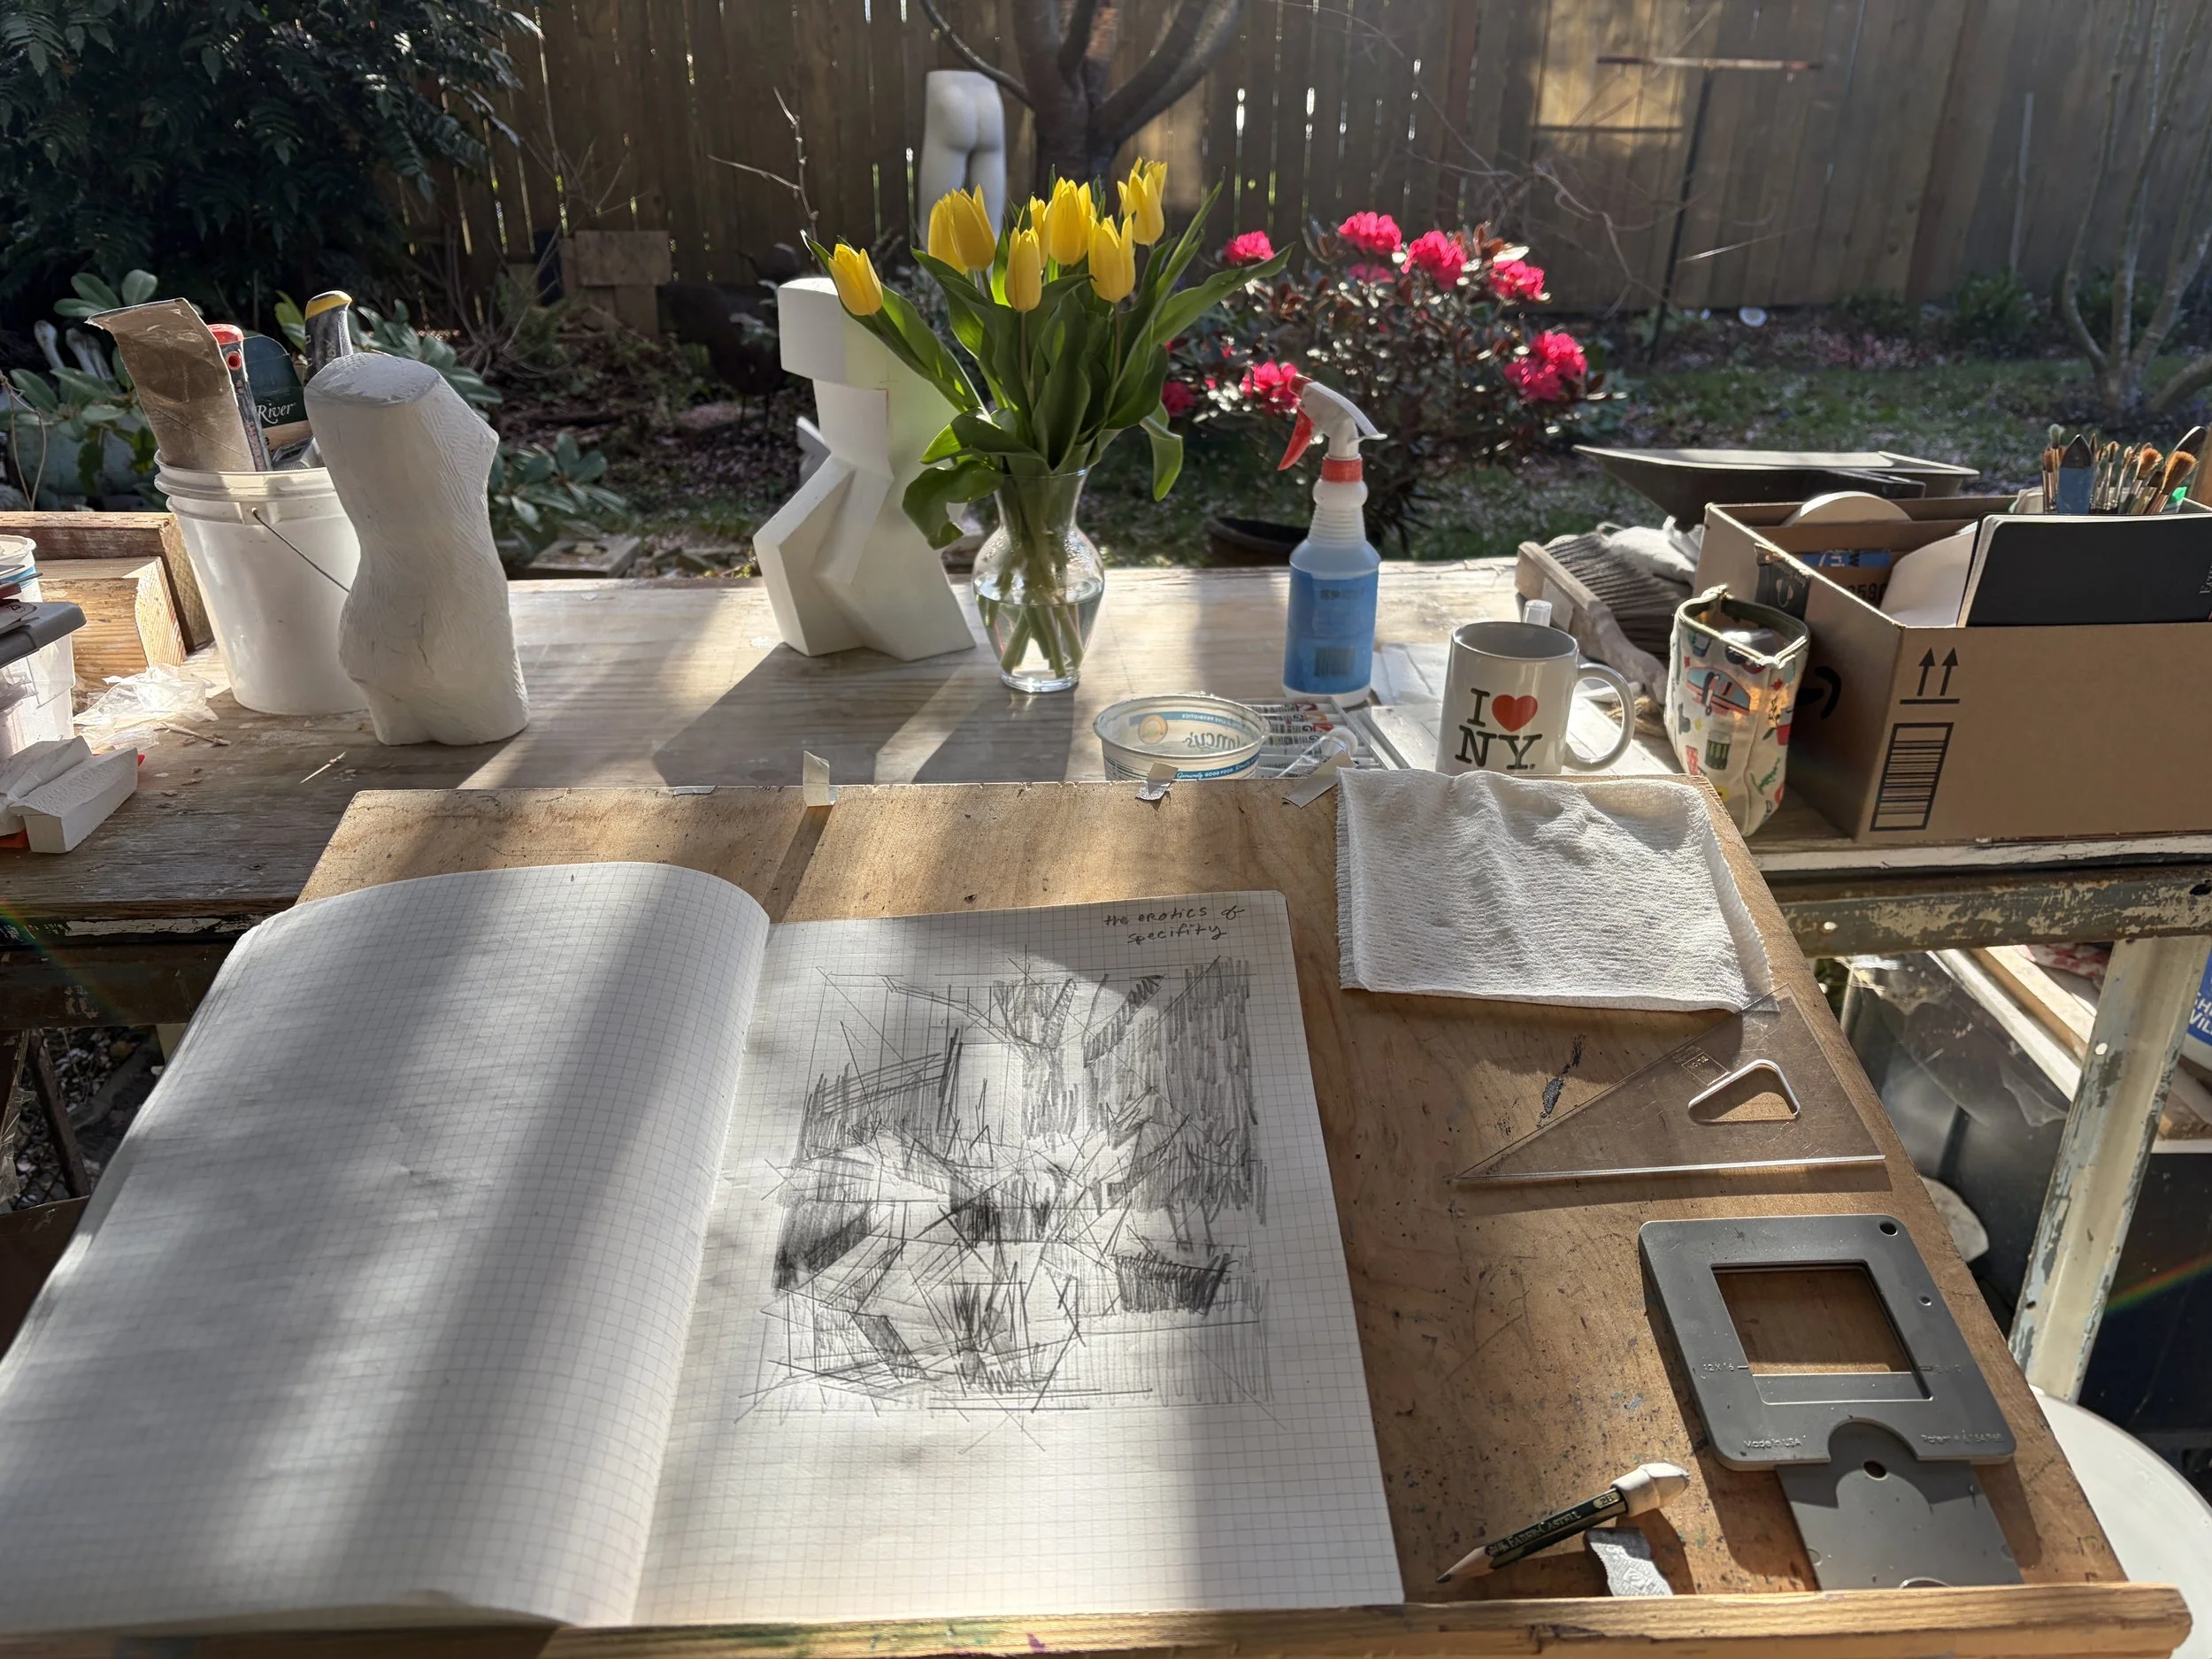
This was definitely an example of the drawing being a bit manic and requiring lots of energy! So, I let it be what it needed to be, and then used graphite tracing paper to replicate a simpler structure for underneath my painted version.
Legs and Tulips II
VIDEO: First attempt painting this motif. Kind of a struggle the whole time, never quite entered a flow state, wrestled with the paint, but some pretty ok color notes came out of it. I consider this a “warm-up.”
Of Note: at the end of this video you can see me using a palette knife to scoop and remove much of the soupy paint that had accumulated. I find I am able to do this on the wet-palette sheets, and then continue using them as long as I keep them wet….
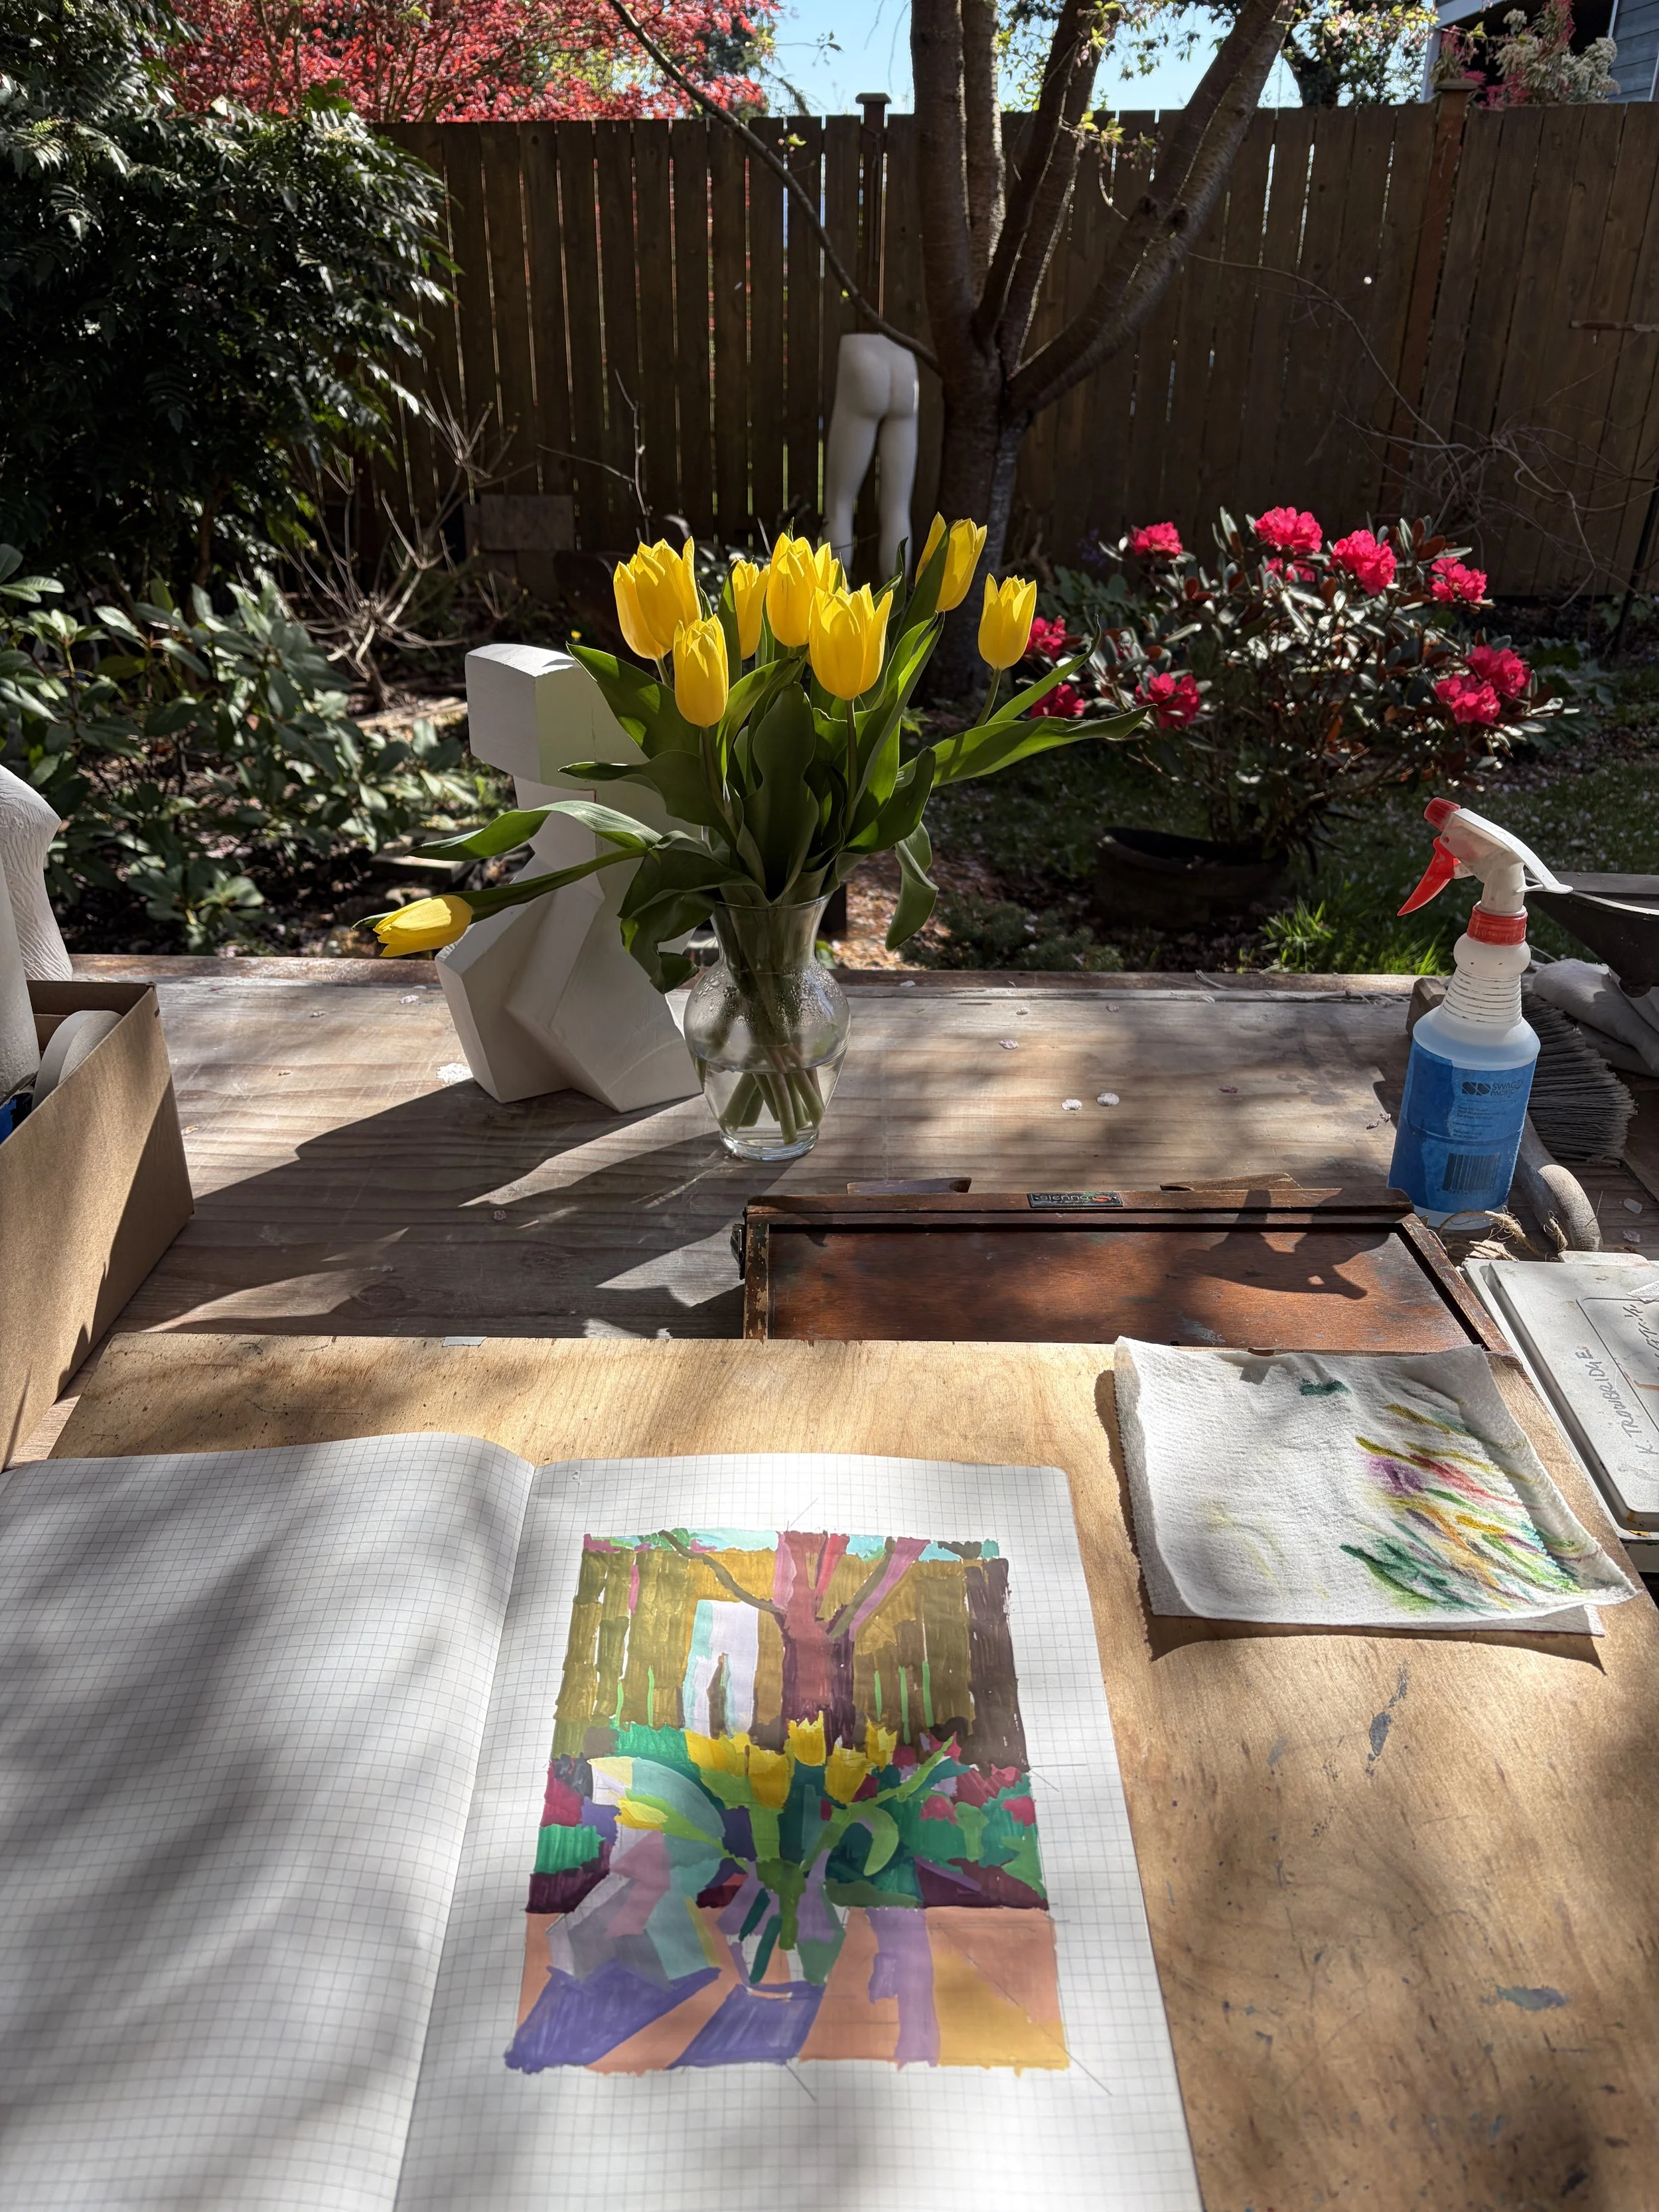
Second version of the same motif. Came back the next day, re-did the drawing, just get warmed up to the composition and scale. Refreshed palette. Much more successful.
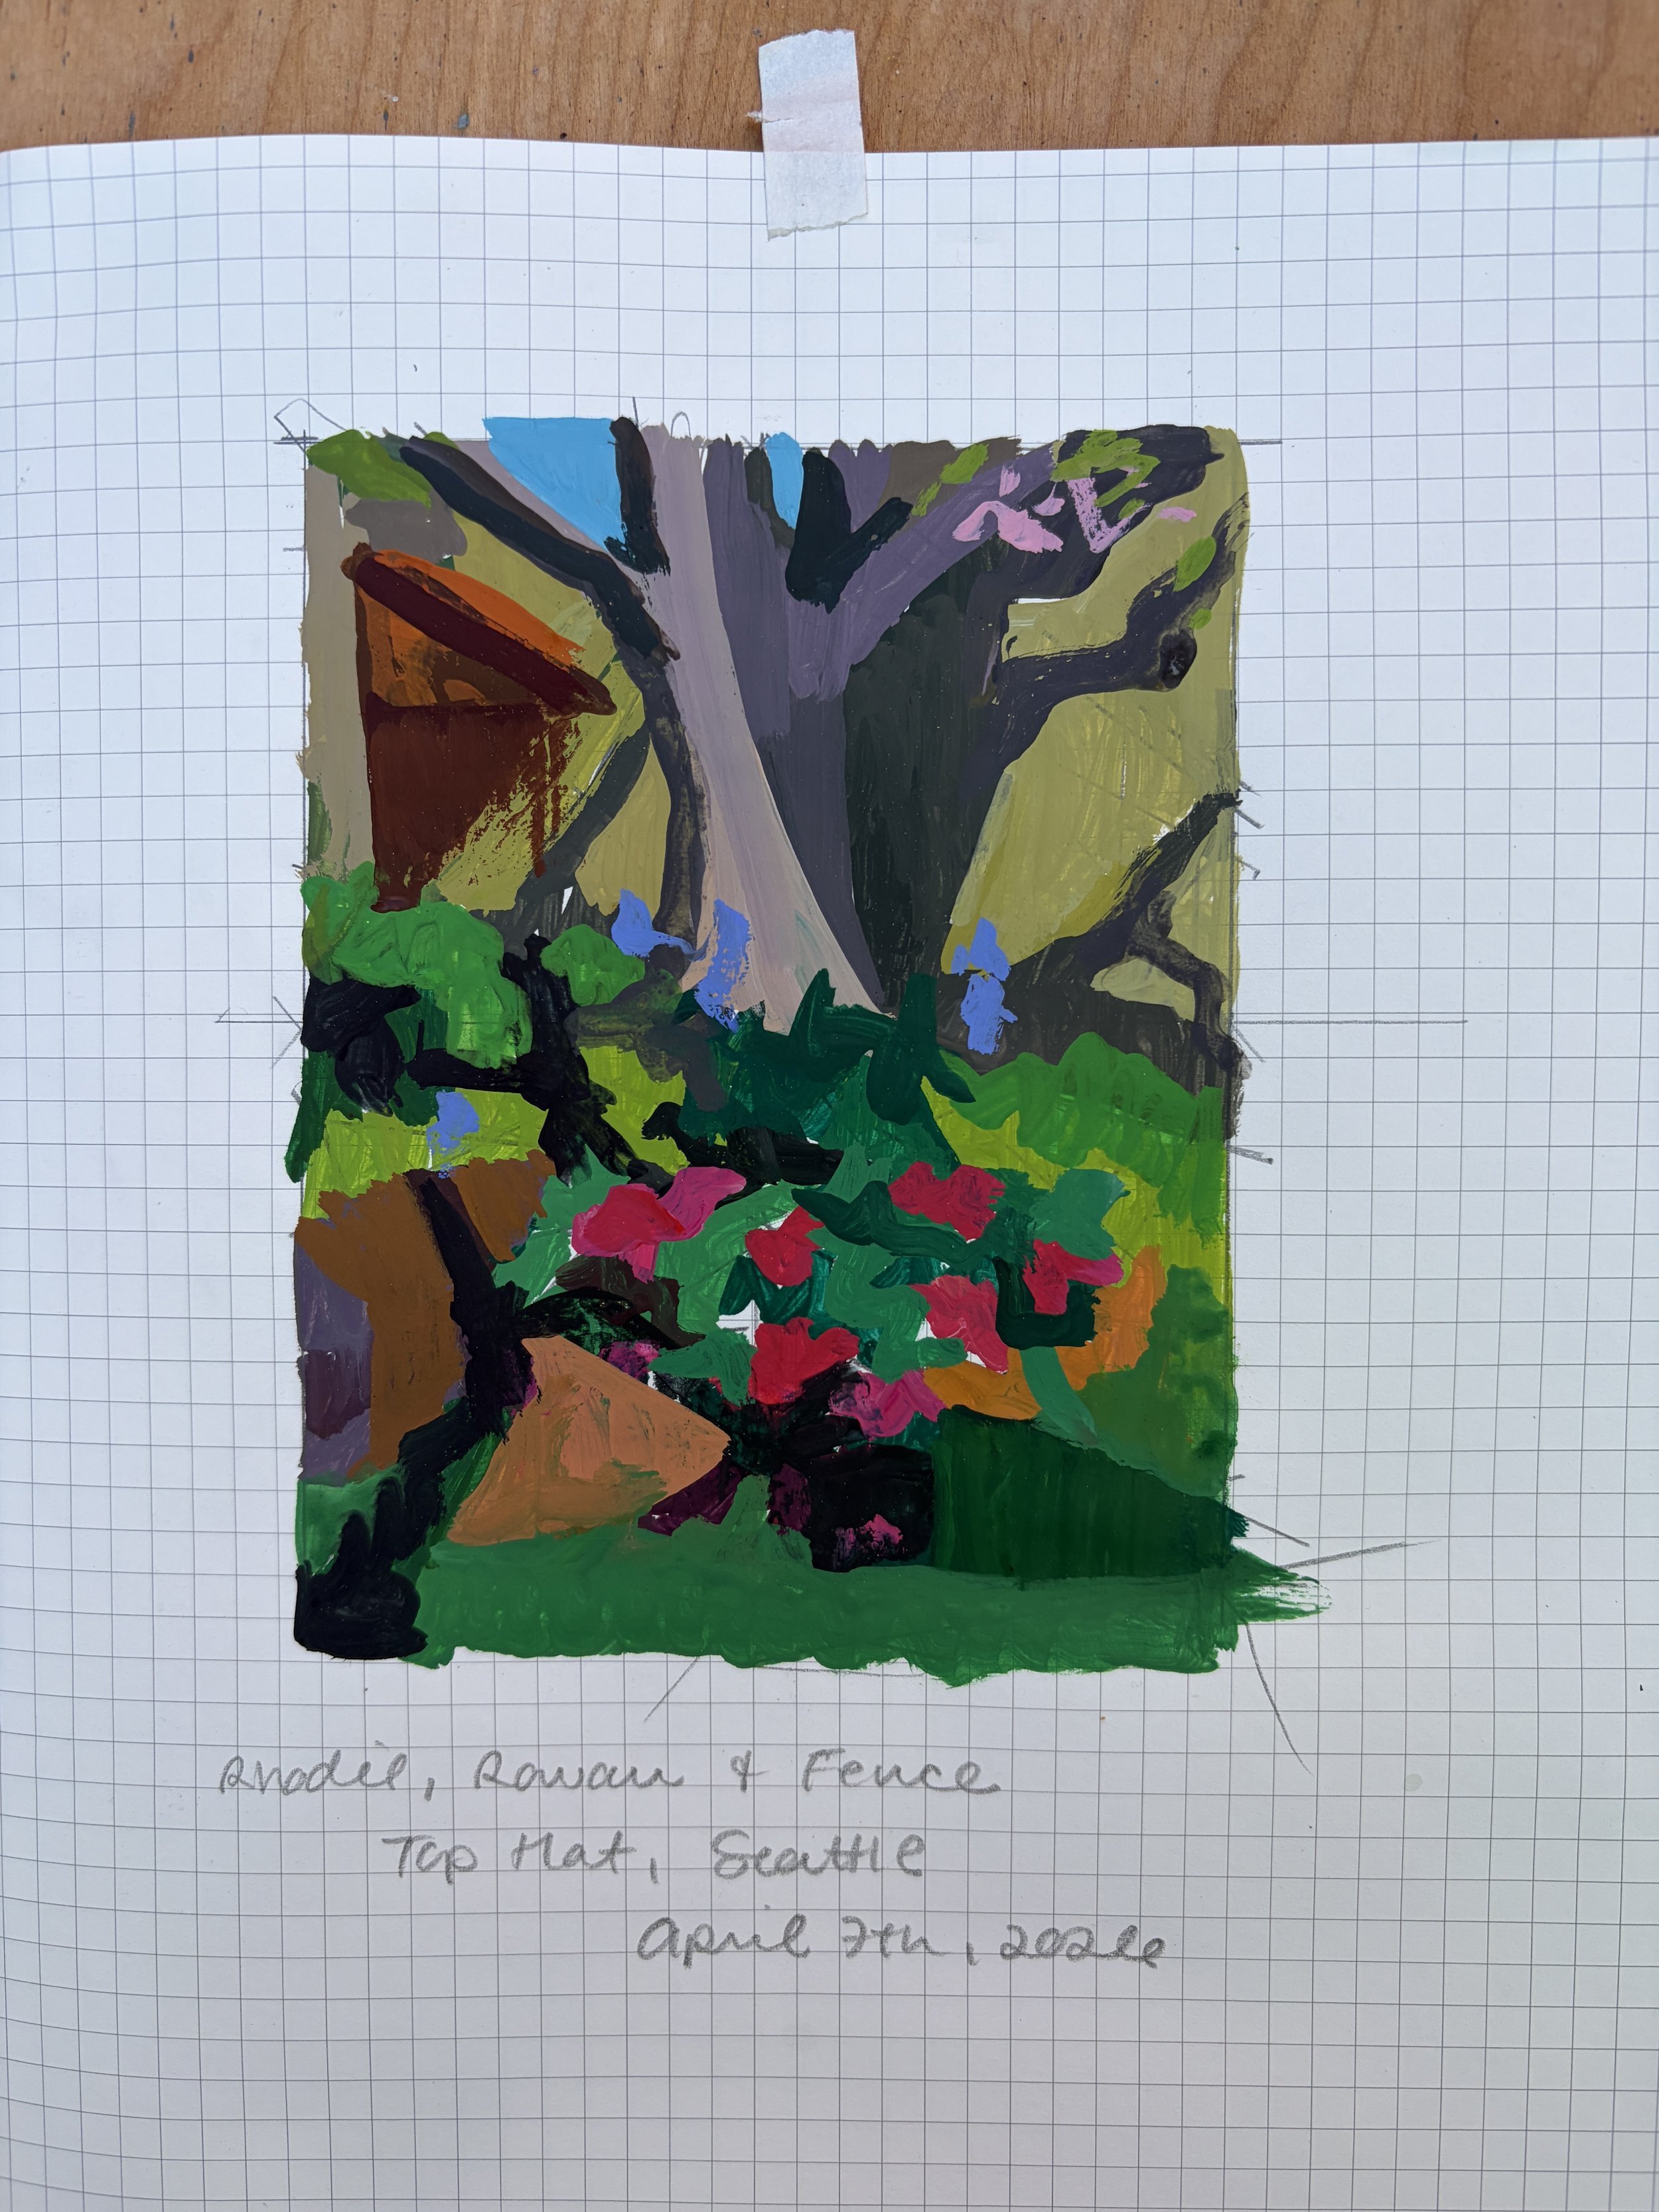
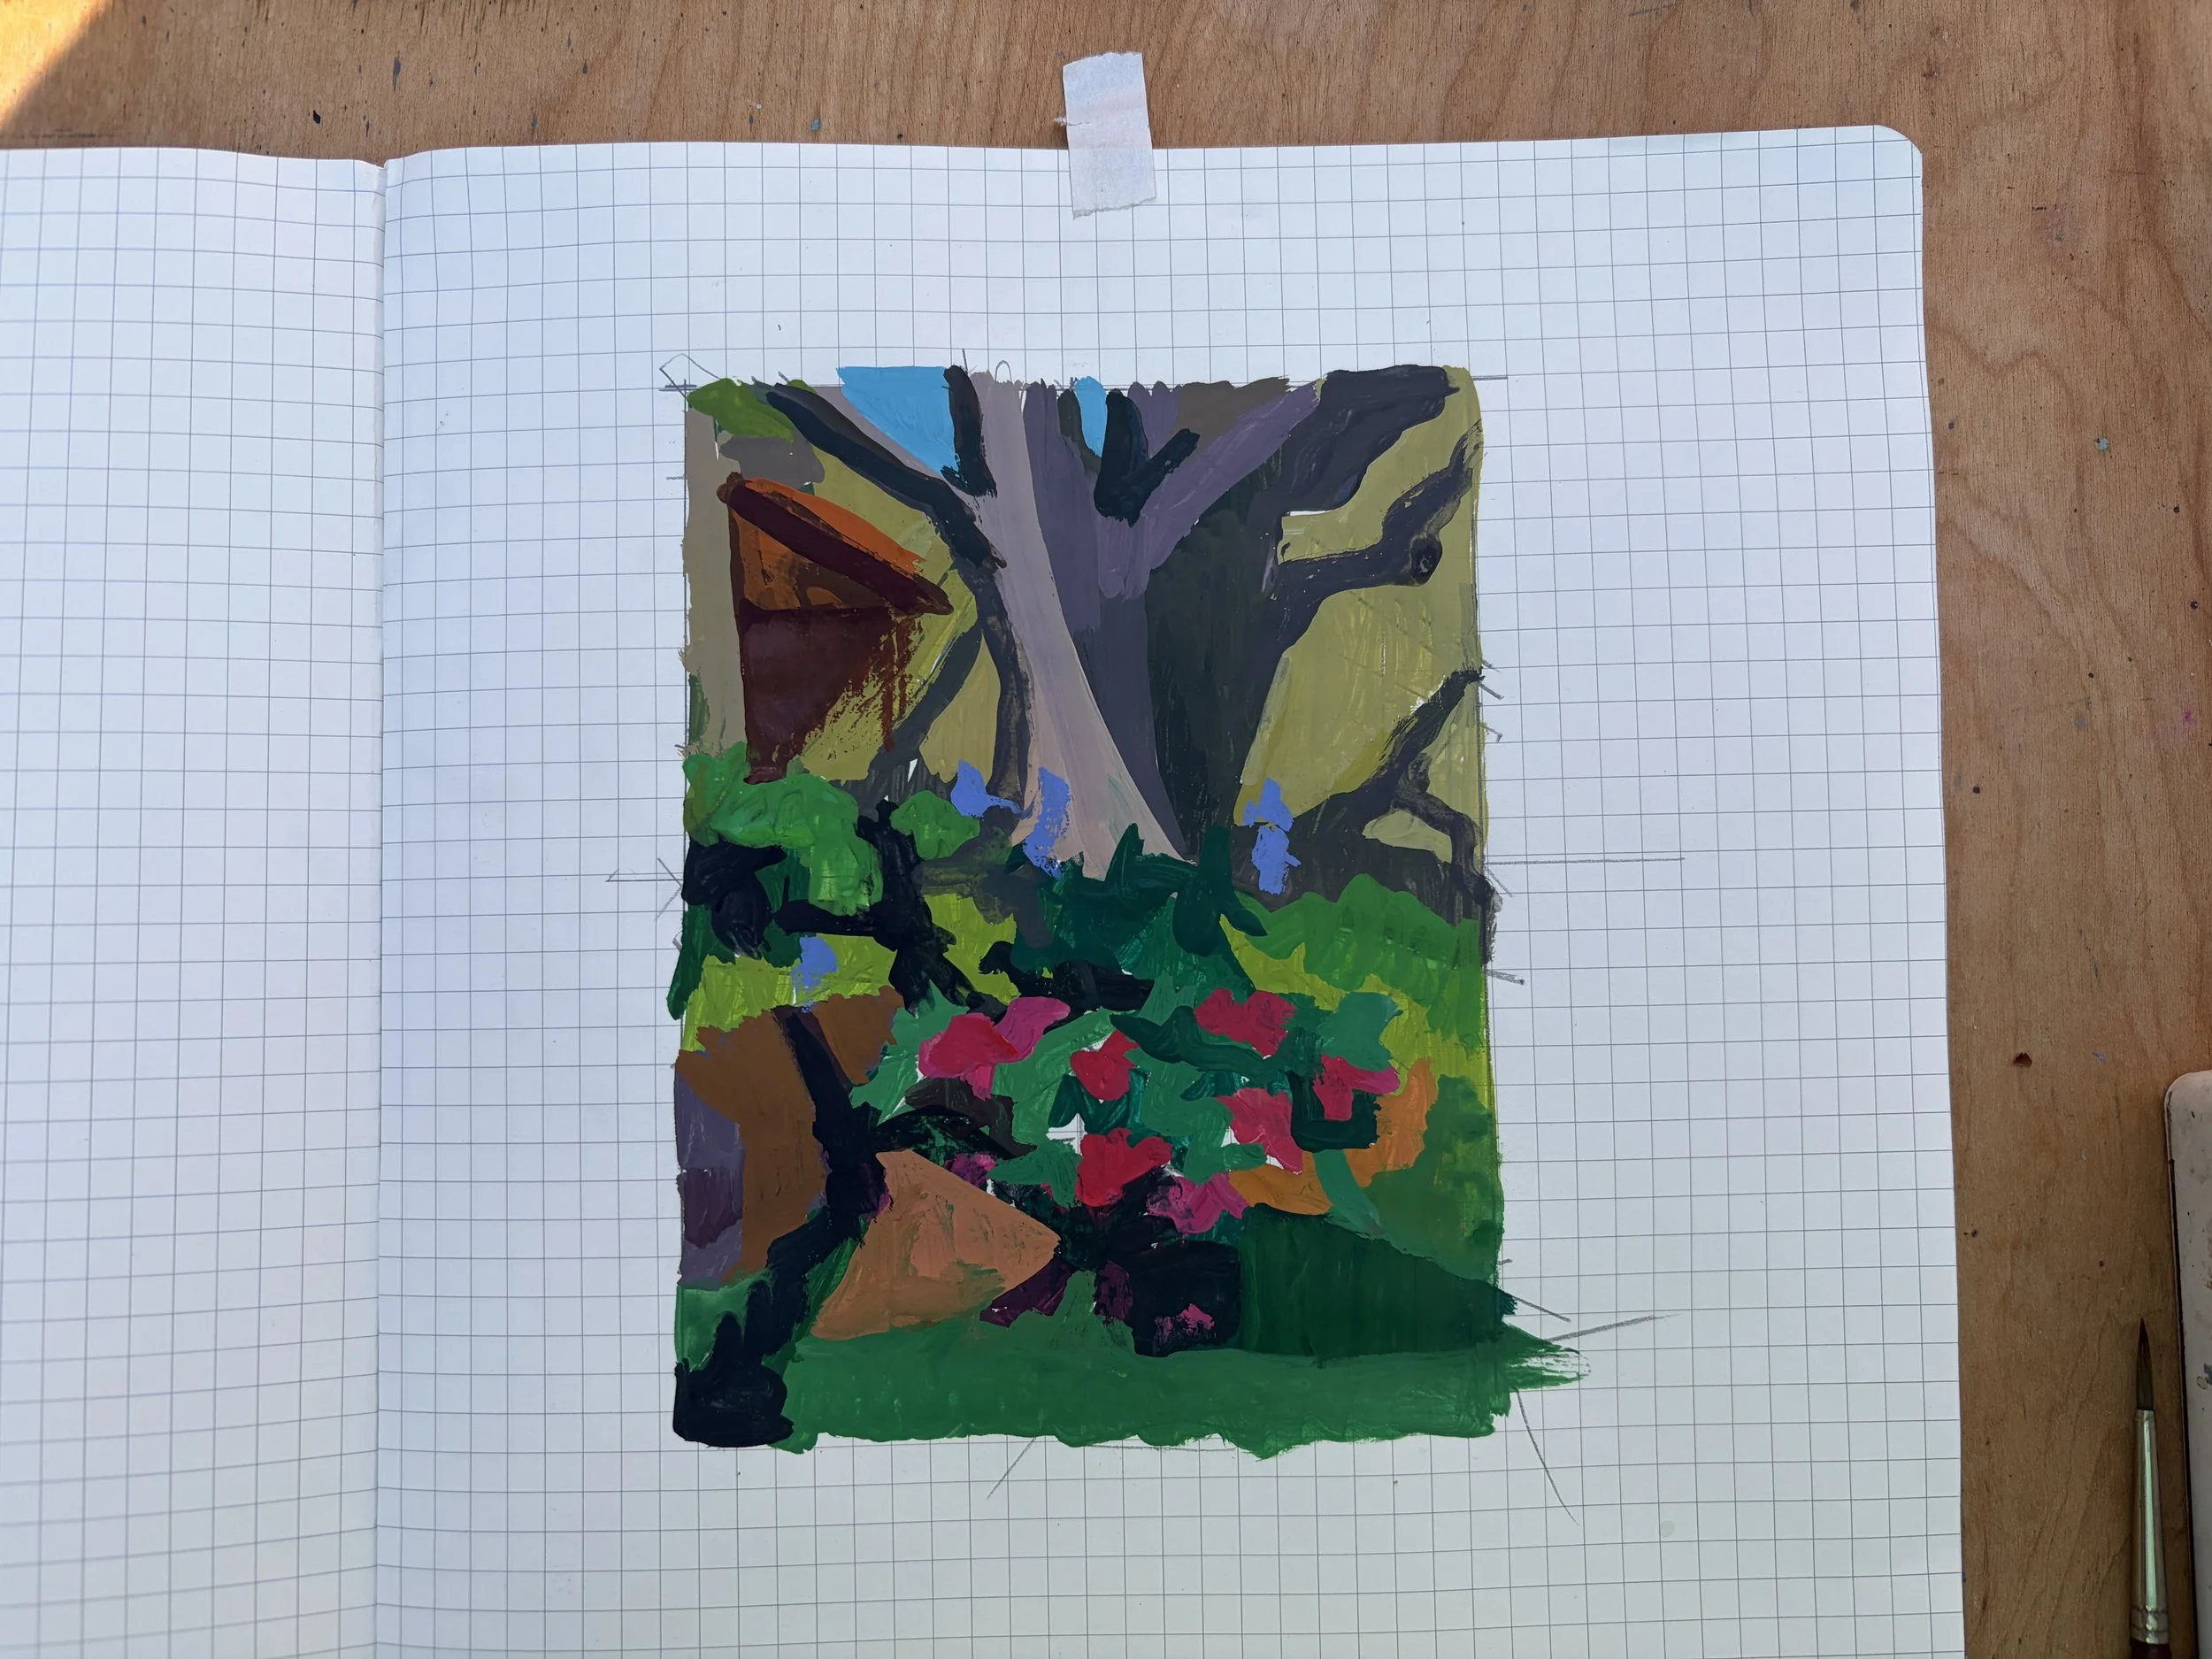
Rhodie, Rowan, & Fence